
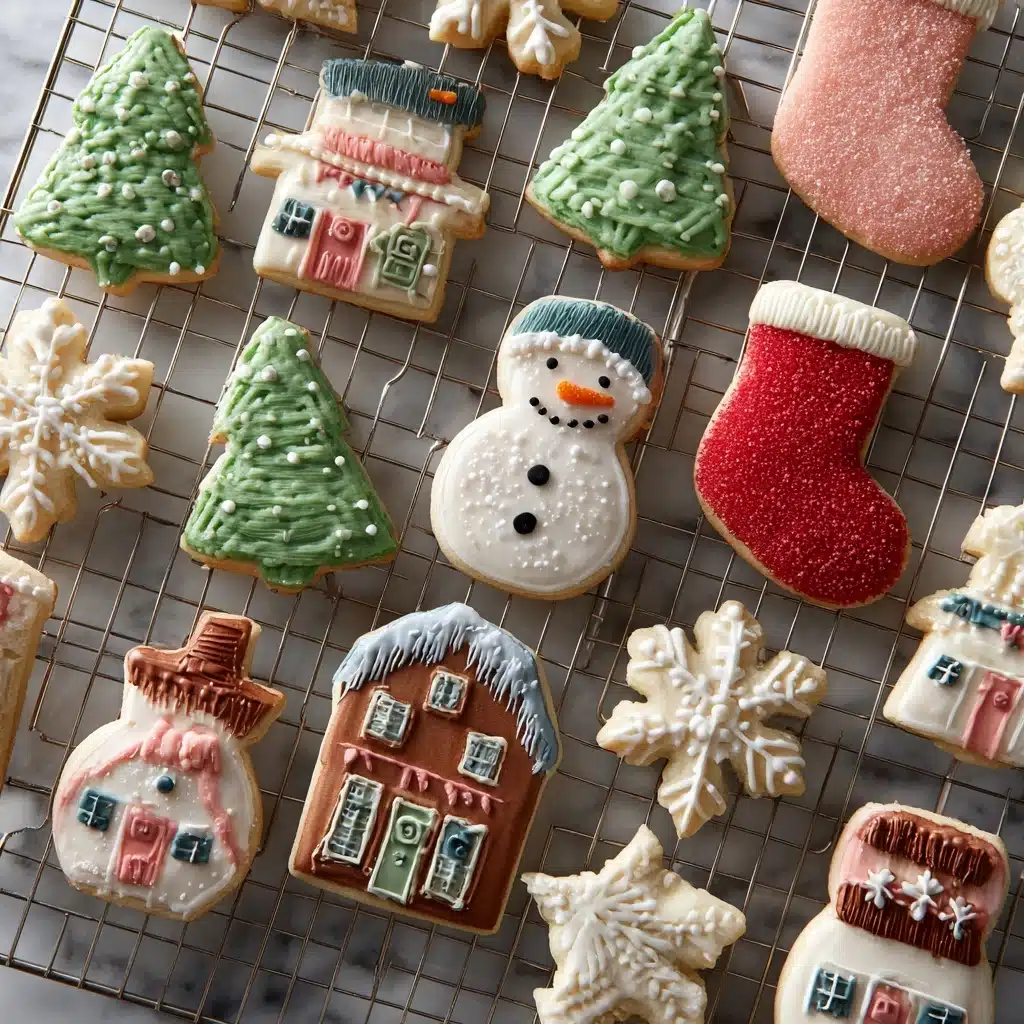
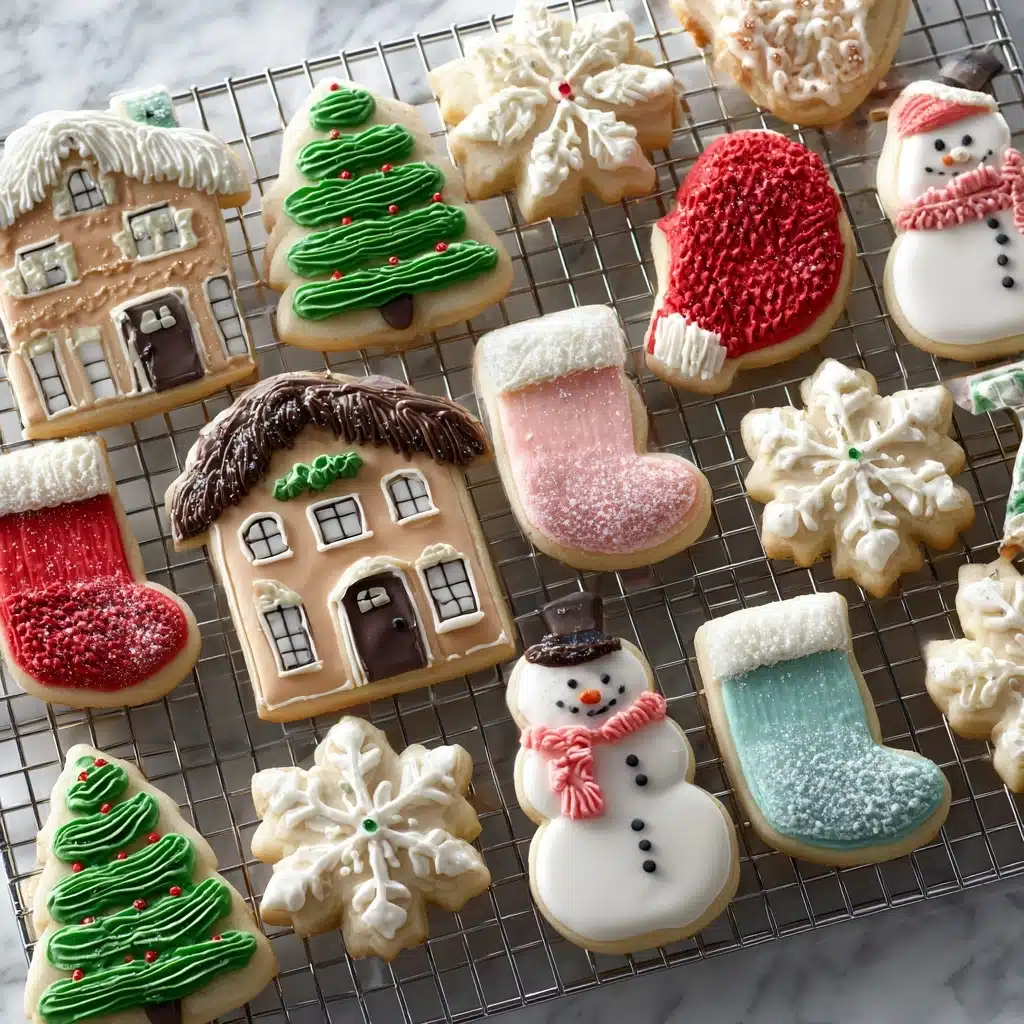
If you love making every batch of cookies look as good as they taste, this Cookie Decorating Buttercream is about to become your new secret weapon. It’s the perfect balance of creamy, fluffy, and just the right amount of sweet, spreading beautifully and piping with ease to help you craft everything from bold holiday designs to delicate everyday details. Whether you’re a decorating newbie eager to create colorful swirls or a seasoned baker searching for that ideal frosting that stays soft yet holds its shape, this is the recipe you’ll reach for again and again.
Ingredients You’ll Need
The list here is short and simple, but each ingredient plays a crucial role in making your Cookie Decorating Buttercream both delicious and vibrant. Stick to the basics for authentic flavor, and don’t be afraid to customize with coloring for that perfect finishing touch.
- Unsalted Butter (1 cup, softened): The foundation for a creamy, rich buttercream that holds shapes beautifully and lends a luscious texture.
- Powdered Sugar (4 cups): This gives the buttercream its structure and sweet flavor, ensuring a smooth, dreamy result every time.
- Milk or Heavy Cream (2–3 tablespoons): Just enough to create the perfect spreadable (or pipeable) consistency and slight richness.
- Pure Vanilla Extract (1 teaspoon): For warmth, depth, and that classic buttery-vanilla finish every cookie deserves.
- Pinch of Salt: Makes the flavors pop and balances the sweetness so each bite is just right.
- Gel Food Coloring (optional): The easiest way to transform your buttercream into vibrant colors for playful, festive, or personalized cookie designs.
How to Make Cookie Decorating Buttercream
Step 1: Whip the Butter
Start with your unsalted butter at room temperature for that ultra-smooth texture. Place it in a large mixing bowl and beat on medium speed for about two minutes until it’s looking light, glossy, and almost fluffy. This initial whipping is key—it makes your Cookie Decorating Buttercream ultra-creamy and airy right from the start.
Step 2: Add the Sugar Gradually
Begin adding the powdered sugar just one cup at a time. Beat well after each addition to avoid lumps and ensure a silky-smooth frosting. This step keeps things neat (no powdered sugar clouds!) and makes the buttercream stable enough for piping or spreading detailed decorations on cookies.
Step 3: Incorporate Milk, Vanilla, and Salt
Once all the sugar is combined, pour in your milk (or heavy cream), vanilla extract, and a tiny pinch of salt. Crank up your mixer to high speed and whip for about 3–4 minutes. You’ll watch it transform into a fluffy, almost cloud-like mixture. If it’s too thick, add a little more milk—just a teaspoon at a time—until it’s perfectly soft but still holds its shape.
Step 4: Color and Customize
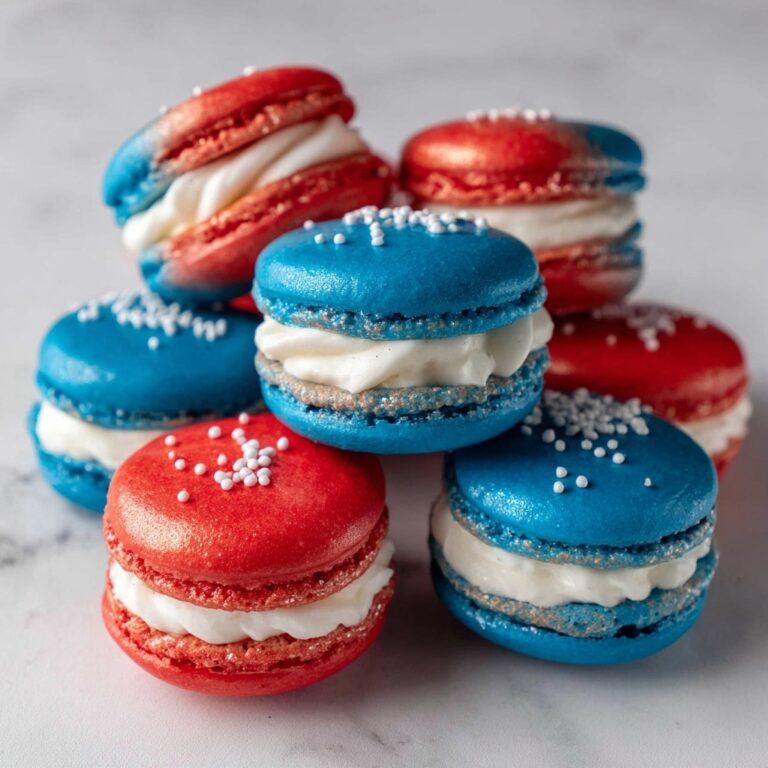
Now for the fun part! Divide your buttercream into bowls and tint each with gel food coloring. This recipe is designed to showcase vibrant colors beautifully, so let your creativity run wild. Mix each color thoroughly for that smooth, even shade, and you’re ready to pipe, spread, or swirl to your heart’s content.
Step 5: Decorate Cookies
Spoon the Cookie Decorating Buttercream into piping bags fitted with your favorite decorating tips, or use a simple offset spatula to spread it on cooled cookies. For detailed designs, let the decorated cookies rest at room temperature until the surface crusts slightly—this makes stacking and storing way easier without losing your masterpieces!
How to Serve Cookie Decorating Buttercream
Garnishes
Amp up your cookies by topping the freshly piped buttercream with festive sprinkles, sugared pearls, or even a dusting of edible glitter. A delicate pinch of colored sanding sugar can turn simple swirls into share-worthy works of art, and fresh citrus zest gives a pop of flavor and color to match your theme.
Side Dishes
Pair your frosted cookies with a chilled glass of milk, hot cocoa, or a mug of strong coffee for a classic treat. For parties, serve alongside a platter of fresh fruit or homemade ice cream—guests will love making their own dreamy ice cream cookie sandwiches topped with that rich Cookie Decorating Buttercream.
Creative Ways to Present
For a show-stopping display, line your decorated cookies on a tiered cake stand or package a rainbow assortment in clear gift bags for effortless gifting. Try layering different colors of Cookie Decorating Buttercream on each cookie for a marbled effect, or let little helpers use piping tips and stencils for custom creations everyone will be proud to share.
Make Ahead and Storage
Storing Leftovers
Leftover Cookie Decorating Buttercream can be saved for your next baking project! Transfer any unused buttercream to an airtight container and refrigerate for up to a week. Before using again, let it sit at room temperature and give it a quick re-whip to restore that cloud-like texture.
Freezing
If you want to plan ahead or have extra, you’ll be glad to know this buttercream freezes beautifully. Scoop it into a freezer-safe bag or container and store for up to two months. When ready to use, thaw overnight in the fridge, then bring it to room temperature and re-whip before decorating.
Reheating
To bring chilled or frozen Cookie Decorating Buttercream back to life, let it reach room temperature naturally—no microwave needed. Once softened, whip it in your mixer for 1–2 minutes until smooth and fluffy again. You’ll never know it wasn’t made fresh that day!
FAQs
Can I make Cookie Decorating Buttercream ahead of time?
Absolutely! This buttercream holds up well in the fridge for up to a week or in the freezer for two months. Just be sure to whip again before using so it regains its perfect texture for spreading or piping.
What’s the best way to color buttercream for decorating?
Gel food coloring is the go-to for vivid, bold colors—it won’t thin your Cookie Decorating Buttercream or alter the flavor. Start with a tiny amount, mix well, and add more as needed to reach your desired shade.
How can I fix buttercream that’s too thick or too thin?
If your frosting is too thick, add milk one teaspoon at a time until it softens up. If it’s too thin, sprinkle in extra powdered sugar a couple tablespoons at a time and beat again until it holds its shape.
Will this crust over for stacking decorated cookies?
Yes! This Cookie Decorating Buttercream will lightly crust on the surface when left out at room temperature, making it great for stacking or packaging cookies without smudging their designs.
Can I use this buttercream for cakes or cupcakes, too?
You sure can—this frosting is just as dreamy on cakes or cupcakes as it is on cookies. It pipes beautifully and holds up well, making it a multitasking favorite for all kinds of sweet treats.
Final Thoughts
If you’re on the hunt for a go-to recipe that makes every cookie look and taste irresistible, give this Cookie Decorating Buttercream a try. With just a few simple steps, you’ll be on your way to bakery-quality creations everyone will rave about. Happy decorating!
Print
Cookie Decorating Buttercream Recipe
- Total Time: 10 minutes
- Yield: About 2 1/2 cups 1x
- Diet: Vegetarian
Description
A delicious and versatile buttercream recipe perfect for decorating cookies. This smooth and creamy frosting is easy to make and ideal for adding a pop of color to your sweet treats.
Ingredients
Ingredients:
- 1 cup unsalted butter, softened
- 4 cups powdered sugar
- 2–3 tablespoons milk or heavy cream
- 1 teaspoon pure vanilla extract
- Pinch of salt
- Gel food coloring (optional)
Instructions
- In a large mixing bowl, beat the softened butter on medium speed until creamy and smooth, about 2 minutes.
- Gradually add the powdered sugar, 1 cup at a time, beating well after each addition.
- Add the milk, vanilla extract, and salt. Beat on high speed for 3–4 minutes, until the buttercream is fluffy and spreadable.
- If the frosting is too thick, add a little more milk, 1 teaspoon at a time.
- Divide and tint with gel food coloring as desired. Use immediately to pipe or spread on cooled cookies.
- For detailed designs, use piping bags with decorating tips. Allow decorated cookies to crust slightly at room temperature if needed for stacking.
Notes
- This buttercream crusts slightly for easy handling but stays soft and creamy when eaten.
- Store in an airtight container in the fridge for up to 1 week or freeze for up to 2 months. Re-whip before using.
- Prep Time: 10 minutes
- Cook Time: 0 minutes
- Category: Dessert
- Method: No-Cook
- Cuisine: American
Nutrition
- Serving Size: 2 tablespoons
- Calories: 160
- Sugar: 18 g
- Sodium: 20 mg
- Fat: 9 g
- Saturated Fat: 6 g
- Unsaturated Fat: 3 g
- Trans Fat: 0 g
- Carbohydrates: 20 g
- Fiber: 0 g
- Protein: 0 g
- Cholesterol: 25 mg


