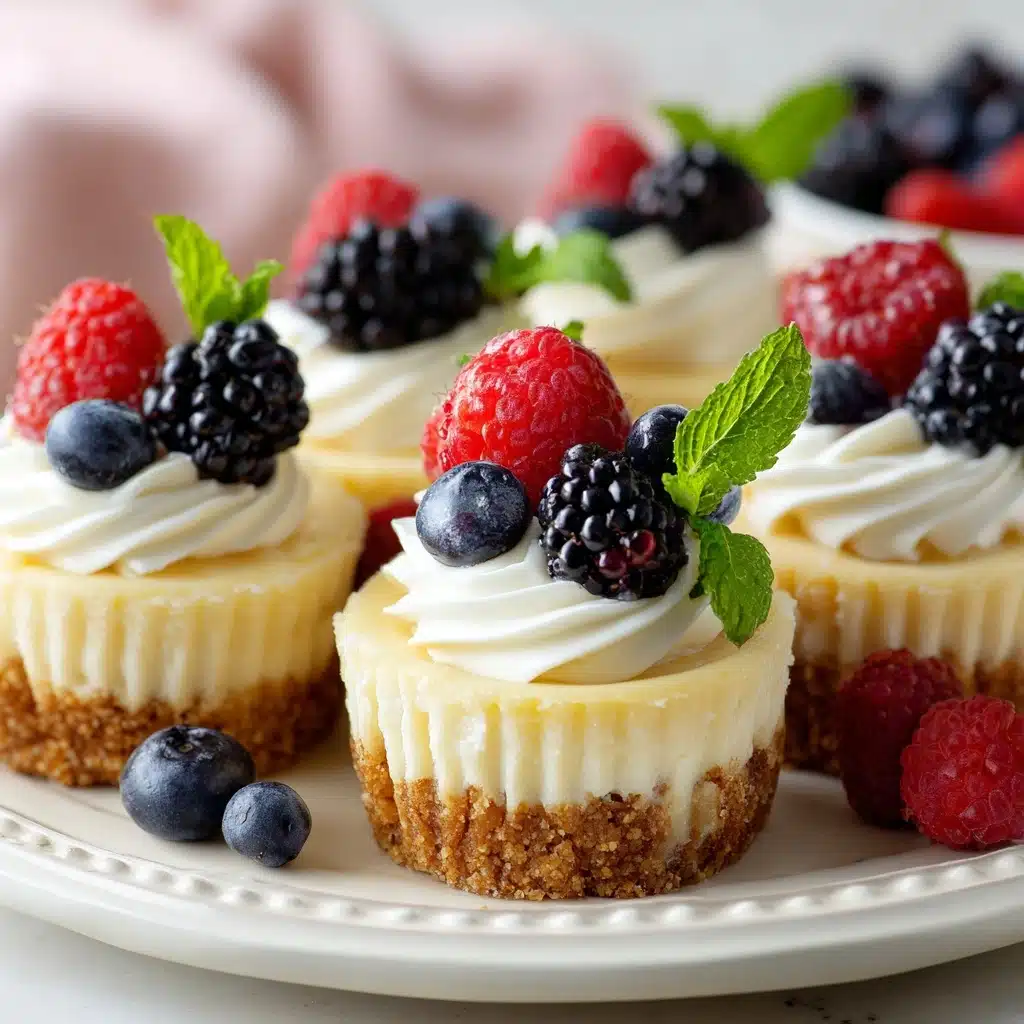
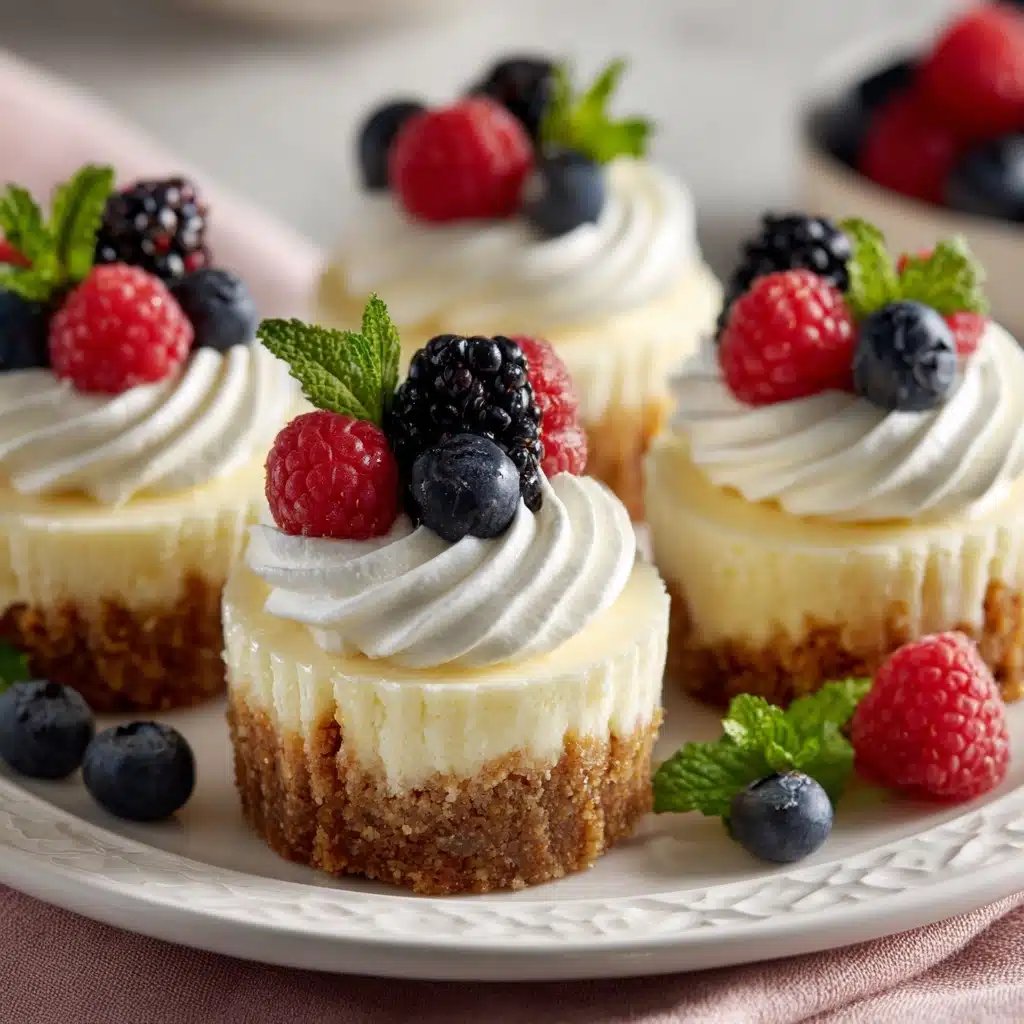
When you want a creamy, decadent treat but don’t want the fuss of a full-sized cake, Mini Cheesecakes (in a Standard Muffin Pan) are an absolute delight! Each adorable, hand-held cheesecake boasts a silky-smooth filling over a crisp vanilla wafer base, made effortlessly simple by using a standard muffin pan. They’re a crowd-pleaser for parties, easy to customize with your favorite toppings, and so irresistibly cute that everyone will want more than one. Trust me, this is the kind of recipe you’ll want to file under “keeper.”
Ingredients You’ll Need
Mini Cheesecakes (in a Standard Muffin Pan) call for just a handful of humble ingredients, but each one brings something special. From the creamy decadence of cream cheese to a bright splash of lemon juice, every element plays a part in creating that classic cheesecake flavor and irresistibly smooth texture.
- Vanilla wafer cookies: These make a perfectly sweet, crisp crust with zero hassle—just pop them in whole for instant base magic!
- Cream cheese (softened): The foundation of any cheesecake, it’s ultra-rich and creates that dreamy, velvet-like filling.
- Granulated sugar: Sweetens up the deal and helps the filling go from tangy to just-right.
- Large eggs (room temperature): They bind everything together for that luscious, creamy bite.
- Vanilla extract: Adds warmth and depth of flavor, making each bite more irresistible.
- Lemon juice: Just a touch wakes up all the flavors and balances the richness.
- Sour cream: Gives the cheesecakes an extra tender, melt-in-your-mouth texture.
- Fresh berries or fruit topping: The finishing flourish—adds sweetness, color, and a refreshing contrast.
How to Make Mini Cheesecakes (in a Standard Muffin Pan)
Step 1: Prep Your Oven and Pan
First things first: preheat your oven to 325°F (160°C). Grab a standard 12-cup muffin pan and line each cup with a paper liner—trust me, this step makes getting your Mini Cheesecakes (in a Standard Muffin Pan) out in one piece delightfully easy. Place a vanilla wafer, flat side down, into each liner for an instant, fuss-free base.
Step 2: Whip Up the Creamy Filling
In a large bowl, beat the softened cream cheese and granulated sugar together until the mixture is smooth and creamy with no lumps. Take your time—it’s worth it! Then, add the eggs one at a time, beating well after each addition so the filling stays beautifully silky.
Step 3: Add Flavor and Tang
Now mix in the vanilla extract, lemon juice, and sour cream. The vanilla brings warmth, the lemon juice adds a gentle brightness, and the sour cream guarantees the tender, irresistible consistency these cheesecakes are famous for.
Step 4: Fill the Muffin Cups
Evenly divide the luscious batter among your muffin cups, filling each almost to the top—don’t worry, they won’t puff over! A cookie scoop or ice cream scoop makes the job neat and quick, and ensures every bite is equally delicious.
Step 5: Bake to Perfection
Pop the pan in the oven and bake for 18–20 minutes. You’re looking for the centers to be just set and ever so slightly jiggly. Resist the urge to over-bake—a gentle set means delightfully creamy cheesecakes later.
Step 6: Cool and Chill
Once they’re done, let the cheesecakes cool in the pan for about 10 minutes. Then, carefully transfer them to a wire rack to finish cooling. After they’re at room temperature, refrigerate for at least 2 hours. This is non-negotiable—Mini Cheesecakes (in a Standard Muffin Pan) are at their best when completely chilled!
Step 7: Top and Enjoy!
Just before serving, crown each little cheesecake with fresh berries or your favorite fruit topping. The pop of color and sweetness makes these mini treats both beautiful and scrumptious.
How to Serve Mini Cheesecakes (in a Standard Muffin Pan)

Garnishes
Garnishing is where you can have the most fun! A vibrant scoop of fresh berries (think strawberries, raspberries, or blueberries) on each Mini Cheesecake (in a Standard Muffin Pan) looks festive and tastes fresh. A tiny dollop of whipped cream or a drizzle of berry coulis adds a professional finishing touch and makes every bite feel like a celebration.
Side Dishes
While these cheesecakes steal the show, you can serve them alongside fresh fruit salad or a platter of mini cookies for a sweet bite-sized dessert table. For something slightly more indulgent, pair them with a little scoop of lemon sorbet or vanilla ice cream.
Creative Ways to Present
Arrange your Mini Cheesecakes (in a Standard Muffin Pan) on a pretty cake stand or tiered dessert tray for maximum oohs and aahs. For parties, pop them into colorful wrappers, or use toppings in different colors and shapes to match your event theme. You can even set up a build-your-own cheesecake bar with various toppings for guests to choose from!
Make Ahead and Storage
Storing Leftovers
Leftover Mini Cheesecakes (in a Standard Muffin Pan) can be stored in an airtight container in the fridge for up to five days. The flavors mingle and mellow as they chill, and the texture stays perfectly creamy. Just make sure to keep them covered to prevent them from absorbing any fridge smells.
Freezing
Yes, these minis freeze beautifully! Place cooled cheesecakes (without toppings) on a baking sheet and freeze until solid. Then, wrap each one tightly in plastic wrap and pop them all into a freezer bag. They’ll keep for up to two months. When you’re ready to serve, thaw in the fridge and top as desired.
Reheating
Honestly, these Mini Cheesecakes (in a Standard Muffin Pan) are best enjoyed thoroughly chilled or at room temperature. If you find yourself with a cheesecake craving and frozen minis on hand, let them thaw slowly in the refrigerator—no reheating needed! If desired, you can let them sit out for 10–15 minutes for the ideal creamy texture.
FAQs
Can I use a different kind of cookie for the crust?
Absolutely! Try chocolate wafers, graham crackers, or even ginger snaps for a fun twist on the classic vanilla wafer base. Just use a cookie that fits comfortably in the muffin liner.
What’s the best way to get creamy, lump-free filling?
Make sure your cream cheese is fully softened before mixing, and beat it thoroughly with the sugar until silky-smooth. Adding the eggs one at a time helps the batter stay creamy and prevents pesky lumps.
Can I make Mini Cheesecakes (in a Standard Muffin Pan) ahead of time?
Definitely! They actually taste even better after a day in the fridge. Prepare them a day before your event, chill overnight, and top with fruit just before serving for maximum freshness and flavor.
How do I know when the cheesecakes are done baking?
Look for centers that are just set but still have a slight jiggle when gently shaken. They’ll firm up as they cool, giving you that delightful creamy texture every cheesecake lover adores.
Can I double the recipe for a bigger crowd?
Yes! Just use two muffin pans and rotate them halfway through baking for even results. You’ll have a party’s worth of Mini Cheesecakes (in a Standard Muffin Pan) in no time.
Final Thoughts
There’s something extra special about sharing these Mini Cheesecakes (in a Standard Muffin Pan) with friends and family—they strike the perfect balance between easy and impressive. Give them a try soon, and don’t be surprised if they become your new favorite go-to dessert for every celebration or sweet craving!
Print
Mini Cheesecakes (in a Standard Muffin Pan) Recipe
- Total Time: 2 hours 35 minutes (includes chilling)
- Yield: 12 mini cheesecakes 1x
- Diet: Vegetarian
Description
Indulge in these delightful Mini Cheesecakes made in a standard muffin pan. Creamy and decadent, these individual cheesecakes are topped with fresh berries for a burst of flavor.
Ingredients
Crust:
- 12 vanilla wafer cookies
Cheesecake Filling:
- 16 ounces cream cheese, softened
- 1/2 cup granulated sugar
- 2 large eggs, room temperature
- 1 teaspoon vanilla extract
- 1 tablespoon lemon juice
- 1/4 cup sour cream
Garnish:
- Fresh berries or fruit topping
Instructions
- Preheat Oven: Preheat oven to 325°F (160°C). Line a 12-cup muffin pan with paper liners.
- Prepare Crust: Place a vanilla wafer cookie flat side down in each liner as the crust base.
- Mix Cheesecake Filling: In a large bowl, beat cream cheese and sugar until smooth. Add eggs one at a time, then mix in vanilla extract, lemon juice, and sour cream.
- Fill Muffin Cups: Divide batter among muffin cups, filling almost to the top.
- Bake: Bake for 18-20 minutes until set but slightly jiggly. Cool in pan for 10 minutes, then transfer to rack to cool completely.
- Chill: Refrigerate for at least 2 hours before serving.
- Garnish: Top with fresh berries or fruit before serving.
Notes
- Use paper liners for easy release.
- Add whipped cream before serving if desired.
- Store covered in the refrigerator for up to 5 days.
- Prep Time: 15 minutes
- Cook Time: 20 minutes
- Category: Dessert
- Method: Baking
- Cuisine: American
Nutrition
- Serving Size: 1 mini cheesecake
- Calories: 220
- Sugar: 14g
- Sodium: 160mg
- Fat: 15g
- Saturated Fat: 8g
- Unsaturated Fat: 6g
- Trans Fat: 0g
- Carbohydrates: 18g
- Fiber: 0g
- Protein: 4g
- Cholesterol: 65mg


