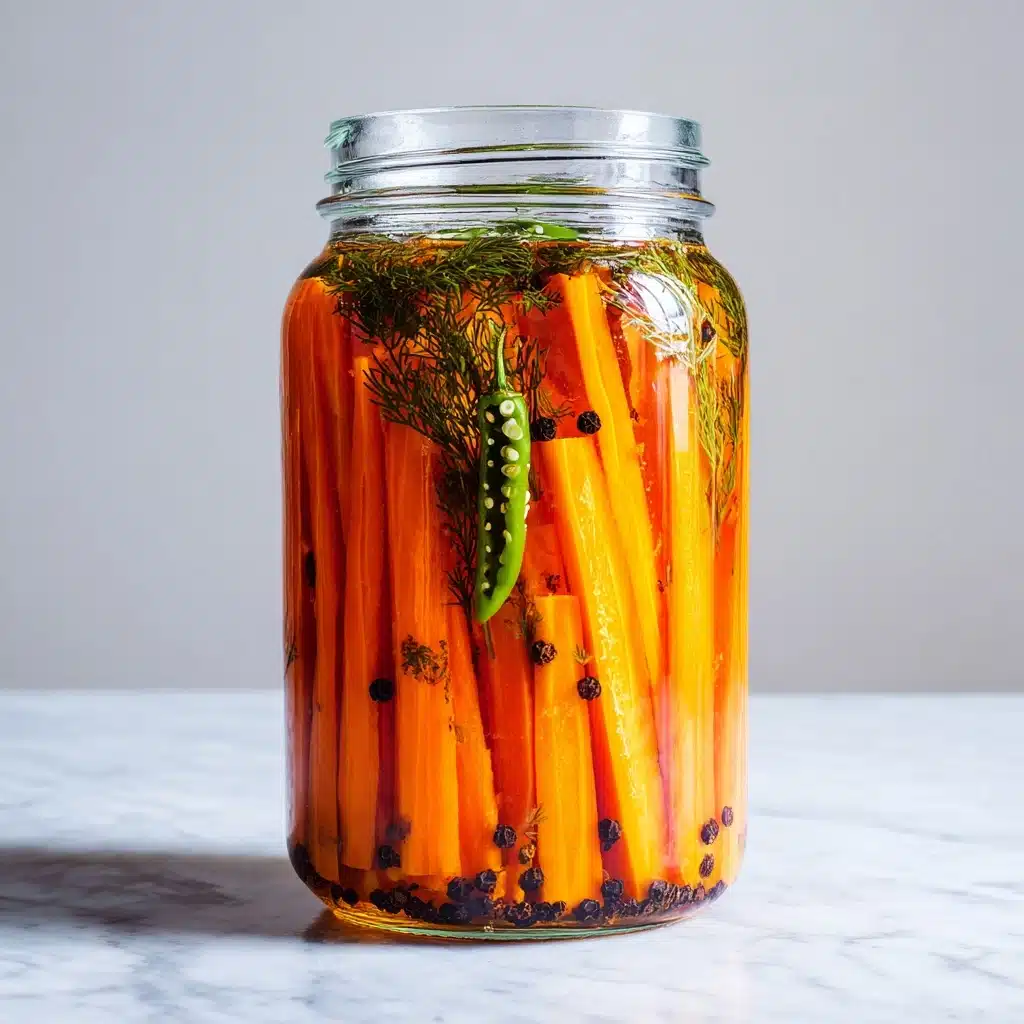
If you’re ready to introduce a bright pop of tang and crunch into your everyday meals, fermented carrots should be at the top of your kitchen bucket list. These crunchy spears boast a punchy flavor that’s both zesty and refreshing, elevating anything from simple salads to extravagant cheese boards with ease. Beyond their vibrant color and irresistible snap, fermented carrots deliver natural probiotics for your gut, making them delicious and nourishing at the same time. Whether you’re new to fermentation or a seasoned home fermenter, this recipe brings pure joy in a jar!
Ingredients You’ll Need
Ingredients You’ll Need
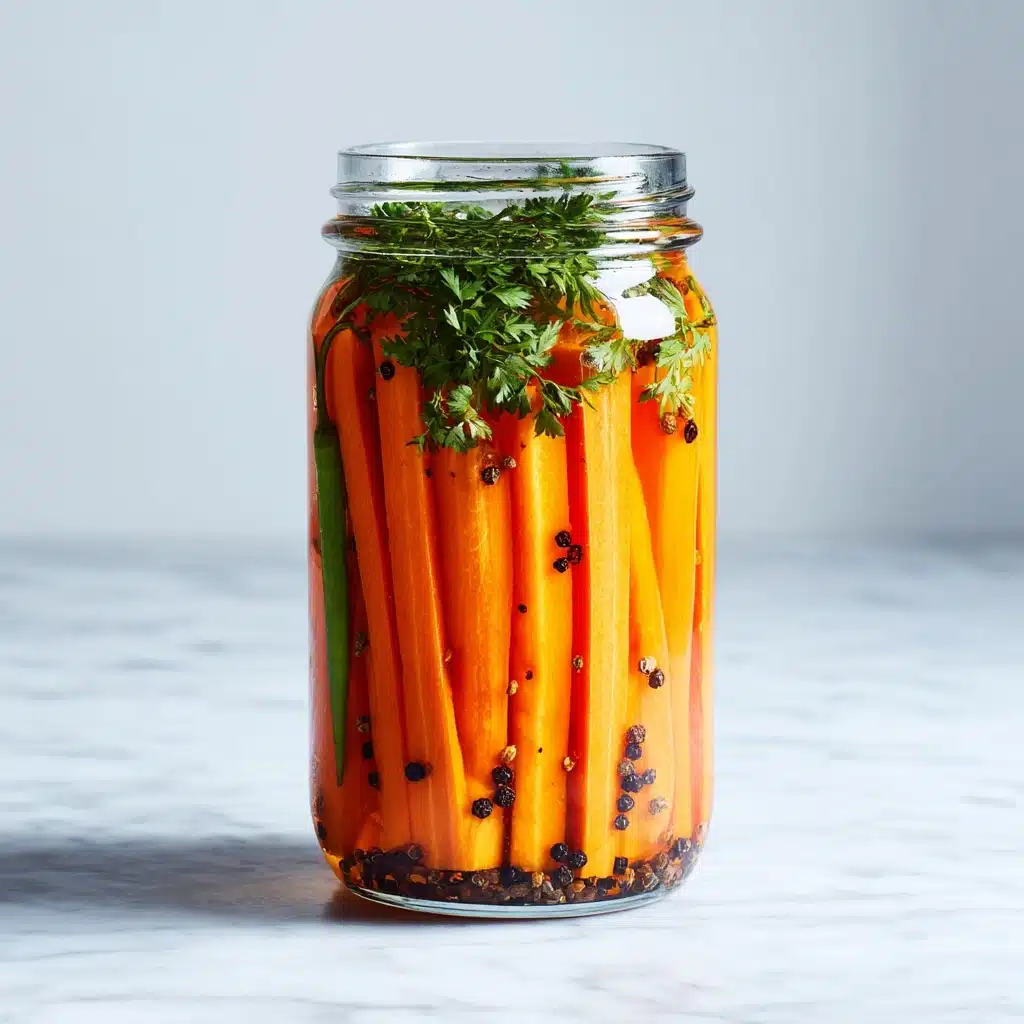
Fermented carrots are delightfully simple, and every ingredient plays a starring role in building flavor, texture, or aroma. This shortlist isn’t just easy on time and effort; it’s packed with thoughtful touches to ensure every bite is perfect.
- Fresh Carrots: Choose firm, sweet carrots for maximum crunch and gorgeous color in every spear.
- Filtered Water: Only filtered or non-chlorinated water should be used—tap water can interfere with fermentation.
- Sea Salt or Kosher Salt: Non-iodized salts allow the right bacteria to thrive and unlock perfectly balanced flavor.
- Garlic Cloves: Smashing the cloves releases flavor that infuses the brine and gives your fermented carrots a subtle kick.
- Whole Black Peppercorns: A handful adds a gentle warmth and aromatic complexity to every bite.
- Mustard Seeds (Optional): For those who crave a hint of tangy sharpness, these tiny seeds offer a playful pop of flavor.
- Fresh Dill (Optional): A few sprigs are all it takes to bring brightness and a classic “pickle” aroma that many adore.
How to Make Fermented Carrots
Step 1: Prep Your Carrots and Aromatics
Start by scrubbing and peeling your carrots to remove any lingering dirt and tough skin. Slice them into sticks that fit comfortably inside your clean quart jar. Gather your smashed garlic, peppercorns, mustard seeds, and fresh dill (if you’re using them) so all your flavor boosters are ready for layering.
Step 2: Fill the Jar
Tightly pack the carrot sticks vertically into the jar, tucking in the garlic, peppercorns, mustard seeds, and dill as you go. The more snug the carrots, the easier it will be to keep them beneath the brine later—a key step for safe fermentation!
Step 3: Make the Brine
In a separate bowl or measuring cup, dissolve the salt thoroughly into the filtered water. This salty solution not only preserves the carrots but creates the ideal environment for beneficial bacteria to work their magic.
Step 4: Submerge and Weight
Pour the brine over your packed carrots until they are fully submerged. To prevent floating and mold, use a fermentation weight, a clean small jar, or even a folded cabbage leaf pressed on top to keep everything tucked under the liquid.
Step 5: Cover and Ferment
Cover the jar loosely with a lid or a cloth secured with a rubber band. You want air to escape but bugs and dust to stay out. Place the jar at room temperature, away from direct sunlight. Let the magic happen for 5 to 7 days, checking daily to ensure the carrots remain submerged and to start tasting after day 4 for your personal goldilocks “just-tangy-enough” moment.
Step 6: Store for Freshness
Once the fermented carrots reach peak flavor, seal the jar tightly with a proper lid and stash them in your refrigerator. They’ll keep beautifully for up to two months—if you can manage to make them last that long!
How to Serve Fermented Carrots
Garnishes
A sprinkle of flaky sea salt, a few fresh dill fronds, or a drizzle of olive oil instantly dresses up your fermented carrots. Don’t underestimate a grate of lemon zest or even a touch of smoked paprika to elevate their look and flavor.
Side Dishes
Fermented carrots play well with almost anything. Pile them next to creamy hummus, a sharp cheddar, or savory roasted meats for a contrast in color and tang. They’re also a perfect snack for lunchboxes and grazing platters alongside olives and nuts.
Creative Ways to Present
Set out your fermented carrots in a tall glass just like cocktail stirrers or chop them into coins for tossing into grain bowls and salads. Add them to burgers, wraps, or blend a few into dressings or relishes for a zippy twist. If you’re feeling fancy, tuck them into rice paper rolls or serve as a colorful topper for avocado toast.
Make Ahead and Storage
Storing Leftovers
Store your fermented carrots in the refrigerator with a tightly sealed lid, making sure the carrots stay submerged in their brine for maximum crunch and preservation. As long as you keep everything submerged and clean, they will age gracefully and even intensify in flavor over time.
Freezing
Freezing is not recommended for fermented carrots, as the process can turn them mushy and compromise that delightful snap. For best results, stick to refrigeration and make smaller batches if you’re worried about using them up quickly.
Reheating
No reheating necessary—fermented carrots are best enjoyed cold or at room temperature. Warming them can diminish their crispness and probiotic benefits, so let them sing as a chilled snack or topping.
FAQs
Can I use baby carrots instead of regular ones?
Yes, you can! Just make sure they’re fresh and firm for optimal crunch. Trim them if needed to fit into your jar, and follow the same fermentation steps.
What if I notice white film on top during fermentation?
A harmless white film known as kahm yeast can sometimes form on the surface. Simply skim it off—it’s not dangerous and doesn’t mean your fermented carrots have spoiled.
How do I know when the carrots are ready?
Begin tasting after about five days. The fermented carrots should be pleasantly sour, crisp, and aromatic. Keep fermenting for an extra day or two if you like a bolder tang.
Is it okay to omit garlic or dill?
Absolutely! The core ferment still works beautifully with just carrots, salt, and water. Garlic and dill are simply flavor bonuses, so feel free to personalize your batch.
Will the carrots lose their crunch?
If submerged and not fermented for too long, the carrots will keep most of their snap. They soften a touch with time but should remain satisfyingly crisp, especially when kept cold after fermentation.
Final Thoughts
Once you taste homemade fermented carrots, it’s hard to imagine your fridge without them. They bring color, crunch, and a bright tangy spirit to every meal—plus they’re so easy to make, you’ll find yourself reaching for a new batch before the jar ever runs low. Give them a try, and discover what a little fermentation magic can do!
Print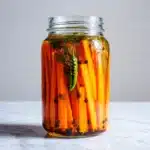
Fermented Carrots Recipe
- Total Time: 15 minutes plus 5-7 days fermentation
- Yield: 1 quart 1x
- Diet: Vegan
Description
Learn how to make delicious fermented carrots at home with this easy recipe. These probiotic-rich snacks are packed with flavor and nutrients.
Ingredients
Carrots:
- 1 pound fresh carrots, peeled and cut into sticks
Brine:
- 2 cups filtered water
- 1 tablespoon sea salt or kosher salt (non-iodized)
Additional:
- 2 garlic cloves, smashed
- 1 teaspoon whole black peppercorns
- 1 teaspoon mustard seeds (optional)
- A few sprigs of fresh dill (optional)
Instructions
- Pack the Jar: Pack the carrot sticks, garlic, peppercorns, mustard seeds, and dill (if using) tightly into a clean quart jar.
- Prepare Brine: Dissolve salt in filtered water to make a brine. Pour the brine over the carrots until submerged.
- Fermentation: Use a weight to keep carrots submerged. Cover with a loose lid or cloth. Ferment at room temperature for 5-7 days, checking daily.
- Storage: Once fermented to taste, seal the jar and refrigerate for up to 2 months.
Notes
- Use filtered or non-chlorinated water for best results.
- Remove any harmless white film that may form during fermentation.
- Prep Time: 15 minutes
- Cook Time: 0 minutes
- Category: Snack, Condiment
- Method: Fermenting
- Cuisine: Various
Nutrition
- Serving Size: 4 sticks
- Calories: 15
- Sugar: 3g
- Sodium: 220mg
- Fat: 0g
- Saturated Fat: 0g
- Unsaturated Fat: 0g
- Trans Fat: 0g
- Carbohydrates: 4g
- Fiber: 1g
- Protein: 0g
- Cholesterol: 0mg
