
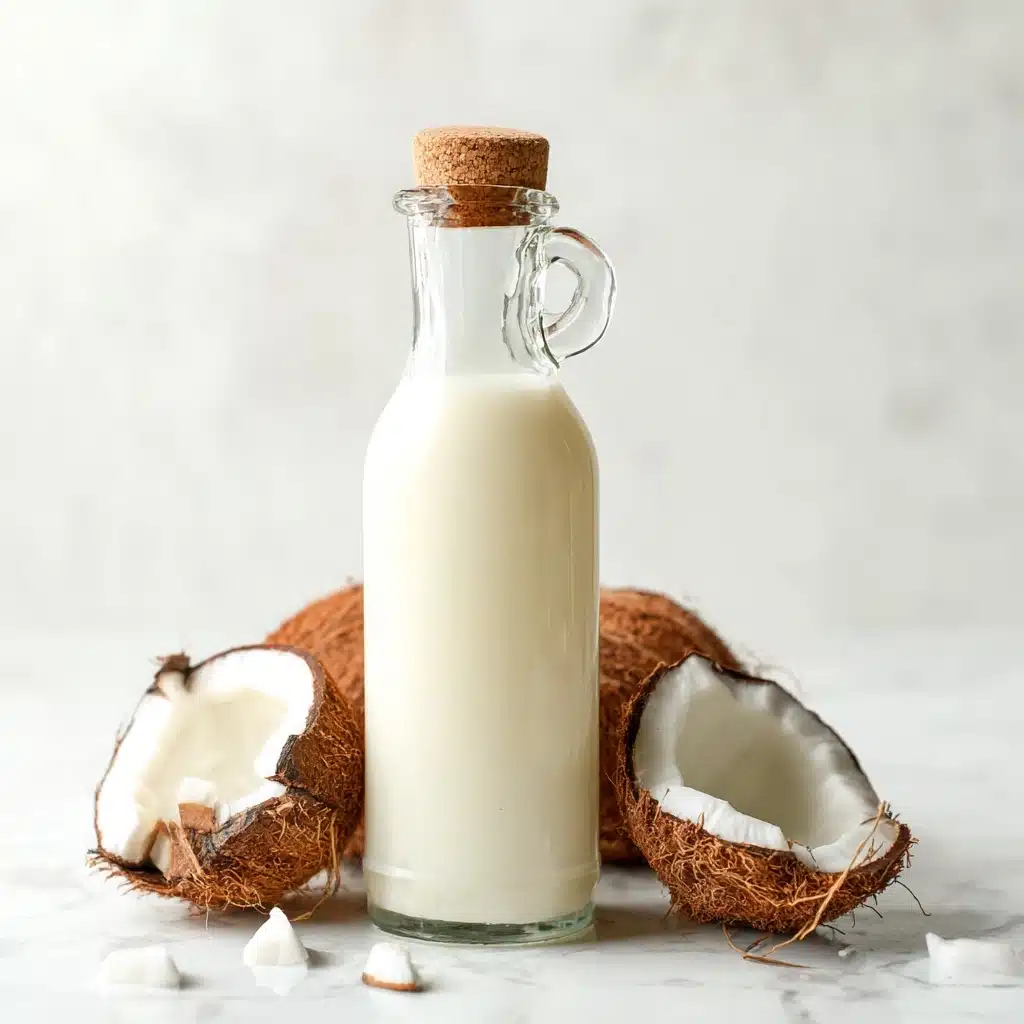
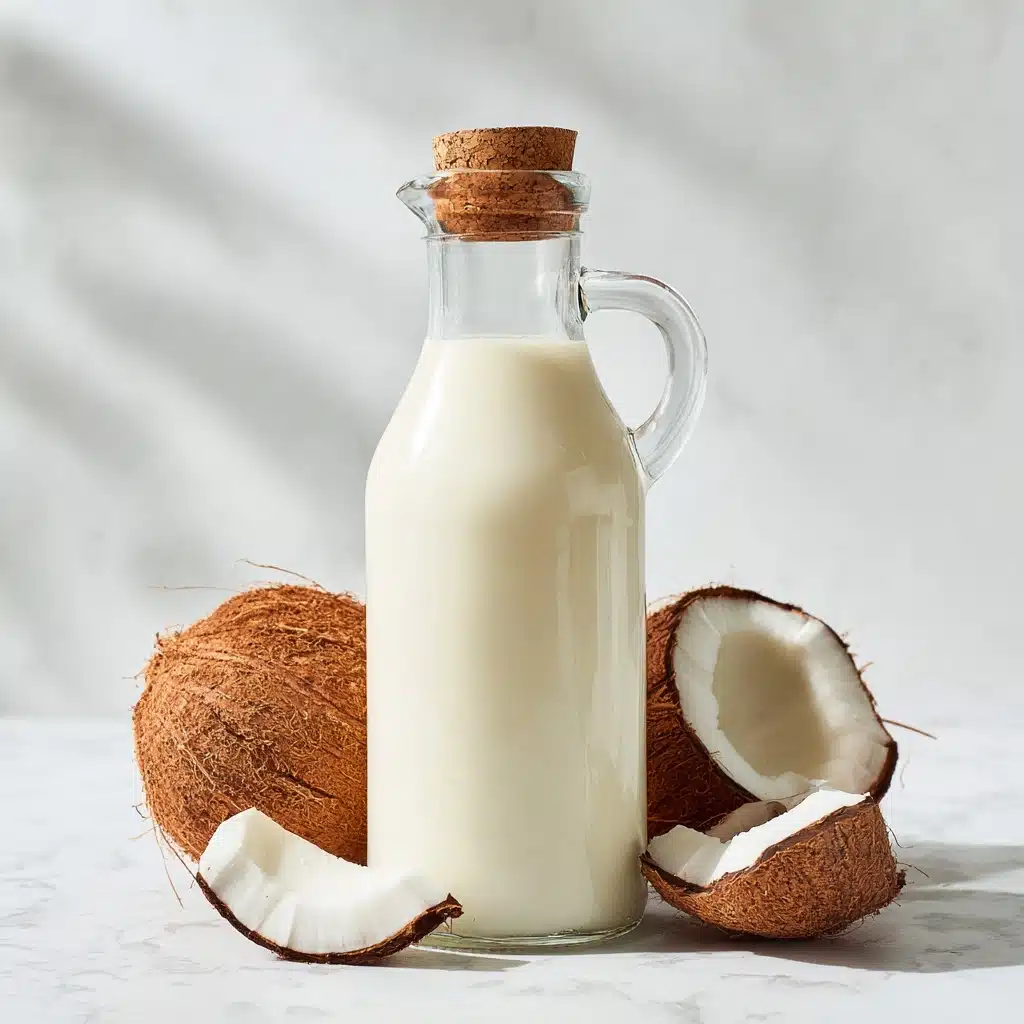
If you’ve ever craved a pure, creamy, and utterly fresh milk alternative, you’ll fall in love with Homemade Coconut Milk. With just a few wholesome ingredients and a simple blend-and-strain process, you’ll create a luscious, dairy-free milk full of natural coconut flavor and no sneaky additives. It’s wonderful in smoothies, coffee, curries, or even poured over a bowl of granola. Once you taste the dreamy richness of Homemade Coconut Milk, you may never reach for the canned or boxed stuff again!
Ingredients You’ll Need
These essential ingredients showcase how easy it is to whip up your own Homemade Coconut Milk. Each one plays a starring role in crafting the signature creamy goodness, clean taste, and subtle sweetness that make this milk so special.
- Unsweetened shredded coconut: Go for the freshest, highest quality you can find—the richer the coconut, the creamier your milk will be.
- Filtered water: Using clean, filtered water ensures your coconut milk tastes light and pure every time.
- Optional: Maple syrup or honey (1-2 teaspoons): Add a hint of natural sweetness if desired, making it perfect for sipping or pouring over cereal.
- Pinch of sea salt: Just a tiny pinch brings out the coconut flavor, balancing sweetness and giving the milk a well-rounded taste.
How to Make Homemade Coconut Milk
Step 1: Blend the Coconut and Water
Start by combining your shredded coconut and filtered water in a high-speed blender. Blast the mixture on high for 1 to 2 minutes, or until it turns thick, creamy, and almost frothy. This blending action is what truly unlocks the coconut’s natural richness and creaminess, so don’t skimp on the blend time!
Step 2: Strain the Mixture
Set a nut milk bag or a fine mesh strainer lined with cheesecloth over a large bowl or pitcher. Carefully pour your blended coconut mixture through the strainer. Take your time squeezing or pressing out as much liquid as possible—you’re extracting every last bit of coconut goodness for smooth, silky Homemade Coconut Milk.
Step 3: Sweeten and Season (Optional)
If you’d like a sweeter coconut milk, now is the perfect moment to stir in a teaspoon or two of maple syrup or honey, and add a small pinch of sea salt. Taste and adjust as you go; it’s easy to tailor your milk to suit your mood or what you’ll be using it for.
Step 4: Bottle and Chill
Pour the strained coconut milk into a clean, sealed jar or bottle. Pop it in the fridge and chill thoroughly. Give it a good shake before each use, as natural separation is totally normal for Homemade Coconut Milk.
How to Serve Homemade Coconut Milk
Garnishes
For an extra touch, sprinkle a little ground cinnamon or a few toasted coconut flakes on top when serving Homemade Coconut Milk by the glass. It not only looks gorgeous but elevates the flavor with subtle warmth and crunch.
Side Dishes
Homemade Coconut Milk is fabulous poured over a bowl of warm oats, blended into smoothies, or served alongside a plate of ripe tropical fruit. It’s a vegan and dairy-free companion to everything from breakfast bowls to curries, making every meal feel like a special occasion.
Creative Ways to Present
Try serving Homemade Coconut Milk in a clear glass bottle or a mason jar with a fun straw for brunch, or freeze it into popsicles with fresh berries and a drizzle of honey. Using it as a base for chia pudding or overnight oats is another show-stopping (and delicious) way to wow your friends or family.
Make Ahead and Storage
Storing Leftovers
After making your Homemade Coconut Milk, keep it refrigerated in a tightly sealed jar or bottle. It usually stays fresh for up to 4 to 5 days. Just remember to shake it well before using, since the cream tends to naturally separate to the top.
Freezing
If you’ve made a large batch, pour the extra Homemade Coconut Milk into an ice cube tray and freeze. Once solid, transfer the cubes to a freezer-safe bag. Pop a few cubes into smoothies or thaw for recipes whenever you need some quick coconut goodness.
Reheating
While Homemade Coconut Milk is generally enjoyed cold, you can gently warm it on the stove over low heat if needed—for instance, to use in curries or hot drinks. Stir often and heat only until just warm, avoiding a boil to preserve its creamy texture.
FAQs
Can I use fresh coconut instead of shredded?
Absolutely! If you have access to fresh coconut meat, simply chop it into chunks and blend it with filtered water following the same recipe. The flavor will be even more vibrant and aromatic.
Why does my Homemade Coconut Milk separate in the fridge?
That’s completely natural. Unlike store-bought versions with emulsifiers, Homemade Coconut Milk will separate into cream and liquid. Just give it a good shake or stir before using—it’s a sign of a pure, wholesome milk!
Is there any way to use the leftover coconut pulp?
Definitely! Spread the strained coconut pulp onto a baking sheet and dry it out at low heat in the oven, then use it in smoothies, baking, or as a topping for yogurt and oatmeal. Nothing goes to waste!
What can I do if my coconut milk tastes too watery?
If you prefer a richer milk, use more shredded coconut or less water when blending. You could also double-blend the strained coconut pulp with a bit less fresh water for a thicker second batch.
Is Homemade Coconut Milk suitable for all diets?
Yes, it’s naturally vegan, dairy-free, gluten-free, and fits most paleo diets. Just skip the sweetener if you’d like it entirely unsweetened or Whole30 compliant.
Final Thoughts
Once you realize how easy, quick, and utterly delicious making Homemade Coconut Milk from scratch can be, you might just wonder why you didn’t try it sooner! There’s something so satisfying about enjoying a glassful you made yourself. Treat yourself to the freshness—and let this recipe become a regular in your kitchen.
Print
Homemade Coconut Milk Recipe
- Total Time: 10 minutes
- Yield: About 4 cups 1x
- Diet: Vegan
Description
Learn how to make creamy and delicious homemade coconut milk with just a few simple ingredients. This dairy-free and vegan alternative is perfect for adding to smoothies, coffee, or using in recipes.
Ingredients
Main Ingredients:
- 2 cups unsweetened shredded coconut
- 4 cups filtered water
Optional for Sweetness:
- 1–2 teaspoons maple syrup or honey
- Pinch of sea salt
Instructions
- Blend Coconut: Add shredded coconut and water to a blender. Blend until creamy and frothy.
- Strain Mixture: Pour the mixture through a nut milk bag or strainer, squeezing out liquid.
- Store: Transfer milk to a jar, refrigerate, and shake well before use.
- Enjoy: Use within 4-5 days for best taste.
Notes
- You can adjust sweetness with more or less maple syrup/honey.
- Leftover coconut pulp can be dried for baking or smoothies.
- Prep Time: 10 minutes
- Cook Time: 0 minutes
- Category: Beverage
- Method: Blending
- Cuisine: Asian, American
Nutrition
- Serving Size: 1 cup
- Calories: 45
- Sugar: 0.5g
- Sodium: 10mg
- Fat: 4.5g
- Saturated Fat: 4g
- Unsaturated Fat: 0.5g
- Trans Fat: 0g
- Carbohydrates: 1.5g
- Fiber: 0.5g
- Protein: 0.5g
- Cholesterol: 0mg

