
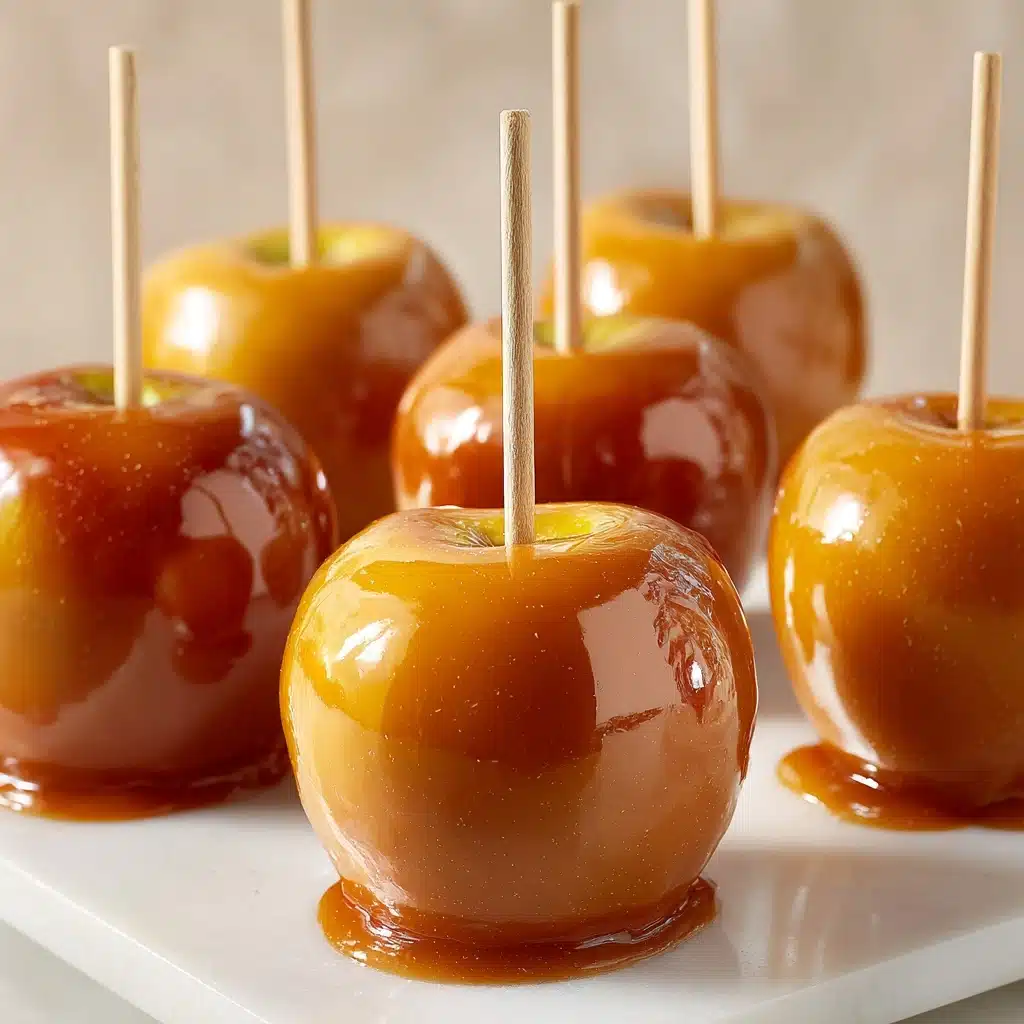
There’s just something magical about a crisp apple slicked with a glistening layer of maple candy—especially when you make these Maple Candied Apples yourself. This recipe transforms simple apples into show-stopping fall treats, marrying the earthy sweetness of pure maple syrup with the tangy bite of fresh fruit. The result is a dessert that feels joyful, nostalgic, and thoroughly irresistible at any autumn gathering. Whether you’re planning a Halloween bash, cozying up by the fireplace, or simply craving a classic comfort sweet, you simply can’t go wrong with Maple Candied Apples.
Ingredients You’ll Need
Let’s talk about the beauty of these easy ingredients! Each one plays a starring role in crafting those perfect Maple Candied Apples—building up flavor, providing the signature shatter, or simply helping everything stick together just right.
- Apples (6 small, such as Gala or Fuji): Pick firm, crisp apples for the best snap and a tart contrast to the sweet coating.
- Pure maple syrup (1 cup): This is the flavor hero—you want real, robust maple syrup for a deep, woodsy sweetness.
- Granulated sugar (1 cup): Helps create that classic glossy shell and balances the syrup’s deep flavor.
- Water (1/4 cup): Just enough to get the sugars melting smoothly and evenly in your pot.
- Cream of tartar (1/4 teaspoon): Keeps the syrup from crystallizing and ensures a glassy finish.
- Sea salt (pinch): Just a bit to sharpen up and highlight all the wonderful flavors in each bite.
- Wooden sticks: These make snagging (and crunching into) your Maple Candied Apples absolutely effortless.
How to Make Maple Candied Apples
Step 1: Prep the Apples
Give your apples a thorough wash and dry—getting rid of any wax or moisture means your candy coating will stick perfectly. Insert wooden sticks into the stem end of each apple, pushing them about halfway into the core so they’re sturdy enough to dip and hold. Line a baking sheet with parchment paper and add a quick swipe of nonstick spray or oil—this helps keep your Maple Candied Apples from sticking as they set.
Step 2: Make the Maple Candy Coating
In a heavy-bottomed saucepan, combine the maple syrup, granulated sugar, water, cream of tartar, and a pinch of sea salt. Stir everything together over medium heat just until the sugar completely dissolves. Once that happens, stop stirring—continuing to stir can lead to unwanted crystals in your candy shell. Clip a candy thermometer to the pot if you have one, and let the mixture boil until it hits 300°F. This is the hard crack stage and gives you that iconic, glassy snap with every bite. This can take 15 to 20 minutes, so keep an eye on the temperature and don’t walk away.
Step 3: Dip the Apples
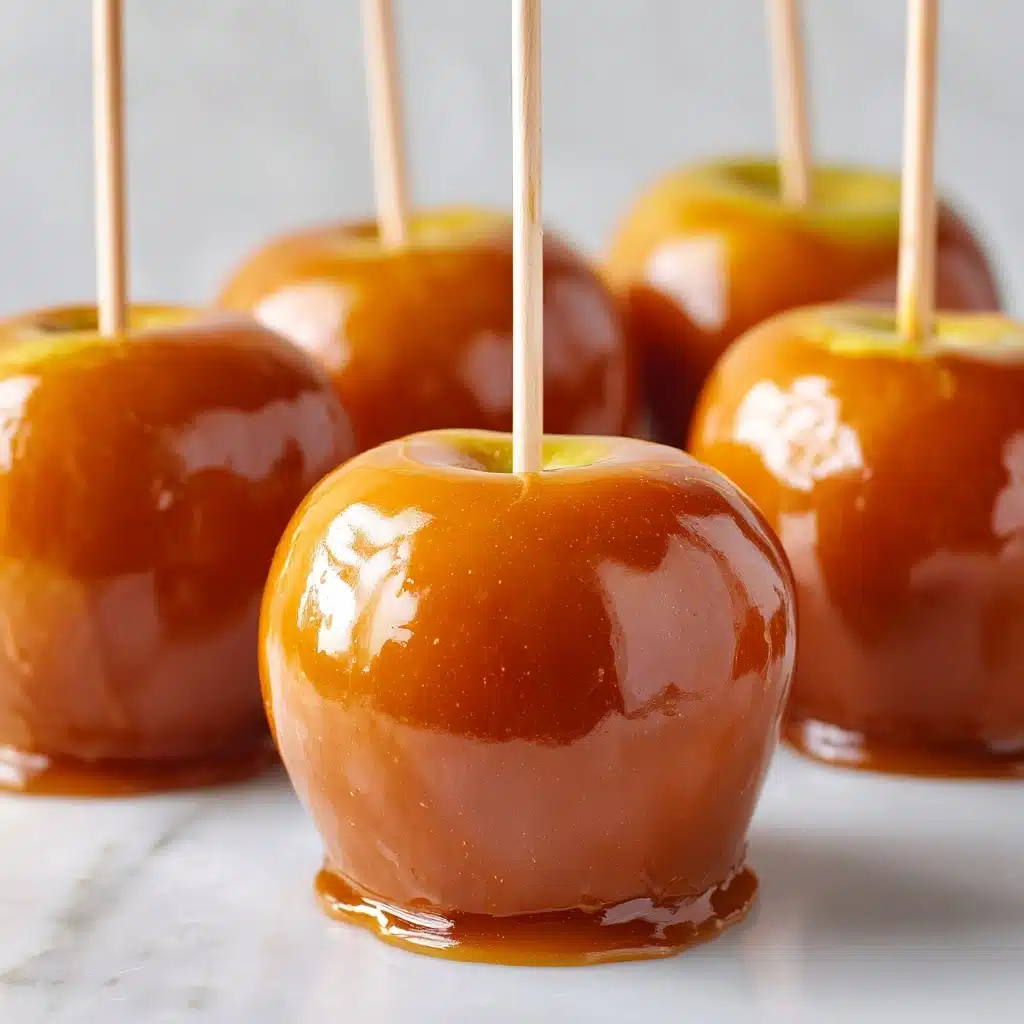
With your candy coating bubbling and hot (careful—the syrup is extremely hot!), work swiftly to dip each apple into the pot. Roll the apple gently to ensure it’s evenly covered, letting any excess syrup drip off. Set the coated apples down on your greased parchment-lined baking sheet. If you want to add a special touch, now’s the time to roll them in your favorite toppings like chopped nuts, sprinkles, or crushed cookies before the coating hardens. Let them cool completely until the candy shell is crisp and set.
Step 4: Serve and Enjoy
Once the maple shells are fully set and firm to the touch, your Maple Candied Apples are ready to enjoy! Serve them fresh on a platter for an eye-catching treat. You’ll love the moment when you bite through that gleaming, maple-flavored shell into the juicy apple inside. It’s the perfect balance of crunch, sweetness, and tart satisfaction.
How to Serve Maple Candied Apples
Garnishes
Don’t hesitate to make these Maple Candied Apples extra fun by rolling the freshly coated apples in a layer of chopped roasted nuts, mini chocolate chips, or festive sprinkles while the candy is still tacky. Flaky sea salt also adds a stunning visual and tasty contrast. Even a light dusting of cinnamon can bring some warm, spicy undertones to the maple flavor.
Side Dishes
For a fall party spread, set your Maple Candied Apples alongside bowls of creamy caramel dip, fresh apple slices, or spiced popcorn for a sweet-savory contrast. If you’d like to play up the autumn theme, warm apple cider or hot chocolate make the perfect companion sips for every crunchy bite.
Creative Ways to Present
Impress your guests by wrapping each apple individually in cellophane with a ribbon for party favors, or display them upright in a block of styrofoam or on a rustic wooden tray. For a themed dessert table, pair your Maple Candied Apples with caramel apples and candied pears, and label each treat with cute handwritten tags or tiny banners.
Make Ahead and Storage
Storing Leftovers
To keep your Maple Candied Apples tasting their best, store them uncovered at cool room temperature for up to two days. You can also place them in the refrigerator, but keep in mind that this might cause the candy coating to become a bit tacky due to moisture.
Freezing
It’s best not to freeze Maple Candied Apples since the candy shell will likely crack and weep as the apples thaw, making things a little messy. If you’re craving a frozen treat, try slicing and dipping apples fresh instead, then enjoying them right away.
Reheating
Maple Candied Apples are best enjoyed at room temperature—no reheating necessary! If yours have been in the fridge and the shells feel a bit sticky, just let them sit out for 20 to 30 minutes before serving so the coating regains its delightful snap.
FAQs
What type Dessert, Snack
Firm, crisp apples like Gala, Fuji, or Granny Smith work wonderfully because their crunch stands up to the thick maple shell and their tartness balances the sweet coating.
Can I make Maple Candied Apples without a candy thermometer?
While a thermometer is the most accurate way to avoid under- or overcooking the syrup, you can test the syrup by dropping a little into cold water; if it hardens immediately into brittle threads (hard crack stage), it’s ready to go.
Why did my candy coating turn cloudy or grainy?
This often means some sugar crystals formed while boiling or stirring. Avoid stirring after the sugar dissolves and make sure your pan and utensil are completely clean before starting.
Is it safe to let kids help with this recipe?
Kids can definitely help with washing and decorating the apples, but since the sugar syrup gets extremely hot, an adult should always handle the cooking and dipping portions for safety.
My coating’s too thick—what went wrong?
If the candy coating is overly thick, it may have cooked a bit too long or cooled down too much before dipping. Work quickly once the syrup reaches hard crack stage, and keep the pot over low heat if dipping takes longer.
Final Thoughts
I can’t recommend making these Maple Candied Apples enough—there’s an irresistible charm in every glossy, maple-kissed bite. Treat yourself, share with friends, or add a playful centerpiece to any fall gathering. However you enjoy them, these apples guarantee smiles and sticky fingers every time. Give Maple Candied Apples a try and let the sweet, crunchy magic take you right back to your favorite autumn memories!
Print
Maple Candied Apples Recipe
- Total Time: 35 minutes
- Yield: 6 candied apples 1x
- Diet: Vegetarian
Description
Indulge in the sweet, autumnal delight of homemade Maple Candied Apples. These delightful treats are a perfect combination of juicy apples coated in a rich maple syrup candy shell. Enjoy them as a delicious dessert or snack that captures the essence of fall in every bite.
Ingredients
Ingredients:
- 6 small apples (such as Gala or Fuji)
- 1 cup pure maple syrup
- 1 cup granulated sugar
- 1/4 cup water
- 1/4 teaspoon cream of tartar
- Pinch of sea salt
- Wooden sticks for handles
Instructions
- Prepare the Apples: Wash and thoroughly dry the apples. Insert wooden sticks into the stem end of each apple.
- Candy Coating: Line a baking sheet with parchment paper and lightly grease it. In a medium heavy-bottomed saucepan, combine the maple syrup, sugar, water, cream of tartar, and salt. Stir over medium heat until the sugar dissolves. Bring to a boil without stirring further and cook until the mixture reaches 300°F (hard crack stage) on a candy thermometer, about 15-20 minutes.
- Dip the Apples: Remove from heat. Working quickly, dip each apple into the hot syrup, turning to coat completely. Let the excess drip off, then place the coated apples onto the prepared baking sheet to cool and harden.
- Serve: Serve the apples once fully set.
Notes
- Be careful when working with hot sugar syrup to avoid burns.
- For extra crunch, roll freshly dipped apples in chopped nuts, sprinkles, or crushed cookies before the coating hardens.
- Prep Time: 15 minutes
- Cook Time: 20 minutes
- Category: Dessert, Snack
- Method: Stovetop
- Cuisine: American
Nutrition
- Serving Size: 1 apple
- Calories: 220
- Sugar: 45g
- Sodium: 30mg
- Fat: 0g
- Saturated Fat: 0g
- Unsaturated Fat: 0g
- Trans Fat: 0g
- Carbohydrates: 55g
- Fiber: 3g
- Protein: 0g
- Cholesterol: 0mg


