
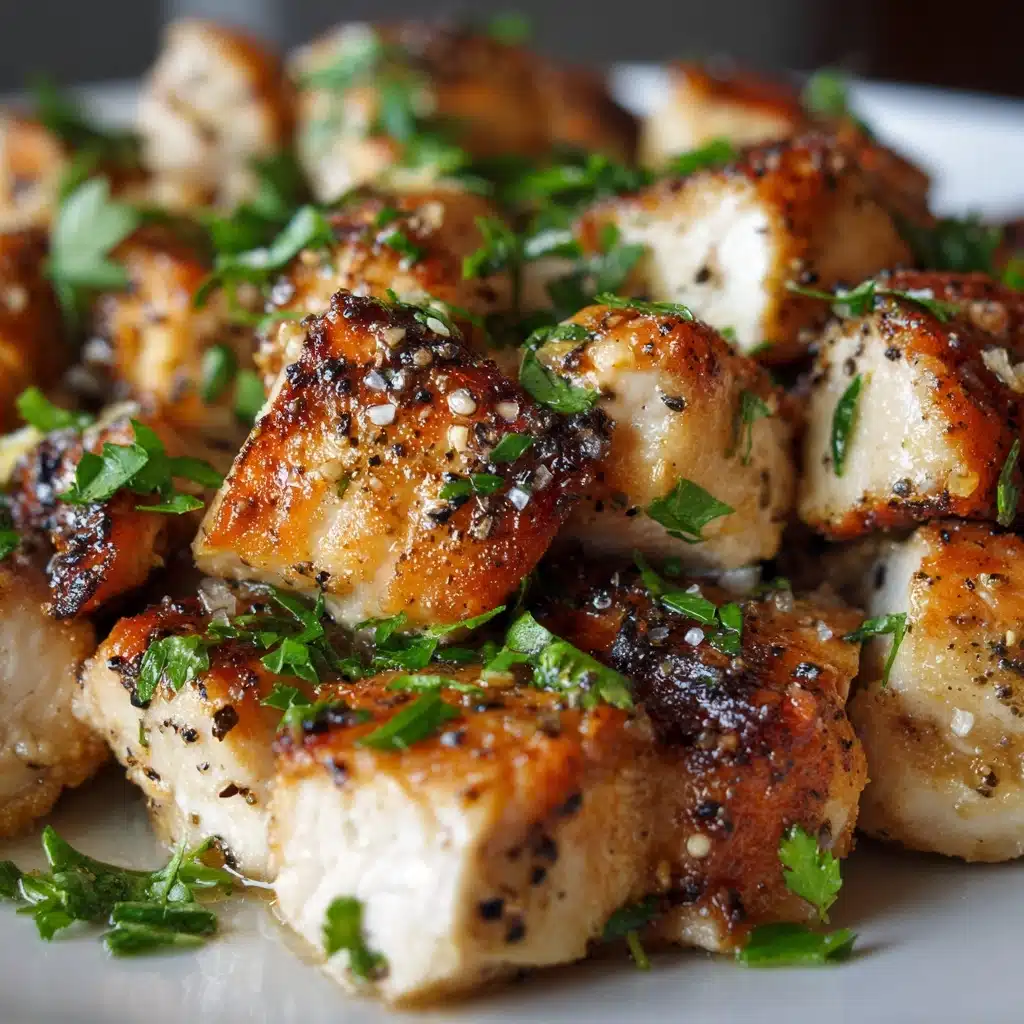
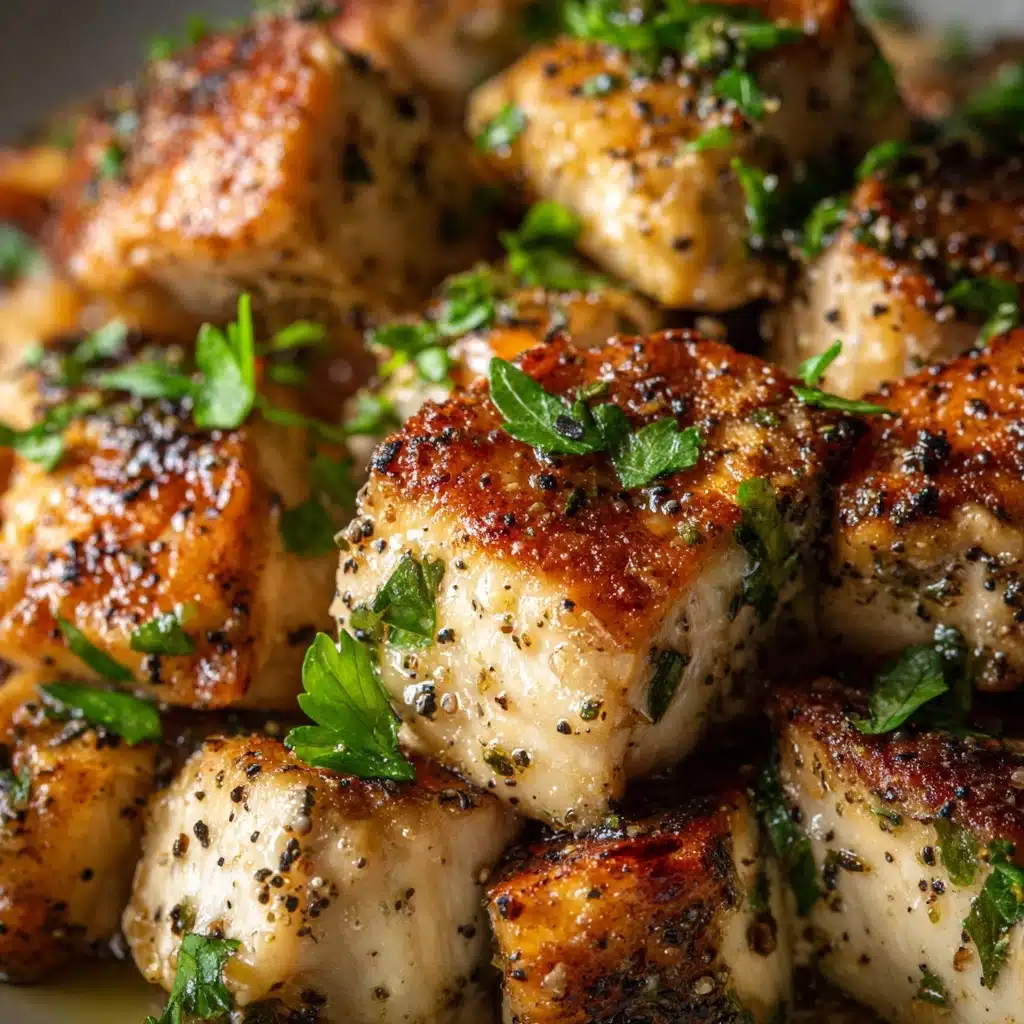
If you’re on the hunt for an irresistibly savory, crowd-winning dinner, Crispy Caesar Chicken Breasts deliver big flavor in a snap. Imagine juicy chicken with a golden, Parmesan-panko crust, a hint of garlic, and all the creamy tang of your favorite Caesar dressing baked right in. This recipe transforms basic pantry staples into an utterly satisfying main course that feels special enough for guests but is easy enough for any weeknight. These Crispy Caesar Chicken Breasts are sure to become your trusty new dinner hero—just wait until you try that first crunchy, cheesy bite!
Ingredients You’ll Need
The beauty of Crispy Caesar Chicken Breasts is how a few simple ingredients, each with a big role, come together for an incredibly flavorful dish. Every component adds either crunch, creaminess, seasoning, or mouthwatering aroma—let’s see what you’ll need!
- Chicken Breasts: Boneless, skinless pieces make for easy prep and cook up juicy and tender in the oven.
- Caesar Dressing: Acts as both the flavor booster and binder for the crunchy coating—use a thick, creamy style for best results.
- Panko Breadcrumbs: Japanese-style breadcrumbs provide a lighter, crispier crunch than regular breadcrumbs.
- Parmesan Cheese: Grated Parmesan adds salty, nutty depth and helps create that cheesy, golden-brown crust.
- Garlic Powder: Infuses the coating with warm, aromatic garlic notes in every bite.
- Black Pepper: Gives just the right hint of bite to balance the richness of the dressing and cheese.
- Olive Oil or Melted Butter: Drizzled on top, it helps the coating bake up extra crisp and golden.
- Chopped Parsley: Fresh, vibrant color and a pop of herbiness that brightens the final dish.
How to Make Crispy Caesar Chicken Breasts
Step 1: Prep Your Oven and Pan
Start by preheating your oven to 400°F (200°C), which is key for that extra-crunchy crust. Line a baking sheet with parchment paper for easy cleanup, or lightly grease it to prevent sticking—either way, you’ll thank yourself later.
Step 2: Even Out the Chicken
For even cooking, place the chicken breasts between two sheets of plastic wrap and gently pound each piece to about ½ inch thickness. This step keeps everything juicy and ensures that lovely coating cooks up perfectly crisp from edge to edge.
Step 3: Brush With Caesar Dressing
Generously brush both sides of each chicken breast with creamy Caesar dressing. Not only does it add rich, tangy flavor, but it also creates the perfect sticky base for your golden crust. Don’t be shy here—the more you use, the more flavor you lock in!
Step 4: Make the Crunchy Coating
In a shallow bowl, combine panko breadcrumbs, grated Parmesan, garlic powder, and black pepper. This savory blend is the secret to that distinctive Crispy Caesar Chicken Breasts texture—cheesy, garlicky, and full of crunch.
Step 5: Coat the Chicken
Press each Caesar-brushed chicken breast firmly into the breadcrumb mixture, making sure to cover all surfaces with that flavorful coating. A light press ensures the crust sticks and crisps evenly in the oven. Lay each piece on your prepared baking sheet, leaving a little room between them.
Step 6: Drizzle and Bake
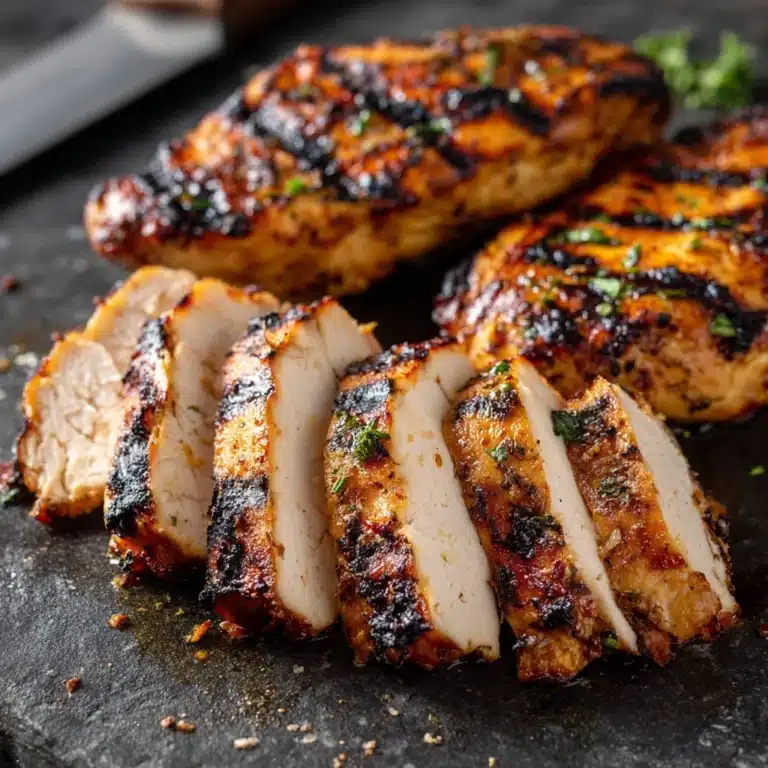
For the pièce de résistance, drizzle each coated chicken breast with a little olive oil or melted butter. This step is truly the magic touch that helps the outside turn deeply golden and satisfyingly crisp. Bake for 25 to 30 minutes, or until the chicken is cooked through (an instant-read thermometer should register 165°F/74°C). Let the chicken rest for 5 minutes before serving, so the juices settle and every slice is perfectly moist.
How to Serve Crispy Caesar Chicken Breasts
Garnishes
Sometimes it’s the final flourish that makes your meal unforgettable! Sprinkle your Crispy Caesar Chicken Breasts with freshly chopped parsley for a punch of color and freshness—if you’re feeling extra fancy, add a few shavings of Parmesan for a restaurant-worthy presentation.
Side Dishes
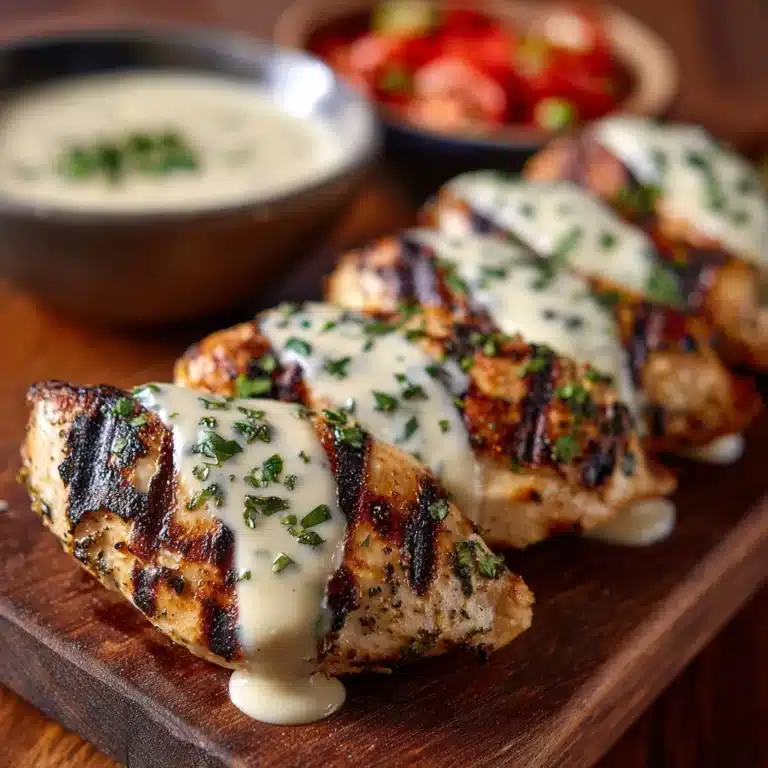
These chicken breasts go beautifully with a crisp green salad tossed in more Caesar dressing, classic roasted potatoes, or even a pile of buttery garlic noodles. Roasted broccoli, asparagus, or a zippy lemony slaw all make excellent, colorful complements for your golden Crispy Caesar Chicken Breasts.
Creative Ways to Present
For something unexpected, slice the chicken diagonally and arrange over a bed of romaine for the ultimate Caesar salad upgrade. Or tuck strips into warm crusty rolls with lettuce, tomato, and a dollop of extra dressing for next-level chicken sandwiches. The crunch and flavor transforms even the simplest meal!
Make Ahead and Storage
Storing Leftovers
Store any leftover Crispy Caesar Chicken Breasts in an airtight container in the refrigerator for up to 3 days. The coating will soften a bit, but the flavor will still be absolutely delicious—these are perfect for quick lunches or a make-ahead dinner win!
Freezing
If you want to freeze, let your chicken cool completely, then wrap each piece tightly in plastic wrap and store in a freezer-safe bag or container for up to 2 months. For best texture, freeze before garnishing with fresh herbs.
Reheating
To bring back that beloved crunch, reheat Crispy Caesar Chicken Breasts in a 375°F (190°C) oven for about 10 to 12 minutes, or until completely heated through. You can also pop them in the air fryer for a few minutes to revive the crispy exterior.
FAQs
Can I use chicken thighs instead of breasts?
Absolutely! Boneless, skinless thighs will give you even juicier results and a bit more flavor—they work great with the same prep and bake time. Just make sure they reach the safe internal temperature of 165°F/74°C.
Will any Caesar dressing work?
For best results, choose a thick and creamy Caesar dressing, which sticks better and creates a more flavorful crust. Bottled dressings are convenient, but homemade works wonderfully too if you have a favorite recipe!
What’s the best way to pound the chicken evenly?
Place the chicken between sheets of plastic wrap or parchment, then use a meat mallet or rolling pin to gently pound each piece to about ½ inch thick. This helps the chicken cook evenly and gives you the best crispy coating.
Can I make these Crispy Caesar Chicken Breasts gluten free?
Yes! Just swap out the panko breadcrumbs for your favorite gluten-free alternative, or even try crushed gluten-free crackers for a similar texture and crunch.
How do I know when the chicken is fully cooked?
The safest way is to use an instant-read thermometer—when the thickest part reaches 165°F/74°C, you’re good to go! The crust should be golden and the juices inside should run clear.
Final Thoughts
You are truly in for a treat with Crispy Caesar Chicken Breasts—full of bold flavors, comforting textures, and pure weeknight magic! Gather your simple ingredients and give this a whirl; it’s a dish that wins hearts and satisfies appetites every single time. Enjoy every crunchy, cheesy, savory bite!
Print
Crispy Caesar Chicken Breasts Recipe
- Total Time: 45 minutes
- Yield: 4 servings 1x
- Diet: Non-Vegetarian
Description
These Crispy Caesar Chicken Breasts are a delightful twist on classic baked chicken, featuring a crunchy Parmesan crust and zesty Caesar dressing. Perfect for a quick and tasty weeknight dinner!
Ingredients
Chicken:
- 4 boneless, skinless chicken breasts
Breadcrumb Mixture:
- ½ cup Caesar dressing
- 1 cup panko breadcrumbs
- ½ cup grated Parmesan cheese
- 1 teaspoon garlic powder
- ½ teaspoon black pepper
Additional:
- 2 tablespoons olive oil or melted butter
- Chopped parsley for garnish
Instructions
- Preheat and Prepare: Preheat the oven to 400°F (200°C) and line a baking sheet with parchment paper or grease it lightly.
- Pound the Chicken: Place the chicken breasts between plastic wrap and pound to ½-inch thickness.
- Coat with Dressing: Brush each chicken breast with Caesar dressing on both sides.
- Prepare Breadcrumb Mixture: In a bowl, mix panko, Parmesan, garlic powder, and pepper.
- Coat Chicken: Press each chicken breast into the breadcrumb mixture, coating both sides.
- Bake: Transfer coated chicken to the baking sheet, drizzle with oil or butter, and bake for 25–30 minutes until golden and cooked through.
- Rest and Serve: Let the chicken rest for 5 minutes before serving. Garnish with chopped parsley.
Notes
- Use creamy Caesar dressing for best results.
- Try crushed seasoned croutons for extra crunch.
- Leftover chicken is great in salads or sandwiches.
- Prep Time: 15 minutes
- Cook Time: 30 minutes
- Category: Main Course
- Method: Baking
- Cuisine: American
Nutrition
- Serving Size: 1 chicken breast
- Calories: 410
- Sugar: 1g
- Sodium: 520mg
- Fat: 22g
- Saturated Fat: 5g
- Unsaturated Fat: 15g
- Trans Fat: 0g
- Carbohydrates: 14g
- Fiber: 1g
- Protein: 42g
- Cholesterol: 115mg


