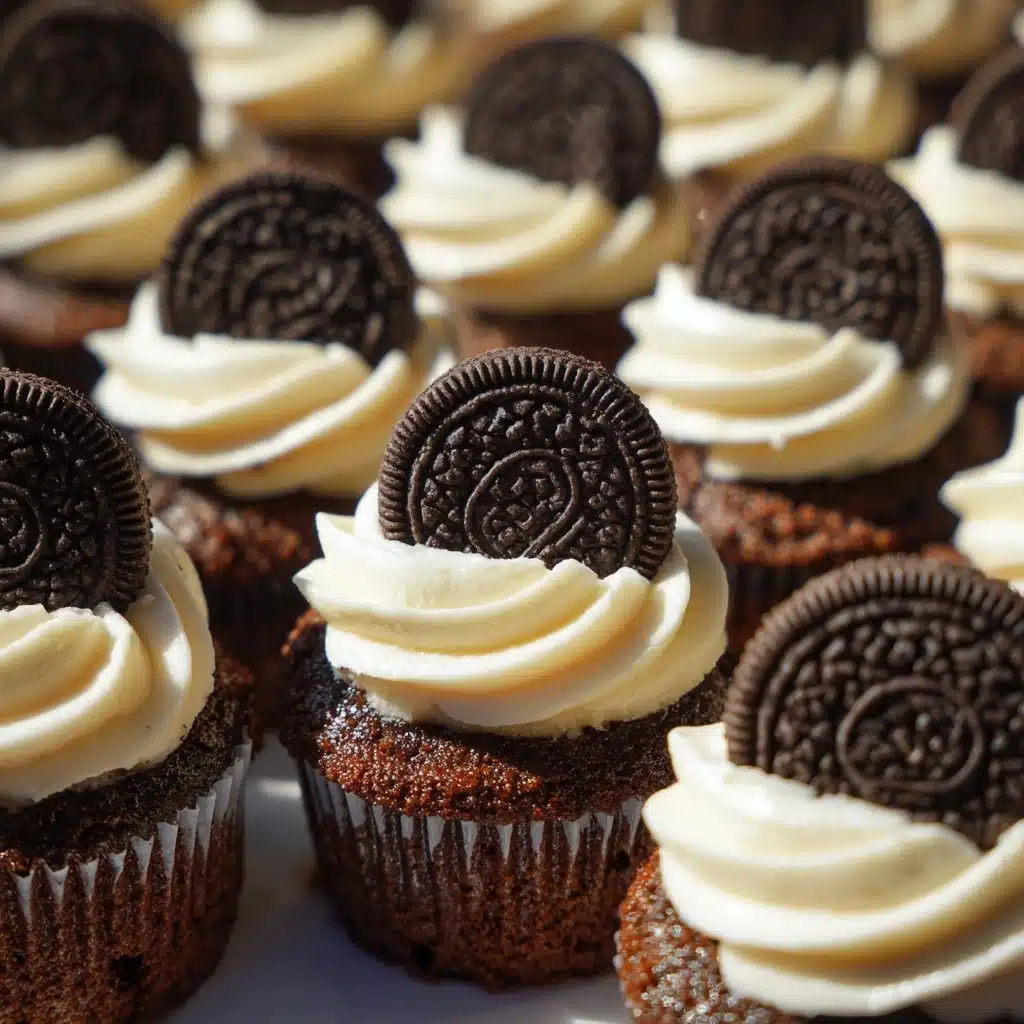
If you’re searching for a dessert that’s a guaranteed crowd-pleaser, it’s time to meet Cookies and Cream Dessert Cups! Creamy layers of velvety vanilla pudding, fluffy clouds of homemade whipped cream, and rich chocolate cookie crumbs come together for a treat that’s as fun to make as it is to eat. Whether you’re sharing these at a party or enjoying one as a weeknight pick-me-up, each cup captures the nostalgic charm of classic cookies and cream ice cream—only in a portable, no-fuss package that will have everyone asking for seconds. Trust me, your sweet tooth is about to fall in love.
Ingredients You’ll Need
Pulling together these Cookies and Cream Dessert Cups is all about simple staples that work together in beautiful, delicious harmony. Each ingredient adds texture, flavor, or richness—you probably have most of them waiting in your pantry already!
- Chocolate sandwich cookies (18 cookies, crushed): The star of the show, giving crunchy layers and that signature cookies and cream taste.
- Unsalted butter (2 tablespoons, melted): Binds the cookie base and adds a touch of richness that melts in your mouth.
- Instant vanilla pudding mix (1 package, 3.4 oz): Lends creamy, dreamy flavor and helps the dessert set up perfectly.
- Cold milk (2 cups): Activates the pudding mix for that thick, smooth texture.
- Heavy whipping cream (1 cup): Whips up into a billowy topping that takes the filling over the top.
- Powdered sugar (2 tablespoons): Sweetens and stabilizes the whipped cream beautifully.
- Vanilla extract (½ teaspoon): Rounds out the flavors and adds warmth to the creamy layers.
- Crushed chocolate sandwich cookies (½ cup, for folding into filling): Extra cookies mixed into the filling for double the crunch and flavor.
- Extra crushed cookies for topping: For garnish and irresistible visual appeal—and a little extra cookie crunch with every bite.
How to Make Cookies and Cream Dessert Cups
Step 1: Make the Cookie Crust
Start by combining your crushed chocolate sandwich cookies with the melted butter. Stir them together in a bowl until everything is evenly moistened and the mixture takes on the look of wet sand. This buttery, chocolatey blend is going to form the perfect crunchy base for our pudding cups.
Step 2: Assemble the Crust Layer
Divide the cookie mixture among your dessert cups or small jars—about 2 tablespoons per cup. Use the back of a spoon to gently press the crumbs into a firm layer at the bottom. Don’t worry about getting it perfectly flat; a little rustic charm just adds character!
Step 3: Whisk the Pudding
Next, pour the instant vanilla pudding mix into a clean bowl and whisk in the cold milk. Keep whisking for about 2 minutes, until the pudding thickens and starts looking gorgeous and glossy. This step is all about building that luscious, creamy center for our Cookies and Cream Dessert Cups.
Step 4: Whip the Cream
In a separate bowl, add your heavy whipping cream, powdered sugar, and vanilla extract. Using a hand mixer or stand mixer, beat everything together until you see stiff peaks and the whipped cream holds its shape. This homemade whipped cream is what sets these dessert cups apart from anything store-bought—totally worth the few extra minutes!
Step 5: Fold and Combine
Gently fold the freshly whipped cream into the pudding mixture. Don’t rush this step—use a spatula and carefully mix until you have a light, airy, smooth filling. Then fold in half a cup of those extra crushed cookies for even more texture and classic cookies and cream flavor throughout every spoonful.
Step 6: Layer and Chill
Spoon or pipe the creamy filling right over the cookie crusts in your dessert cups. Top each cup with a generous sprinkle of more crushed cookies for that final irresistible finish. Chill the assembled desserts in the fridge for at least an hour—this gives the flavors a chance to marry and the filling to set perfectly.
How to Serve Cookies and Cream Dessert Cups

Garnishes
Dress up your Cookies and Cream Dessert Cups with a flourish! A swirl of whipped cream, a sprinkle of extra cookie crumbs, or even a mini cookie on top turns each cup into a mini celebration. For a pop of color, try adding a few chocolate sprinkles or a raspberry.
Side Dishes
Since these cups are quite rich, pair them with something light and fresh. Sliced strawberries, a bowl of mixed berries, or a cup of hot coffee or tea can balance out the sweetness and create a well-rounded dessert spread.
Creative Ways to Present
Let your creativity shine with presentation! Layer the Cookies and Cream Dessert Cups in mason jars for a rustic picnic vibe, use shot glasses for a chic party dessert, or assemble them in a trifle dish for a family-style treat. Kids will love decorating their own cups with extra toppings, too.
Make Ahead and Storage
Storing Leftovers
Any leftover Cookies and Cream Dessert Cups can be covered tightly and stored in the refrigerator for up to two days. The crust will soften slightly, but the flavor keeps getting better!
Freezing
If you want to freeze these dessert cups, place them in airtight containers and freeze for up to a month. Thaw overnight in the refrigerator before enjoying. The texture may change a bit, but the flavor is all there—and the cold version is super refreshing on a hot day.
Reheating
These dessert cups are best enjoyed cold, so no reheating is necessary. Simply grab a spoon and dive in straight from the fridge. If serving from the freezer, give them a bit of time to soften up before eating.
FAQs
Can I use store-bought whipped topping instead of homemade whipped cream?
Absolutely! For a timesaver, store-bought whipped topping works perfectly in these Cookies and Cream Dessert Cups. The texture is a bit lighter, but you’ll still get that delicious creamy result.
What if I don’t have instant vanilla pudding mix?
No worries! You can use instant chocolate pudding for a double chocolate twist, or even make your own pudding from scratch. Just be sure it’s thickened before folding in the whipped cream.
Are these dessert cups gluten-free?
If you use gluten-free chocolate sandwich cookies and check your pudding mix for any wheat ingredients, you can easily make gluten-free Cookies and Cream Dessert Cups for everyone to enjoy.
How far ahead can I make these for a party?
You can prepare these up to a day in advance and refrigerate them, covered. This actually allows the flavors to meld beautifully and makes party day a little easier!
Can I make these dessert cups in a larger dish instead of individual servings?
Of course! Layer everything in a trifle dish or an 8×8 pan to scoop out servings family-style. The layers and flavors come together just as deliciously, and it’s perfect for potlucks and holidays.
Final Thoughts
If you want to bring pure joy to your next gathering or just treat yourself, you can’t go wrong with Cookies and Cream Dessert Cups. Grab your spoon, dive in, and discover why these little desserts are destined to become a favorite in your kitchen. Give this recipe a try and let the nostalgia and deliciousness sweep you away!
Print
Cookies and Cream Dessert Cups Recipe
- Total Time: 20 minutes (plus chilling)
- Yield: 6 dessert cups 1x
- Diet: Vegetarian
Description
Indulge in these delightful Cookies and Cream Dessert Cups, featuring a luscious combination of vanilla pudding, whipped cream, and crushed cookies in a convenient single-serve format.
Ingredients
For the Crust:
- 18 chocolate sandwich cookies (crushed)
- 2 tablespoons unsalted butter (melted)
For the Filling:
- 1 package (3.4 oz) instant vanilla pudding mix
- 2 cups cold milk
- 1 cup heavy whipping cream
- 2 tablespoons powdered sugar
- ½ teaspoon vanilla extract
- ½ cup crushed chocolate sandwich cookies (for folding into filling)
- Extra crushed cookies for topping
Instructions
- Prepare the Crust: Combine crushed cookies with melted butter. Press mixture into the bottom of dessert cups.
- Make the Filling: Whisk pudding mix with cold milk. Beat cream, sugar, and vanilla until stiff. Fold cream into pudding and add crushed cookies.
- Assemble: Spoon or pipe filling over crusts. Top with crushed cookies. Chill before serving.
Notes
- Can be made a day ahead and refrigerated.
- You can use frozen whipped topping for a quicker version.
- Prep Time: 20 minutes
- Cook Time: 0 minutes
- Category: Dessert
- Method: No-Bake
- Cuisine: American
Nutrition
- Serving Size: 1 cup
- Calories: 340
- Sugar: 24g
- Sodium: 280mg
- Fat: 20g
- Saturated Fat: 11g
- Unsaturated Fat: 7g
- Trans Fat: 0g
- Carbohydrates: 35g
- Fiber: 1g
- Protein: 4g
- Cholesterol: 45mg


