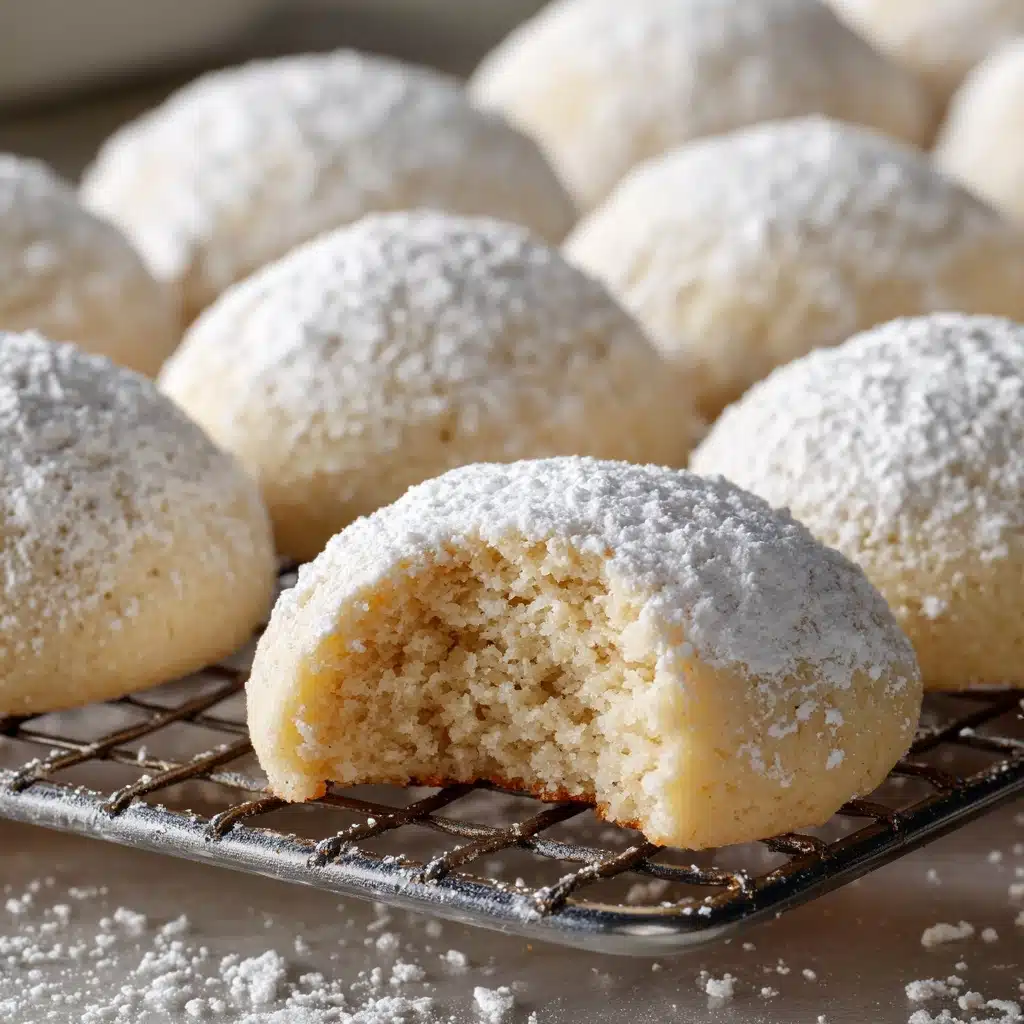
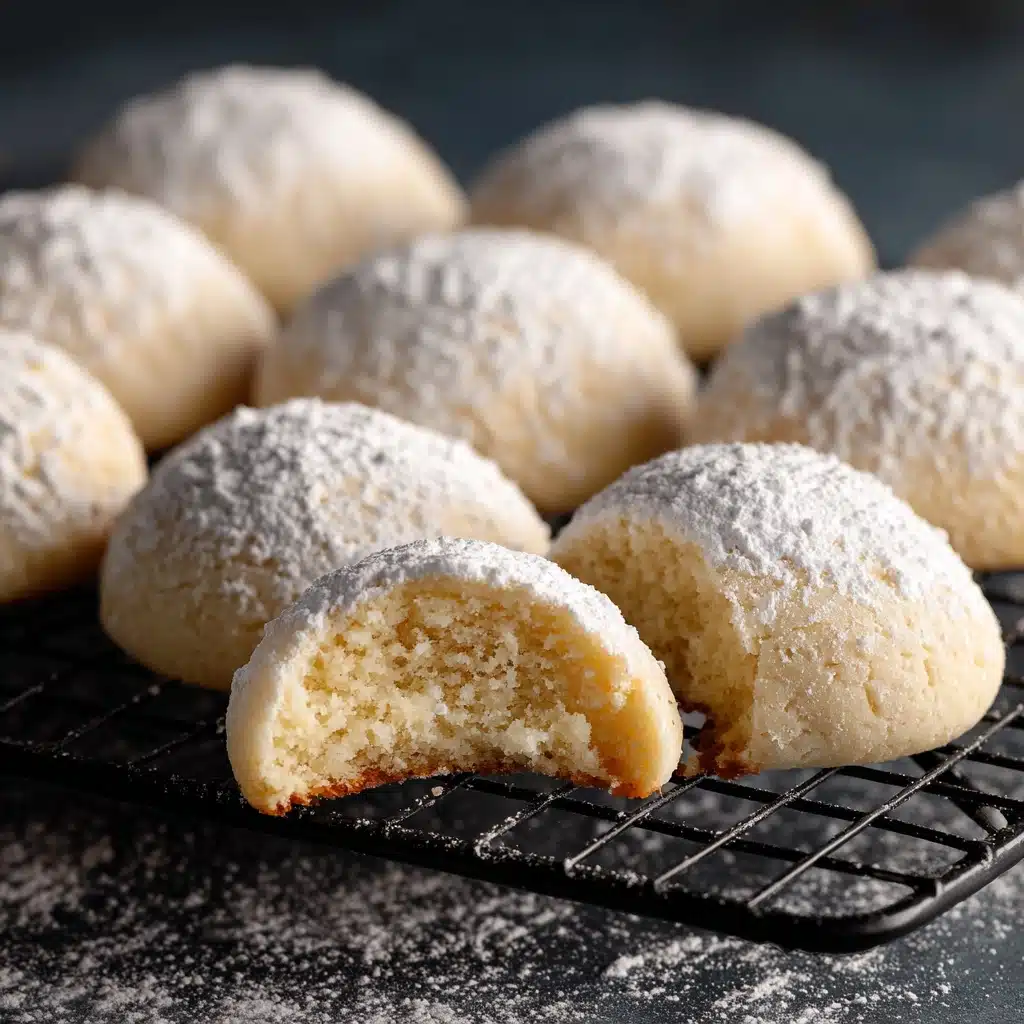
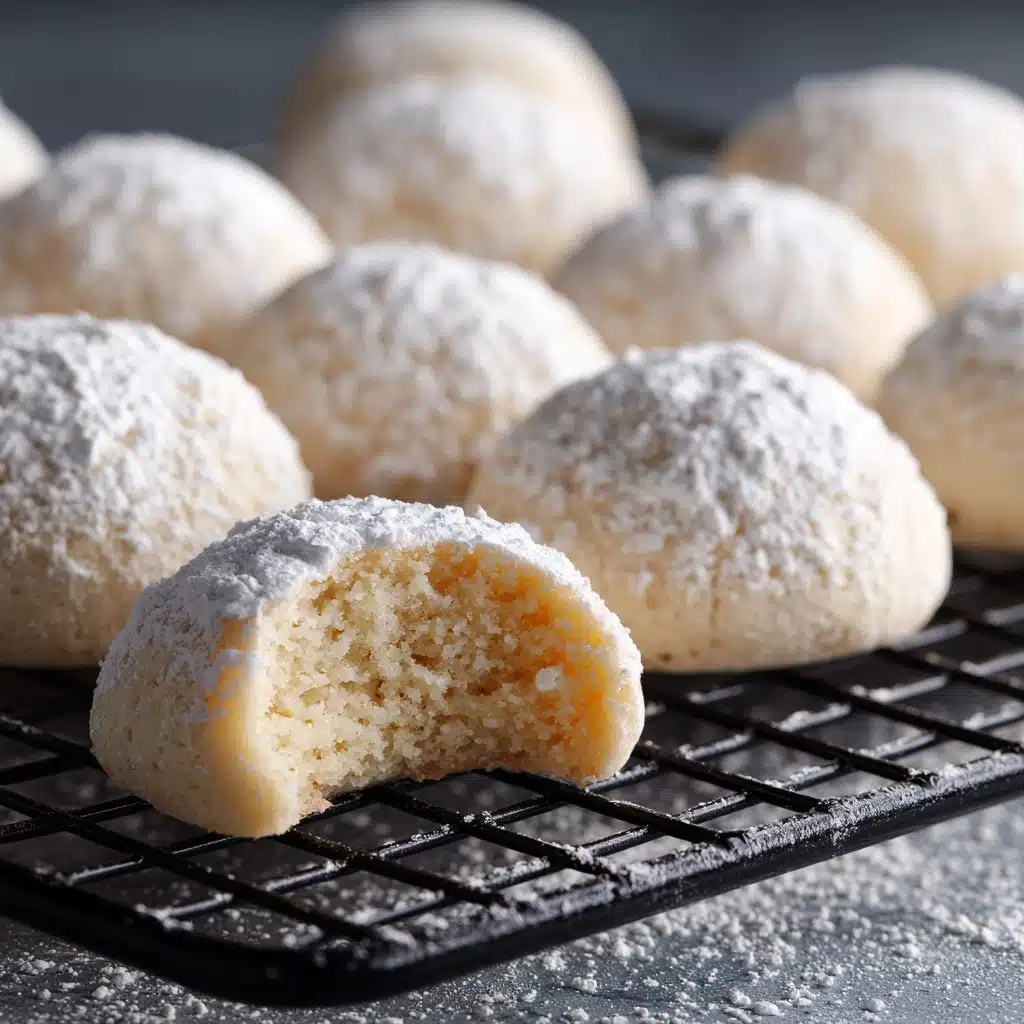
There’s something beautifully nostalgic about Milk Snowball Cookies. With their soft, buttery crumb and a double layer of snowy powdered sugar, these cookies melt in your mouth and bring the kind of gentle sweetness that reminds you of cozy winter days and family gatherings. Not only are they incredibly simple to prepare, but that hint of milk powder and touch of vanilla also put a delightful spin on the classic snowball cookie, turning an everyday treat into something worthy of any occasion.
Ingredients You’ll Need
Every ingredient plays an essential role in creating Milk Snowball Cookies — no fussy extras, just pantry staples working in delicious harmony. The result is a cookie that’s tender, milky, and delicately sweet, with each element contributing its own touch of magic.
- Unsalted butter, softened: Ensures a tender crumb and rich flavor; quality butter makes all the difference here.
- Powdered sugar (plus more for coating): Dissolves smoothly into the dough while adding a snowy finish after baking.
- All-purpose flour: Gives structure without making the cookies heavy — you’ll want just the right balance for that melt-in-your-mouth quality.
- Dry milk powder: Adds a milky depth and impossible-to-pin-down tenderness to every bite.
- Salt: Just a touch to bring out all the flavors and keep the sweetness balanced.
- Vanilla extract: Rounds everything off with that comforting aromatic note we all crave in homemade cookies.
- Finely chopped pecans or walnuts (optional): Adds delightful crunch and a light nutty flavor, though you can easily leave them out for a nut-free batch.
How to Make Milk Snowball Cookies
Step 1: Prepare the Oven and Baking Sheet
Start by preheating your oven to 350°F (175°C). Line a baking sheet with parchment paper so the cookies bake evenly and don’t stick. This small step saves cleanup time and helps create those perfectly pale, tender bottoms that Milk Snowball Cookies are known for.
Step 2: Cream the Butter and Sugar
In a large mixing bowl, combine softened unsalted butter and half a cup of powdered sugar. Beat them together until the mixture becomes airy and light — this will give your snowballs their melt-in-your-mouth texture. Add vanilla extract and blend until combined, setting the stage with sweet, creamy notes.
Step 3: Combine Dry Ingredients
In a separate bowl, whisk together the flour, dry milk powder, and salt. Mixing these dry ingredients first ensures even distribution, so every cookie tastes perfectly balanced and the texture stays consistently soft. This is where the magic of dry milk powder begins to shine.
Step 4: Form the Dough
Gradually add the dry ingredients to your butter mixture, stirring gently until a soft, pillowy dough forms. If you’re feeling nutty, fold in the finely chopped pecans or walnuts now. The dough should be smooth and hold its shape easily when rolled into a ball.
Step 5: Shape and Bake
Scoop out tablespoon-sized portions of dough and gently roll them into balls with your hands. Place them on the prepared baking sheet, leaving about an inch between each cookie for gentle spreading. Bake for 12 to 15 minutes — just until the bottoms are barely golden and the tops stay snowy white. Resist the urge to overbake for that classic tender snowball texture.
Step 6: Sugar-Coat for the Snowy Finish
Once the cookies come out of the oven, let them cool for about five minutes — they should still be warm but not hot. Carefully roll each cookie in additional powdered sugar. When they’ve fully cooled, give them one more roll in powdered sugar for that beautiful, frosted snowball look and irresistible texture.
How to Serve Milk Snowball Cookies
Garnishes
A second dusting of powdered sugar just before serving creates a dreamy, snowy effect. For a festive touch, consider a light sprinkling of edible glitter or a few finely grated curls of white chocolate over the top. This little extra sparkle makes Milk Snowball Cookies irresistible for holidays and special gatherings.
Side Dishes
Milk Snowball Cookies are perfect alongside a warm mug of hot cocoa, creamy tea lattes, or an iced glass of milk — they’re made to complement anything comforting and cozy. For a dessert platter, pair them with fresh berries or a bowl of fruit salad to balance their sweetness with something bright and juicy.
Creative Ways to Present
Try stacking Milk Snowball Cookies in a glass jar tied with a ribbon for an adorable edible gift. For parties, arrange them on a tiered cake stand with fresh holly or winter greens, or tuck them into pretty paper cups like tiny snowdrifts for guests to grab and enjoy. Their charming size and powdered sugar coating make them a centerpiece all on their own.
Make Ahead and Storage
Storing Leftovers
To keep your Milk Snowball Cookies melt-in-your-mouth fresh, pop them into an airtight container once they’ve cooled completely. Store them at room temperature and they’ll stay delicious for up to a week without losing that soft, buttery bite.
Freezing
Milk Snowball Cookies freeze beautifully. Arrange fully cooled (and sugar-coated) cookies in a single layer on a tray, freeze until solid, then transfer them to a zip-top freezer bag or airtight container. They can be stored in the freezer for up to 2 months. When you’re ready to serve, thaw at room temperature and, if needed, roll them in a fresh shower of powdered sugar for that classic finish.
Reheating
If you’d like to gently refresh your cookies, warm them in a low oven (about 275°F/135°C) for just 3-5 minutes. Let cool slightly and re-roll in powdered sugar as desired. This little trick brings back that blissful softness while keeping the signature Milk Snowball Cookies look intact.
FAQs
Can I leave out the nuts for an allergy-friendly version?
Absolutely! Milk Snowball Cookies taste just as dreamy without nuts. Simply skip that ingredient and proceed as directed — you’ll still get that irresistibly soft, milky texture everyone loves.
Why use dry milk powder in this recipe?
The dry milk powder is a secret weapon! It amps up the milky flavor and creates a super tender, almost silky crumb. Don’t skip it if you want to experience true Milk Snowball Cookie bliss.
Can I make the dough ahead of time?
Yes, you can! Prepare the dough, cover tightly, and refrigerate for up to 2 days before baking. Let it come to room temperature for easy rolling whenever cookie cravings strike.
What’s the best way to get the perfect snowy sugar coating?
Roll the cookies in powdered sugar while they’re still warm, then again once completely cool. This double-coating seals in flavor and gives your Milk Snowball Cookies that classic, snow-kissed look and texture.
Do these cookies spread much while baking?
Nope, Milk Snowball Cookies hold their lovely round shape. Be sure to roll the dough firmly into balls for best results, and space them about an inch apart on the tray for air circulation.
Final Thoughts
These Milk Snowball Cookies are a hug in cookie form — soft, buttery, and sweet with just a hint of nostalgia in every bite. If you’re searching for the perfect treat to share with family, bring to a gathering, or simply enjoy with your afternoon coffee, give this recipe a try. They’re sure to melt their way right into your regular cookie rotation!
Print
Milk Snowball Cookies Recipe
- Total Time: 30 minutes
- Yield: 24 cookies 1x
- Diet: Vegetarian
Description
These Milk Snowball Cookies are a delightful treat with a melt-in-your-mouth texture. Coated in powdered sugar, these cookies are perfect for holiday gatherings or any time you crave a sweet, buttery confection.
Ingredients
Dough:
- 1 cup unsalted butter, softened
- 1/2 cup powdered sugar (plus more for coating)
- 2 cups all-purpose flour
- 1/4 cup dry milk powder
- 1/2 teaspoon salt
- 1 teaspoon vanilla extract
- 1/2 cup finely chopped pecans or walnuts (optional)
Instructions
- Preheat the oven and prepare baking sheet: Preheat the oven to 350°F (175°C) and line a baking sheet with parchment paper.
- Cream butter and sugar: In a large bowl, cream the softened butter and 1/2 cup powdered sugar until light and fluffy. Mix in the vanilla extract.
- Combine dry ingredients: In a separate bowl, whisk together the flour, dry milk powder, and salt. Gradually add the dry ingredients to the butter mixture, stirring until a soft dough forms.
- Add nuts and shape dough: Fold in the chopped nuts if using. Scoop out tablespoon-sized portions and roll them into balls.
- Bake the cookies: Place the dough balls on the prepared baking sheet and bake for 12 to 15 minutes until lightly golden.
- Coat with powdered sugar: Let the cookies cool slightly, then roll them in powdered sugar while warm. Once cooled, roll them again for a snowy finish.
Notes
- For a nut-free version, omit the nuts.
- Dry milk powder enhances the milky flavor and texture.
- Store in an airtight container for up to 1 week.
- Prep Time: 15 minutes
- Cook Time: 15 minutes
- Category: Dessert
- Method: Baking
- Cuisine: American
Nutrition
- Serving Size: 1 cookie
- Calories: 110
- Sugar: 4g
- Sodium: 50mg
- Fat: 8g
- Saturated Fat: 5g
- Unsaturated Fat: 2g
- Trans Fat: 0g
- Carbohydrates: 10g
- Fiber: 0g
- Protein: 1g
- Cholesterol: 20mg


