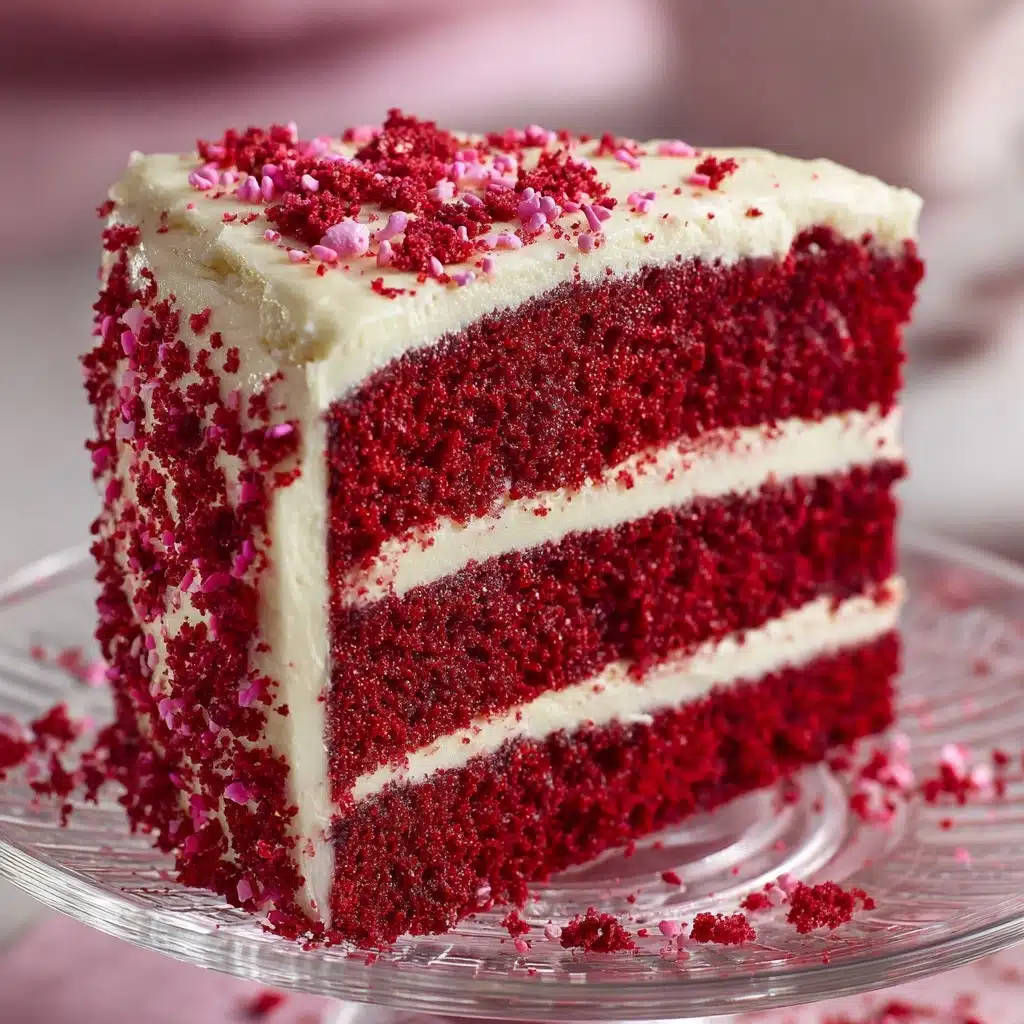
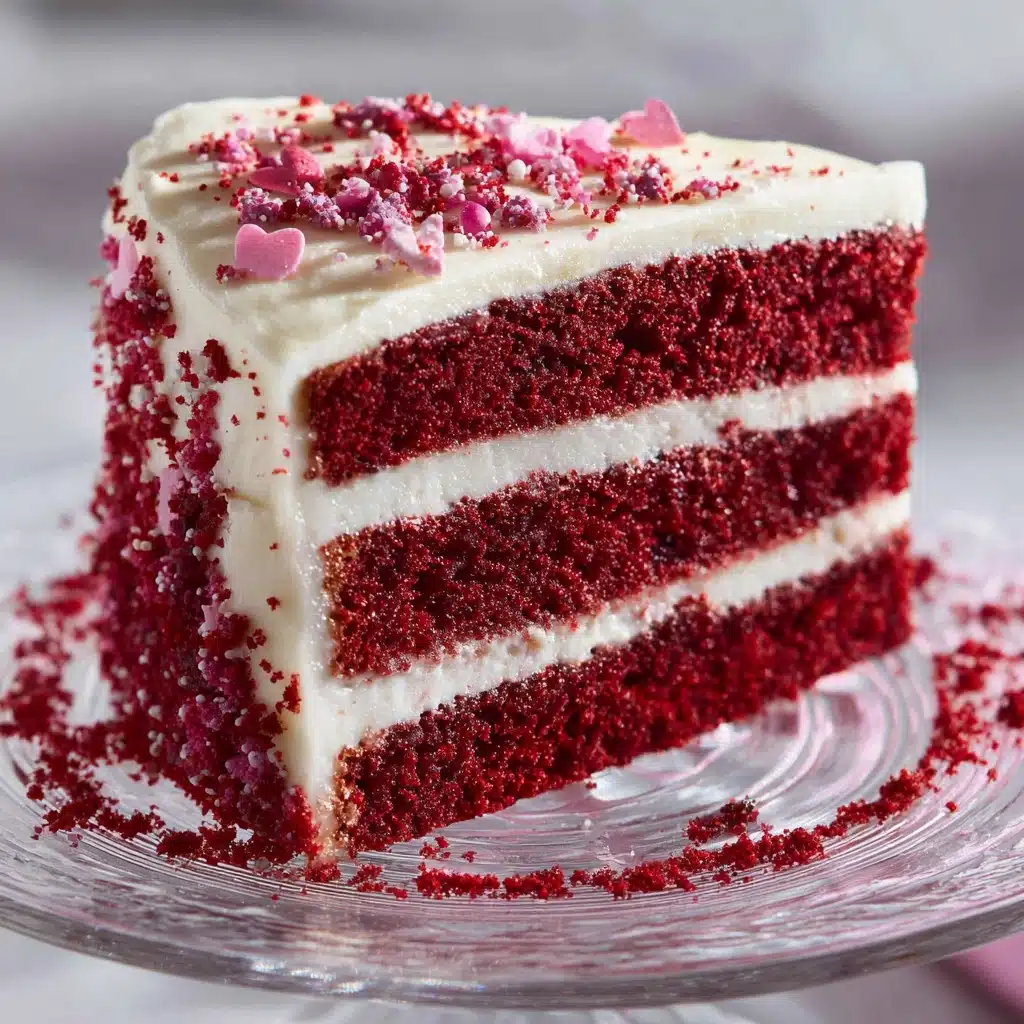
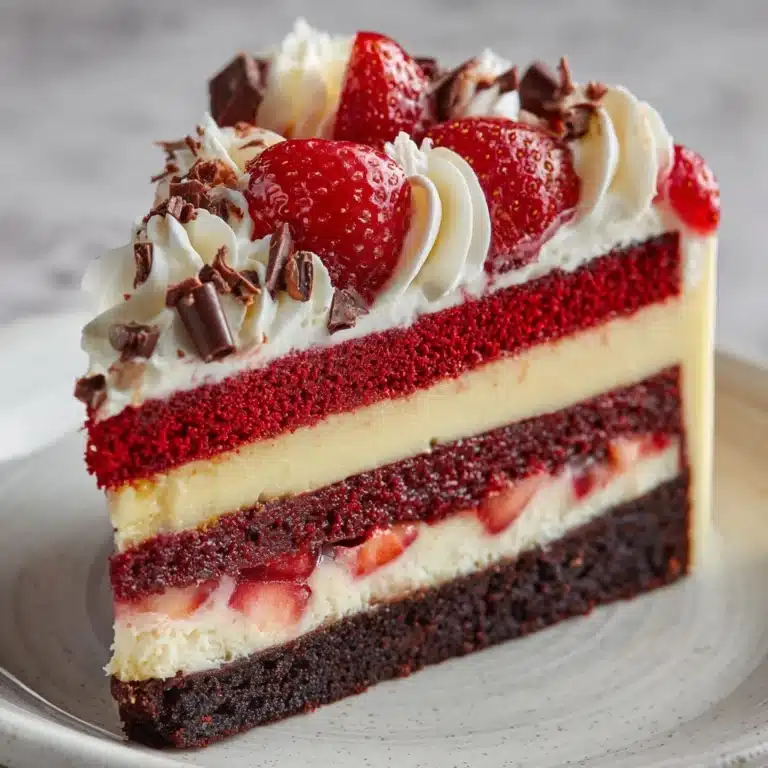
There’s just something magical about sharing a gorgeous, home-baked Red Velvet Cake. With its vibrant scarlet layers and trademark cream cheese frosting, this cake is a true showstopper for any special moment—or honestly, even when you’re celebrating the fact that it’s simply Tuesday! The subtle hint of cocoa, ultra-moist crumb, and tangy-sweet frosting come together for an irresistible treat that never fails to impress. Whether you’re introducing friends to this classic or it’s already your family’s tradition, this Red Velvet Cake makes memories as sweet as it tastes.
Ingredients You’ll Need
You’ll be amazed at how easy it is to find everything for this recipe, yet each ingredient has a starring role in creating the color, flavor, and luscious texture that Red Velvet Cake is famous for. Having these essentials ready makes all the difference between a just-okay cake and one you’ll crave again and again.
- All-purpose flour: Gives the cake structure while staying tender and light.
- Granulated sugar: Sweetens the batter and helps with moisture.
- Baking soda: Adds lift and keeps the cake fluffy.
- Cocoa powder: Just a hint for that signature undertone—don’t skip it!
- Salt: Balances all the sweetness and brings flavors to life.
- Vegetable oil: Provides that irresistible moist texture.
- Buttermilk (room temperature): The touch of tanginess and softness every great Red Velvet Cake needs.
- Large eggs (room temperature): Helps with binding and richness.
- Red food coloring: The show-stopper for that dramatic hue—liquid or gel both work!
- White distilled vinegar: Works with the baking soda for rise and a hint of signature tang.
- Vanilla extract: Enhances both the cake and the frosting, deepening the flavor.
- Cream cheese (softened): Makes the frosting creamy and slightly tangy.
- Unsalted butter (softened): Adds silkiness and flavor to the frosting.
- Powdered sugar: The secret to perfectly smooth, sweet frosting.
- Vanilla extract (for frosting): Rounds out the frosting’s irresistible taste.
How to Make Red Velvet Cake
Step 1: Prep Your Pans and Preheat
Start by preheating your oven to 350°F (175°C) for even baking. Take two 9-inch cake pans, grease them thoroughly, and dust with flour—this is key for easy cake release and perfectly even layers. Lining the bottoms with parchment rounds can be a baker’s best friend for stress-free unmolding.
Step 2: Mix the Dry Ingredients
In a medium bowl, whisk together the flour, granulated sugar, baking soda, cocoa powder, and salt. This step is all about blending the dry components evenly so that every bite of your Red Velvet Cake has consistent flavor and texture—no unpleasant pockets of dry flour or bitter baking soda here!
Step 3: Combine the Wet Ingredients
In a large mixing bowl, beat together the vegetable oil, buttermilk, eggs, red food coloring, white vinegar, and vanilla extract. The buttermilk’s tang, the vibrant coloring, and the subtle vanilla come together in a mixture that smells like anticipation itself. Don’t worry if it looks a little wild at first—this is Red Velvet Cake magic in the making.
Step 4: Bring Wet and Dry Together
Gradually add the dry mixture to the wet ingredients. Mix just until smooth—overmixing can lead to a dense cake, so stop whisking as soon as the batter looks homogenous. You’ll notice the batter turn that iconic, bold red. Trust the process—your patience is about to pay off!
Step 5: Divide and Bake
Pour the batter evenly into the prepared cake pans and smooth the tops with a spatula. This helps the cake layers bake up evenly and makes for a prettier finished cake. Place the pans in the preheated oven and bake for 30–35 minutes. You’ll know the Red Velvet Cake is ready when a toothpick inserted in the center comes out clean or with just a few moist crumbs attached.
Step 6: Cool the Cakes
Let the cake layers cool in their pans for about 10 minutes. This short rest helps them firm up so they don’t fall apart during removal. Then carefully transfer the layers to wire racks and allow them to cool completely. Patience is key here—a warm cake will melt your frosting and undo all your hard work!
Step 7: Make the Cream Cheese Frosting
In a clean bowl, beat the softened cream cheese and unsalted butter until smooth and creamy. Gradually add the powdered sugar and vanilla extract, mixing until the frosting is light, fluffy, and ready to swoon over. If the frosting seems a bit too thick, add a splash of milk. Too soft? Chill it briefly in the fridge.
Step 8: Assemble and Frost
Spread a generous layer of cream cheese frosting on top of the first cake layer. Stack the second layer on top, then frost the top and sides. For a clean, classic Red Velvet Cake look, use an offset spatula to swirl the frosting and make some swoops—no need for perfection, just deliciousness.
How to Serve Red Velvet Cake

Garnishes
For a beautiful finish, you can sprinkle cake crumbs onto the top or sides, add a shower of white chocolate curls, or dot with fresh raspberries. These simple touches add color and elegance to every slice of Red Velvet Cake, making it look as special as it tastes.
Side Dishes
While this cake is a showstopper on its own, a scoop of vanilla ice cream or a swirl of lightly sweetened whipped cream on the side takes every forkful to a new level. For a grown-up pairing, serve with fresh berries or a glass of cold milk or dessert wine.
Creative Ways to Present
Try assembling as mini cakes by cutting the layers with a biscuit cutter, or stack squares in parfait glasses with layers of frosting for a playful trifle. Cupcake versions of Red Velvet Cake are always a hit at parties—just adjust the baking time accordingly and decorate each with a swirl of frosting and a sprinkle of red crumbs.
Make Ahead and Storage
Storing Leftovers
Keep leftover Red Velvet Cake covered in the refrigerator. It stays moist and irresistible for up to 4 days—just make sure to tightly wrap it or use an airtight cake container so the delicate crumb and creamy frosting stay fresh.
Freezing
You can freeze unfrosted cake layers for up to a month with great success. Wrap each layer in plastic wrap and again in foil, then thaw them in the fridge overnight before frosting. If you have frosted slices, wrap them well and place in a freezer-safe container—the texture may be slightly softer after thawing, but the flavor remains fantastic.
Reheating
If you prefer room-temperature cake, remove it from the fridge about 30 minutes before serving. Avoid microwaving frosted cake, as it can melt the frosting, but a quick 10-second spin (unfrosted) can bring a pleasing warmth that enhances the flavors.
FAQs
Why does Red Velvet Cake use vinegar and buttermilk?
Both vinegar and buttermilk add a gentle acidity, which reacts with baking soda for a fluffier crumble and creates the subtle tang that’s so iconic in Red Velvet Cake. They also enhance the cake’s signature color, so don’t leave them out!
Can I use natural food coloring instead of artificial red food dye?
Yes! Beetroot powder or natural food coloring works, though the color may be less vivid. Either way, your Red Velvet Cake will still be delicious and unique in its own special way.
Can I make Red Velvet Cake into cupcakes?
Absolutely—you can portion the batter into cupcake liners, filling each about two-thirds full. Bake at the same temperature, but start checking them at around 18–20 minutes for doneness.
What’s the secret to a super moist Red Velvet Cake?
Using oil instead of butter in the batter makes the cake incredibly moist. Room-temperature eggs and buttermilk also help yield a tender crumb that stays just right for days.
Is it necessary to use cream cheese frosting?
Cream cheese frosting is traditional (and irresistible), but you can use a rich buttercream or even a whipped white chocolate ganache for a different twist. Each brings out different notes in the Red Velvet Cake, so find your favorite!
Final Thoughts
Once you bite into that gorgeous Red Velvet Cake you made from scratch, it’s easy to see why this classic wins hearts wherever it goes. It’s not just a cake—it’s an experience! So gather your ingredients, follow the steps, and make some delicious memories to share.
Print
Red Velvet Cake Recipe
- Total Time: 1 hour
- Yield: 12 servings 1x
- Diet: Vegetarian
Description
Indulge in the rich, velvety goodness of a classic Red Velvet Cake with a luscious cream cheese frosting. This iconic dessert is perfect for any celebration or special occasion.
Ingredients
Dry Ingredients:
- 2 ½ cups all-purpose flour
- 1 ½ cups granulated sugar
- 1 teaspoon baking soda
- 1 teaspoon cocoa powder
- 1 teaspoon salt
Wet Ingredients:
- 1 ½ cups vegetable oil
- 1 cup buttermilk (room temperature)
- 2 large eggs (room temperature)
- 2 tablespoons red food coloring
- 1 teaspoon white distilled vinegar
- 2 teaspoons vanilla extract
Cream Cheese Frosting:
- 8 ounces cream cheese (softened)
- ½ cup unsalted butter (softened)
- 4 cups powdered sugar
- 1 teaspoon vanilla extract (for frosting)
Instructions
- Preheat the oven: Preheat the oven to 350°F (175°C) and grease/flour two 9-inch round cake pans.
- Mix dry ingredients: In a medium bowl, whisk together flour, sugar, baking soda, cocoa powder, and salt.
- Combine wet ingredients: In a large bowl, beat oil, buttermilk, eggs, food coloring, vinegar, and vanilla.
- Blend batter: Gradually add dry ingredients to wet, mix until smooth.
- Bake: Divide batter into pans, bake for 30–35 minutes, cool on wire racks.
- Make frosting: Beat cream cheese, butter, powdered sugar, and vanilla until fluffy.
- Assemble: Frost one cake layer, stack the second, and frost the top/sides.
Notes
- For a deeper red color, use gel food coloring.
- Ensure ingredients are at room temperature for best results.
- Cake layers can be made ahead and frozen for up to 1 month.
- Prep Time: 25 minutes
- Cook Time: 35 minutes
- Category: Dessert
- Method: Baking
- Cuisine: American
Nutrition
- Serving Size: 1 slice
- Calories: 480
- Sugar: 42g
- Sodium: 310mg
- Fat: 27g
- Saturated Fat: 9g
- Unsaturated Fat: 16g
- Trans Fat: 0g
- Carbohydrates: 55g
- Fiber: 1g
- Protein: 5g
- Cholesterol: 55mg

