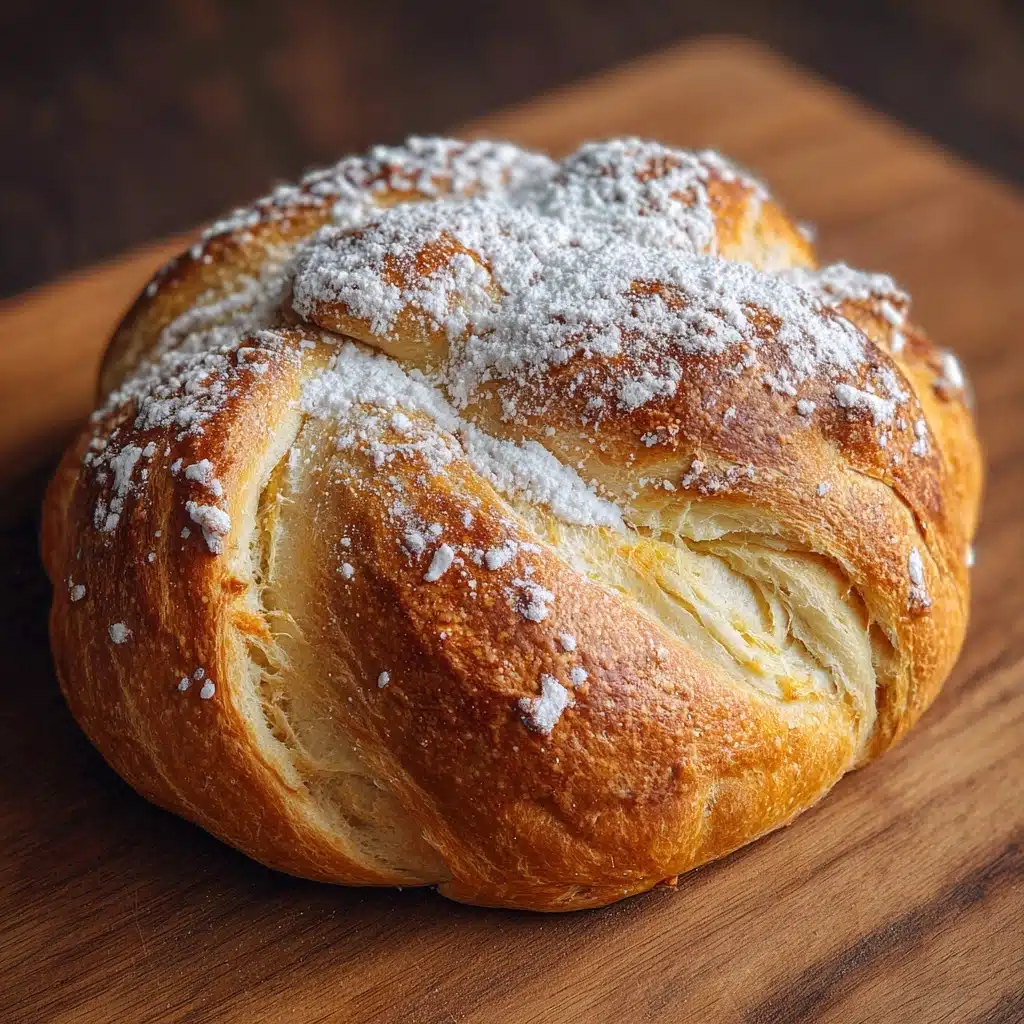
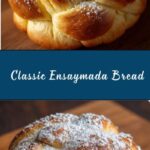
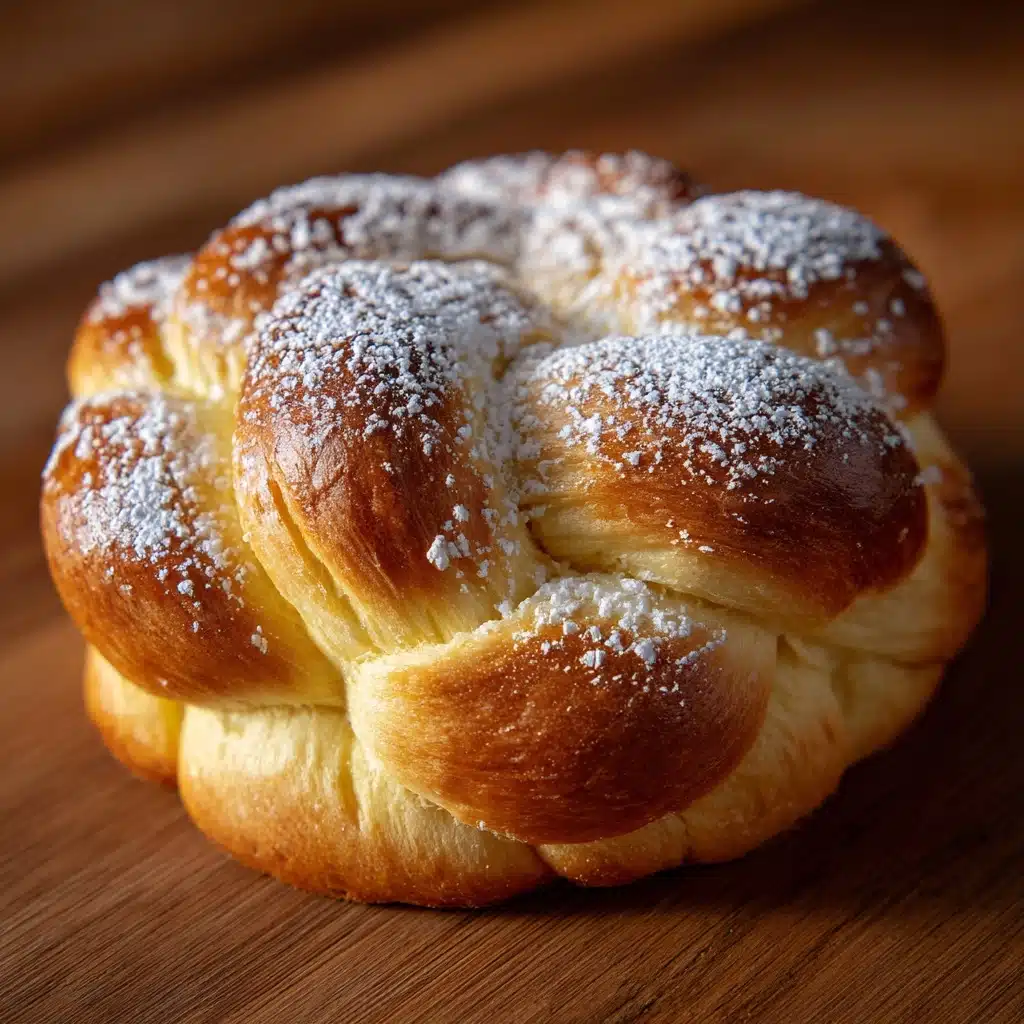
If you’re craving something buttery, pillow-soft, and just the right amount of sweet and cheesy, you’ll absolutely fall for Classic Ensaymada Bread. This Filipino bakery staple is all about tender, rich dough spiraled with cheese and slathered with a gloriously indulgent butter-sugar-cheese topping. It’s the kind of bread that feels like a big, warm hug — perfect for breakfast, merienda, or sharing with friends over coffee. Get ready to discover why Classic Ensaymada Bread has a devoted following, and learn how you can make your very own batch right from the comfort of home!
Ingredients You’ll Need
Classic Ensaymada Bread comes together with just a handful of humble, everyday ingredients, yet each one plays a starring role. Their flavors and textures meld together to create irresistible softness, beautiful color, and that signature melt-in-the-mouth finish. Here’s what you’ll need:
- All-purpose flour: Provides a tender, fluffy crumb and serves as the backbone of the ensaymada dough.
- Granulated sugar: Adds delicate sweetness both to the dough and the decadent topping.
- Active dry yeast: This is what gives Classic Ensaymada Bread its lift and wonderful lightness.
- Salt: Balances the sweetness and enhances the overall flavor.
- Egg yolks: Richness from egg yolks makes the crumb extra soft and gives the bread a golden hue.
- Warm milk (110°F): Helps activate the yeast and brings tender moisture to the dough.
- Unsalted butter (softened): Integral for that luscious, buttery crumb and the irresistible topping.
- Grated cheddar cheese (for filling): Tucks a lovely tangy surprise inside every roll.
- Unsalted butter (softened, for topping): For brushing those warm rolls and creating the classic “ensaymada” shine.
- Granulated sugar (for topping): Adds sparkle and a gentle crunch to every bite.
- Grated cheddar cheese (for topping): Finishes each piece with its signature salty, cheesy flair.
How to Make Classic Ensaymada Bread
Step 1: Activate the Yeast
Start by combining your warm milk and yeast in a large mixing bowl. Give it a quick stir, then let the mixture rest for 5 to 10 minutes, or until it turns foamy on top. This step is the magic trick that ensures your Classic Ensaymada Bread rises beautifully — no sleepy yeast here!
Step 2: Mix the Wet Ingredients
Once your yeast is bubbly and lively, stir in the granulated sugar, egg yolks, and softened butter. Mix well to combine. This is where the dough starts building that soft, rich foundation we all crave in Classic Ensaymada Bread.
Step 3: Incorporate the Dry Ingredients
Gradually add in the all-purpose flour and salt, mixing as you go. You’re looking for a soft, slightly sticky dough, so take your time and let the flour work its magic. If you have a stand mixer, use the dough hook; otherwise, dive in with clean hands and enjoy the process!
Step 4: Knead the Dough
Turn the dough out onto a lightly floured surface. Knead for 8 to 10 minutes until it’s smooth, soft, and elastic. You’ll know it’s ready when it springs back ever so gently when pressed. This step is key for that pillowy Classic Ensaymada Bread texture.
Step 5: The First Rise
Place your kneaded dough in a greased bowl, cover it up with a clean towel or plastic wrap, and let it rise in a warm spot for about 1 to 1.5 hours, or until it’s doubled in size. This is your dough’s time to grow and develop amazing flavor.
Step 6: Shape and Fill
Punch down the dough to release excess air. Divide it into 10 to 12 even pieces. Flatten each portion with your hands, add a little grated cheddar cheese in the center, then roll it up into a log. Coil each log into a spiral and place them in greased ensaymada molds or a muffin tin. This iconic swirl is what makes Classic Ensaymada Bread instantly recognizable.
Step 7: The Second Rise
Cover the shaped buns and allow them to rise once again for 30 to 45 minutes. They’ll puff up beautifully, ready for their final transformation in the oven.
Step 8: Bake
Preheat your oven to 350°F (175°C). Place the buns in the oven and bake for 15 to 18 minutes, or until they turn a lovely light golden brown. The kitchen will start smelling irresistible, a sure sign your Classic Ensaymada Bread is on its way!
Step 9: Top and Finish
While the ensaymadas are still warm, brush the tops generously with softened butter. Sprinkle with sugar, then finish with more grated cheddar cheese. This luscious topping is what makes Classic Ensaymada Bread totally swoon-worthy.
How to Serve Classic Ensaymada Bread
Garnishes
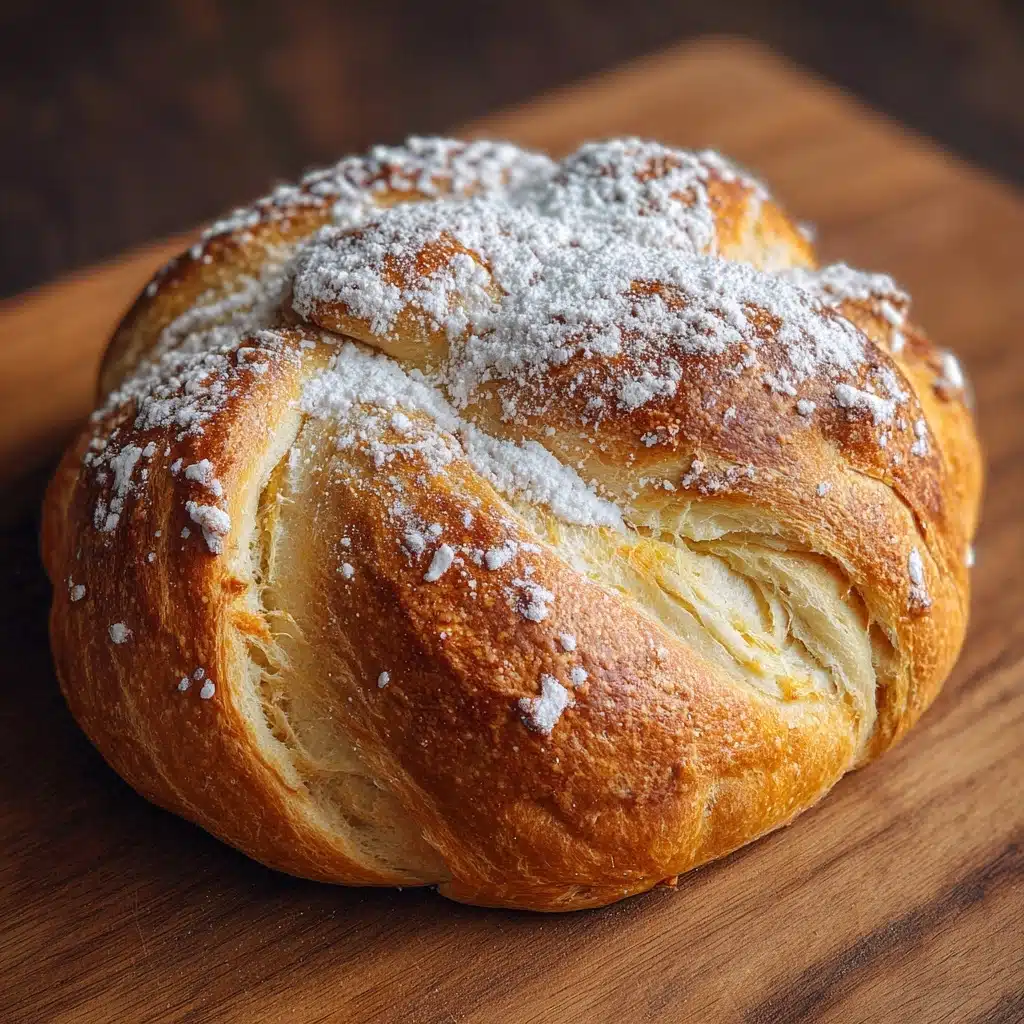
The finishing touches for Classic Ensaymada Bread are simple but make a big impact. For the best results, slather each bun with a thick layer of softened butter as soon as they come out of the oven. Generously sprinkle with extra sugar and a healthy shower of grated cheddar cheese — that sweet-salty combo is totally irresistible! If you’re feeling fancy, you can also dust with a little powdered sugar for a festive look.
Side Dishes
Classic Ensaymada Bread is delightful alongside a hot cup of tsokolate (Filipino hot chocolate) or your favorite coffee. For brunch, pair with fresh fruit, a simple egg dish, or traditional Filipino treats like puto or suman. Its soft, buttery texture means it even works as a wonderful snack with just a glass of cold milk.
Creative Ways to Present
Take your Classic Ensaymada Bread to the next level by wrapping each one in a parchment paper band and tying with twine for a sweet homemade gift. Or, serve them in a basket lined with a colorful napkin for a cozy family-style feel. At parties, arrange them on a tiered stand for a stunning centerpiece — guests won’t be able to resist trying one (or two)!
Make Ahead and Storage
Storing Leftovers
Keep your Classic Ensaymada Bread fresh by storing leftovers in an airtight container at room temperature. They’ll stay soft and delicious for up to two days. To preserve their signature topping, layer parchment or wax paper between them to prevent sticking.
Freezing
If you want to extend the shelf life, Classic Ensaymada Bread freezes beautifully! Once fully cooled and before adding the topping, wrap each piece tightly in plastic wrap and place in a freezer-safe bag. Freeze for up to one month. When you’re ready to enjoy, thaw at room temperature and add the butter, sugar, and cheese before serving.
Reheating
To bring back that oven-fresh softness, reheat Classic Ensaymada Bread in the microwave for about 10–15 seconds, or in a low oven (300°F) for 5 minutes. Add a touch more butter if you like, and it’ll taste just as indulgent as when first baked!
FAQs
Can I use a stand mixer to make Classic Ensaymada Bread?
Absolutely! A stand mixer fitted with a dough hook takes much of the work out of kneading and helps create a silky, uniform dough for Classic Ensaymada Bread. Just keep an eye on the dough and stop kneading once it becomes smooth and elastic.
What type Bread, Snack
Mild cheddar is the classic choice for that nostalgic sweet-and-savory flavor, but you can experiment with other cheeses like queso de bola (Edam) for a more distinctive, salty tang. Always grate your cheese fresh for the best melt and flavor!
Can I add other fillings to Classic Ensaymada Bread?
Definitely! While cheese is the classic, many enjoy adding ube halaya (purple yam jam), cooked ham, or even salted egg slices for a fun twist. Just keep the filling moderate so the spiral shape holds up and the bread bakes evenly.
Why did my bread turn out dense instead of fluffy?
Dough can become dense if the yeast wasn’t fully activated or if it didn’t rise long enough. Double-check water temperature for the yeast (about 110°F is just right), and make sure your dough has doubled during both rising periods. Don’t skip proper kneading — it develops the gluten that gives Classic Ensaymada Bread its soft, airy crumb.
How can I make sure the topping sticks well?
The secret is brushing the tops with butter while the bread is still warm — this helps the sugar and cheese adhere really well and soak into the bun. Work quickly once they’re out of the oven for the best, most deliciously sticky results!
Final Thoughts
Classic Ensaymada Bread is one of those irresistible treats that instantly brightens any table, and I hope this recipe inspires you to bake a batch at home. Share them with friends, gift them to family, or simply treat yourself to the softest, cheesiest bites of comfort you’ll ever have. There’s nothing quite like homemade ensaymada — so go ahead and give it a try!
Print
Classic Ensaymada Bread Recipe
- Total Time: 2 hours 30 minutes (including rise time)
- Yield: 10–12 pieces 1x
- Diet: Vegetarian
Description
Learn how to make delicious Classic Ensaymada Bread, a traditional Filipino sweet cheese bread topped with butter, sugar, and cheese. This soft brioche-like bread is perfect for breakfast or as a snack.
Ingredients
Dough:
- 3 cups all-purpose flour
- 1/4 cup granulated sugar
- 2 1/4 teaspoons active dry yeast (1 packet)
- 1/2 teaspoon salt
- 3 large egg yolks
- 1/2 cup warm milk (110°F)
- 1/4 cup unsalted butter (softened)
Filling and Topping:
- 1/4 cup grated cheddar cheese (for filling)
- 1/4 cup unsalted butter (softened, for topping)
- 1/4 cup granulated sugar (for topping)
- 1/4 cup grated cheddar cheese (for topping)
Instructions
- Prepare the Dough: Combine warm milk and yeast. Add sugar, egg yolks, and butter. Mix in flour and salt to form a soft dough. Knead until smooth.
- Rise the Dough: Let the dough rise until doubled. Divide and fill each portion with cheese, then shape into logs.
- Bake the Ensaymada: Place the shaped dough in molds, let rise, then bake until golden. Brush with butter, sugar, and cheese.
Notes
- Traditional ensaymada can be customized with ube halaya, ham, or salted egg.
- For best texture, store ensaymada in an airtight container and briefly reheat before serving.
- Prep Time: 30 minutes
- Cook Time: 18 minutes
- Category: Bread, Snack
- Method: Baking
- Cuisine: Filipino
Nutrition
- Serving Size: 1 piece
- Calories: 210
- Sugar: 9g
- Sodium: 180mg
- Fat: 10g
- Saturated Fat: 6g
- Unsaturated Fat: 3g
- Trans Fat: 0g
- Carbohydrates: 25g
- Fiber: 1g
- Protein: 5g
- Cholesterol: 70mg
