
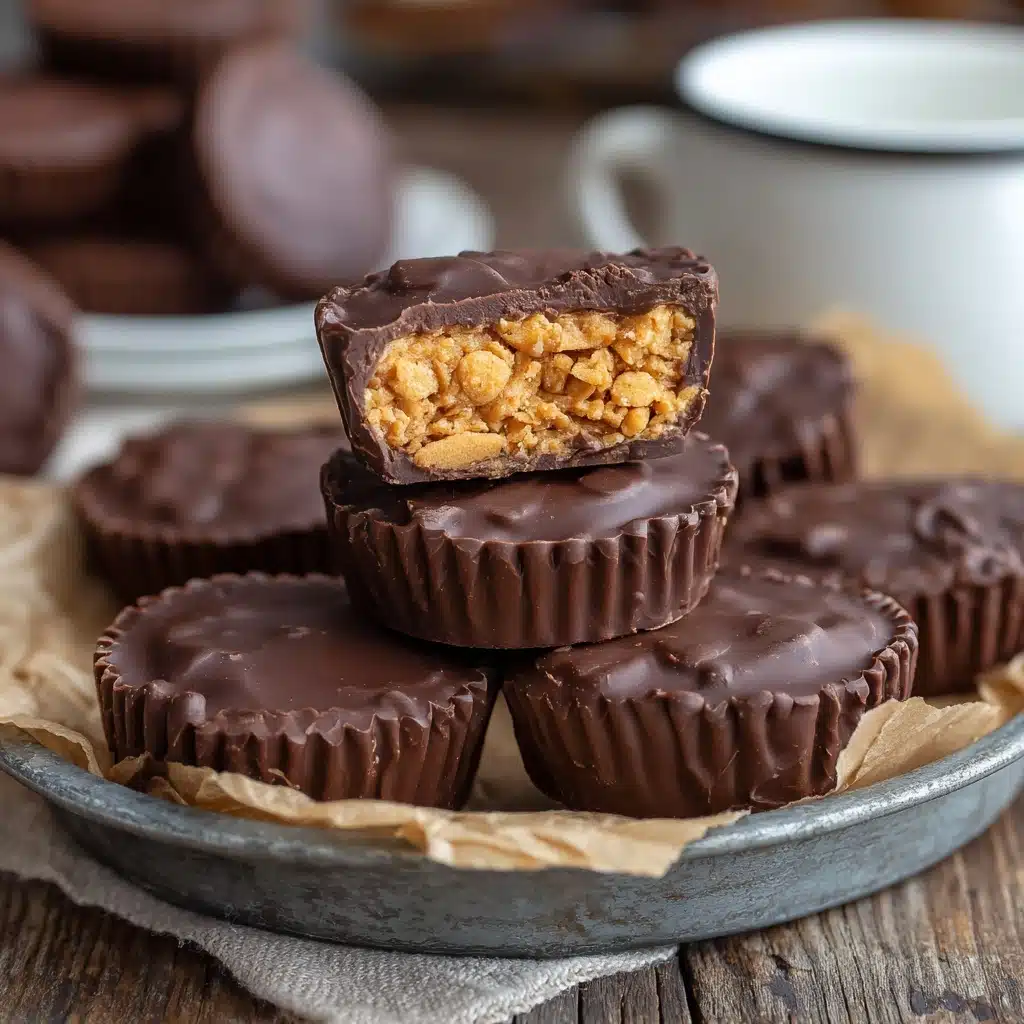
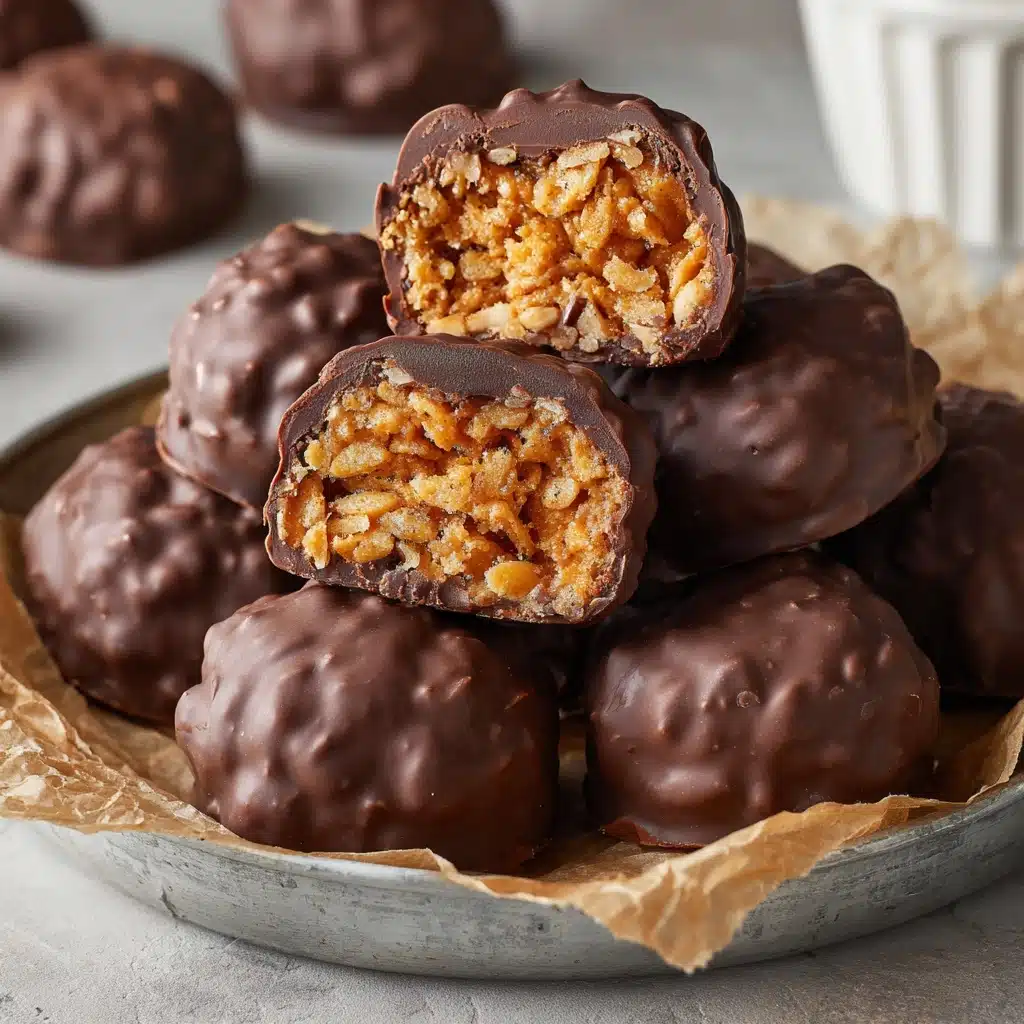
If you’re searching for the ultimate no-bake treat that bridges the gap between nostalgia and pure indulgence, Peanut Butter Balls with Rice Krispies should be at the very top of your list. These little bites combine creamy peanut butter, crispy Rice Krispies cereal, a touch of rich chocolate, and just the right hint of vanilla for a dessert that’s impossible to eat just one. Not only are they devilishly easy to make, but everyone falls in love at first bite—whether you’re serving them at a holiday party or just sneaking one after dinner with a cup of tea.
Ingredients You’ll Need
This recipe couldn’t be easier, and each ingredient truly plays an important part in what makes these Peanut Butter Balls with Rice Krispies so addictive. From creamy peanut butter for richness to the melt-in-your-mouth chocolate shell, these basics work in harmony for crave-worthy results.
- Creamy Peanut Butter: Delivers classic nutty flavor and silky smooth texture; stick with creamy for easy scooping.
- Unsalted Butter (softened): Adds richness and helps blend everything together; unsalted lets you control the seasoning.
- Vanilla Extract: Rounds out the flavors with warm, fragrant notes and enhances the peanut butter’s depth.
- Powdered Sugar: Sweetens and firms up the mixture, making it easy to roll into perfect balls.
- Rice Krispies Cereal: The star of the show for crunch and a fun, airy bite inside each treat.
- Semi-Sweet Chocolate Chips: Melted chocolate forms a luscious coating; semi-sweet keeps the overall flavor balanced.
- Coconut Oil or Shortening (optional): Stir into the chocolate to help it melt silky-smooth and coat more evenly.
How to Make Peanut Butter Balls with Rice Krispies
Step 1: Mix the Base
Start by grabbing a large mixing bowl and combining the peanut butter, softened butter, and vanilla extract. Use a sturdy spatula or a hand mixer to beat everything until the mixture is super smooth, creamy, and well blended. You’re aiming for a texture that’ll easily pull in the rest of your ingredients—think rich and fluffy.
Step 2: Incorporate Powdered Sugar
Gradually add the powdered sugar, stirring with each addition, until it’s fully dissolved and no longer grainy. The sugar thickens the peanut butter base so you’ll have a dough-like consistency that’s easy to shape, not sticky.
Step 3: Fold in Rice Krispies
Gently fold in those magical Rice Krispies cereal pieces, making sure they’re distributed throughout the mixture. This is where Peanut Butter Balls with Rice Krispies truly get their irresistible texture; be gentle to keep that signature crunch intact.
Step 4: Shape the Balls
Scoop out tablespoon-sized portions of the dough and roll each gently between your palms to form perfectly round balls. Arrange them on a parchment-lined baking sheet, spaced slightly apart so they don’t stick together. You’ll end up with about 24 balls—perfect for sharing (or not!).
Step 5: Chill to Set
Pop the baking sheet into the refrigerator and let the peanut butter balls chill for at least 30 minutes. This step makes them firm enough to dunk in chocolate without falling apart, and it helps meld all those flavor layers together.
Step 6: Melt the Chocolate
Add your semi-sweet chocolate chips (plus optional coconut oil or shortening) to a microwave-safe bowl. Microwave in short 30-second bursts, stirring between rounds, until the chocolate is completely smooth and glossy. The coconut oil isn’t required, but it does make that chocolate shell even more luscious and easy to work with!
Step 7: Dip and Finish
Using a fork or candy dipping tool, dip each firmed-up peanut butter ball into the melted chocolate, making sure it’s fully coated. Let the excess chocolate drip off, then return the ball to the parchment-lined tray. Once all your Peanut Butter Balls with Rice Krispies are enrobed in chocolate, refrigerate them until the chocolate is set and snappy.
How to Serve Peanut Butter Balls with Rice Krispies
Garnishes
Dress up your treats by drizzling with melted white chocolate, adding a sprinkle of flaky sea salt, or even dusting with a little extra crushed Rice Krispies for extra crunch and visual flair. These toppings not only taste delicious but also make your Peanut Butter Balls with Rice Krispies look festive on any dessert tray.
Side Dishes
While these are amazing solo, pair them with a scoop of vanilla or peanut butter ice cream, or set them out alongside a platter of fresh berries and sliced bananas for a nostalgic, peanut-butter-and-jelly vibe. Coffee, cold brew, or even a glass of milk are classic partners for these sweet, crunchy bites.
Creative Ways to Present
For a special occasion, stack Peanut Butter Balls with Rice Krispies in a glass jar tied with ribbon, or arrange them in pretty paper cups on a festive platter. They make gorgeous homemade gifts or a show-stopping potluck dessert—stacked into a little “tree” and dusted with powdered sugar snow for the holidays.
Make Ahead and Storage
Storing Leftovers
Keep any extra Peanut Butter Balls with Rice Krispies in an airtight container in the refrigerator. The chocolate will stay crisp, and the inside maintains its creamy, tender texture for up to a week (if they last that long!).
Freezing
If you want to get ahead or prep for holiday gift boxes, freeze the finished balls in a single layer until firm, then transfer to a zip-top bag. They’ll keep in the freezer for up to 2 months and thaw out beautifully at room temperature in about 15–20 minutes.
Reheating
There’s no need to reheat these luscious treats, but if you love a warm chocolate shell, let them sit out of the fridge for 5–10 minutes before serving, or give them a literal “just-from-the-bakery” feel by microwaving for just 4–5 seconds—not long enough to melt, but enough for a gentle warm-up.
FAQs
Can I use crunchy peanut butter instead of creamy?
Absolutely! Crunchy peanut butter will add even more texture to the centers, though the balls may be slightly more difficult to roll. If you’re a sucker for extra crunch, go for it!
How do I keep the chocolate coating smooth?
Add a tablespoon of coconut oil or shortening to your melting chocolate; it makes the texture smoother and the coating easier to work with. Also, make sure the peanut butter balls are cold before dipping to help the chocolate set beautifully.
Can these be made nut-free?
Yes—substitute sunflower seed butter or soy nut butter for a nut-free version. Just make sure your substitute has a similar texture to creamy peanut butter for best results.
Why are my balls falling apart when I roll them?
If the dough feels too dry or crumbly, add a teaspoon or so of extra peanut butter and mix again. Humidity, brand of cereal, or the amount of powdered sugar can all affect texture, so adjust as needed for a pliable, but not sticky, dough.
What if I don’t have Rice Krispies cereal?
Try another crisp, puffed rice cereal, or for a fun twist, use crushed cornflakes or even puffed quinoa. It may change the flavor and texture a bit, but your Peanut Butter Balls with Rice Krispies (or with any cereal!) will still be absolutely delicious.
Final Thoughts
If you love easy, nostalgic, crowd-pleasing desserts, you truly can’t go wrong with Peanut Butter Balls with Rice Krispies. They’re the kind of treat that instantly spark a smile and steal the show at every gathering. Mix up a batch, share them (or keep them all for yourself!), and let these little chocolate-dipped bites become your go-to no-bake treat!
Print
Peanut Butter Balls with Rice Krispies Recipe
- Total Time: 55 minutes (including chilling)
- Yield: 24 balls 1x
- Diet: Vegetarian
Description
These Peanut Butter Balls with Rice Krispies are a delightful no-bake dessert that combines the rich flavors of peanut butter and chocolate with a satisfying crunch. Perfect for holiday treats or any time you’re craving a sweet and nutty indulgence.
Ingredients
Peanut Butter Mixture:
- 1 cup creamy peanut butter
- 1/4 cup unsalted butter, softened
- 1 tsp vanilla extract
- 1 1/2 cups powdered sugar
Additions:
- 2 cups Rice Krispies cereal
- 1 1/2 cups semi-sweet chocolate chips
- 1 tbsp coconut oil or shortening (optional, for smoother melting)
Instructions
- Mix Peanut Butter Mixture: In a large bowl, combine peanut butter, softened butter, and vanilla extract. Blend until smooth. Gradually add powdered sugar, stirring until fully mixed.
- Add Rice Krispies: Gently fold in the Rice Krispies cereal until evenly combined.
- Form Balls: Scoop out tablespoon-sized portions and roll into balls. Place on a parchment-lined baking sheet.
- Chill: Refrigerate the balls for 30 minutes or until firm.
- Melt Chocolate: In a microwave-safe bowl, melt chocolate chips in 30-second intervals, stirring until smooth. Add coconut oil if desired for a smoother texture.
- Coat Balls: Dip each peanut butter ball into the melted chocolate, ensuring full coverage. Return to the baking sheet.
- Set Chocolate: Refrigerate until the chocolate coating is firm. Store in an airtight container in the fridge.
Notes
- You can drizzle with white chocolate or sprinkle with sea salt for extra flair.
- For a crunchier texture, consider adding an additional 1/2 cup of Rice Krispies.
- Prep Time: 20 minutes
- Cook Time: 5 minutes (for melting chocolate)
- Category: Dessert
- Method: No-Bake
- Cuisine: American
Nutrition
- Serving Size: 1 ball
- Calories: 140
- Sugar: 11g
- Sodium: 55mg
- Fat: 9g
- Saturated Fat: 4g
- Unsaturated Fat: 4g
- Trans Fat: 0g
- Carbohydrates: 13g
- Fiber: 1g
- Protein: 3g
- Cholesterol: 5mg


