
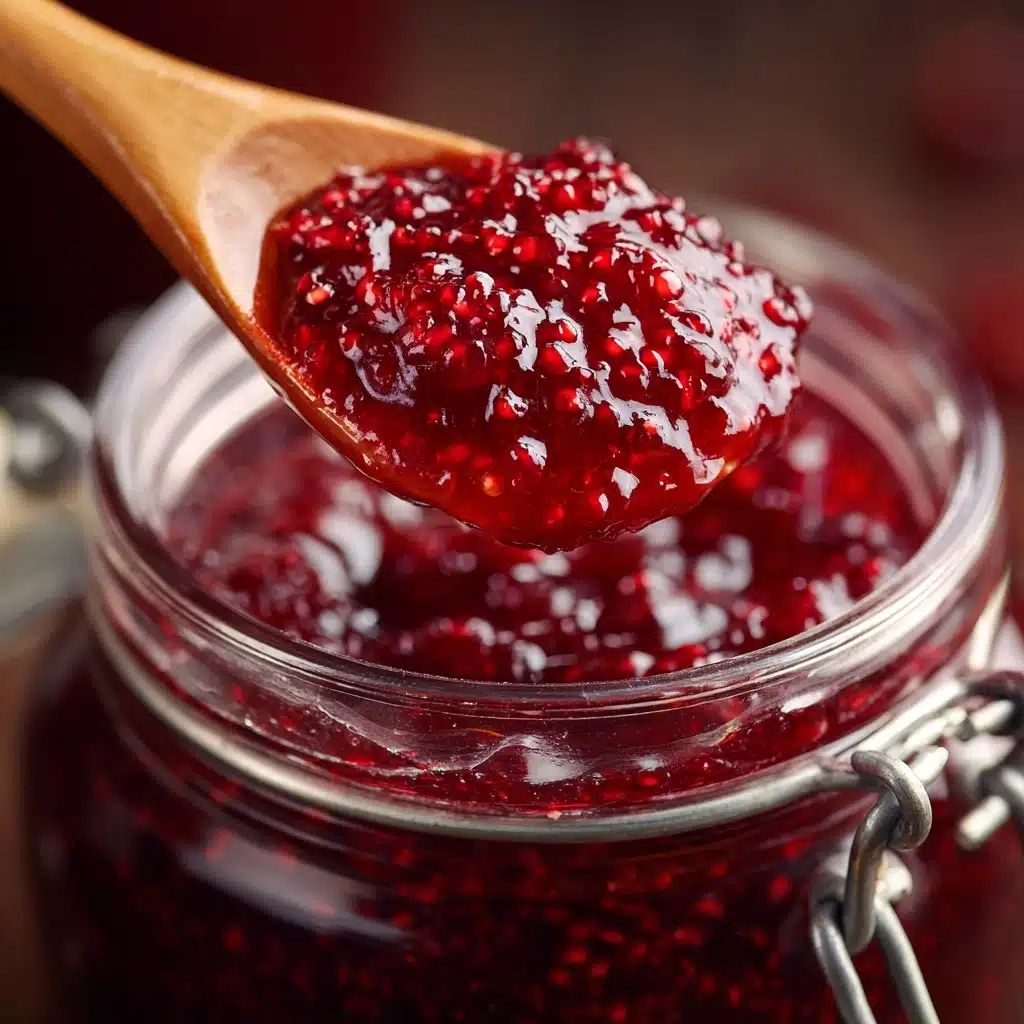
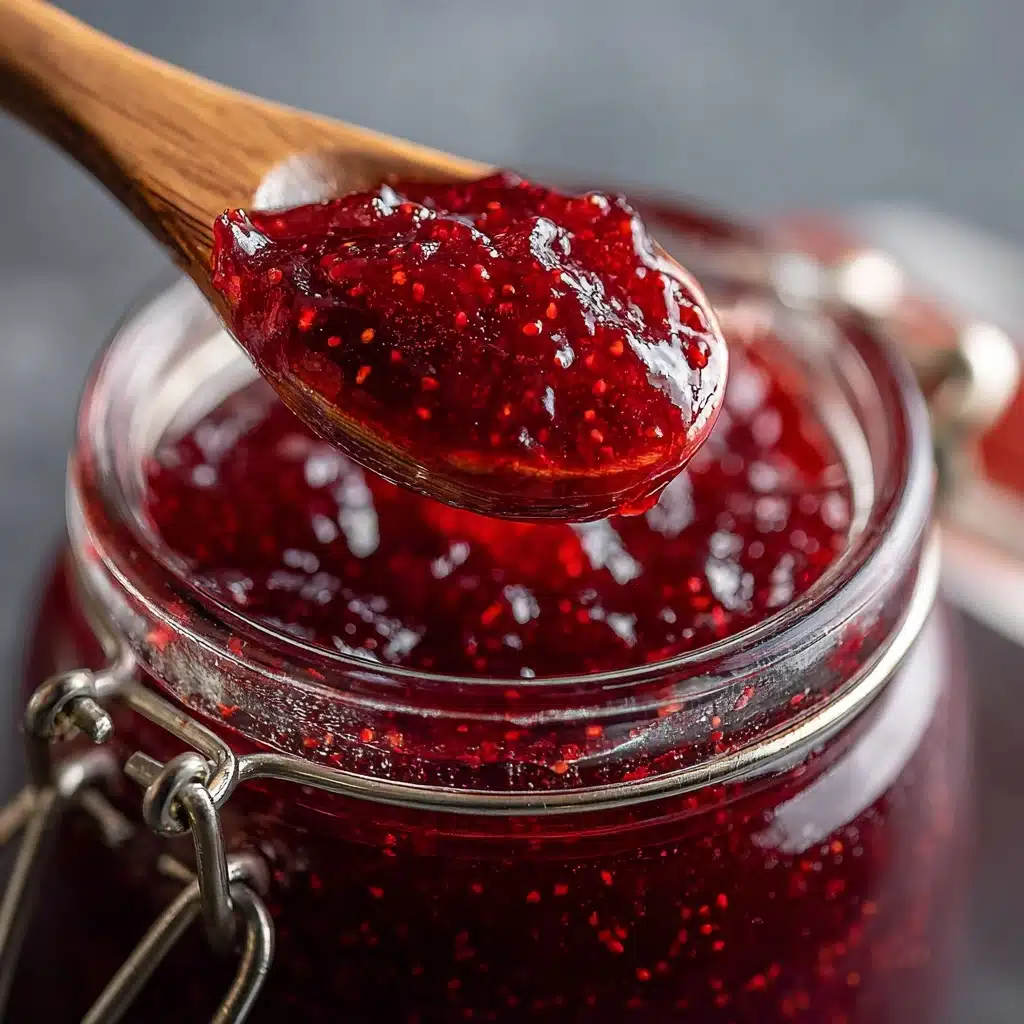
If you’re craving a burst of sunny, fruity flavor, there’s nothing quite like Quick Homemade Strawberry Jam. This simple, cheerful spread is the secret to transforming plain toast or pancakes into something unforgettable. With just a handful of everyday ingredients and a little time on the stovetop, you’re rewarded with a glowing jar of bright, jammy goodness—no artificial flavors, no complicated steps. Whether you’re new to jam-making or a seasoned pro seeking instant gratification, this recipe is sure to become a beloved staple in your kitchen.
Ingredients You’ll Need
The beauty of Quick Homemade Strawberry Jam is that it calls for just a few key players, each bringing their own magic to the mix. Fresh strawberries provide that signature ruby color and lush, fragrant sweetness, while sugar, lemon, and a pinch of salt balance every bite. Here’s exactly what you need and why:
- Fresh Strawberries (2 cups, hulled and chopped): The star of the show! Perfectly ripe strawberries guarantee maximum flavor and stunning color.
- Granulated Sugar (1 cup): Essential for sweetness and the classic jammy texture—it also helps preserve your jam a little longer.
- Lemon Juice (1 tablespoon): Adds brightness, balances sweetness, and helps “set” the jam without needing extra pectin.
- Lemon Zest (1/2 teaspoon, optional): Optional, but brings a boost of citrusy aroma that makes the jam extra fresh.
- Pinch of Salt: Just a touch—salt amplifies all the flavors and keeps the jam from tasting flat.
How to Make Quick Homemade Strawberry Jam
Step 1: Combine Ingredients in a Saucepan
Start by adding your hulled and chopped strawberries, sugar, lemon juice, lemon zest (if using), and a pinch of salt to a medium saucepan. Give everything a stir so the strawberries are nicely coated. This initial mixing helps the sugar start to draw out the natural juices from the fruit, which is the first step to that beautiful jammy consistency!
Step 2: Cook Gently to Release Juices
Place the saucepan over medium heat. Stir frequently—after about five minutes, you’ll notice the sugar has dissolved and the strawberries are swimming in their own gorgeous, ruby-hued syrup. This is where the fragrance really fills your kitchen and you know something magical is happening.
Step 3: Bring to a Boil and Simmer
Turn up the heat just a bit and bring the mixture to a gentle boil. Let it simmer, stirring often to avoid sticking. As it cooks for 15 to 20 minutes, keep using a spoon or a potato masher to break down the strawberries to your preferred texture. You’ll see the jam thickening—once it coats the back of a spoon and leaves a clean line when you swipe your finger through, it’s ready!
Step 4: Cool and Jar Up
Remove the saucepan from the heat. Let the jam cool for about 10 minutes—it will still be steamy, but this brief rest helps it set. Pour the jam into a clean jar or container. Once fully cooled, pop it in the fridge, where it will continue to thicken as it chills. That’s it—your Quick Homemade Strawberry Jam is ready to make every breakfast and snack on the horizon extra special.
How to Serve Quick Homemade Strawberry Jam
Garnishes
For the finishing touch, spoon a little extra jam on top of your toast or yogurt and sprinkle with fresh mint or lemon zest. A dusting of powdered sugar or a few fresh strawberry slices also makes for a beautiful, inviting presentation that’s perfect for breakfast spreads or brunch parties.
Side Dishes
Quick Homemade Strawberry Jam is a dream alongside simple buttered toast, flaky croissants, or warm scones. It’s equally delicious stirred into oatmeal, yogurts, or even dolloped on top of pancakes and waffles for a comforting morning treat. Don’t forget, it also pairs unexpectedly well with mild cheeses for a sweet-savory snack!
Creative Ways to Present
Show off your jam by swirling it into cheesecake batter, lining a tart shell before adding custard, or sandwiching it between cake layers. You can even drizzle it over vanilla ice cream, or package in mini jars for a thoughtful homemade gift. However you serve it, Quick Homemade Strawberry Jam brings a splash of color and flavor to any table.
Make Ahead and Storage
Storing Leftovers
Once cooled, keep your Quick Homemade Strawberry Jam in a clean, airtight jar or container in the refrigerator. It will stay fresh and delicious for up to two weeks—you’ll probably find it disappears much quicker than that!
Freezing
If you’d like to save some for later, portion the cooled jam into freezer-safe containers, leaving a little space at the top for expansion. Seal tightly and freeze for up to three months. To use, simply thaw in the fridge overnight before spreading it on toast or using it in recipes.
Reheating
If your jam is too firm after chilling or freezing, simply scoop your desired amount into a small saucepan or heat-safe bowl and gently warm it over low heat or in short microwave bursts, stirring until it reaches your ideal consistency.
FAQs
Can I use frozen strawberries for this recipe?
Absolutely! Just thaw your frozen strawberries first and drain off any excess liquid before proceeding—you’ll get the same juicy, fruity results with this quick method.
How do I know when my jam is thick enough?
The jam is ready when it coats the back of a spoon and a finger swiped through leaves a clean line. It will continue to thicken as it cools, so don’t worry if it looks a little runny while still hot.
Does Quick Homemade Strawberry Jam require pectin?
No extra pectin needed! The combination of lemon juice and slow simmering allows the natural fruit pectin in strawberries to work its magic for a perfectly spreadable jam.
Can I make this recipe less sweet?
If you prefer a less sweet spread, you can slightly reduce the sugar, but keep in mind that sugar helps with both the set and preservation. Start with 3/4 cup and adjust after tasting.
Is Quick Homemade Strawberry Jam suitable for canning?
This recipe is designed for quick, small-batch enjoyment and isn’t meant for shelf-stable canning. For longer-term storage, keep it refrigerated or freeze as directed above.
Final Thoughts
I hope you’re inspired to stir up your own batch of Quick Homemade Strawberry Jam! Every spoonful is a burst of summer flavor, so much brighter and fresher than anything store-bought. Once you’ve tasted it on warm bread—or tucked it into a dessert—you’ll want to make it again and again. Give it a try and let the homemade magic begin!
Print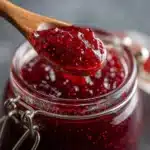
Quick Homemade Strawberry Jam Recipe
- Total Time: 30 minutes
- Yield: 1 1/2 cups 1x
- Diet: Vegan, Gluten-Free
Description
Learn how to make a quick homemade strawberry jam that’s bursting with fresh fruit flavors. This easy recipe requires only a few simple ingredients and no pectin.
Ingredients
Strawberry Jam:
- 2 cups fresh strawberries (hulled and chopped)
- 1 cup granulated sugar
- 1 tablespoon lemon juice
- 1/2 teaspoon lemon zest (optional)
- pinch of salt
Instructions
- Add Ingredients: Combine strawberries, sugar, lemon juice, lemon zest, and salt in a medium saucepan.
- Cook Mixture: Cook over medium heat until sugar dissolves and strawberries release juices, about 5 minutes.
- Boil and Stir: Increase heat, bring to a gentle boil, and cook for 15–20 minutes, stirring and mashing strawberries.
- Thicken Jam: Once jam coats the back of a spoon, remove from heat and let cool for 10 minutes.
- Transfer and Chill: Transfer jam to a clean container, refrigerate until fully chilled.
Notes
- You can use thawed frozen strawberries, and for smoother jam, blend after cooking.
- This jam can be stored in the fridge for up to 2 weeks or frozen for longer storage.
- Prep Time: 10 minutes
- Cook Time: 20 minutes
- Category: Condiment
- Method: Stovetop
- Cuisine: American
Nutrition
- Serving Size: 1 tablespoon
- Calories: 35
- Sugar: 8 g
- Sodium: 5 mg
- Fat: 0 g
- Saturated Fat: 0 g
- Unsaturated Fat: 0 g
- Trans Fat: 0 g
- Carbohydrates: 9 g
- Fiber: 0.3 g
- Protein: 0 g
- Cholesterol: 0 mg


