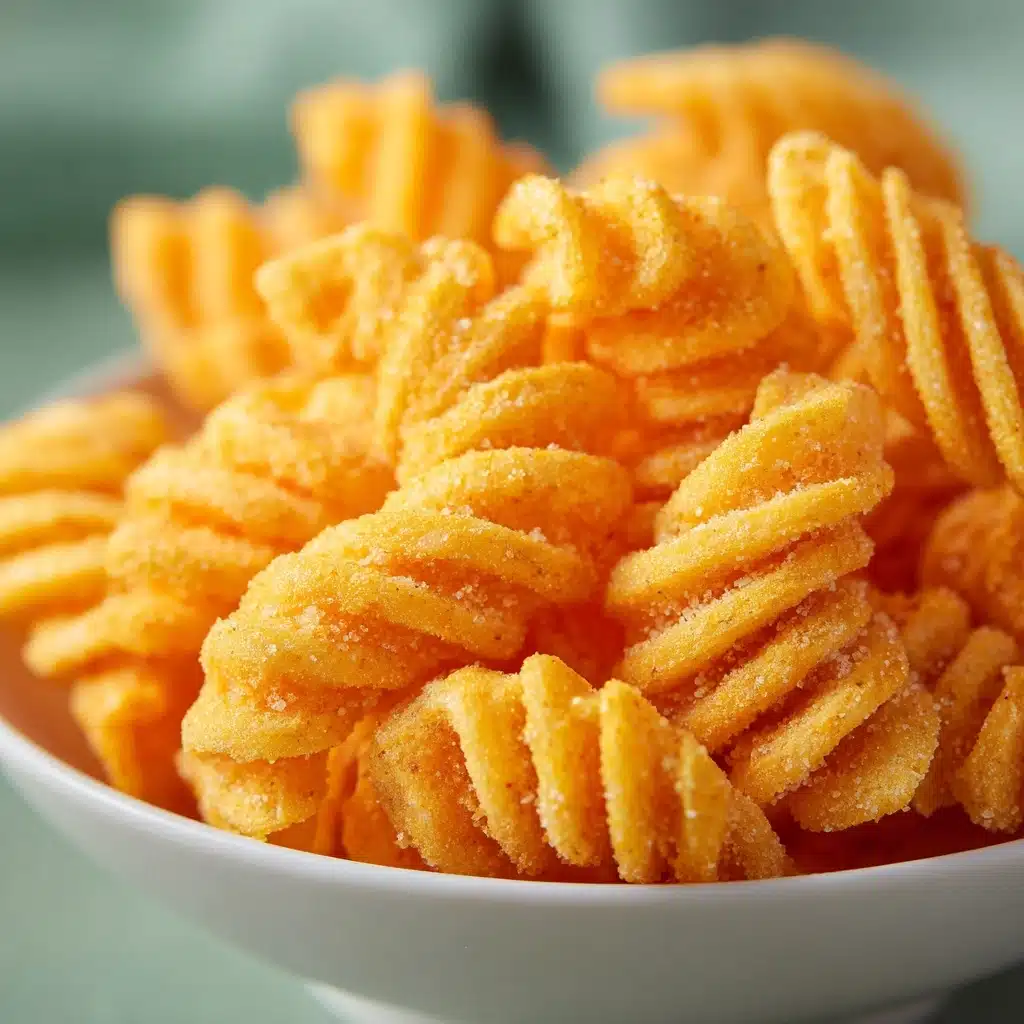
If you’ve never had the pleasure of biting into a crisp, golden cheese straw, you’re in for a real treat with this Cheese Straws Recipe. These irresistible savory snacks blend sharp cheddar cheese, buttery pastry, and just a hint of heat into the perfect party nibble or afternoon pick-me-up. Whether you’re serving them at a gathering or sneaking a few between meals, they’re guaranteed to disappear fast! The Cheese Straws Recipe is easy enough for weeknights yet special enough for celebrations, offering a satisfyingly crunchy texture and that unmistakable cheesy flavor in every bite.
Ingredients You’ll Need
One of the joys of this Cheese Straws Recipe is how a handful of simple, everyday ingredients come together to make something truly special. Each element plays an essential role, giving you the perfect balance of flavor, texture, and that signature color that makes cheese straws so inviting.
- Sharp cheddar cheese: The bold flavor and beautiful orange hue come from freshly shredded sharp cheddar—don’t skimp on quality here!
- All-purpose flour: This is the backbone of your dough, creating a crisp but tender structure that holds its shape as the straws bake up golden.
- Unsalted butter: Cold and cubed butter ensures a flaky, melt-in-your-mouth bite with every straw; the chill is key for texture.
- Salt: Just the right amount to enhance the cheese and keep every bite savory and balanced.
- Cayenne pepper (optional): A little sprinkle adds a gentle kick—go light for subtle warmth or heavier for a grown-up zing.
- Cold water: Helps bring the dough together without overworking it—add slowly so your straws stay tender.
How to Make Cheese Straws Recipe
Step 1: Prep Your Oven and Pan
Start by preheating your oven to 350°F. Line a baking sheet with parchment paper (or a silicone baking mat if you have one) to keep the cheese straws from sticking and to make cleanup a breeze. A properly heated oven ensures the straws crisp up perfectly.
Step 2: Mix the Dough
In a food processor, combine the shredded cheddar, flour, cold butter cubes, salt, and cayenne pepper if you’re using it. Pulse the mixture until it resembles coarse crumbs. This step is crucial—the cheese and butter should be evenly distributed, but you don’t want to overmix, as that could make the straws tough instead of flaky.
Step 3: Add Water and Form the Dough
Drizzle in the cold water one tablespoon at a time, pulsing gently between each addition. Stop as soon as the dough starts to come together and form a ball—too much water can make the dough sticky, so add it slowly! Once the dough is holding together, turn it out onto a lightly floured surface.
Step 4: Roll and Cut the Straws
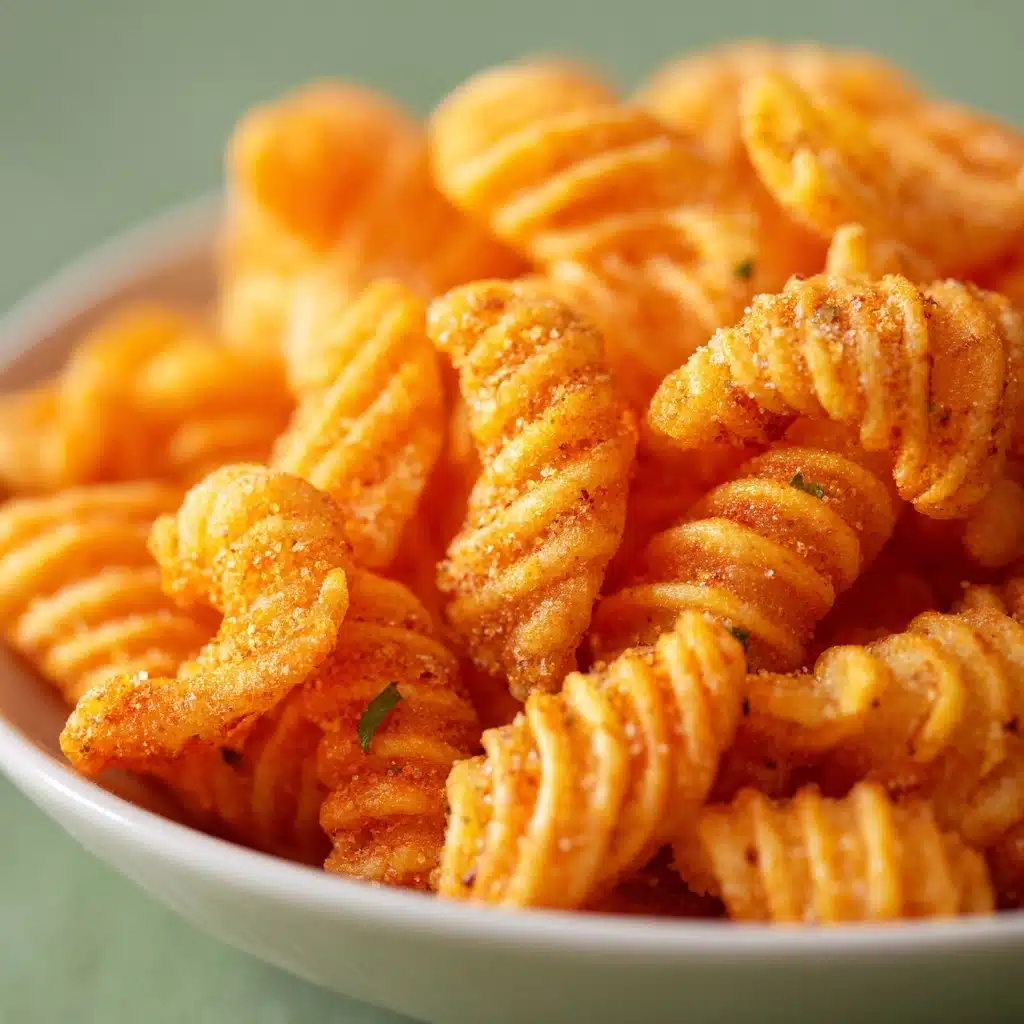
Roll the dough out to about 1/8-inch thickness. Use a sharp knife or a pizza cutter to slice it into strips about 1/2 inch wide and 4 to 5 inches long. If you want to get fancy, this is the time to use a piping bag fitted with a star tip for that classic ridged look.
Step 5: Arrange and Bake
Carefully transfer the strips to your prepared baking sheet, making sure to leave a little space between each one so they bake evenly. Pop them in the oven for 12 to 15 minutes, or until they’re golden and crisp. The cheesy aroma will let you know they’re almost ready!
Step 6: Cool and Enjoy
Let the cheese straws cool on the pan for a couple of minutes before moving them to a wire rack. They’ll crisp up even more as they cool—and trust me, it’s worth the wait before sneaking that first bite!
How to Serve Cheese Straws Recipe

Garnishes
For a little extra flair, sprinkle your cheese straws with grated Parmesan, toasted sesame seeds, or a pinch of cracked black pepper right before baking. These simple garnishes add both flavor and a pretty finish that makes your Cheese Straws Recipe look even more tempting on the table.
Side Dishes
Cheese straws are wonderfully versatile. Serve them alongside a steaming bowl of tomato soup, a fresh salad, or an antipasto platter. They’re also brilliant next to dips like spicy mustard or a creamy ranch, making them the ideal partner for just about any snack spread or appetizer course.
Creative Ways to Present
Get playful with presentation! Arrange your cheese straws in a tall glass for a bouquet effect, scatter them in a basket lined with a bright napkin, or tie a bundle together with twine for edible party favors. However you serve them, the Cheese Straws Recipe always brings a festive, homemade touch to any gathering.
Make Ahead and Storage
Storing Leftovers
If you’re lucky enough to have any cheese straws left, let them cool completely and then store them in an airtight container at room temperature. They’ll stay crisp for up to 3 days—perfect for snacking whenever the craving strikes.
Freezing
Want to plan ahead? The Cheese Straws Recipe freezes beautifully. Lay cooled straws in a single layer on a baking sheet, freeze until firm, then transfer to a zip-top bag or airtight container. They’ll keep in the freezer for up to 1 month. Thaw at room temperature for a quick treat anytime.
Reheating
To bring back that just-baked crispness, pop your cheese straws in a 300°F oven for a few minutes. This little trick revives both the texture and the cheesy aroma, making them taste freshly made even days later.
FAQs
Can I use pre-shredded cheese for this Cheese Straws Recipe?
While pre-shredded cheese is convenient, it often contains anti-caking agents that can affect the dough’s texture. For the best results—and the boldest flavor—grate your own cheese fresh from the block.
Is it possible to make this recipe without a food processor?
Absolutely! You can cut the butter into the flour and cheese with a pastry cutter or two knives. It takes a bit more elbow grease, but you’ll get the same delicious outcome.
Can I make this Cheese Straws Recipe gluten-free?
Yes, just swap the all-purpose flour for your favorite gluten-free baking blend. The texture might be slightly different, but the cheesy goodness will still shine through.
How spicy do the cheese straws get with cayenne pepper?
The 1/4 teaspoon of cayenne adds a gentle warmth that isn’t overpowering. If you like more heat, feel free to add a touch more—or leave it out entirely for a milder snack.
What’s the best way to keep cheese straws crispy?
Let them cool completely before storing, and always use an airtight container. If they start to soften, a quick stint in a low oven will bring their crunch right back.
Final Thoughts
I can’t recommend this Cheese Straws Recipe enough—it’s a true crowd-pleaser that always gets rave reviews! With its simple ingredients and big flavor, it’s a fantastic way to bring a little Southern charm to any occasion. Give it a try and watch these golden, cheesy bites vanish before your eyes!
Print
Cheese Straws Recipe
- Total Time: 35 minutes
- Yield: About 30 cheese straws 1x
- Diet: Vegetarian
Description
This classic Southern Cheese Straws recipe features crispy, buttery, and savory cheese snacks made from sharp cheddar, perfect for appetizers or party bites. Easy to prepare and bake, they deliver a delightful crunch with a hint of cayenne pepper for optional heat.
Ingredients
Main Ingredients
- 2 cups sharp cheddar cheese, shredded
- 1¼ cups all-purpose flour
- ½ cup unsalted butter, cold and cubed
- ½ teaspoon salt
- ¼ teaspoon cayenne pepper (optional, for heat)
- 2–3 tablespoons cold water
Instructions
- Preheat Oven: Preheat your oven to 350°F (175°C) and line a baking sheet with parchment paper to prevent sticking.
- Combine Ingredients: In a food processor, combine the shredded cheddar cheese, all-purpose flour, cold cubed unsalted butter, salt, and cayenne pepper if using. Pulse the mixture until it resembles coarse crumbs.
- Add Water: Add cold water one tablespoon at a time, pulsing after each addition just until the dough begins to come together and form a ball. Avoid overprocessing to keep the texture flaky.
- Roll Dough: Transfer the dough onto a lightly floured surface and roll it out evenly to about 1/8-inch thickness.
- Cut Strips: Slice the rolled dough into thin strips approximately ½ inch wide and 4–5 inches long.
- Arrange on Baking Sheet: Carefully place the strips onto the prepared baking sheet, spacing them slightly apart to allow even baking.
- Bake: Bake in the preheated oven for 12–15 minutes or until the cheese straws turn golden and crisp.
- Cool: Let the baked cheese straws cool on the pan for a few minutes before transferring to a wire rack to cool completely for best crunch.
Notes
- For extra flavor, sprinkle the cheese straws with grated Parmesan cheese or sesame seeds before baking.
- Use a piping bag fitted with a star tip to pipe the dough for attractive ridged cheese straws.
- Store leftover cheese straws in an airtight container to maintain crispness.
- Prep Time: 20 minutes
- Cook Time: 15 minutes
- Category: Appetizer
- Method: Baking
- Cuisine: Southern
Nutrition
- Serving Size: 2 cheese straws
- Calories: 110
- Sugar: 0g
- Sodium: 130mg
- Fat: 8g
- Saturated Fat: 5g
- Unsaturated Fat: 2g
- Trans Fat: 0g
- Carbohydrates: 6g
- Fiber: 0g
- Protein: 3g
- Cholesterol: 20mg


