
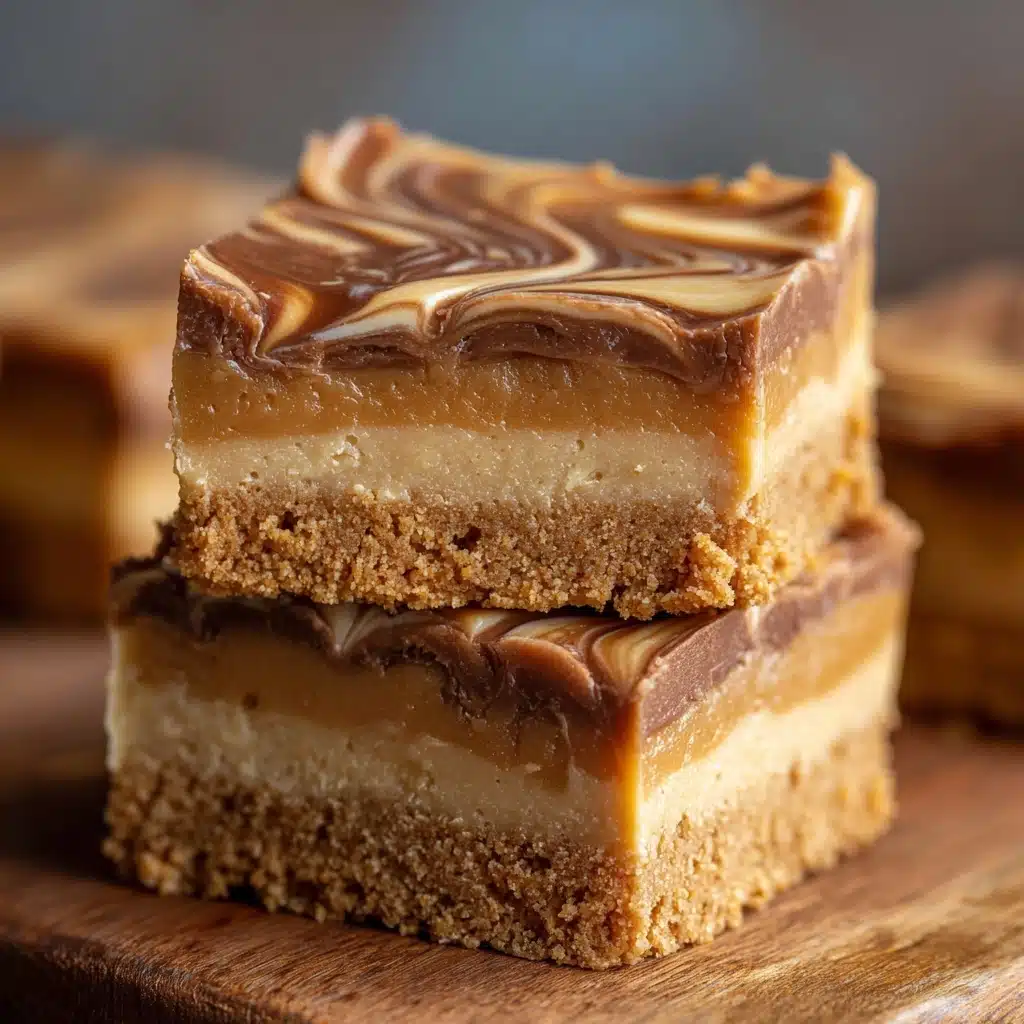
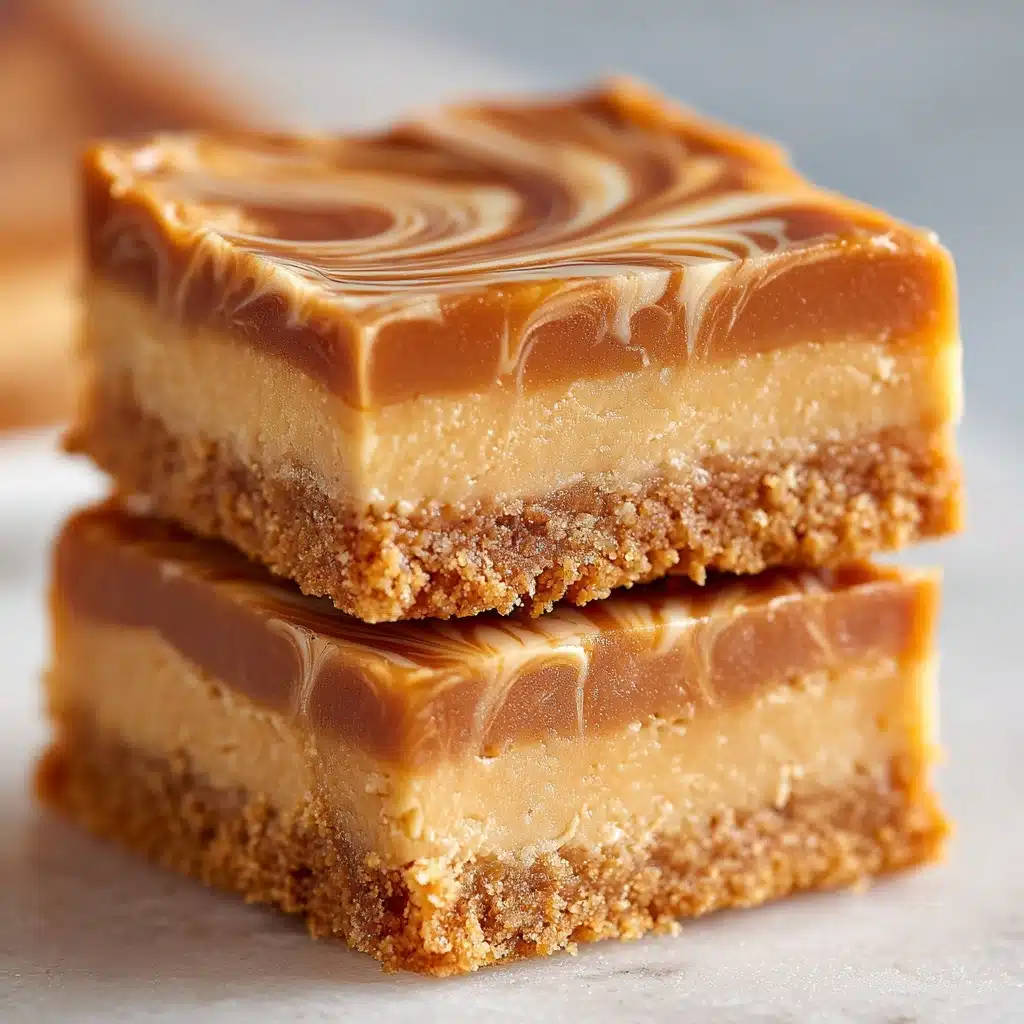
If you’ve ever wandered through Disneyland and caught a whiff of warm peanut butter and chocolate mingling in the air, you know that some treats just have a magical pull. That’s exactly what makes these Irresistible Disneyland’s Peanut Butter Sandwich Bars so special—they deliver pure nostalgia and joy in every bite! Rich, chewy, and packed with layers of peanut butter, oats, and melty chocolate, these bars are the ultimate comfort dessert that’s as fun to make as it is to eat. Whether you’re baking for a crowd or just looking to recreate a bit of theme park magic at home, this recipe brings happiness straight to your kitchen.
Ingredients You’ll Need
The beauty of Irresistible Disneyland’s Peanut Butter Sandwich Bars lies in their simplicity. Every ingredient plays a starring role, building up layers of flavor and texture that come together in perfect harmony. Here’s what you’ll need, plus a few handy tips for best results:
- Unsalted butter (1/2 cup, softened): Gives the bars their tender, melt-in-your-mouth base and lets you control the salt.
- Creamy peanut butter (1/2 cup for dough, 1/2 cup for filling): The star of the show—choose your favorite brand for the richest peanut flavor.
- Granulated sugar (1/2 cup): Adds sweetness and helps with that irresistible chew.
- Brown sugar, packed (1/2 cup): Infuses a deeper caramel note and keeps the bars moist.
- Large egg (1): Binds everything together and adds tenderness to the crumb.
- Vanilla extract (1 teaspoon): Rounds out the flavors with its warm, aromatic touch.
- All-purpose flour (1 cup): Provides structure without making the bars too dense.
- Baking soda (1/2 teaspoon): Ensures even lift and a soft, light texture.
- Salt (1/4 teaspoon): Balances the sweetness and enhances every flavor.
- Rolled oats (2 cups): Give the bars their hearty, chewy texture—quick oats work in a pinch, but rolled is best.
- Semisweet chocolate chips (2 cups): Melty chocolate pockets in every bite, just like the park version.
- Powdered sugar (1/2 cup): Whips with peanut butter for a silky-smooth filling.
- Milk (2–3 tablespoons): Just enough to make the filling spreadable and luscious.
How to Make Irresistible Disneyland’s Peanut Butter Sandwich Bars
Step 1: Prep Your Pan and Oven
Start by preheating your oven to 350°F (175°C). Grease a 9×13-inch baking pan and line it with parchment paper, making sure to leave a little overhang on the sides—this makes it a breeze to lift the bars out later. This simple prep step saves you from sticky messes and delivers picture-perfect bars every time.
Step 2: Cream the Wet Ingredients
In a large mixing bowl, combine the softened butter, creamy peanut butter, granulated sugar, and brown sugar. Beat everything together until the mixture looks light and fluffy—this is key for that signature tender texture. Next, add the egg and vanilla extract, mixing until just combined. Each addition builds the rich, nutty base that makes these bars so memorable.
Step 3: Combine the Dry Ingredients
In a separate bowl, whisk together the flour, baking soda, and salt. Gradually add this dry mixture to your wet ingredients, stirring gently until just combined—don’t overmix, or you’ll lose that melt-in-your-mouth bite! Fold in the rolled oats last to create a thick, hearty dough that’s packed with flavor.
Step 4: Bake the Bottom Layer
Press about two-thirds of the oat mixture evenly into your prepared pan. Slide it into the oven and bake for 10 minutes. This partial bake gives your bars a sturdy but soft base that holds up beautifully to the gooey layers coming next.
Step 5: Add Chocolate and Top Layer
Once the bottom layer is set, remove the pan from the oven and immediately sprinkle the chocolate chips evenly over the warm crust. Dollop the remaining oat mixture by spoonfuls across the top, letting a few chocolate chips peek through for that classic look. Pop the pan back in the oven and bake for 15 to 20 minutes, until the top is golden brown and your kitchen smells absolutely heavenly.
Step 6: Cool Completely
Patience is key here! Let the bars cool completely in the pan so the chocolate firms up and each layer sets. If you rush this step, the bars can fall apart when sliced—but the anticipation just makes that first bite even sweeter.
Step 7: Make the Peanut Butter Filling
While the bars cool, melt 1/2 cup creamy peanut butter in a bowl (a quick zap in the microwave works perfectly). Whisk in the powdered sugar and 2 to 3 tablespoons of milk until smooth, creamy, and spreadable. This luscious filling is what transforms these bars into true Irresistible Disneyland’s Peanut Butter Sandwich Bars.
Step 8: Assemble and Chill
Once the bars are fully cooled, spread the peanut butter filling evenly over the top. Refrigerate the pan for about 30 minutes, or until the filling is set. Using the parchment overhang, lift the bars out and slice into generous squares or rectangles. You’re officially ready to enjoy a little slice of Disneyland magic at home!
How to Serve Irresistible Disneyland’s Peanut Butter Sandwich Bars
Garnishes
For that extra-special touch, sprinkle your Irresistible Disneyland’s Peanut Butter Sandwich Bars with a handful of chopped roasted peanuts, a light dusting of powdered sugar, or even a drizzle of melted chocolate. These simple garnishes elevate the look and add a little extra crunch and flavor to every bite.
Side Dishes
Pair these rich bars with a scoop of vanilla ice cream or a tall glass of cold milk to balance out the sweetness. If you’re serving them at a party, a fruit platter or a bowl of sliced strawberries makes a refreshing complement to all that peanut-buttery goodness.
Creative Ways to Present
Cut the bars into fun shapes with cookie cutters for a kid-friendly treat or layer them in a dessert trifle with whipped cream and sliced bananas. Wrap individual bars in parchment and tie with twine for a charming homemade gift—everyone loves a little Disneyland surprise!
Make Ahead and Storage
Storing Leftovers
Keep any leftover Irresistible Disneyland’s Peanut Butter Sandwich Bars in an airtight container in the refrigerator. They’ll stay fresh and chewy for up to 5 days, making them perfect for lunchboxes or midnight snacks when the craving hits.
Freezing
If you want to stash some away for future cravings, go ahead and freeze the bars! Wrap them individually in plastic wrap, then place in a freezer-safe bag or container. They’ll keep their scrumptious flavor and texture for up to 2 months—just thaw overnight in the fridge before enjoying.
Reheating
For that just-baked taste, pop a bar in the microwave for 10 to 15 seconds. The chocolate will get perfectly gooey again, and the peanut butter filling softens up beautifully—like a bite of fresh-from-the-oven magic!
FAQs
Can I use chunky peanut butter instead of creamy?
Absolutely! Chunky peanut butter will add a pleasant crunch to both the dough and filling. Just keep in mind that the bars will have a slightly different texture but will still be every bit as delicious.
What’s the best way to cut the bars cleanly?
For neat squares, chill the bars thoroughly before slicing and use a sharp knife wiped clean between cuts. The parchment overhang makes it easy to lift the whole batch out of the pan for mess-free slicing.
Can these be made gluten-free?
Yes! Substitute your favorite gluten-free all-purpose flour blend and make sure your oats are certified gluten-free. The bars will still be chewy, flavorful, and just as irresistible.
How do I make the bars less sweet?
Try using bittersweet or dark chocolate chips, and reduce the granulated sugar or powdered sugar by a tablespoon or two. The bars will still taste amazing but won’t be quite as sweet.
Can I double the recipe for a party?
Definitely! Double all ingredients and use two baking pans, or a large rimmed sheet pan if you have one. Watch your bake times—they may need a few more minutes, so check for golden tops and set centers.
Final Thoughts
There’s something magical about recreating a beloved theme park treat at home, and these Irresistible Disneyland’s Peanut Butter Sandwich Bars deliver every single time. With their chewy oat base, dreamy peanut butter filling, and pockets of melty chocolate, they’re sure to become a family favorite. Give them a try, share a batch with friends, and let a little Disneyland spirit brighten your day!
Print
Irresistible Disneyland’s Peanut Butter Sandwich Bars Recipe
- Total Time: 50 minutes (plus cooling time)
- Yield: 16 bars 1x
- Diet: Vegetarian
Description
These Irresistible Disneyland’s Peanut Butter Sandwich Bars are a deliciously rich and chewy treat combining creamy peanut butter, oats, and gooey chocolate chips. Perfectly layered with a smooth peanut butter filling, these bars capture the classic theme park flavor in a homemade dessert that’s easy to make and sure to satisfy any sweet tooth.
Ingredients
Base and Bars
- 1/2 cup unsalted butter, softened
- 1/2 cup creamy peanut butter
- 1/2 cup granulated sugar
- 1/2 cup brown sugar, packed
- 1 large egg
- 1 teaspoon vanilla extract
- 1 cup all-purpose flour
- 1/2 teaspoon baking soda
- 1/4 teaspoon salt
- 2 cups rolled oats
- 2 cups semisweet chocolate chips
Filling
- 1/2 cup creamy peanut butter
- 1/2 cup powdered sugar
- 2–3 tablespoons milk
Instructions
- Preheat and Prepare Pan: Preheat your oven to 350°F (175°C). Grease a 9×13-inch baking pan and line it with parchment paper, leaving some overhang to easily remove the bars later.
- Cream Wet Ingredients: In a large mixing bowl, cream together the softened butter, 1/2 cup peanut butter, granulated sugar, and brown sugar until the mixture is light and fluffy.
- Add Egg and Vanilla: Beat in the large egg and vanilla extract until fully incorporated.
- Mix Dry Ingredients: In a separate bowl, whisk together the flour, baking soda, and salt to combine evenly.
- Combine Mixtures: Gradually add the dry ingredients to the wet peanut butter mixture and stir until just combined. Then fold in the rolled oats thoroughly.
- Press Base Layer: Press about two-thirds of the oat mixture evenly into the prepared baking pan, creating a firm base.
- First Bake: Bake the base layer for 10 minutes, then remove it from the oven.
- Add Chocolate Chips and Top Layer: While the base is warm, sprinkle the chocolate chips evenly over it. Dollop spoonfuls of the remaining oat mixture over the chocolate chips to create the top layer.
- Final Bake: Return the pan to the oven and bake for an additional 15 to 20 minutes, or until the bars turn golden brown on top.
- Cool Completely: Remove from the oven and let the bars cool completely in the pan for optimal setting.
- Prepare Filling: Melt the remaining 1/2 cup peanut butter gently, then whisk in powdered sugar and milk until the filling is smooth and spreadable.
- Assemble Bars: Once the bars are fully cooled, spread the peanut butter filling evenly over the top.
- Chill and Serve: Refrigerate the bars until the filling is set, then cut into squares or rectangles and serve.
Notes
- For a richer chocolate flavor, substitute semisweet chocolate chips with dark chocolate chips.
- Bars can be stored refrigerated for up to 5 days or frozen for up to 2 months for longer preservation.
- To add extra texture, mix 1/2 cup chopped peanuts into the oat mixture before baking.
- Prep Time: 20 minutes
- Cook Time: 30 minutes
- Category: Dessert, Bars
- Method: Baking
- Cuisine: American
Nutrition
- Serving Size: 1 bar
- Calories: 370
- Sugar: 28 g
- Sodium: 160 mg
- Fat: 20 g
- Saturated Fat: 8 g
- Unsaturated Fat: 10 g
- Trans Fat: 0 g
- Carbohydrates: 44 g
- Fiber: 3 g
- Protein: 7 g
- Cholesterol: 25 mg

