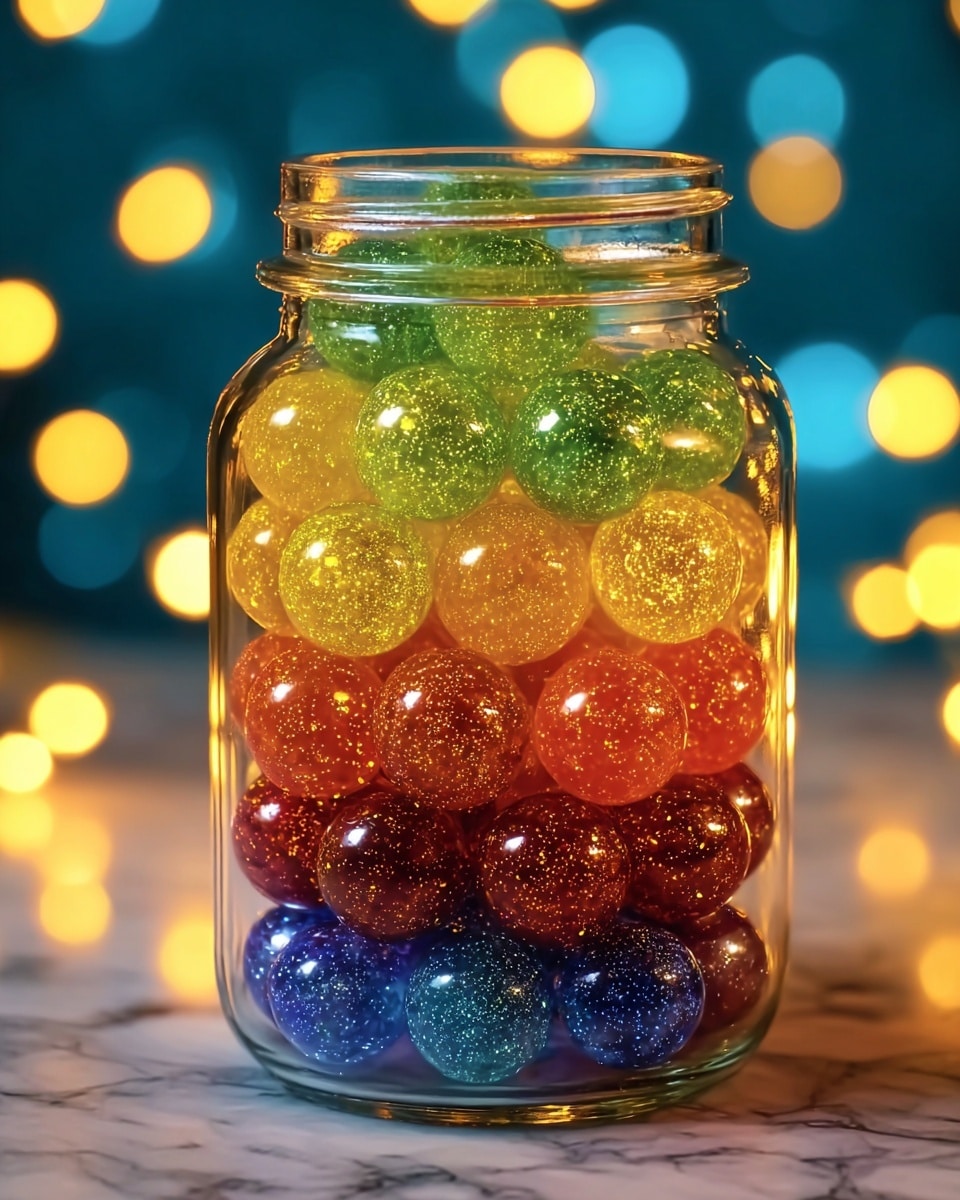
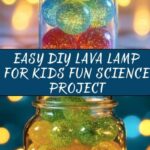
Get ready to dive into a world of mesmerizing colors and bubbly fun with the Easy DIY Lava Lamp: Spark Joy with This Fun Project! Recipe. This project is a delightful blend of simple ingredients and a pinch of science magic, perfect for a cozy afternoon or a playful gathering. With just a few household items, you’ll create a glowing, bubbling lamp that will captivate both kids and adults alike. It’s not just a craft; it’s an experience that sparks joy every time you watch those vibrant bubbles dance.
Ingredients You’ll Need
These ingredients are straightforward and easy to find, but each plays an important role in making your lava lamp come to life. From the clear separation of water and oil to the fizz created by the effervescent tablet, every element contributes to an entrancing visual effect.
- Clear plastic or glass bottle (16 to 20 oz): This will be the vessel for your lava lamp, and picking a clear one lets you see every mesmerizing swirl and bubble.
- ¾ cup water: The base liquid that works with the oil to create that distinct lava lamp texture when combined with the tablet’s fizz.
- 1 cup vegetable oil or baby oil: Oil’s density creates the essential separation from water, allowing the colorful blobs to float and fall in a hypnotic dance.
- 10 drops liquid food coloring: Your splash of color! Choose any shade that brightens your mood or fits your décor.
- 1 effervescent tablet (like Alka-Seltzer): This little tablet is the catalyst that generates bubbling action, bringing your lamp to life.
- Optional glitter: A sprinkle of sparkle to add magical shimmer to your bubbling scene.
How to Make Easy DIY Lava Lamp: Spark Joy with This Fun Project! Recipe
Step 1: Prepare Your Bottle
Start by filling your clear bottle about one-quarter full with water. This simple base sets the stage for your lava lamp’s activity.
Step 2: Add the Oil
Gently pour the vegetable or baby oil into the bottle until it is nearly full, leaving about an inch at the top to prevent spills. Be patient as the oil and water naturally separate, forming the classic lava lamp layering.
Step 3: Add Color Magic
Drop in your chosen food coloring and watch as those vibrant blobs elegantly drift through the oil, settling into the water layer below—this contrast creates the enchanting effect you’re aiming for.
Step 4: Sparkle with Optional Glitter
If you love a bit of extra sparkle, add a pinch of glitter now; it catches the light beautifully as it moves with the bubbles.
Step 5: Activate with Effervescent Tablet
Break your effervescent tablet into smaller pieces and drop one piece into the bottle. Immediately, colorful bubbles begin rising and falling, mimicking the iconic lava lamp motion. Once the fizzing slows, just add another tablet piece to keep the fun going.
How to Serve Easy DIY Lava Lamp: Spark Joy with This Fun Project! Recipe
Garnishes
While this isn’t a food recipe, adding garnishes like tiny stars or glitters enhances the visual appeal and makes the lamp even more magical to watch. Kids especially love seeing those extra sparkles swirling around inside.
Side Dishes
Pair your lava lamp project with a cozy snack or beverage for an all-around fun experience. Think of serving it alongside colorful fruit juices or light finger foods at a kids’ party, where science meets snack time perfectly.
Creative Ways to Present
Display your DIY lava lamp on a windowsill or a small tray surrounded by soft fairy lights to highlight the glowing bubbles. You can also create multiple lamps in different colors for a striking, interactive centerpiece during playdates or family gatherings.
Make Ahead and Storage
Storing Leftovers
If you want to pause your lava lamp fun and resume later, simply cap the bottle tightly and store it upright in a cool place. This prevents spills and keeps your liquids perfectly separated for next time.
Freezing
Freezing is not recommended for this DIY project since it can affect the separation of oil and water and potentially damage the bottle.
Reheating
There’s no reheating involved here, but if your lava lamp effect fades, just add a fresh piece of effervescent tablet to restart the bubbling action. It’s instant, safe, and repeatable fun.
FAQs
Can I use any type of bottle for this project?
It’s best to use a clear plastic or glass bottle between 16 and 20 ounces. Clear bottles show the colorful bubbles best, and a tall, narrow shape enhances the lava lamp effect dramatically.
Is this safe for young children?
Yes, but always supervise young kids during this project to ensure they don’t ingest any materials, especially the effervescent tablets and liquids.
What happens if I shake the bottle?
Shaking will mix the oil and water temporarily but will disrupt the flow of bubbles in your lava lamp. It’s best to keep it still to enjoy the mesmerizing motion.
Can I use other liquids instead of water?
Water works best because of its density and compatibility with oil. Other liquids like juice or soda could interfere with the separation or reaction and may make the lamp cloudy.
How can I change the color of my lava lamp?
Simply switch the food coloring drops for any color you want! Trying out multiple colors or layering drops creates exciting new effects each time you make the lamp.
Final Thoughts
There’s something truly special about the Easy DIY Lava Lamp: Spark Joy with This Fun Project! Recipe — it’s an effortless way to add wonder and creativity to any day. Whether you’re crafting with kids, decorating a room, or just need a colorful break, this simple project promises smiles and fascination. Give it a try and watch your own little lava universe come alive right before your eyes!
Print
Easy DIY Lava Lamp: Spark Joy with This Fun Project! Recipe
- Total Time: 5 minutes
- Yield: 1 DIY lava lamp 1x
Description
Create a mesmerizing DIY lava lamp with simple household ingredients in minutes. This fun, no-cook project combines water, oil, food coloring, and an effervescent tablet to produce colorful, floating bubbles that mimic a classic lava lamp. Perfect for kids’ science experiments or entertaining crafts.
Ingredients
Materials
- 1 clear plastic or glass bottle (16 to 20 oz)
- ¾ cup water
- 1 cup vegetable oil or baby oil
- 10 drops liquid food coloring (any color)
- 1 effervescent tablet (like Alka-Seltzer)
- Optional: glitter for extra sparkle
Instructions
- Prepare Bottle: Fill the bottle about one-quarter full with water, ensuring the base layer is set for the lava lamp effect.
- Add Oil: Carefully pour the vegetable or baby oil into the bottle until it’s nearly full, leaving about an inch of space at the top. Allow the oil and water to separate fully, forming two distinct layers.
- Add Color: Drop 10 drops of liquid food coloring into the bottle. Watch the drops pass through the oil layer and mix with the water, creating vibrant colors.
- Optional Glitter: For extra sparkle, add a small pinch of glitter to the bottle to enhance the visual effect.
- Activate Lava Lamp: Break the effervescent tablet into several pieces. Drop one piece into the bottle and observe the colorful bubbles forming and moving up and down, simulating a lava lamp’s motion.
- Maintain Effect: Once the bubbling stops, add more tablet pieces to continue the reaction and keep the lava lamp effect going.
Notes
- Always supervise young children during this project for safety.
- For a reusable lava lamp, securely cap the bottle after use and store it upright.
- Do not drink or shake the mixture to avoid unwanted spills or reactions.
- Use clear oil and a tall, narrow bottle for the best visual results.
- Prep Time: 5 minutes
- Cook Time: 0 minutes
- Category: Crafts
- Method: No-Cook
- Cuisine: N/A
