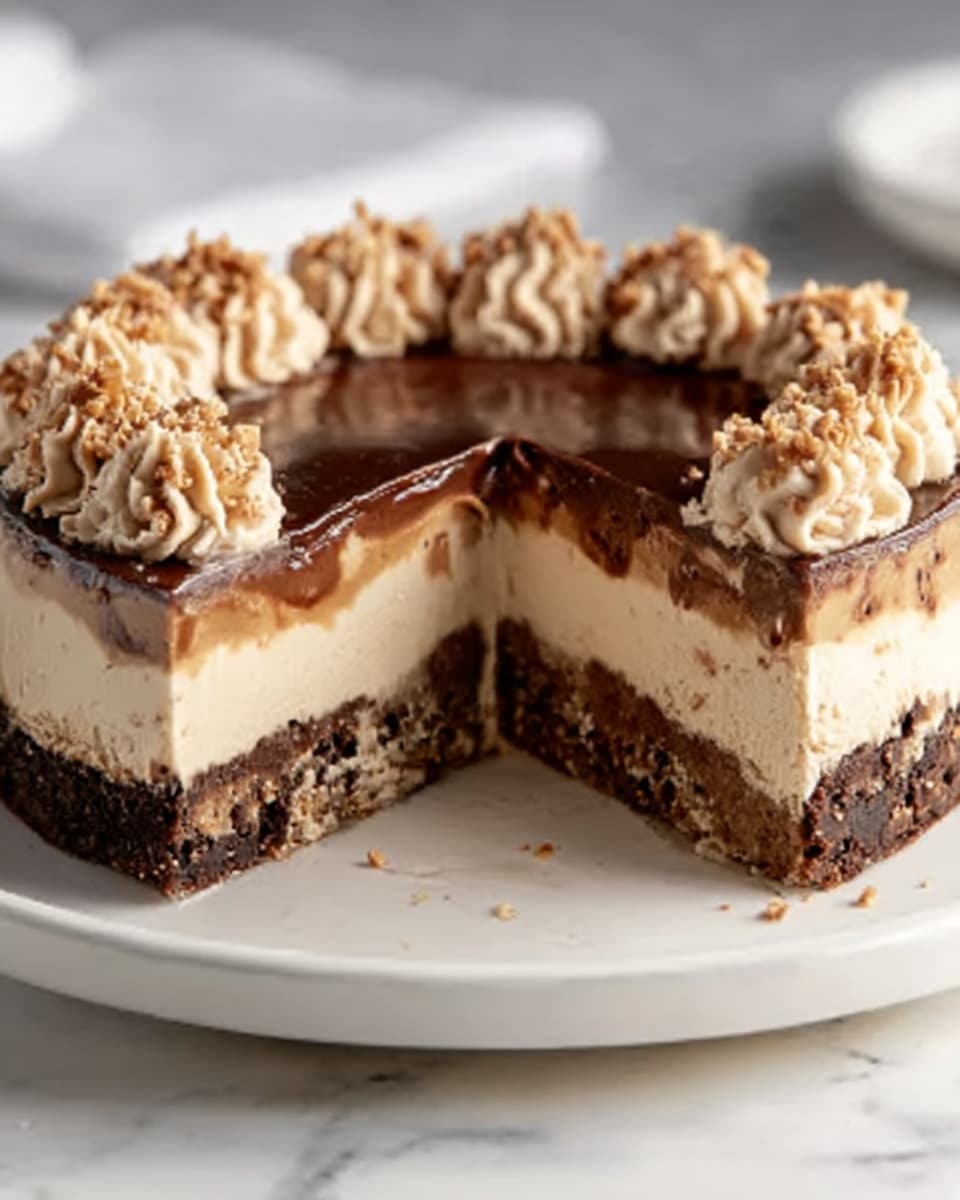
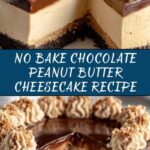
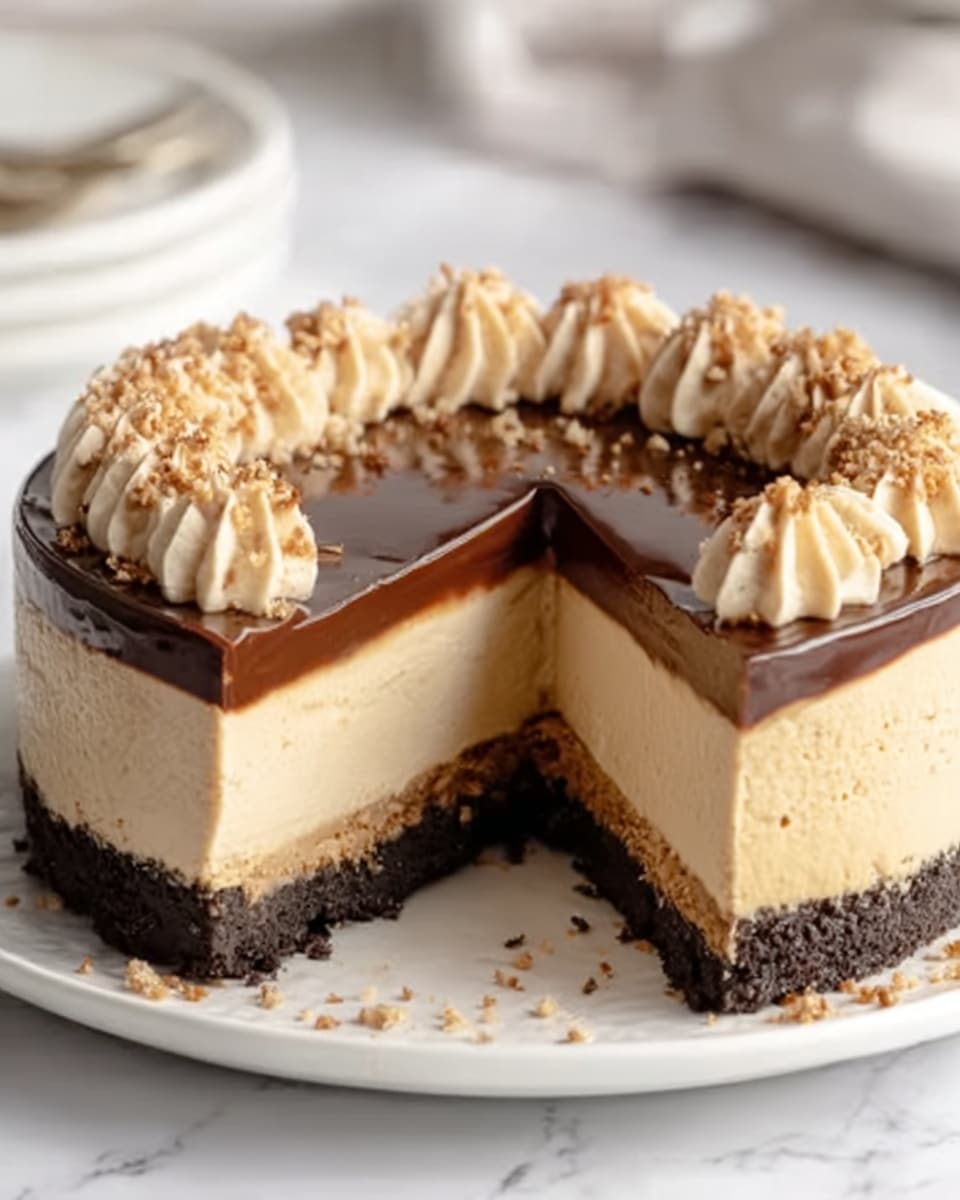
If you are a fan of the luscious combination of chocolate and peanut butter, you are in for a real treat with this No-Bake Chocolate Peanut Butter Cheesecake Recipe. It’s the perfect dessert to impress your friends without turning on the oven, combining a rich, creamy peanut butter filling with a chocolate cookie crust, all topped off with a drizzle of silky melted chocolate and crunchy peanuts. This cheesecake is indulgent, effortless, and absolutely irresistible, making it a go-to recipe that feels like a decadent celebration in every bite.
Ingredients You’ll Need
These ingredients are simple but essential, each playing a crucial role in creating that perfect balance of flavors and textures in your cheesecake. From the crunchy cookie crust to the creamy filling and the nutty crunch on top, every component adds something special.
- Chocolate sandwich cookies, crushed: This forms the crunchy and chocolatey base that holds the cheesecake together.
- Unsalted butter, melted: Helps bind the cookie crumbs into a firm crust and adds richness without overpowering the flavor.
- Cream cheese, softened: The star of the filling, providing that silky texture and classic cheesecake tang.
- Creamy peanut butter: Brings that irresistible nutty flavor and creamy consistency that pairs beautifully with chocolate.
- Powdered sugar: Sweetens the filling smoothly without any graininess.
- Vanilla extract: Enhances the flavors and adds a subtle warmth to the filling.
- Heavy cream, whipped: Lightens the filling so it’s fluffy, airy, and melts in your mouth.
- Semi-sweet chocolate chips, melted: Used for drizzling on top to add a glossy, rich chocolate finish.
- Chopped peanuts, for garnish: Adds a satisfying crunch and reinforces the peanut butter flavor.
- Chocolate syrup, for drizzling: Optional, but makes the presentation extra special and adds another layer of chocolate goodness.
How to Make No-Bake Chocolate Peanut Butter Cheesecake Recipe
Step 1: Prepare the Crust
Start by mixing the crushed chocolate sandwich cookies with the melted butter in a medium bowl until everything is well combined. This mixture will form your delicious crust. Press it firmly into the bottom of a 9-inch springform pan, making sure it’s evenly spread and compact. Pop it into the refrigerator to chill and set while you prepare the creamy filling.
Step 2: Make the Peanut Butter Filling
In a large bowl, beat together the softened cream cheese, creamy peanut butter, powdered sugar, and vanilla extract until smooth and creamy. This step is where the magic happens—getting that rich, velvety texture that will make the filling dreamily satisfying.
Step 3: Fold in Whipped Cream
Gently fold the whipped heavy cream into the peanut butter mixture to lighten it up and create a fluffy, airy texture. This delicate folding keeps the filling light while keeping all that luscious flavor intact.
Step 4: Assemble the Cheesecake
Spread the peanut butter filling evenly over the chilled crust in your springform pan. The contrast between the crisp chocolate crust and smooth filling is what makes this cheesecake so special and comforting.
Step 5: Add the Chocolate Topping
Drizzle the melted semi-sweet chocolate chips over the top of the cheesecake, creating a beautiful glossy layer. Then sprinkle chopped peanuts for that extra crunch and nutty burst, which perfectly complements the creamy filling.
Step 6: Chill Until Set
Cover your cheesecake and refrigerate for at least 4 hours to allow it to fully set. This resting period is key for the flavors to meld together and for the cheesecake to firm up, making it easier to slice and serve.
Step 7: Final Touches Before Serving
Right before serving, drizzle a little chocolate syrup on top for an extra touch of indulgence. This final step gives your cheesecake an elegant look and amplifies the chocolate flavor to new heights.
How to Serve No-Bake Chocolate Peanut Butter Cheesecake Recipe
Garnishes
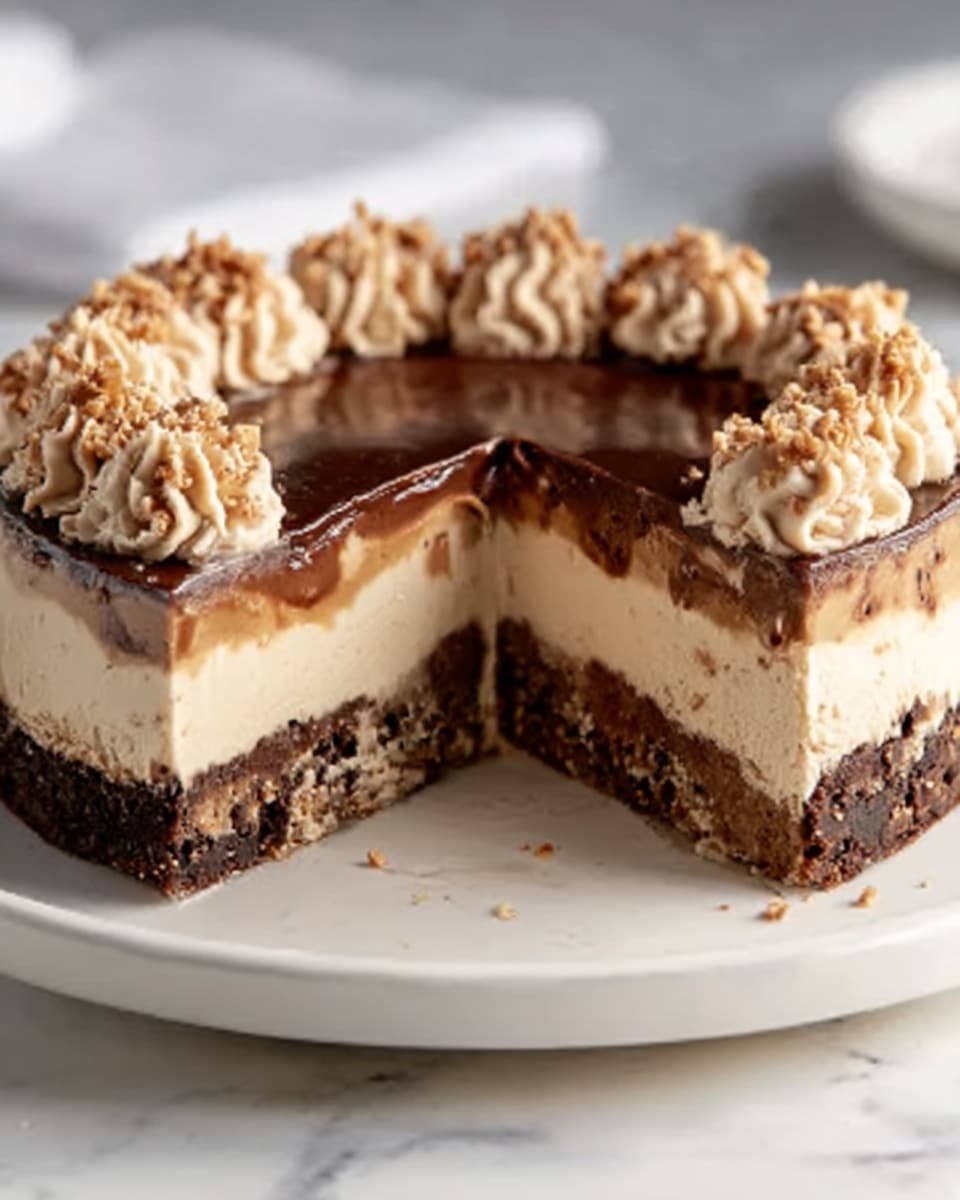
Beyond the chopped peanuts and chocolate drizzle, you can elevate your cheesecake with whipped cream dollops, a sprinkle of sea salt to highlight the peanut butter, or even a few whole roasted peanuts on top. These little touches add texture and visual appeal to the dessert plate, making each slice look like a work of art.
Side Dishes
This cheesecake pairs wonderfully with fresh fruit like sliced strawberries or raspberries to balance the richness with some brightness. A simple scoop of vanilla ice cream or a glass of cold milk also complement the creamy and nutty flavors beautifully, making your dessert experience even more heavenly.
Creative Ways to Present
For a fun twist, serve the cheesecake in individual jars or small glasses with alternating layers of crushed cookies, filling, and chocolate drizzle. You can also turn this recipe into mini cheesecake cups for parties, which are easier to handle and perfect for sharing. Presentation really shines with this recipe because every swirled drizzle and sprinkle looks utterly inviting.
Make Ahead and Storage
Storing Leftovers
Store any leftover No-Bake Chocolate Peanut Butter Cheesecake in an airtight container or keep it covered in the springform pan with plastic wrap. It will stay fresh and creamy in the refrigerator for up to 4 days, making it a fantastic make-ahead dessert for special occasions.
Freezing
You can freeze this cheesecake if needed. Wrap it tightly in plastic wrap and aluminum foil to prevent freezer burn. When you’re ready to enjoy it, thaw it overnight in the refrigerator to preserve its smooth texture and rich flavor. Just be sure not to freeze it for more than a month to keep it tasting fresh.
Reheating
No reheating is necessary with this cheesecake since it’s best served chilled. If you want to soften the texture slightly, let it sit at room temperature for about 10–15 minutes before slicing. This subtle warming enhances the peanut butter flavor and makes every bite melt on your tongue.
FAQs
Can I use crunchy peanut butter instead of creamy?
Absolutely! Crunchy peanut butter will add a bit more texture to the filling, which can be quite delightful. Just make sure to mix it well so the texture is consistent throughout the cheesecake.
Is it possible to make this cheesecake dairy-free?
Yes, you can substitute the cream cheese with a dairy-free alternative and use coconut cream instead of heavy cream. Keep in mind the flavor might be slightly different, but it will still be deliciously satisfying!
How long does the cheesecake need to chill before serving?
For the best results, chill the cheesecake for at least 4 hours. This gives it enough time to set properly and allows the flavors to meld beautifully.
Can I use a different type of cookie for the crust?
You can experiment with other chocolate cookies or even graham crackers, but the classic chocolate sandwich cookies give the best balance of chocolate flavor and crunch that pairs perfectly with peanut butter.
Is this recipe suitable for a crowd or just small servings?
This No-Bake Chocolate Peanut Butter Cheesecake Recipe yields around 10 servings, making it perfect for family gatherings, parties, or any time you want to share a crowd-pleasing dessert.
Final Thoughts
Once you try this No-Bake Chocolate Peanut Butter Cheesecake Recipe, it will quickly become one of your favorite indulgences to make and share. Its creamy, dreamy texture paired with rich chocolate and peanut butter is an unbeatable combination that everyone loves. Easy to prepare and impossible not to enjoy, why not start your cheesecake adventure today?
Print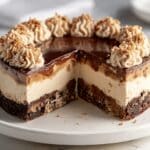
No-Bake Chocolate Peanut Butter Cheesecake Recipe
- Total Time: 4 hours 20 minutes
- Yield: 10 servings 1x
- Diet: Vegetarian
Description
This No-Bake Chocolate Peanut Butter Cheesecake is a luscious and creamy dessert combining the rich flavors of peanut butter and chocolate. Featuring a crunchy chocolate cookie crust, a smooth peanut butter cheesecake filling, and a decadent chocolate topping, this treat requires no oven time and is perfect for any occasion.
Ingredients
Crust
- 24 chocolate sandwich cookies, crushed
- 1/4 cup unsalted butter, melted
Filling
- 1 (8-ounce) package cream cheese, softened
- 1 cup creamy peanut butter
- 1 cup powdered sugar
- 1 teaspoon vanilla extract
- 1 cup heavy cream, whipped
Topping and Garnish
- 1 cup semi-sweet chocolate chips, melted
- 1/2 cup chopped peanuts, for garnish
- Chocolate syrup, for drizzling
Instructions
- Prepare Crust: In a medium bowl, combine the crushed chocolate sandwich cookies and melted butter until fully mixed. Press this mixture firmly into the bottom of a 9-inch springform pan, creating an even crust layer. Refrigerate to chill while preparing the filling.
- Make Filling Base: In a large bowl, beat together the softened cream cheese, creamy peanut butter, powdered sugar, and vanilla extract. Mix until the texture is smooth and creamy with no lumps.
- Incorporate Whipped Cream: Gently fold the whipped heavy cream into the peanut butter mixture, carefully combining to keep the mixture light and airy.
- Assemble Cheesecake: Spread the peanut butter filling evenly over the chilled cookie crust in the springform pan, smoothing the top with a spatula for an even finish.
- Add Chocolate Topping: Drizzle the melted semi-sweet chocolate chips generously over the surface of the cheesecake, creating a decorative pattern if desired.
- Garnish: Sprinkle the chopped peanuts evenly over the chocolate layer to add a crunchy texture and enhance flavor.
- Chill to Set: Cover the pan and refrigerate for at least 4 hours to allow the cheesecake to firm up and develop flavors.
- Serve with Chocolate Syrup: Just before serving, drizzle chocolate syrup over individual slices or the whole cheesecake for added decadence.
Notes
- Make sure the cream cheese is softened to room temperature for easy mixing and a smooth filling.
- Use a springform pan for easy removal of the cheesecake without damaging the crust or filling.
- For best results, whip the heavy cream until stiff peaks form before folding it into the filling.
- This cheesecake is best served chilled and consumed within 2-3 days.
- To make cleanup easier, line the bottom of the springform pan with parchment paper before pressing in the crust.
- Prep Time: 20 minutes
- Cook Time: 0 minutes
- Category: Dessert
- Method: No-Cook
- Cuisine: American
