
“`html
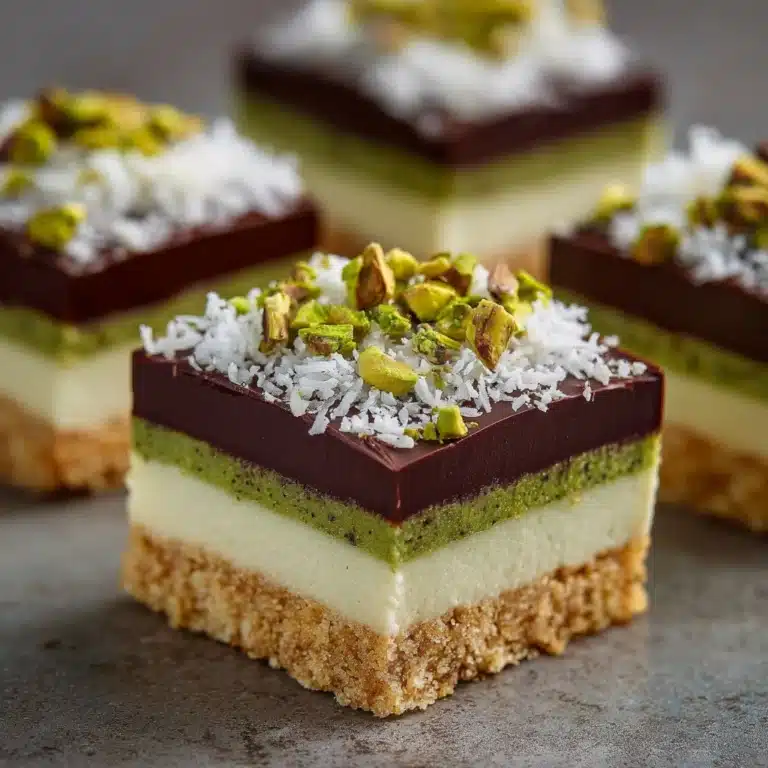
If you’re on the lookout for a dessert that’s indulgent yet nourishing, you’re going to fall head over heels for this Protein Cheesecake Recipe. It cleverly combines creamy, dreamy cheesecake texture with the wholesome boost of protein, making it a perfect treat for those who want to enjoy dessert without derailing their nutritional goals. Whether you’re a fitness enthusiast or simply love a satisfying sweet bite, this cheesecake hits that delicious sweet spot with a lovely graham cracker crust, luscious filling, and subtle hints of vanilla and lemon zest that brighten every forkful.

Ingredients You’ll Need
Putting together this Protein Cheesecake Recipe is surprisingly straightforward, thanks to a handful of simple but powerful ingredients. Each one plays a crucial role—from creating that buttery crust to ensuring a velvety, protein-packed filling that feels like an indulgence rather than a compromise.
- 1 1/2 cups graham cracker crumbs: The foundation for a classic, crunchy crust that adds texture and warmth.
- 2 tablespoons melted coconut oil or butter: Helps bind the crust and adds rich, buttery flavor.
- 16 oz (450g) low-fat cream cheese, softened: The creamy base that delivers that iconic cheesecake mouthfeel without excess fat.
- 1 cup Greek yogurt (plain, nonfat): Boosts creaminess and provides a tangy balance while staying light.
- 3/4 cup vanilla or plain protein powder (whey or plant-based): Packs in the protein and enhances the cheesecake’s structure without sacrificing flavor.
- 1/2 cup powdered erythritol or sweetener of choice: Adds just the right amount of sweetness while keeping sugars in check.
- 3 large eggs: The natural binder that guarantees a smooth, set filling.
- 1 teaspoon vanilla extract: Infuses the cheesecake with a warm, fragrant note.
- Optional: zest of 1 lemon: Adds a fresh, bright twist that lifts the entire flavor profile.
How to Make Protein Cheesecake Recipe
Step 1: Prepare Your Pan and Preheat the Oven
Start by preheating your oven to 325°F (163°C) to create the perfect baking environment. Lightly grease a 9-inch springform pan to ensure your cheesecake releases easily after baking—this small step saves a lot of frustration later.
Step 2: Create the Graham Cracker Crust
In a small bowl, combine the graham cracker crumbs with the melted coconut oil or butter. Mix until the crumbs are fully coated and the mixture sticks together well. Press this mixture firmly and evenly into the bottom of your springform pan. This crust will provide a delightfully crisp contrast to the creamy filling and keep the cheesecake anchored.
Step 3: Beat the Cream Cheese Until Silky Smooth
In a large mixing bowl, use an electric mixer to beat your softened cream cheese. This step is vital because a smooth cream cheese base will prevent lumps and ensure your cheesecake filling is luxuriously creamy and consistent throughout.
Step 4: Combine the Filling Ingredients
To the cream cheese, add the Greek yogurt, protein powder, powdered sweetener, eggs, and vanilla extract. If you’re using lemon zest, add it here for that refreshing hint. Beat everything together until the mixture looks smooth and creamy without any trace of dry powder or chunks. This rich filling is the heart of your protein cheesecake, so take your time to get the perfect consistency.
Step 5: Pour and Smooth the Filling Over the Crust
Carefully pour your cheesecake filling over the prepared crust. Use a spatula to smooth the top for an even bake and a polished look. The filling will be fairly thick, which means it will bake up dense and satisfying.
Step 6: Bake to Perfection
Bake the cheesecake for 45 to 50 minutes until the edges are set, but the center still has a gentle jiggle—this is the key sign that your cheesecake will be creamy and not dry. Resist the urge to open the oven door during baking to keep the temperature steady.
Step 7: Cool Slowly in the Oven
Once baking is complete, turn off the oven and slightly open the door. Let the cheesecake cool inside for around an hour. This slow cooling process helps prevent cracks and maintains that silky texture you want in every bite.
Step 8: Chill Before Serving
Refrigerate your cheesecake for at least 4 hours or overnight. This chilling step allows the protein cheesecake to fully set and develop its flavors, making slicing easier and the texture richer and more satisfying.
How to Serve Protein Cheesecake Recipe

Garnishes
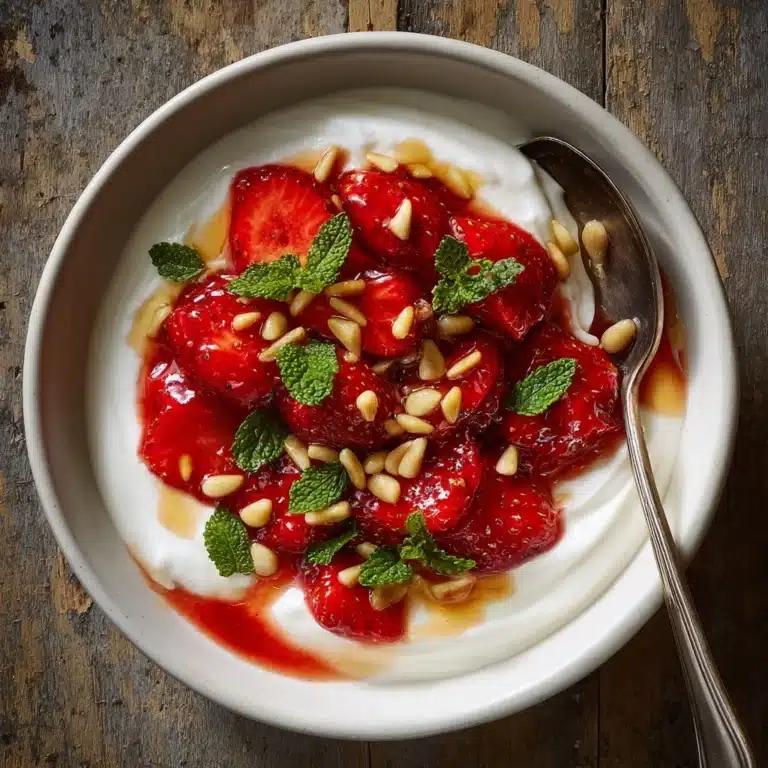
A simple topping can elevate your Protein Cheesecake Recipe to something truly special. Fresh berries like raspberries or blueberries add bursts of color and a natural tartness that pairs beautifully with the creamy filling. A sprinkle of toasted nuts or a drizzle of sugar-free chocolate sauce make delightful finishing touches that will impress any guest or elevate a personal treat.
Side Dishes
While this cheesecake is a perfect standalone indulgence, enjoy it alongside a fresh fruit salad or a light herbal tea. The freshness and lightness of these complements balance the richness of the cheesecake, creating a harmonious dessert experience that never feels too heavy.
Creative Ways to Present
For a show-stopping presentation, serve individual cheesecake slices layered with whipped Greek yogurt and a spoonful of your favorite low-sugar jam. Alternatively, use mini springform pans for individual protein cheesecakes—perfect for parties or portion control. Garnishing with edible flowers or a dusting of cinnamon can also add a charming visual and flavor flourish.
Make Ahead and Storage
Storing Leftovers
Leftover Protein Cheesecake Recipe keeps beautifully in the refrigerator when covered tightly with plastic wrap or stored in an airtight container. It will remain fresh and flavorful for up to 4 days, making it a convenient, ready-to-enjoy dessert when cravings strike.
Freezing
If you want to stock up on this cheesecake, freezing is an excellent option. Wrap the cheesecake tightly in plastic wrap and then foil to protect it from freezer burn. When stored properly, it stays delicious for up to 2 months. Defrost it in the refrigerator overnight before serving for best results.
Reheating
Cheesecake is best enjoyed chilled or at room temperature, so reheating isn’t usually necessary. If you prefer a slightly warmer cheesecake, let it sit at room temperature for 30 minutes before indulging. Avoid microwaving as it can alter the texture and cause the filling to separate.
FAQs
Can I use a different protein powder for this Protein Cheesecake Recipe?
Absolutely! This recipe is versatile with protein powders—whey, casein, or plant-based options like pea or soy protein all work well. Just keep in mind the flavor of your protein powder, as it can subtly change the cheesecake’s taste.
Is this cheesecake suitable for people on a low-carb diet?
Yes, by using powdered erythritol or another low-carb sweetener, this Protein Cheesecake Recipe fits nicely into a low-carb or keto-friendly eating plan. The crust and filling are designed to keep carbs minimal without sacrificing flavor.
Can I make this cheesecake dairy-free?
With some modifications, yes! Use a dairy-free cream cheese alternative and plant-based Greek-style yogurt, and choose a plant-based protein powder. The texture might be slightly different, but you’ll still get a delicious, protein-packed dessert.
What’s the best way to prevent cracks in the cheesecake?
To avoid cracks, ensure you don’t overbake the cheesecake—slightly jiggly in the center is perfect. Also, the slow cooling step inside the oven with the door ajar helps the cheesecake settle gently, reducing the chance of cracking.
How long does it take to prepare and bake this Protein Cheesecake Recipe?
From start to finish, including baking and cooling time, expect around 5 hours and 10 minutes. While the active prep is under 20 minutes, chilling is essential for that perfect creamy texture and flavor development.
Final Thoughts
Trust me when I say this Protein Cheesecake Recipe is one dessert you’ll want to keep on rotation. It beautifully balances creamy indulgence with a healthy protein boost, making it a guilt-free treat that tastes anything but. So go ahead, give it a try—your taste buds and your body will thank you!
“`
Print
Protein Cheesecake Recipe
- Total Time: 5 hours 10 minutes
- Yield: 10 servings 1x
- Diet: Low Fat
Description
This protein cheesecake is a delicious and healthier twist on the classic dessert, featuring a creamy low-fat cream cheese and Greek yogurt filling enriched with protein powder. It has a crunchy graham cracker crust made with coconut oil or butter, making it a perfect guilt-free treat for those seeking a high-protein option. With a smooth texture and a hint of vanilla and optional lemon zest, this cheesecake is ideal for a nutritious dessert or snack.
Ingredients
Crust
- 1 1/2 cups graham cracker crumbs
- 2 tablespoons melted coconut oil or butter
Filling
- 16 oz (450g) low-fat cream cheese, softened
- 1 cup Greek yogurt (plain, nonfat)
- 3/4 cup vanilla or plain protein powder (whey or plant-based)
- 1/2 cup powdered erythritol or sweetener of choice
- 3 large eggs
- 1 teaspoon vanilla extract
- Optional: zest of 1 lemon for extra flavor
Instructions
- Preheat and Prepare Pan: Preheat the oven to 325°F (163°C) and grease a 9-inch springform pan to prevent sticking.
- Make the Crust: Mix the graham cracker crumbs with the melted coconut oil or butter until combined, then press firmly into the bottom of the springform pan to form an even crust layer.
- Beat Cream Cheese: In a large bowl, beat the low-fat cream cheese until smooth and creamy, creating a perfect base for the filling.
- Add Filling Ingredients: Incorporate Greek yogurt, protein powder, powdered erythritol, eggs, vanilla extract, and optional lemon zest into the cream cheese. Mix thoroughly until the batter is smooth and creamy.
- Fill the Pan: Pour the cheesecake filling over the prepared crust and smooth out the top with a spatula.
- Bake the Cheesecake: Bake for 45-50 minutes, until the center is almost set but still slightly jiggly, ensuring a creamy texture.
- Cool in Oven: Turn off the oven, open the door slightly, and let the cheesecake cool inside for 1 hour to prevent cracking.
- Refrigerate: Chill the cheesecake in the refrigerator for at least 4 hours or overnight before removing it from the pan and serving.
Notes
- Use a springform pan for easy removal of the cheesecake without damaging it.
- The cheesecake center should be slightly jiggly when done baking for the perfect creamy texture.
- Feel free to use either whey or plant-based protein powder depending on your dietary preferences.
- Powdered erythritol can be substituted with any sweetener of your choice, adjusting sweetness to taste.
- Adding lemon zest is optional but provides a bright, fresh flavor that complements the cheesecake well.
- Allowing the cheesecake to cool gradually inside the oven helps prevent cracks on the surface.
- Prep Time: 20 minutes
- Cook Time: 50 minutes
- Category: Dessert
- Method: Baking
- Cuisine: American

