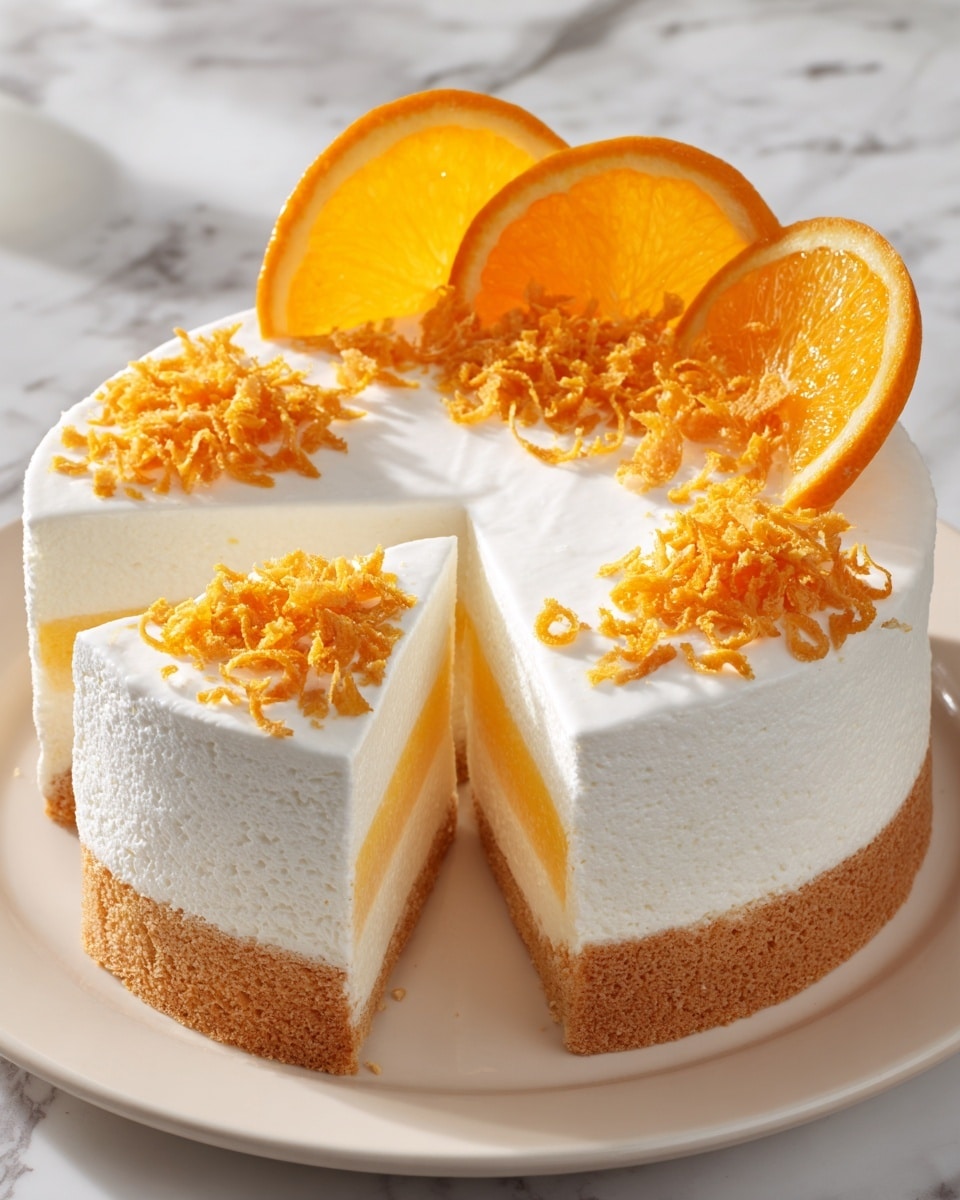
If you are craving a dessert that delivers a burst of citrusy brightness paired with the creamy comfort of classic ice cream, you are going to fall in love with this Zesty Orange Creamsicle Ice Cream Cake Recipe. This luscious treat combines layers of vibrant orange sherbet and smooth vanilla ice cream atop a buttery crust, finished with fluffy whipped cream and a pop of orange zest that makes every bite a celebration of flavor. It’s a no-bake delight that feels indulgent yet refreshingly light, perfect for warm days or whenever your sweet tooth calls for something extraordinary.
Ingredients You’ll Need
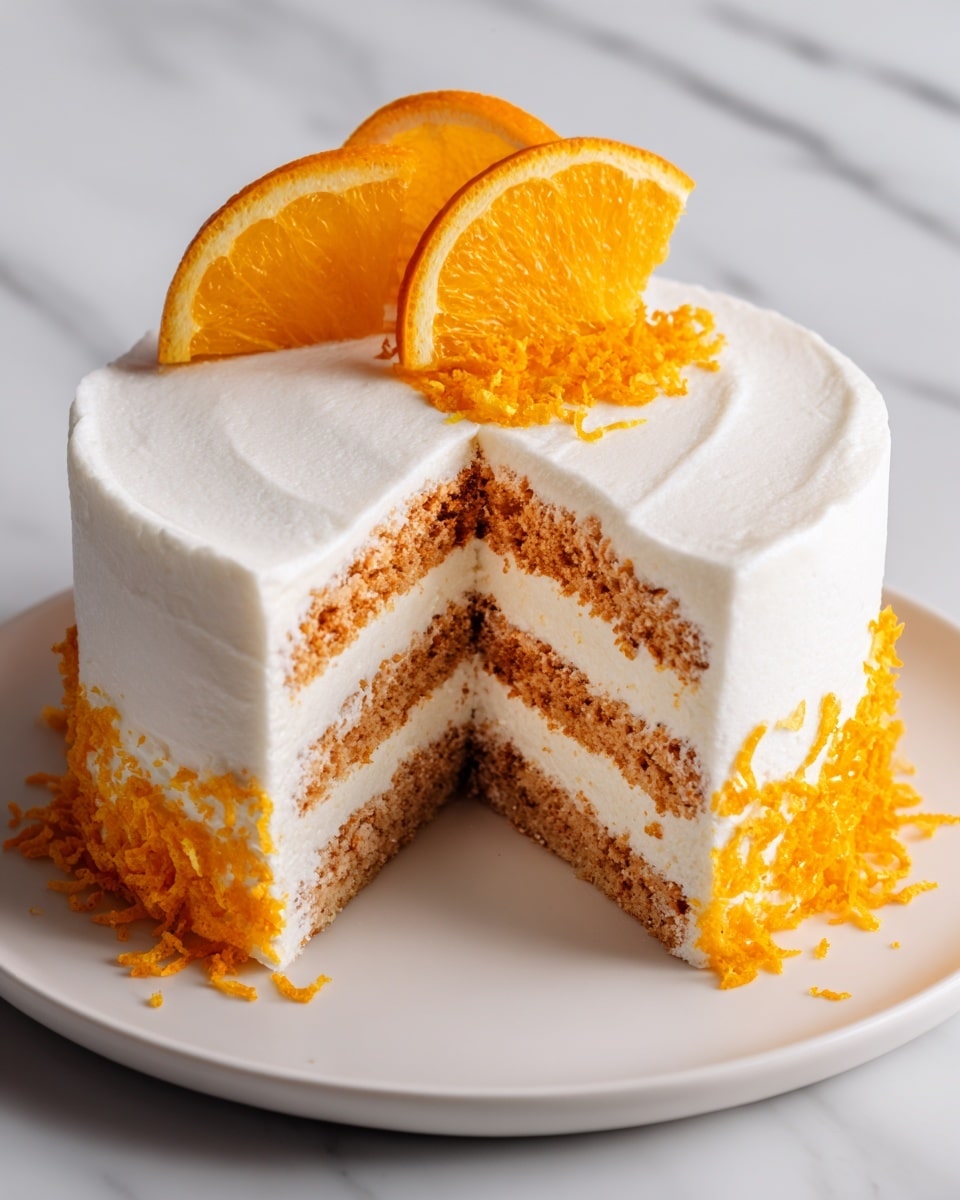
The beauty of this cake lies in its simplicity, with each ingredient playing a crucial role in balancing texture, taste, and that irresistible creamsicle vibe. From the buttery crust to the airy whipped topping, these ingredients come together to create magic.
- 2 cups crushed vanilla wafers or graham crackers: This forms the crunchy, buttery base giving the cake structure and subtle sweetness.
- 1/3 cup melted butter: Binds the crust ingredients beautifully and adds richness.
- 1/4 teaspoon salt: Enhances flavors, providing depth to the crust.
- 2 pints orange sherbet: Brings fresh citrus flavor and that unmistakable orange punch.
- 2 pints vanilla ice cream: Adds creamy smoothness and classic sweetness for balance.
- 1 tablespoon orange zest: Intensifies the orange flavor and adds a fragrant lift.
- 1/2 teaspoon pure vanilla extract: Deepens the vanilla notes and rounds out the frozen layers.
- 1 cup heavy whipping cream: Creates the rich, fluffy topping that lightens the cake.
- 2 tablespoons powdered sugar: Sweetens the whipped cream subtly without graininess.
- 1/2 teaspoon orange extract (optional): Boosts the citrus aroma in the whipped cream layer for extra zing.
- Orange slices or zest for garnish: Adds a beautiful finish and hint of freshness.
How to Make Zesty Orange Creamsicle Ice Cream Cake Recipe
Step 1: Prepare the Crust
Start by combining your crushed vanilla wafers (or graham crackers) with melted butter and salt in a medium bowl. Once the mixture feels like wet sand, press it firmly into the bottom of a 9-inch springform pan. This press-and-chill method helps the crust set into a solid base that will hold up against the creamy layers to come. Pop it into the freezer for about 15 minutes to get it firm and ready.
Step 2: Soften Your Ice Cream and Sherbet
Allow the orange sherbet and vanilla ice cream to sit at room temperature for about 10 minutes. This makes them easier to spread evenly without melting into a messy puddle later on.
Step 3: Create the Orange Sherbet Layer
In a large bowl, gently fold the softened orange sherbet with half of the orange zest until smooth and fragrant. Spread this mixture evenly over your chilled crust. Freeze the pan for 30 minutes or until this first layer is nice and firm, setting the stage for the next creamy addition.
Step 4: Add the Vanilla Ice Cream Layer
Now mix the softened vanilla ice cream with the remaining orange zest and vanilla extract. This blend brings a subtle aromatic depth that complements the sherbet perfectly. Spread this layer evenly on top of the frozen orange sherbet, then freeze again for at least 4 hours until the entire cake is firm and fully set.
Step 5: Whip and Add the Creamy Topping
Whip the heavy cream with powdered sugar and the optional orange extract until you get stiff peaks that hold their shape. This luscious whipped topping is the crowning glory and adds a light, airy finish that balances the richness below. Spread or pipe it over the ice cream layer and decorate with fresh orange slices or zest before serving.
How to Serve Zesty Orange Creamsicle Ice Cream Cake Recipe
Garnishes
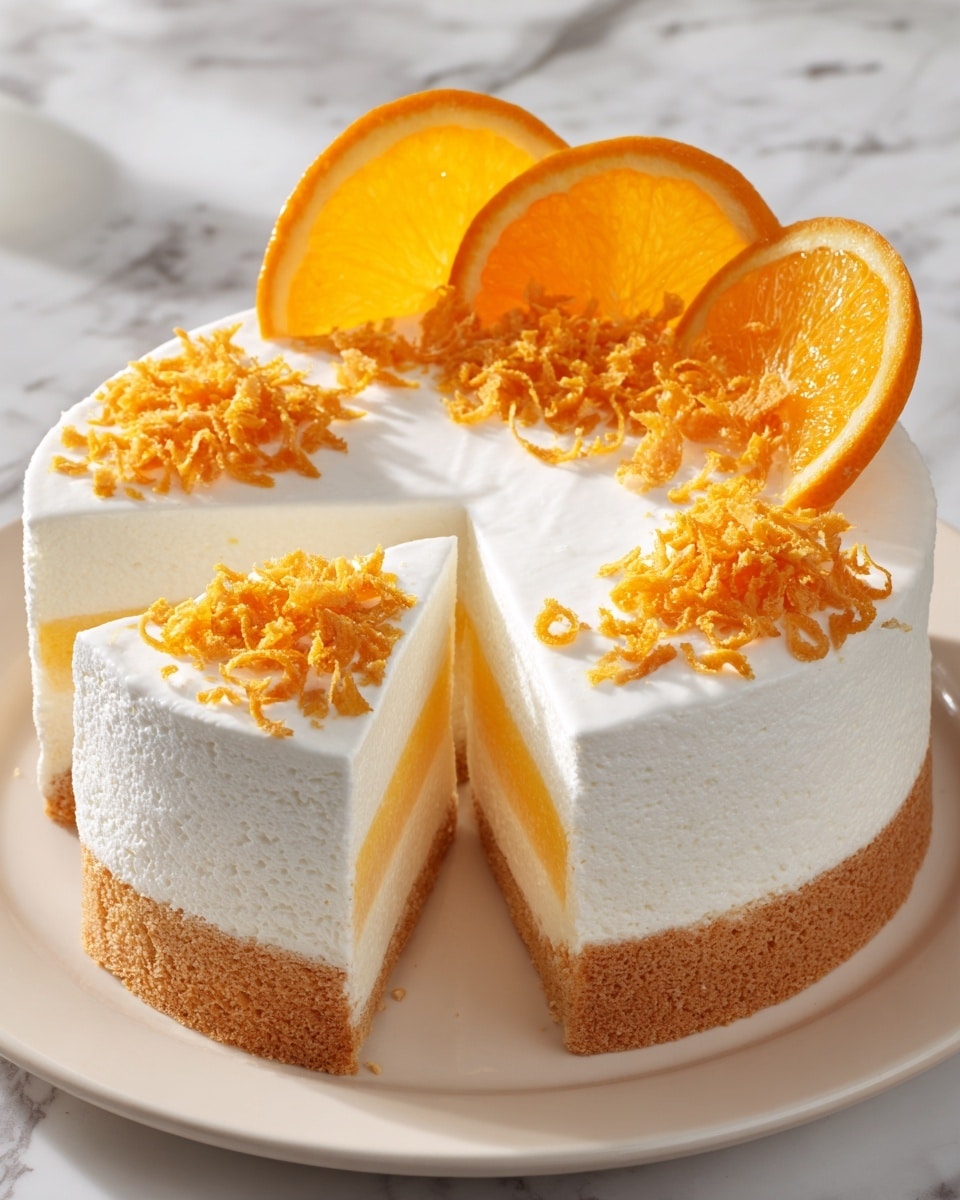
A simple garnish can turn this already charming dessert into a showstopper. Fresh orange slices or a sprinkle of extra orange zest not only boost the citrus aroma but also add a beautiful pop of color that immediately catches the eye and whets the appetite.
Side Dishes
Pair your Zesty Orange Creamsicle Ice Cream Cake Recipe with fresh berries or a light citrus salad to enhance the bright orange flavors while keeping things refreshing and balanced. A chilled glass of sparkling lemonade or a light Moscato can also make an excellent companion to the cake’s creamy sweetness.
Creative Ways to Present
For a fun twist, serve the cake in individual clear glasses by layering the crust, sherbet, ice cream, and whipped cream. This not only looks stunning but makes serving easier at parties. Or try adding a drizzle of caramel or a sprinkling of toasted coconut flakes on top to elevate the presentation and flavor profile.
Make Ahead and Storage
Storing Leftovers
Once sliced, store any leftovers in an airtight container or cover the cake tightly with plastic wrap. Keep it in the freezer to maintain its firmness and flavor. Leftover slices will keep well for up to one week, ensuring you can enjoy this refreshing treat even days after making it.
Freezing
This cake is designed with freezing in mind, so it freezes beautifully. Just make sure to wrap it well with plastic wrap and a layer of aluminum foil to prevent freezer burn or ice crystals. When ready to eat, allow it to thaw just slightly so slices cut cleanly and maintain their texture.
Reheating
Since this is a frozen dessert, reheating is not necessary and would actually detract from its signature creamy, chilled texture. Instead, let it sit at room temperature for about 5-10 minutes before serving if you want it a little softer. This will make slicing and spooning easier without melting the whole cake.
FAQs
Can I substitute the vanilla wafers for something else?
Absolutely! You can swap vanilla wafers for graham crackers, golden Oreos, or even shortbread cookies depending on your preference. Each will add a slightly different crunch and flavor but will work wonderfully as the crust base.
Is it possible to make this recipe dairy-free?
Yes! Use plant-based orange sherbet and non-dairy vanilla ice cream alternatives to make it suitable for a dairy-free diet. Many stores carry coconut milk or almond milk-based options that freeze and whip well.
How long does this cake need to freeze?
The total freezing time is about 4 hours for the cake layers to become fully firm, plus 15 minutes to chill the crust. Plan ahead so you can enjoy the Zesty Orange Creamsicle Ice Cream Cake Recipe at its best consistency.
Can I prepare this ahead of time for a party?
Definitely! This cake is a fantastic make-ahead dessert. You can assemble it a day or two in advance and keep it frozen until just before serving for stress-free entertaining.
What is the best way to cut and serve this ice cream cake?
Run a warm knife around the edges of the cake for clean slices. The warm blade gently melts through the frozen layers, helping you serve neat pieces without crumbling or sticking to the knife.
Final Thoughts
If you’re searching for a dessert that combines nostalgia, bright citrus flavor, and creamy indulgence, you simply must try this Zesty Orange Creamsicle Ice Cream Cake Recipe. It’s a delightful no-bake creation that’s as fun to make as it is to eat, perfect for sharing with friends and family. Once you taste that refreshing burst of orange mingling with smooth vanilla, you’ll want to make it your go-to dessert all year round.
Print
Zesty Orange Creamsicle Ice Cream Cake Recipe
- Total Time: 4 hours 25 minutes
- Yield: 10 servings 1x
- Diet: Vegetarian
Description
A refreshing and vibrant Zesty Orange Creamsicle Ice Cream Cake combining layers of orange sherbet and creamy vanilla ice cream on a crunchy vanilla wafer crust, topped with whipped cream and garnished with orange zest. Perfect for summer or any frozen dessert craving.
Ingredients
Crust
- 2 cups crushed vanilla wafers or graham crackers
- 1/3 cup melted butter
- 1/4 teaspoon salt
Ice Cream Layers
- 2 pints orange sherbet
- 2 pints vanilla ice cream
- 1 tablespoon orange zest
- 1/2 teaspoon pure vanilla extract
Whipped Cream Topping
- 1 cup heavy whipping cream
- 2 tablespoons powdered sugar
- 1/2 teaspoon orange extract (optional)
Garnish
- Orange slices or zest for garnish
Instructions
- Prepare the crust: In a medium bowl, combine crushed vanilla wafers, melted butter, and salt until well mixed. Press the mixture firmly into the bottom of a 9-inch springform pan to form an even crust layer. Place the crust in the freezer for 15 minutes to set.
- Soften the ice creams: Allow both the orange sherbet and vanilla ice cream to soften at room temperature for about 10 minutes to make spreading easier.
- Layer orange sherbet: In a large bowl, blend the softened orange sherbet with half of the orange zest until smooth. Spread this mixture evenly over the chilled crust. Freeze for 30 minutes or until the sherbet layer is firm.
- Layer vanilla ice cream: Mix the softened vanilla ice cream with the remaining orange zest and vanilla extract until combined. Spread this evenly over the set sherbet layer. Freeze the cake for at least 4 hours or until completely firm.
- Prepare whipped cream topping: Whip the heavy cream with powdered sugar and orange extract (if using) on high speed until stiff peaks form. Spread or pipe the whipped cream over the top of the fully frozen cake.
- Garnish and serve: Decorate the top with orange slices or extra zest. Before serving, run a warm knife around the edge of the springform pan to loosen the cake and carefully remove the sides. Slice and enjoy immediately.
Notes
- You can swap the vanilla wafers with golden Oreos or shortbread cookies for a different crust flavor.
- For a dairy-free version, use plant-based orange sherbet and non-dairy vanilla ice cream alternatives.
- Ensure the ice cream and sherbet soften sufficiently to spread easily but are not melted.
- Make the cake a day ahead to save time; it keeps well when frozen.
- Prep Time: 25 minutes
- Cook Time: 0 minutes
- Category: Dessert
- Method: Freezing
- Cuisine: American
