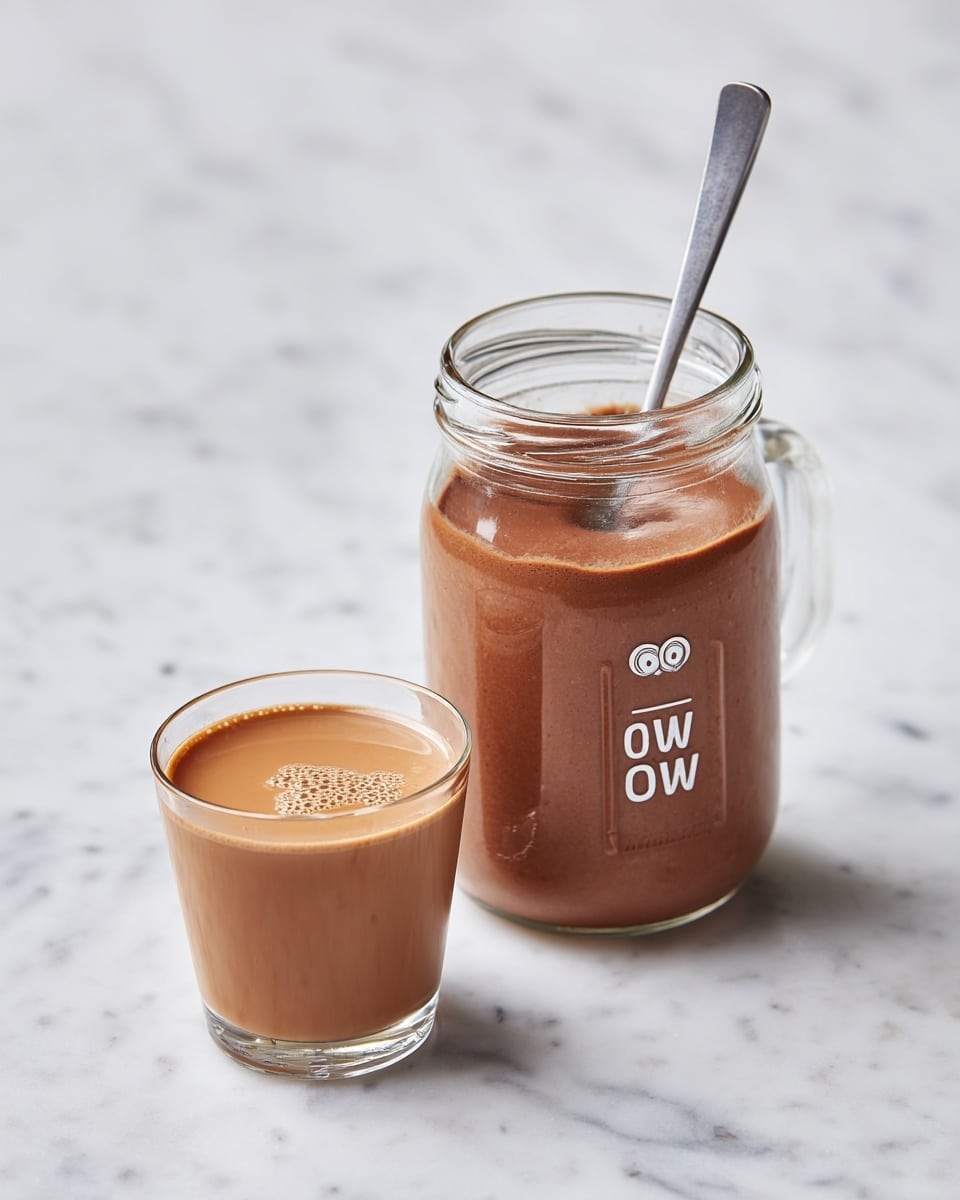
There’s something deeply satisfying about making your own chocolate drink mix from scratch, and this Homemade Nesquik Cocoa Powder Mix Recipe hits that nostalgic, sweet spot perfectly. Imagine a rich, velvety chocolate powder that dissolves effortlessly in milk, creating a deliciously creamy treat without any of the preservatives or artificial stuff you find in store-bought versions. This recipe is not only quick and easy but also lets you control the sweetness and flavor, making every sip feel like a cozy hug on a chilly day or a delightful pick-me-up anytime you need it.
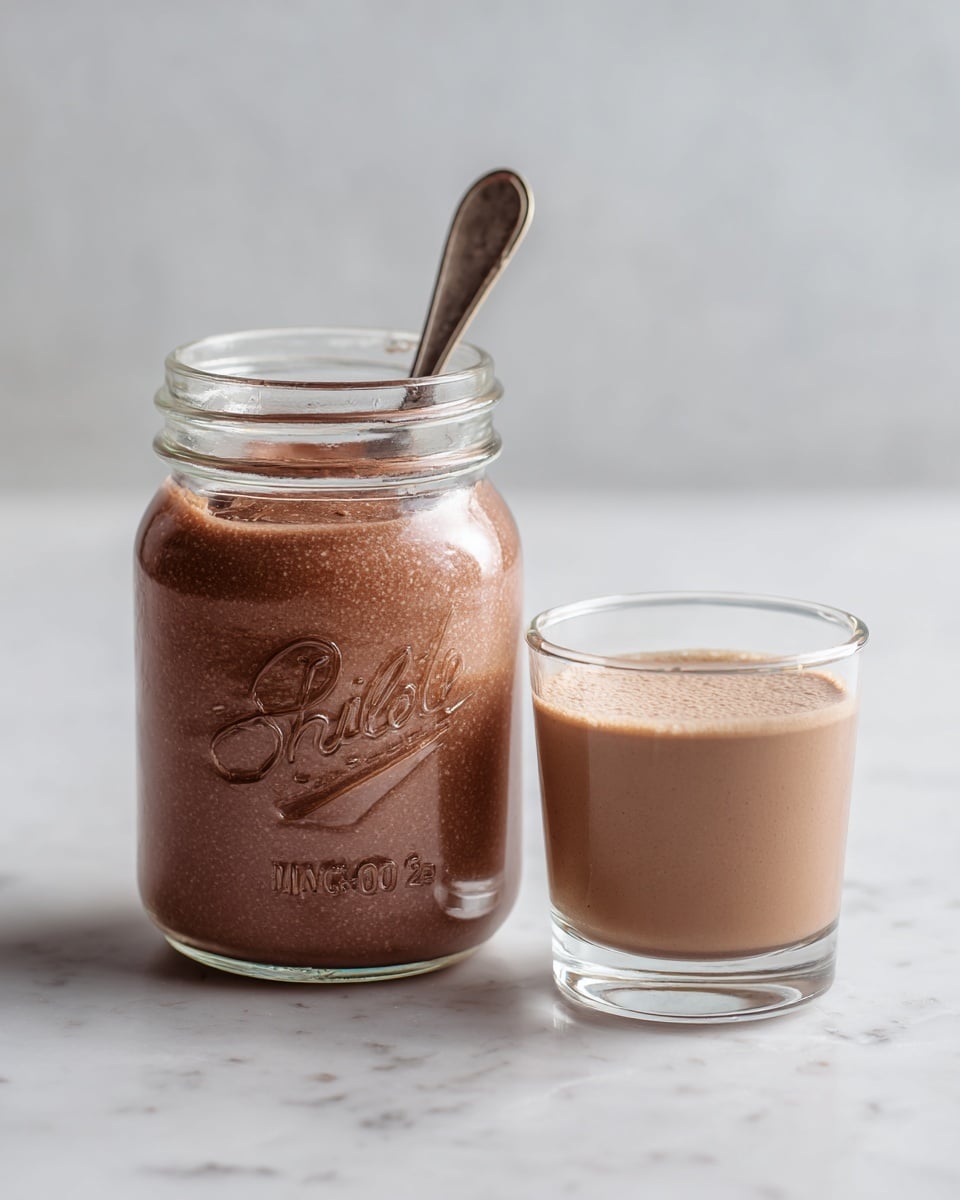
Ingredients You’ll Need
Gathering simple, pantry-friendly ingredients is what makes this recipe so approachable. Each one plays an essential role, whether it’s contributing to the chocolatey richness, adding sweetness, balancing flavors, or enhancing aroma. Here’s what you’ll need to whip up your own magic cocoa mix:
- 1 cup unsweetened cocoa powder: The heart of the mix, delivering deep chocolate flavor and that beautiful dark color.
- 1 1/2 cups powdered sugar: Provides smooth sweetness and helps the powder dissolve quickly in milk.
- 1/2 cup granulated sugar (optional): Adds texture and extra sweetness; adjust depending on your taste preferences.
- 1/4 tsp salt: A secret hero that enhances the chocolate flavor and balances the sweetness.
- 1 tsp vanilla extract (optional): Adds a warm, inviting note that elevates the entire mix.
How to Make Homemade Nesquik Cocoa Powder Mix Recipe
Step 1: Mix the Dry Ingredients
Start by whisking together the unsweetened cocoa powder, powdered sugar, granulated sugar if you’re using it, and the salt in a large bowl. This step ensures that every component is evenly distributed, creating a smooth, uniform mix that’s easy to dissolve later.
Step 2: Add Vanilla Extract
If you want that extra layer of flavor, stir in the vanilla extract now. It’s totally optional, but it gives the mix an almost bakery-fresh depth that takes the cocoa from simple to sublime.
Step 3: Store Your Cocoa Mix
Transfer your homemade cocoa powder mix into an airtight container—like a glass jar or resealable bag—and keep it in a cool, dry place. It’ll stay fresh and ready to enjoy for up to 6 months, so you can make a batch and savor it on demand.
Step 4: Make the Chocolate Milk
When you’re ready for a comforting glass of chocolate milk, just add about 2 tablespoons of your Homemade Nesquik mix to one cup of milk. Stir vigorously until the powder is fully dissolved, then sit back and enjoy that rich, creamy, chocolatey goodness.
Step 5: Use it in Other Recipes
Your Homemade Nesquik Cocoa Powder Mix Recipe isn’t limited to drinks. Sneak it into brownies, cakes, or cookies for a quick flavor boost. It’s a versatile pantry hero you’ll love having on hand.
How to Serve Homemade Nesquik Cocoa Powder Mix Recipe
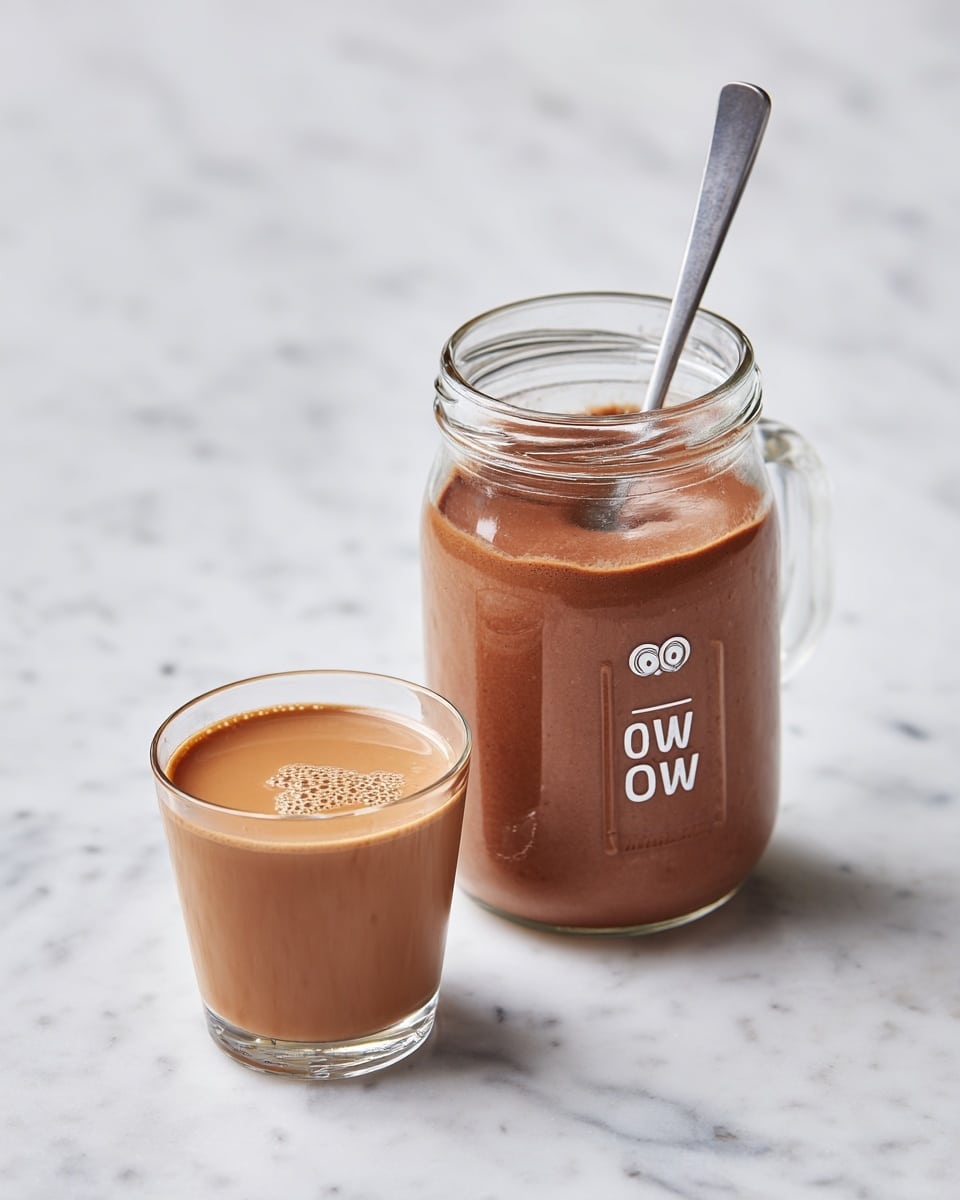
Garnishes
To turn your chocolate milk into a little celebration, try topping it with mini marshmallows, a dollop of whipped cream, or even a sprinkle of cinnamon or chili powder for a surprising kick. These simple touches bring texture and flair that impress without any fuss.
Side Dishes
Pair your chocolatey drink with buttery cookies, soft muffins, or fresh fruit slices for an easy snack or dessert combo that’s perfect for sharing or savoring solo. The creamy chocolate flavor of your Homemade Nesquik pairs especially well with anything vanilla or citrus-based.
Creative Ways to Present
Imagine serving your homemade chocolate milk in clear glasses with striped straws for a fun, retro vibe. You could even layer it with whipped cream and drizzle chocolate syrup over the top for a fancy hot chocolate alternative.
Make Ahead and Storage
Storing Leftovers
Your Homemade Nesquik Cocoa Powder Mix Recipe keeps beautifully in an airtight container kept away from moisture and heat. This ensures the sugars don’t clump and the cocoa stays fragrant, allowing you to enjoy it up to half a year after making it.
Freezing
Freezing this mix isn’t really necessary, as it keeps well at room temperature. However, if you do choose to freeze it, make sure the container is well-sealed to avoid condensation when thawing, which can ruin the powder’s texture.
Reheating
No reheating needed for the mix itself, but when making chocolate milk, simply warm your milk before stirring in the cocoa powder for an indulgent hot chocolate experience that’s perfect for chilly evenings.
FAQs
Can I use regular sugar instead of powdered sugar?
While you can use granulated sugar, powdered sugar dissolves more easily, giving your homemade cocoa mix a smoother texture and quicker blending in milk. If you prefer granulated sugar, just be sure to stir well.
Is the vanilla extract necessary?
Vanilla extract is optional, but it adds a lovely warmth that enhances the chocolate flavor wonderfully. Feel free to skip it if you want a more straightforward cocoa taste.
How long does this mix last?
Stored properly in a sealed container away from heat and moisture, your Homemade Nesquik Cocoa Powder Mix Recipe will stay fresh for up to six months.
Can I make this gluten-free?
Absolutely! All the ingredients in this recipe are naturally gluten-free, making this mix a safe and delicious treat for those avoiding gluten.
Can I use this mix for baking?
Yes! This mix can be a convenient way to add chocolate flavor to your baking. Just remember it contains sugar and salt, so adjust your other recipe ingredients accordingly.
Final Thoughts
There’s something truly joyful about crafting your own Homemade Nesquik Cocoa Powder Mix Recipe — it’s fast, fun, and rewarding. Whether you’re making a cozy chocolate milk for yourself or treating loved ones, this mix brings a little extra love and warmth to every cup. Give it a try, and I promise you’ll wonder why you ever bought the store-bought stuff!
Print
Homemade Nesquik Cocoa Powder Mix Recipe
- Total Time: 5 minutes
- Yield: 2 servings 1x
Description
This Homemade Nesquik recipe is a quick and easy way to prepare your own chocolate milk powder at home. With just a few simple ingredients like cocoa powder, powdered sugar, and optional vanilla extract, you can enjoy delicious, customizable chocolate milk anytime. It’s perfect for kids and adults who love a rich chocolate flavor without the additives found in store-bought mixes.
Ingredients
Dry Ingredients
- 1 cup unsweetened cocoa powder
- 1 1/2 cups powdered sugar (adjust for sweetness)
- 1/2 cup granulated sugar (optional, depending on how sweet you want it)
- 1/4 tsp salt
Flavoring
- 1 tsp vanilla extract (optional, for added flavor)
Instructions
- Mix the Dry Ingredients: In a large bowl, whisk together the unsweetened cocoa powder, powdered sugar, granulated sugar (if using), and salt until well combined.
- Optional Vanilla Flavor: If you like a bit of extra flavor, stir in the vanilla extract at this stage. This step is optional but adds a nice depth to the flavor.
- Store the Powder: Transfer the cocoa mixture to an airtight container, such as a jar or a resealable bag. Store in a cool, dry place for up to 6 months.
- Make Chocolate Milk: To make a glass of chocolate milk, add about 2 tablespoons of the Homemade Nesquik powder to 1 cup of milk (adjust to taste).
- Stir Well: Stir well until fully dissolved, and enjoy your homemade chocolate milk!
- Other Uses: This Homemade Nesquik can also be used in baking recipes that call for cocoa powder, like brownies, cakes, or cookies.
Notes
- Adjust the sweetness by varying the amount of powdered and granulated sugar used.
- The vanilla extract is optional but enhances the richness of the chocolate flavor.
- Store the mix in an airtight container to keep it fresh for up to 6 months.
- Use non-dairy milk alternatives to make this suitable for lactose-intolerant individuals.
- This mix can be used for baking to add a chocolatey touch to your recipes.
- Prep Time: 5 minutes
- Cook Time: 0 minutes
- Category: Beverage
- Method: No-Cook
- Cuisine: American
