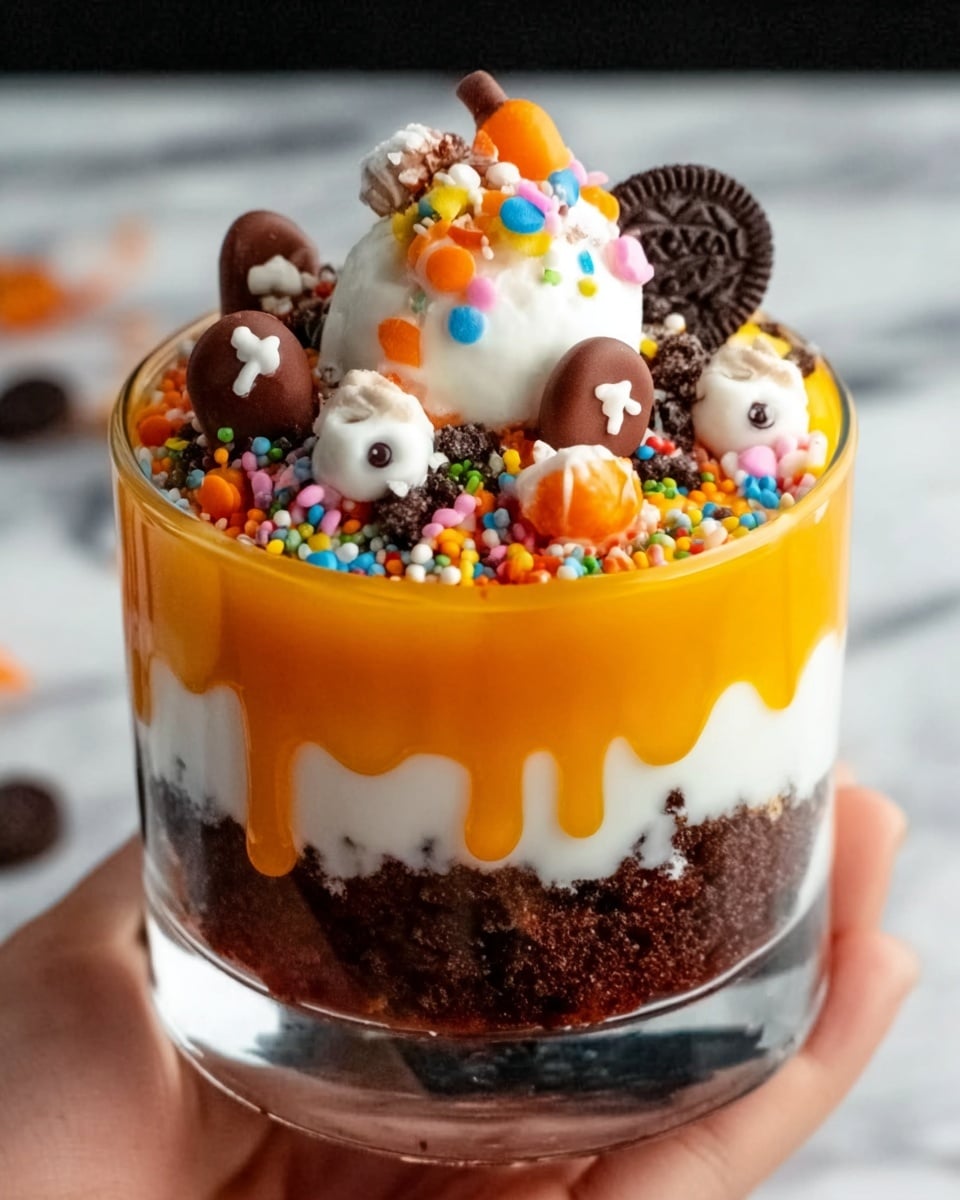
Get ready to impress all your spooky guests with this delightfully eerie yet irresistibly delicious Halloween Chocolate Cake Trifle with Gummy Eyes and Brain Decorations Recipe. This layered dessert is a perfect blend of moist chocolate cake, creamy orange-tinged vanilla pudding, and fluffy whipped topping, all dressed up with creepy gummy body parts and eyeball-shaped chocolates that bring the perfect creepy-cute touch to your Halloween festivities. It’s as fun to make as it is to devour, inviting you to embrace the holiday spirit with every forkful of spooky sweetness.
Ingredients You’ll Need
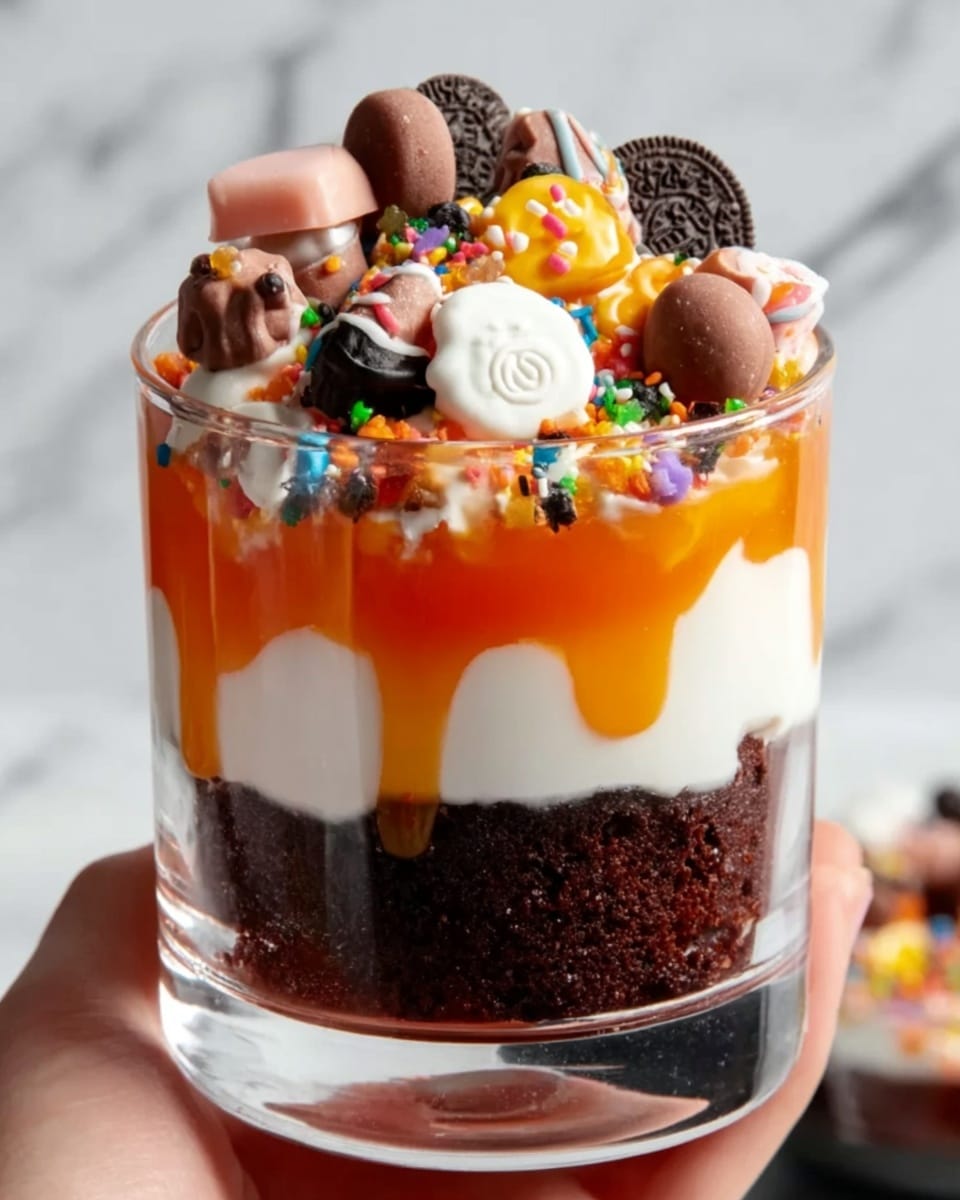
Gathering your ingredients is a breeze, and each one plays a vital role in layering flavor, color, and texture that make this Halloween Chocolate Cake Trifle with Gummy Eyes and Brain Decorations Recipe truly stand out. From the rich chocolate cake base to the vibrant orange pudding, every element adds a delicious and festive touch.
- Chocolate cake mix: The foundation providing a rich, moist, and chocolatey base that holds the layers together perfectly.
- Water, vegetable oil, and eggs: These bring the cake to life, ensuring it bakes moist and fluffy.
- Instant vanilla pudding mix: Creates the creamy layer that balances the intense chocolate with smooth sweetness.
- Milk: Essential for whipping up the pudding to the right consistency.
- Orange food coloring (optional): Adds that spooky, festive hue for Halloween flair.
- Cool Whip: The light, airy topping that crowns the dessert, adding softness and a cloud-like contrast.
- Sprinkles: Fun, colorful accents that make the trifle pop visually.
- Chocolate balls wrapped like eyes: These add a creepy yet cute eye-catching detail perfect for Halloween.
- Gummy body parts like brains, teeth, fingers, etc.: The ultimate spooky garnish that makes every bite playful and thematic.
- Any decorations you like: Feel free to bring your own creative Halloween decorations to customize your trifle.
How to Make Halloween Chocolate Cake Trifle with Gummy Eyes and Brain Decorations Recipe
Step 1: Prepare the Chocolate Cake
Start by moving your oven rack to the middle position and preheat the oven to 350 degrees Fahrenheit. Spray a small rimmed baking sheet with cooking spray to ensure your cake won’t stick. In a large bowl, beat together the chocolate cake mix, water, vegetable oil, and eggs until the batter is smooth and inviting. Pour it evenly into your prepared baking sheet, then bake for 12 to 15 minutes. Test with a toothpick to check doneness—it should come out clean. Once baked, allow the cake to cool completely on a wire rack. This base layer sets the stage for all the trifle’s delicious components.
Step 2: Make the Orange Vanilla Pudding
While the cake cools, whisk together the instant vanilla pudding mix and milk in a medium bowl until smooth. To give your dessert that Halloween pop of color, add a few drops of orange food coloring and mix well until the color is even and vibrant. Chill the pudding in the refrigerator for 10 to 15 minutes until it’s completely set, giving it just the right thickness to hold the layers together beautifully in your trifle dish.
Step 3: Assemble Your Trifle Layers
After chilling the pudding, take both it and the Cool Whip out of the refrigerator. Set up two pastry bags fitted with large round tips — one filled with the orange pudding and the other with Cool Whip. Using the rim of your trifle dish as a guide, press it lightly into the cooled chocolate cake to trace circles. Carefully cut out these circles, trimming them if necessary for a snug fit inside your trifle dish. Begin layering by placing the chocolate cake circles into the dish, followed by a layer of the vibrant orange pudding, then a generous topping of fluffy Cool Whip. Repeat layering if your dish allows for it, creating a stunning multi-layered effect that looks as fabulous as it tastes.
Step 4: Add the Spooky Decorations
This is where the fun really comes alive! Decorate the top of the trifle with sprinkles for a burst of color. Scatter the chocolate balls wrapped like eyes across the top so they peek out eerily. Then place gummy body parts such as brains, teeth, and fingers strategically to add the perfect creepy vibe. Feel free to add any other Halloween decorations you love for an extra festive touch. This decorating step brings personality and charm to your Halloween Chocolate Cake Trifle with Gummy Eyes and Brain Decorations Recipe, turning it into the star of your spooky celebration.
How to Serve Halloween Chocolate Cake Trifle with Gummy Eyes and Brain Decorations Recipe
Garnishes
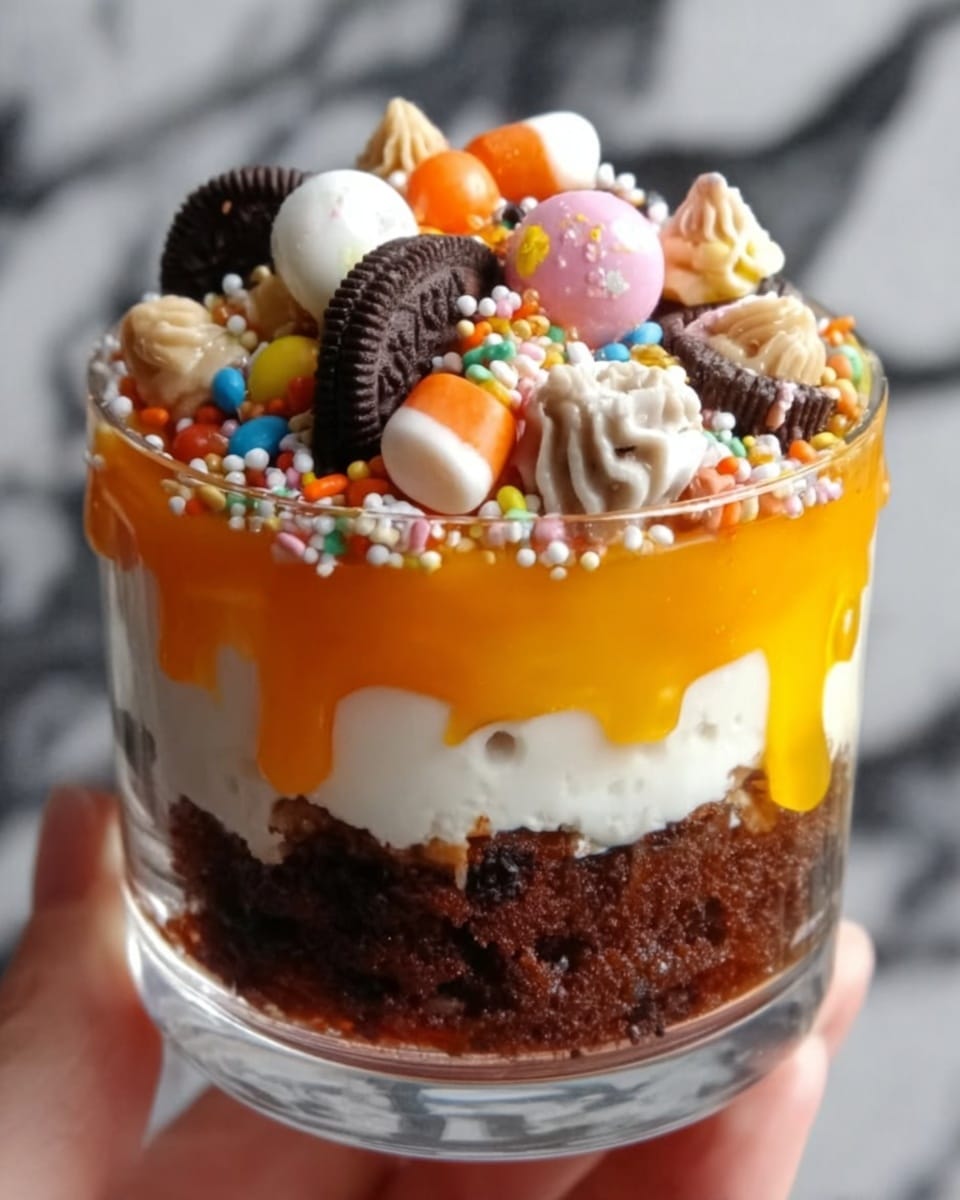
When serving, consider adding a few fresh touches like a sprinkle of crushed chocolate cookies for extra crunch or some edible glitter for a ghostly sparkle. For a truly show-stopping effect, place more gummy decorations on individual servings so every guest gets their own creepy surprise.
Side Dishes
This trifle serves beautifully as the grand finale to your Halloween meal, but you can complement it with warm apple cider or a spooky punch to balance the sweetness. Consider small savory bites like deviled eggs or mini sliders to contrast the dessert’s flavors and satisfy every craving.
Creative Ways to Present
Present your Halloween Chocolate Cake Trifle with Gummy Eyes and Brain Decorations Recipe in a clear glass trifle bowl to showcase the vivid layers and decorations. For a unique twist, serve it in individual mason jars or clear cups for easy, single-portion fun, perfect for parties and easy sharing.
Make Ahead and Storage
Storing Leftovers
Any leftovers of this festive trifle should be covered tightly and stored in the refrigerator. The pudding and whipped topping layers keep beautifully chilled, but the gummy decorations may soften over time, so it’s best enjoyed within 24 hours of assembly for the freshest taste and texture.
Freezing
Freezing this trifle isn’t recommended as the texture of the pudding and whipped topping can change upon thawing. To keep every layer delicious and creamy, prepare it fresh or store it in the fridge as mentioned.
Reheating
Since this dessert is served chilled, there’s no need for reheating. Simply take it out of the refrigerator a few minutes before serving to let the flavors meld and the pudding soften slightly for the perfect spoonful every time.
FAQs
Can I use homemade chocolate cake instead of box mix?
Absolutely! Using a homemade chocolate cake can add a personal touch and deeper flavor to your Halloween Chocolate Cake Trifle with Gummy Eyes and Brain Decorations Recipe, just be sure it’s fully cooled before layering.
Are there alternatives to Cool Whip?
You can substitute Cool Whip with freshly whipped cream for a rich and natural topping. Just whip heavy cream with a little sugar until soft peaks form—this adds an elegant homemade touch.
Can this be made gluten-free?
Yes! Use a gluten-free chocolate cake mix and double-check that your pudding mix and decorations are gluten-free to safely enjoy this trifle on Halloween.
How far in advance can I assemble the trifle?
This trifle can be assembled up to one day ahead. Assemble and store it covered in the refrigerator to keep the layers fresh and the gummy decorations intact.
What if I can’t find gummy eyeballs?
No worries! You can use regular gummy candies or even make eyes using small chocolate chips and white frosting. Creativity is key to making your Halloween Chocolate Cake Trifle with Gummy Eyes and Brain Decorations Recipe uniquely yours.
Final Thoughts
There is something truly magical about ending a Halloween celebration with a dessert that combines spooky fun and irresistible flavor, and this Halloween Chocolate Cake Trifle with Gummy Eyes and Brain Decorations Recipe fits the bill perfectly. Whether you’re making it for kids, friends, or family, this trifle invites smiles, excitement, and more than a few happy shudders. Grab your ingredients, unleash your creativity, and treat yourself to a hauntingly delicious dessert that everyone will be talking about long after the last bite.
Print
Halloween Chocolate Cake Trifle with Gummy Eyes and Brain Decorations Recipe
- Total Time: 35 minutes
- Yield: 8 servings 1x
Description
This festive Halloween trifle is a fun and spooky dessert perfect for Halloween parties. Layers of moist chocolate cake, vibrant orange vanilla pudding, and fluffy Cool Whip come together in a beautiful trifle dish decorated with Halloween-themed candies for a delightful and eye-catching treat.
Ingredients
Cake
- 1 box chocolate cake mix
- 1 cup water
- ½ cup vegetable oil
- 3 large eggs, room temperature
Pudding
- 1 small box instant vanilla pudding
- 2 cups milk
- Orange food coloring (optional)
Topping & Decoration
- 8 oz container Cool Whip
- Sprinkles
- Chocolate balls wrapped like eyes
- Gummy body parts like brains, teeth, fingers, etc.
- Any decorations you like
Instructions
- Preheat Oven: Move the oven rack to the middle position and preheat the oven to 350 degrees F to ensure even baking.
- Prepare Baking Sheet: Spray a small rimmed baking sheet with cooking spray to prevent the cake from sticking.
- Mix Cake Batter: In a large bowl, beat together the cake mix, water, vegetable oil, and eggs until the batter is smooth and well combined.
- Spread Batter: Evenly spread the batter into the prepared baking sheet to ensure uniform thickness for baking.
- Bake Cake: Bake for 12-15 minutes, or until a toothpick inserted into the center comes out clean, indicating the cake is fully cooked.
- Cool Cake: Remove the cake from the oven and place it on a cooling rack to cool completely before assembling the trifle.
- Prepare Pudding: In a medium bowl, whisk the instant vanilla pudding mix with milk until smooth.
- Color Pudding: Add several drops of orange food coloring to the pudding and whisk until fully blended for a festive orange hue.
- Set Pudding: Refrigerate the pudding for 10-15 minutes or until completely set and firm enough for layering.
- Prepare Whipped Topping and Pudding Bags: Remove both the pudding and Cool Whip from the refrigerator. Fit two pastry bags with large round tips, filling one with the pudding and the other with Cool Whip.
- Cut Cake Circles: Using the rim of your trifle dish as a guide, lightly press it into the cooled cake, then cut out circles with a sharp knife to fit easily into your trifle dish.
- Layer Cake: Place the cake circles into the bottom of the trifle dish as the first layer.
- Pipe Pudding Layer: Pipe the orange pudding evenly over the cake layer to create a vibrant second layer.
- Pipe Cool Whip: Add a layer of Cool Whip on top of the pudding using the pastry bag for an airy, creamy topping.
- Decorate: Decorate the top with Halloween sprinkles, chocolate balls wrapped like eyes, gummy body parts, and any other spooky decorations you desire.
- Serve or Store: Serve the trifle immediately or store it in the refrigerator for up to 1 day before serving to maintain freshness.
Notes
- Make sure the cake is completely cooled before cutting and layering to prevent the pudding from melting.
- Use room temperature eggs for better cake batter integration and fluffiness.
- For a more intense orange color, add more food coloring drop by drop.
- Customize the decorations with your favorite Halloween candies for a personalized touch.
- This trifle is best eaten within one day for optimal texture and flavor.
- Prep Time: 15 minutes
- Cook Time: 15 minutes
- Category: Dessert
- Method: Baking
- Cuisine: American
