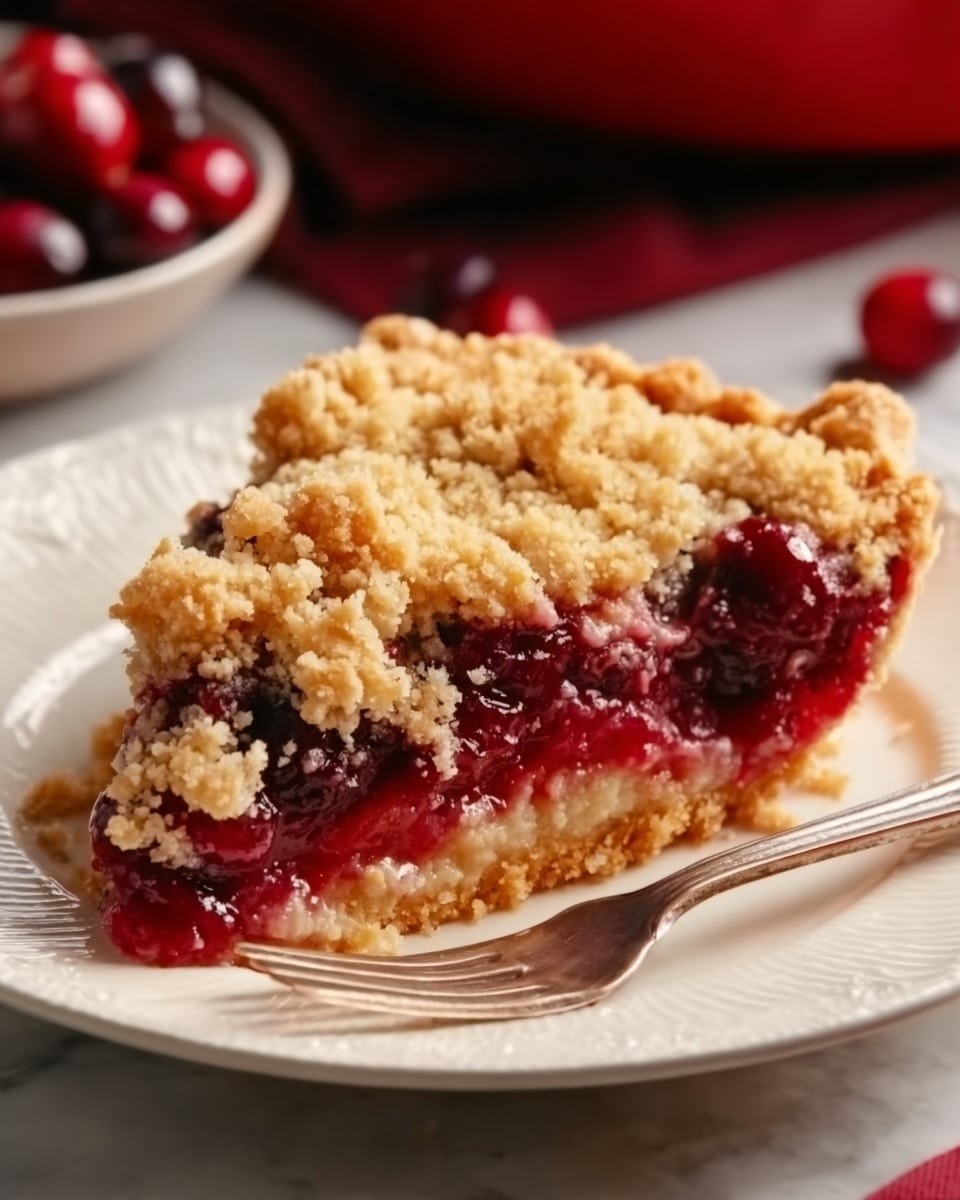
If you’ve been searching for a dessert that’s as easy as it is delicious, you’ve just found it with this delightful Cherry Dump Cake Recipe. Imagine layers of sweet, juicy cherry pie filling topped with a buttery, crumbly cake crust that bakes up golden and irresistible. This dessert captures the perfect balance between fruit and cake, making it a crowd-pleaser that requires almost no fuss in the kitchen. Whether it’s a casual weeknight treat or the highlight of your next family gathering, this Cherry Dump Cake Recipe delivers big on flavor with minimal effort.
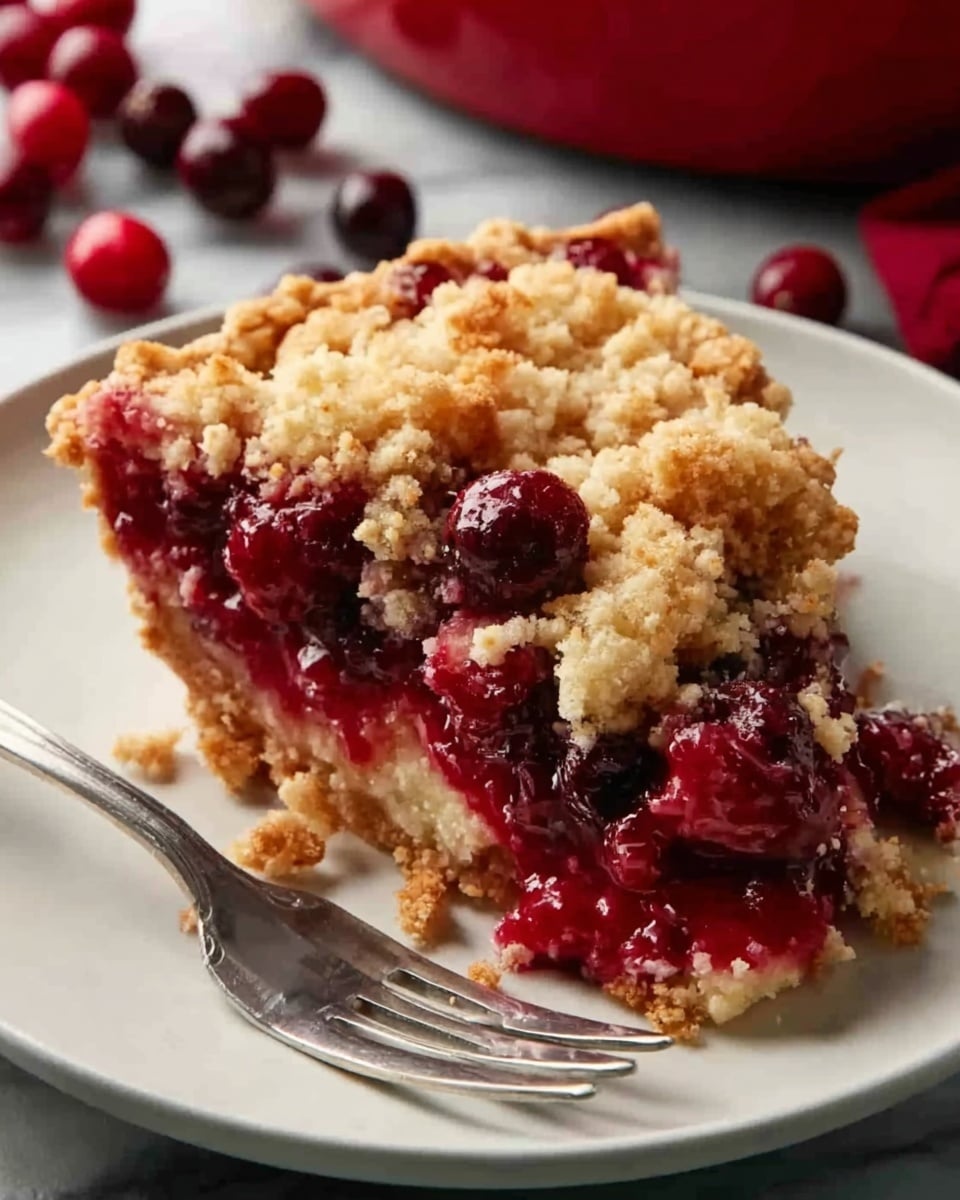
Ingredients You’ll Need
This recipe is wonderfully straightforward, using just a few simple ingredients that work together beautifully to create contrasting textures and flavors. Each component brings its own magic — from the sweet tang of cherry pie filling to the rich crunch of the buttery cake topping.
- Cherry pie filling (2 cans, 540 mL each): The star of the show, providing sweet and tart bursts of fruit throughout the cake.
- Yellow or white cake mix (1 box, 15.25 oz): Adds a soft, crumbly crust with just the right balance of sweetness.
- Melted butter (1/2 cup): Binds the cake mix crumbs together and gives the topping a golden, indulgent finish.
- Non-stick cooking spray: Keeps your baking dish clean and ensures easy serving without sticking.
How to Make Cherry Dump Cake Recipe
Step 1: Prepare your oven and baking dish
Begin by preheating your oven to 350 degrees Fahrenheit (175 degrees Celsius). While it’s warming up, lightly spray a 9×13-inch baking dish with non-stick cooking spray to prevent any sticking and make cleanup simple.
Step 2: Layer the cherry pie filling
Open both cans of cherry pie filling and carefully spread the luscious cherries evenly over the bottom of your prepared baking dish. This juicy fruit base will bubble up as it bakes, infusing the cake topping with delicious moisture and flavor.
Step 3: Mix the crumb topping
In a large bowl, combine the melted butter with the dry cake mix. The easiest way to mix is to use your hands or a pastry blender to work the butter thoroughly into the dry mix until you have coarse crumbs. This crumbly texture is what will bake up into that perfect golden crust.
Step 4: Add the topping and bake
Sprinkle the crumb mixture evenly over the cherry pie filling. Spread as uniformly as possible to ensure even baking. Pop the dish into your preheated oven and bake for about 50 to 55 minutes, or until the topping is a gorgeous golden brown and the cherry filling is bubbling around the edges.
Step 5: Cool and serve
Once baked, allow the cake to cool slightly so the filling can set just a bit. This makes serving easier and lets the flavors meld perfectly.
How to Serve Cherry Dump Cake Recipe
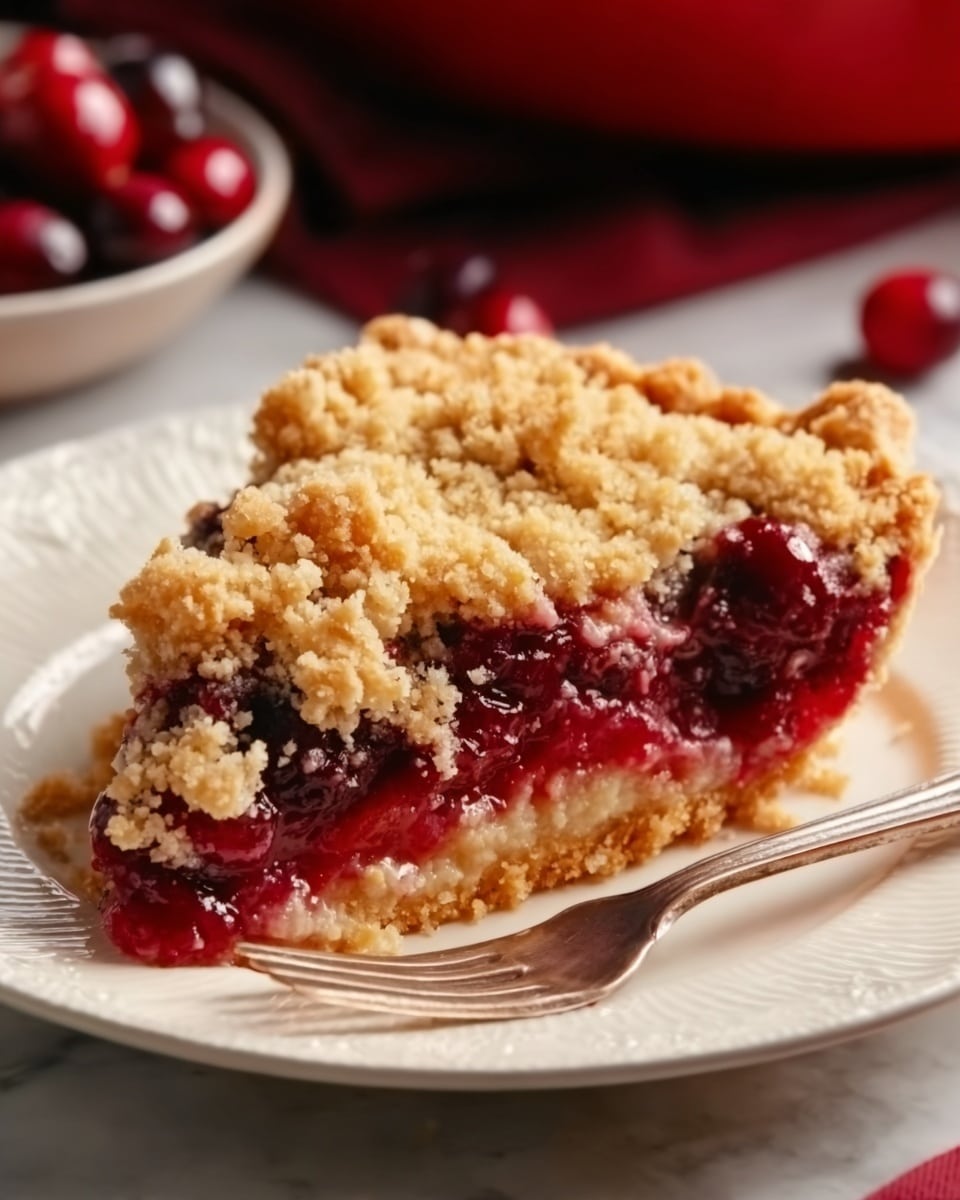
Garnishes
Chocolate shavings or a dusting of powdered sugar can add a pretty touch, but my favorite finishing touch is a generous scoop of creamy vanilla ice cream or a dollop of freshly whipped cream. They add a cool contrast that makes each bite heavenly.
Side Dishes
Serve your Cherry Dump Cake with a refreshing glass of iced tea or a cup of strong coffee. The simplicity of the cake pairs wonderfully with warm drinks to round out your dessert experience.
Creative Ways to Present
For a party presentation, try serving individual portions in pretty ramekins or mason jars layered with extra cherries and whipped cream on top. You can also top with toasted sliced almonds for added crunch and visual appeal.
Make Ahead and Storage
Storing Leftovers
Cover any leftover Cherry Dump Cake tightly with plastic wrap or foil and store it in the refrigerator. It will stay fresh for up to 4 days, making it perfect for enjoying later or sharing with friends.
Freezing
This cake freezes well if you want to keep it longer. Wrap the cooled cake securely in plastic wrap and aluminum foil or place pieces in airtight containers for up to 2 months. Thaw overnight in the fridge before serving.
Reheating
To bring your Cherry Dump Cake back to life, warm individual servings in the microwave for 20 to 30 seconds or place the whole dish in a 350-degree oven, covered loosely with foil, until heated through. This refreshes the texture and flavor beautifully.
FAQs
Can I use fresh cherries instead of canned cherry pie filling?
While you can certainly try fresh cherries, the canned pie filling provides a perfect balance of sweetness, thick juice, and a gel-like consistency that fresh cherries don’t offer. If you use fresh cherries, consider adding some sugar and a thickener like cornstarch.
Is it necessary to mix the cake mix with melted butter?
Yes, mixing the dry cake mix with melted butter instead of eggs and oil creates that signature crumbly, cookie-like topping which is key to this dump cake’s texture and richness.
Can I use a different cake flavor?
Absolutely! Yellow or white cake mix works best, but if you’re feeling adventurous, try spice or almond flavor for a unique twist. Just keep in mind these flavors will change the final taste profile.
How thick should I spread the cherry filling?
Spread the cherry pie filling evenly but avoid piling it too thick in some spots to ensure even cooking and proper bubbling under the crumb topping throughout the dish.
Is this recipe suitable for beginners?
Definitely! The Cherry Dump Cake Recipe is ideal for beginners because it requires minimal preparation, uses simple ingredients, and has an incredibly forgiving baking process with a delicious payoff.
Final Thoughts
I can’t recommend this Cherry Dump Cake Recipe enough for anyone wanting to whip up a scrumptiously sweet treat without the fuss. It’s comforting, colorful, and every bite tastes like a celebration. Give it a try—you might just find yourself making it over and over again!
Print
Cherry Dump Cake Recipe
- Total Time: 1 hour 5 minutes
- Yield: 12 servings 1x
Description
This Cherry Dump Cake is a delightfully simple and quick dessert that combines sweet cherry pie filling with a buttery cake crumb topping, baked to golden perfection. Perfect for effortless entertaining or a cozy family treat, it offers a warm, fruity filling beneath a crunchy, tender crust.
Ingredients
Filling
- 2 cans (540 mL each) cherry pie filling
Cake Topping
- 1 (15.25 oz) box of yellow or white cake mix
- 1/2 cup melted butter
Instructions
- Preheat Oven: Preheat your oven to 350°F (175°C) to ensure it’s at the right temperature before baking.
- Prepare Baking Dish: Spray a 9×13-inch baking dish with non-stick cooking spray to prevent sticking and make cleanup easier.
- Add Cherry Filling: Spread the two cans of cherry pie filling evenly across the bottom of the prepared baking dish to create an even layer of sweet fruit base.
- Make Cake Crumbs: In a large bowl, combine the melted butter with the dry cake mix. Use your hands or a pastry blender to mix until coarse crumbs form, which will create a buttery, crumbly topping.
- Top the Filling: Evenly sprinkle the crumb mixture over the cherry pie filling, ensuring full coverage for a consistent texture and flavor.
- Bake: Place in the oven and bake for 50 to 55 minutes, or until the top is golden brown and the cherry filling is bubbling around the edges, signaling it’s fully cooked and ready.
- Cool and Serve: Allow the cake to cool slightly before serving. For an extra indulgence, pair with vanilla ice cream or whipped cream.
Notes
- Use either yellow or white cake mix based on preference; both work well.
- For added texture, consider adding chopped nuts to the crumb topping.
- This dessert is best served warm but can be enjoyed at room temperature.
- Storing leftovers in the refrigerator will keep it fresh for up to 3 days.
- Prep Time: 10 minutes
- Cook Time: 50-55 minutes
- Category: Dessert
- Method: Baking
- Cuisine: American
