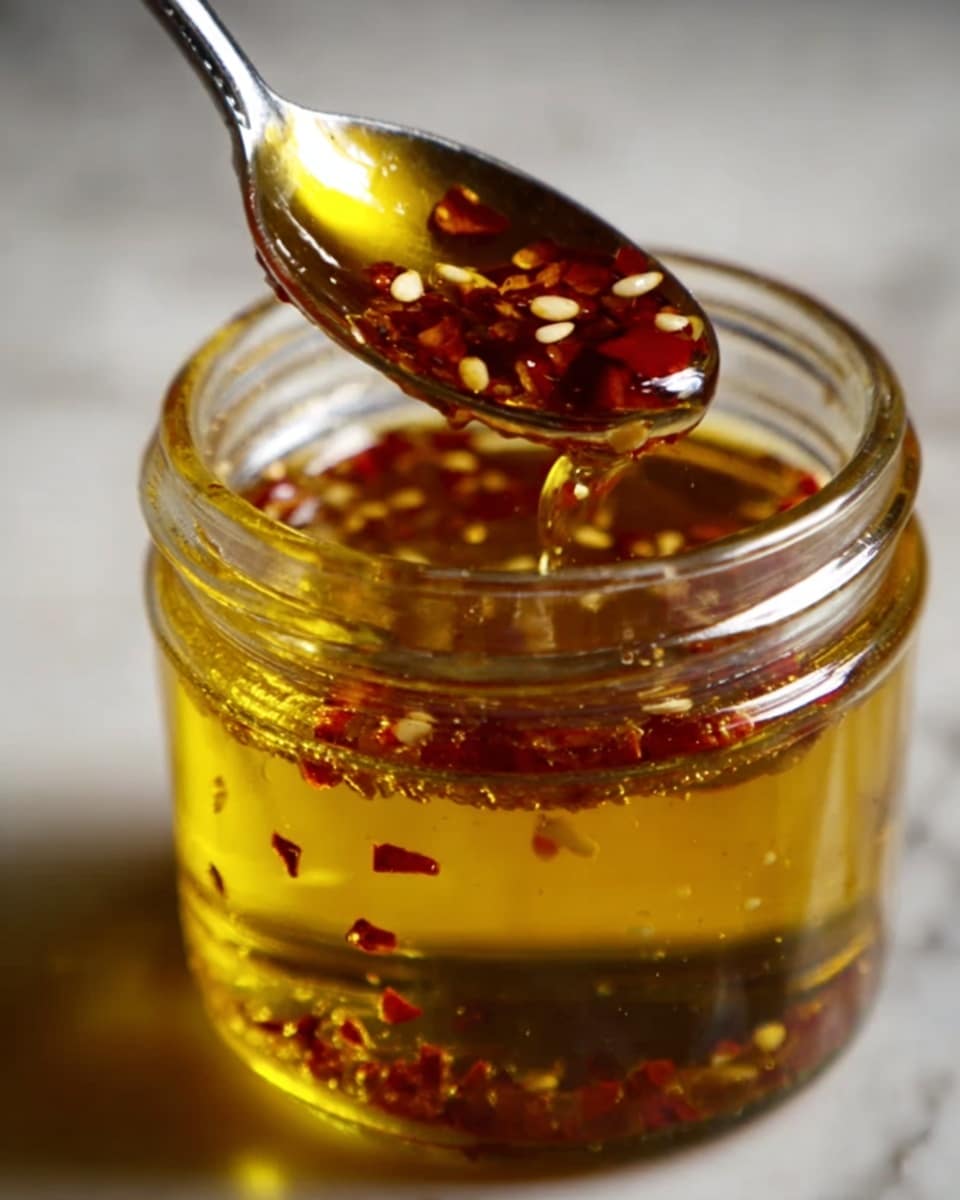
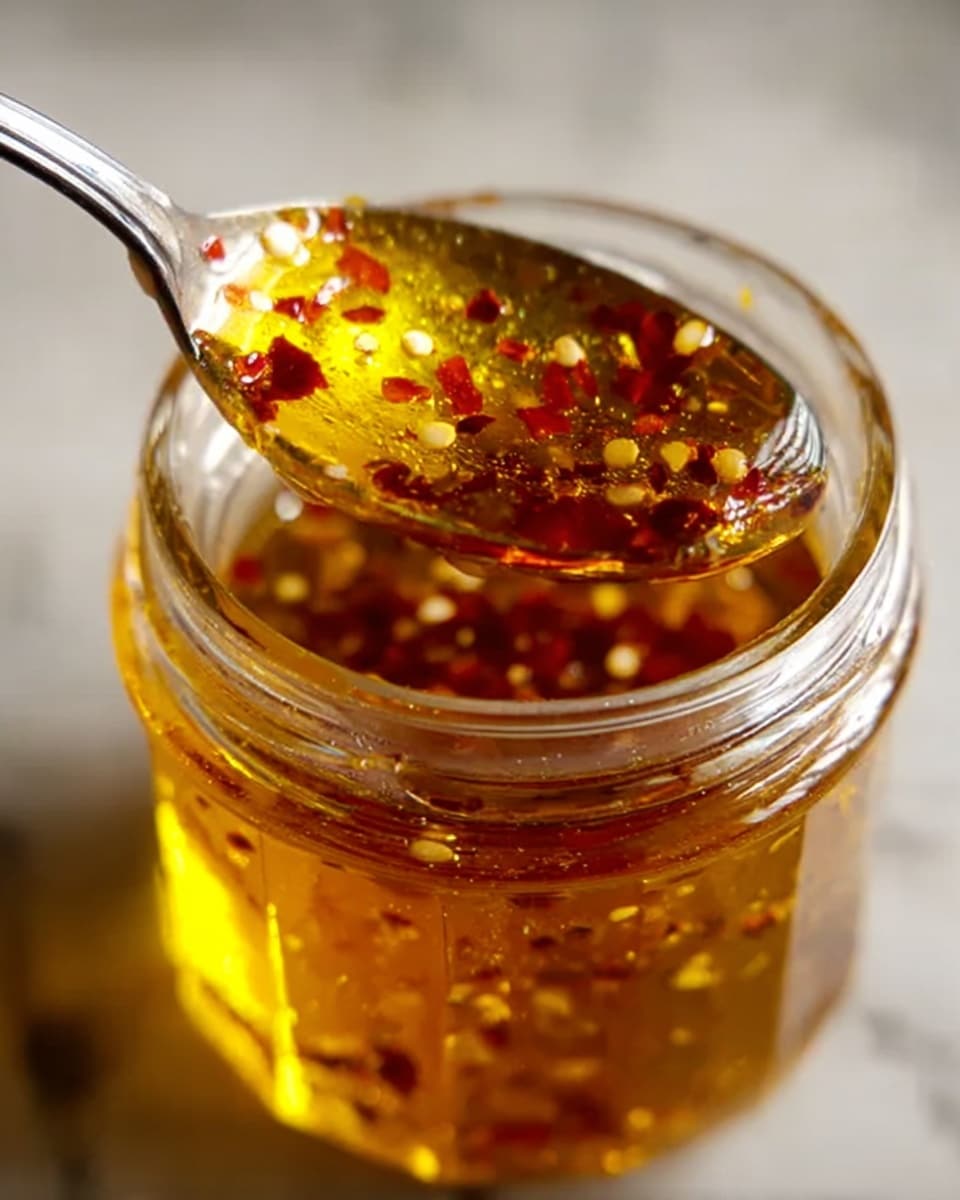
If you love bold, spicy flavors but are watching your sodium intake, you are in for a real treat with this vibrant Chili Garlic Oil – Salt-Free Recipe. It’s a sensational homemade condiment that delivers a perfect punch of heat and aromatic garlic without any added salt. Whether drizzled over noodles, used as a dipping sauce, or stirred into dressings, this versatile chili oil adds a delightful kick and smoky warmth, all while keeping things clean and wholesome. Once you make this at home, you’ll wonder how you ever lived without the magic of salt-free chili garlic oil in your kitchen!

Ingredients You’ll Need
Simple, fresh, and essential — these ingredients come together to create layers of flavor and texture that make this Chili Garlic Oil – Salt-Free Recipe unforgettable. Each one plays a key role, from the rich neutral oil that carries the heat to the bright acidity that wakes up your palate.
- ½ cup neutral oil (avocado, grapeseed, or canola): Provides a smooth, mild base that lets the spices shine and safely carries the flavors.
- ¼ cup dried red chili flakes: The star ingredient offering the fiery heat and signature red color without any salt.
- 5 garlic cloves (finely minced or thinly sliced): Infuses the oil with savory depth and a fragrant punch that perfectly balances the chili’s spice.
- 1 teaspoon smoked paprika (optional): Adds a subtle smoky complexity that elevates the oil’s richness and aroma.
- 1 teaspoon rice vinegar or lemon juice (optional): Brightens and lightens the oil, giving it a fresh, tangy finish.
How to Make Chili Garlic Oil – Salt-Free Recipe
Step 1: Warm the Oil and Infuse the Garlic
Start by gently heating your neutral oil over medium-low heat until it shimmers just slightly—this gentle warming extracts flavors without scorching. Add the minced garlic and stir constantly for 1 to 2 minutes until it turns a lovely golden color and releases its irresistible aroma. The key here is patience, as burnt garlic will overpower the delicate balance you’re aiming for.
Step 2: Introduce the Heat with Chili Flakes and Paprika
Lower the heat to prevent burning, then stir in the dried chili flakes and smoked paprika if using. Let the mixture bubble softly for another 1 to 2 minutes. This slow infusion releases the chili’s heat into the oil and allows the paprika to deepen the flavor. It’s where the magic happens, turning simple ingredients into fiery nectar.
Step 3: Add Brightness and Cool Down
Remove the pan from the heat and stir in a splash of rice vinegar or lemon juice if you like to give the oil a lively brightness. Let your chili garlic oil cool completely before transferring it into a clean, airtight jar. Cooling helps the flavors marry and makes sure your oil keeps fresh longer.
How to Serve Chili Garlic Oil – Salt-Free Recipe

Garnishes
This chili garlic oil is a dazzling finishing touch for countless dishes. Try spooning a bit over steamed veggies, mixing it into grain bowls, or drizzling it on top of avocado toast for a gourmet punch. Adding a sprinkle of fresh herbs like cilantro or chopped green onions complements the oil beautifully.
Side Dishes
Pair this chili garlic condiment with simple sides like steamed rice, roasted potatoes, or grilled tofu to amp up their flavor instantly. Its salt-free quality means it enhances without overpowering, perfect for anyone watching their sodium.
Creative Ways to Present
For parties, serve your Chili Garlic Oil – Salt-Free Recipe alongside fluffy flatbreads or mix it into homemade hummus for a spicy twist. You can also stir a spoonful into salad dressings or noodle dishes as a quick, flavorful boost that livens up weeknight dinners effortlessly.
Make Ahead and Storage
Storing Leftovers
Your chili garlic oil keeps beautifully at room temperature for up to two weeks in a sealed jar, thanks to the oil’s preservative nature. Just be sure to always use a clean utensil to scoop it out to maintain freshness and prevent contamination.
Freezing
If you want to extend its shelf life further, you can freeze the oil in small portions using ice cube trays. Once frozen, transfer the cubes into a freezer-safe bag and thaw only what you need. This method keeps the flavors intact for months without any dulling.
Reheating
When ready to use, gently warm the frozen or refrigerated oil by letting it come to room temperature or warming it lightly in a pan. Avoid overheating to preserve the garlic’s delicate aroma and keep the chili from burning.
FAQs
Can I use other types of oil for this recipe?
Absolutely! Neutral oils like avocado, grapeseed, and canola work best because they don’t overpower the chili and garlic flavors. You can also experiment with light olive oil, but keep in mind it has a stronger taste that may alter the flavor profile.
Is this recipe really salt-free?
Yes! This Chili Garlic Oil – Salt-Free Recipe is entirely free from added salt. Just make sure you use unsalted chili flakes, as some brands may contain salt or preservatives. This way, you get all the heat and bold flavor without any sodium.
How spicy is this chili garlic oil?
The heat level depends on the chili flakes you use. This recipe offers a balanced kick, but you can dial up the heat by using crushed Thai chilies or increasing the chili amount. For a milder taste, try reducing chili flakes or mixing in sweet paprika.
Can I make this oil without garlic?
While garlic is essential for that signature aromatic warmth, you can technically omit it if you have an allergy or preference. However, the final flavor will be less complex and aromatic, so adding garlic is highly recommended for the full experience.
How long does homemade chili garlic oil last?
Stored properly in an airtight jar, it lasts about two weeks at room temperature and longer if refrigerated. Always check for any off smells or cloudiness, which could indicate spoilage, and discard if you notice any changes.
Final Thoughts
Making your own Chili Garlic Oil – Salt-Free Recipe is such a rewarding little kitchen adventure. It’s fast, simple, and packs an impressive punch without one pinch of salt. Whether you’re spicing up a humble meal or impressing guests with a gourmet touch, this chili garlic oil will become your go-to condiment. Give it a try and let the bold flavors elevate your cooking—you’ll love how easy it is to make your dishes come alive!
Print
Chili Garlic Oil – Salt-Free Recipe
- Total Time: 10 minutes
- Yield: About ¾ cup 1x
- Diet: Vegan
Description
This Salt-Free Chili Garlic Oil is a flavorful, homemade condiment that combines the heat of dried chili flakes with aromatic garlic in a neutral oil base. Perfect for adding a spicy kick without any added salt, this versatile oil can enhance stir-fries, noodles, dumplings, and more. Made on the stovetop with simple pantry ingredients, it’s vegan, gluten-free, and a low sodium alternative to store-bought chili oils.
Ingredients
Ingredients
- ½ cup neutral oil (such as avocado, grapeseed, or canola)
- ¼ cup dried red chili flakes
- 5 garlic cloves, finely minced or thinly sliced
- 1 teaspoon smoked paprika (optional for depth)
- 1 teaspoon rice vinegar or lemon juice (optional for brightness)
Instructions
- Heat the oil: In a small saucepan, warm the neutral oil over medium-low heat until it begins to shimmer but doesn’t smoke, ensuring it’s hot enough to infuse flavors without burning.
- Sauté the garlic: Add the minced garlic to the oil and stir constantly for 1–2 minutes until the garlic turns golden and releases a fragrant aroma. Be careful to avoid burning the garlic, which can introduce bitterness.
- Add chili flakes and paprika: Reduce the heat to low and stir in the dried red chili flakes along with the smoked paprika if using. Let the mixture gently bubble for another 1–2 minutes to fully infuse the oil with spicy and smoky flavors.
- Finish with vinegar or lemon juice: Remove the saucepan from heat and stir in the rice vinegar or lemon juice if desired, adding a bright, tangy note to the oil.
- Cool and store: Allow the chili garlic oil to cool completely before transferring it to a clean, airtight jar. Store at room temperature for up to 2 weeks or refrigerate for longer shelf life. Always use a clean spoon when serving to maintain freshness.
Notes
- For more heat, increase the amount of chili flakes or use crushed Thai chilies instead.
- To make a milder chili oil, reduce the chili flakes or substitute some with sweet paprika.
- Keep the oil salt-free by ensuring no salted chili flakes or additives are used.
- Prep Time: 5 minutes
- Cook Time: 5 minutes
- Category: Condiment
- Method: Stovetop
- Cuisine: Asian-Inspired


