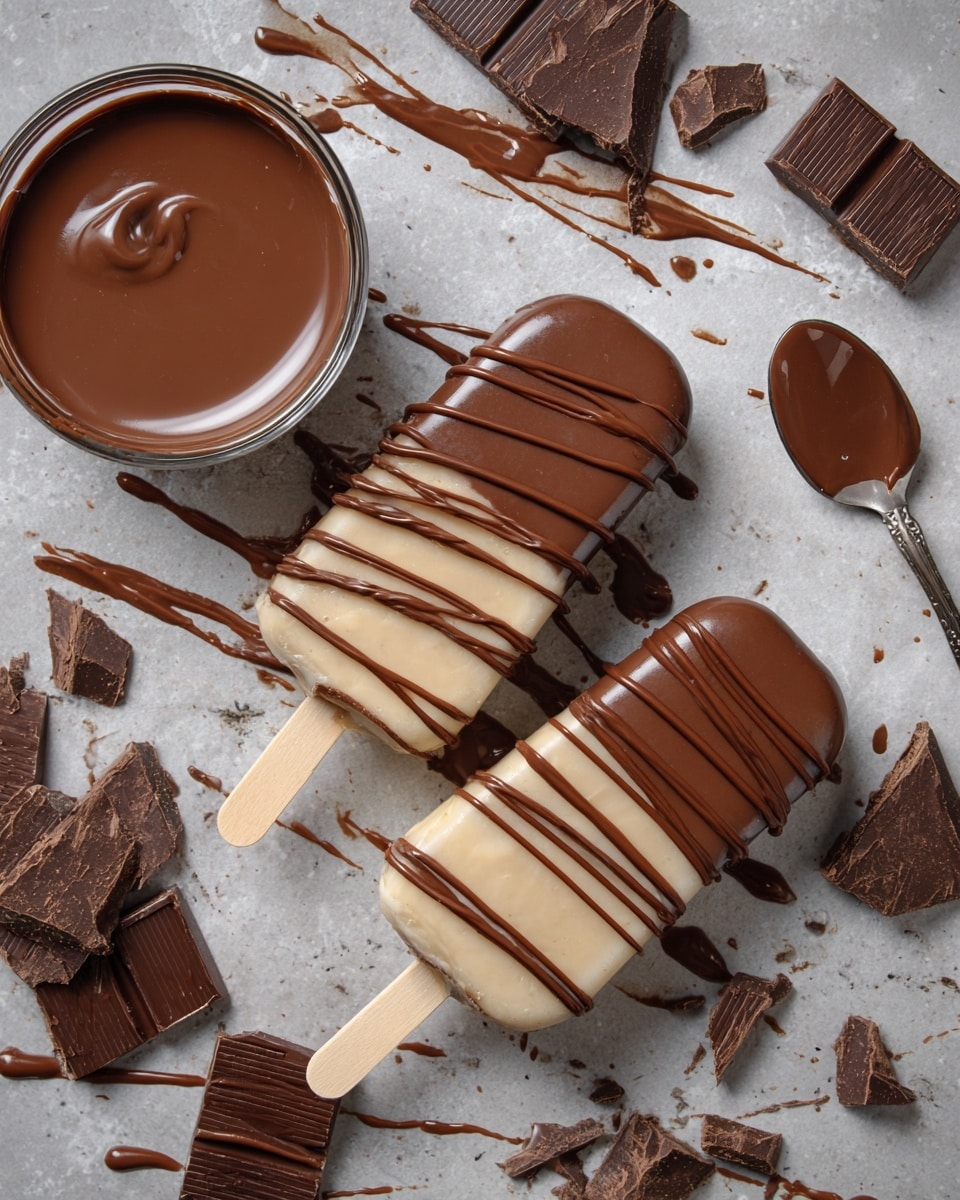
If you are looking for a delightful and refreshing homemade treat, this Chocolate Ice Cream Bars Recipe is exactly what you need. These bars combine the creamy richness of homemade chocolate ice cream with a perfectly smooth, glossy chocolate coating that snaps satisfyingly with every bite. Whether you’re craving a cool dessert on a hot day or want to impress friends with a charming frozen treat, these ice cream bars bring together simple ingredients and a straightforward method to create a show-stopping sweet treat that tastes far better than store-bought options.
Ingredients You’ll Need
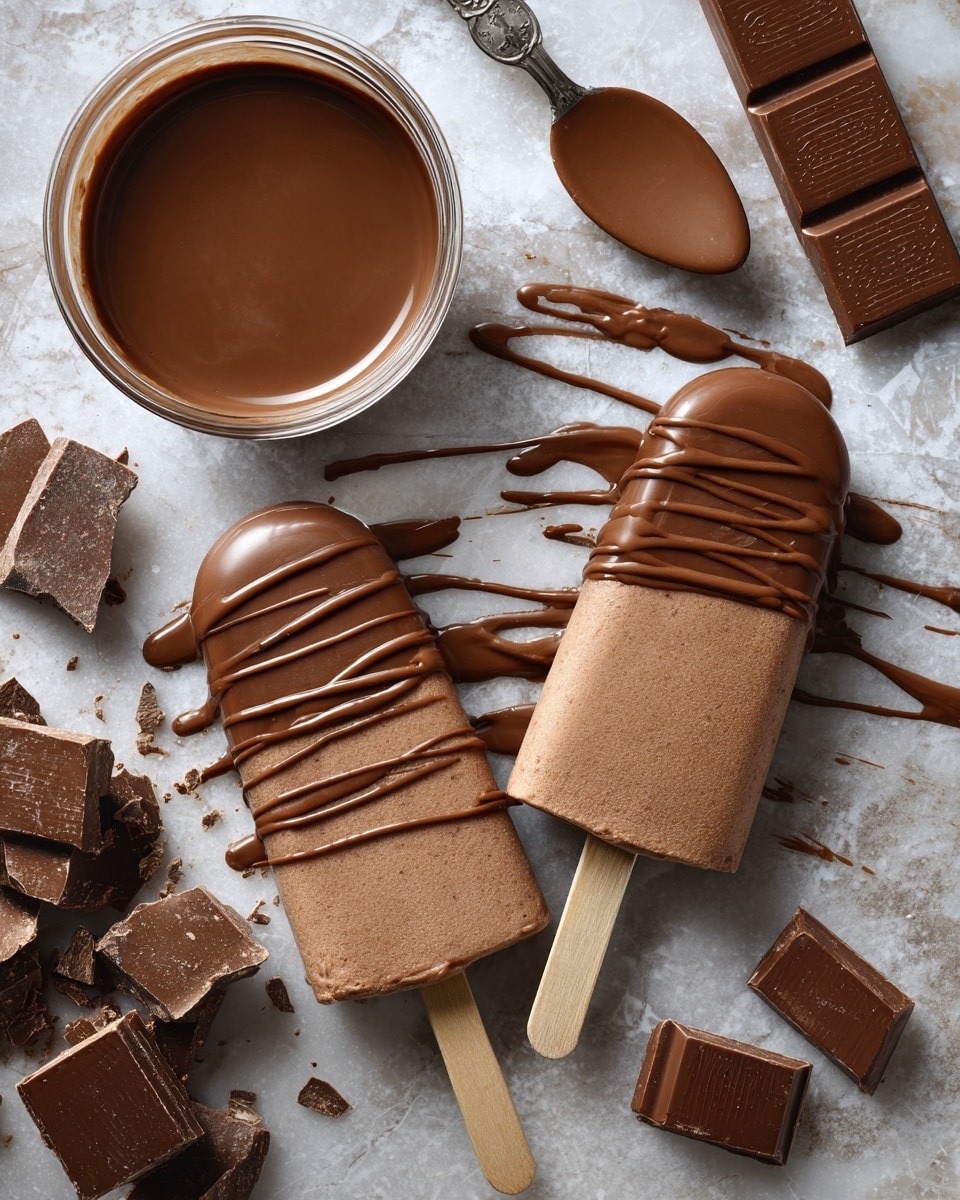
The ingredients for this recipe are straightforward but essential, building layers of flavor and texture that transform simple dairy and cocoa into a decadent dessert. Each element plays its part: the heavy cream and whole milk create a luscious base, while cocoa and chocolate bring depth and richness. Vanilla and salt enhance those chocolate notes, making every bite unforgettable.
- 2 cups heavy cream: This adds the creamy, velvety backbone essential for smooth ice cream bars.
- 1 cup whole milk: Provides a natural softness and cuts through the richness just enough.
- ¾ cup granulated sugar: Sweetens the mixture perfectly without overwhelming the chocolate flavor.
- ¼ cup unsweetened cocoa powder: Brings that deep, chocolatey taste and rich color.
- 1 teaspoon vanilla extract: Lifts the chocolate, adding warm aromatic notes.
- ¼ teaspoon salt: Enhances flavor balance and intensifies the chocolate’s depth.
- 8 ounces semisweet chocolate (chopped): Melts into a luscious coating that hardens into a satisfying shell.
- 2 tablespoons coconut oil: Keeps the chocolate coating shiny and gives it a perfect snap.
- 8 wooden sticks: The classic way to hold and enjoy your ice cream bars.
How to Make Chocolate Ice Cream Bars Recipe
Step 1: Prepare the Chocolate Ice Cream Base
Start by combining your heavy cream, whole milk, granulated sugar, unsweetened cocoa powder, vanilla extract, and salt in a medium saucepan. Whisk everything together over medium heat and keep stirring until the mixture is well blended and steaming, but be careful not to let it boil. This gentle warming helps dissolve the sugar and brings out the cocoa’s flavor while blending the ingredients perfectly. Once done, remove it from the heat and let it cool to room temperature. This step sets the creamy, chocolatey stage for the bars.
Step 2: Freeze the Ice Cream Mixture
Pour the cooled mixture evenly into ice pop molds and insert wooden sticks into each slot. Pop them into the freezer and let them chill for at least 6 hours, or until they are completely solid. Patience here is key—this freezing step ensures your bars have that perfect creamy texture inside when you bite into the crisp chocolate exterior.
Step 3: Prepare the Chocolate Coating
When the ice cream bars are frozen solid, it’s time to make the irresistible chocolate shell. Melt the chopped semisweet chocolate and coconut oil together in a heatproof bowl placed over a pot of simmering water, stirring until glossy and smooth. The coconut oil is a game-changer, making the chocolate coating shine beautifully and harden to a satisfying snap.
Step 4: Coat the Ice Cream Bars
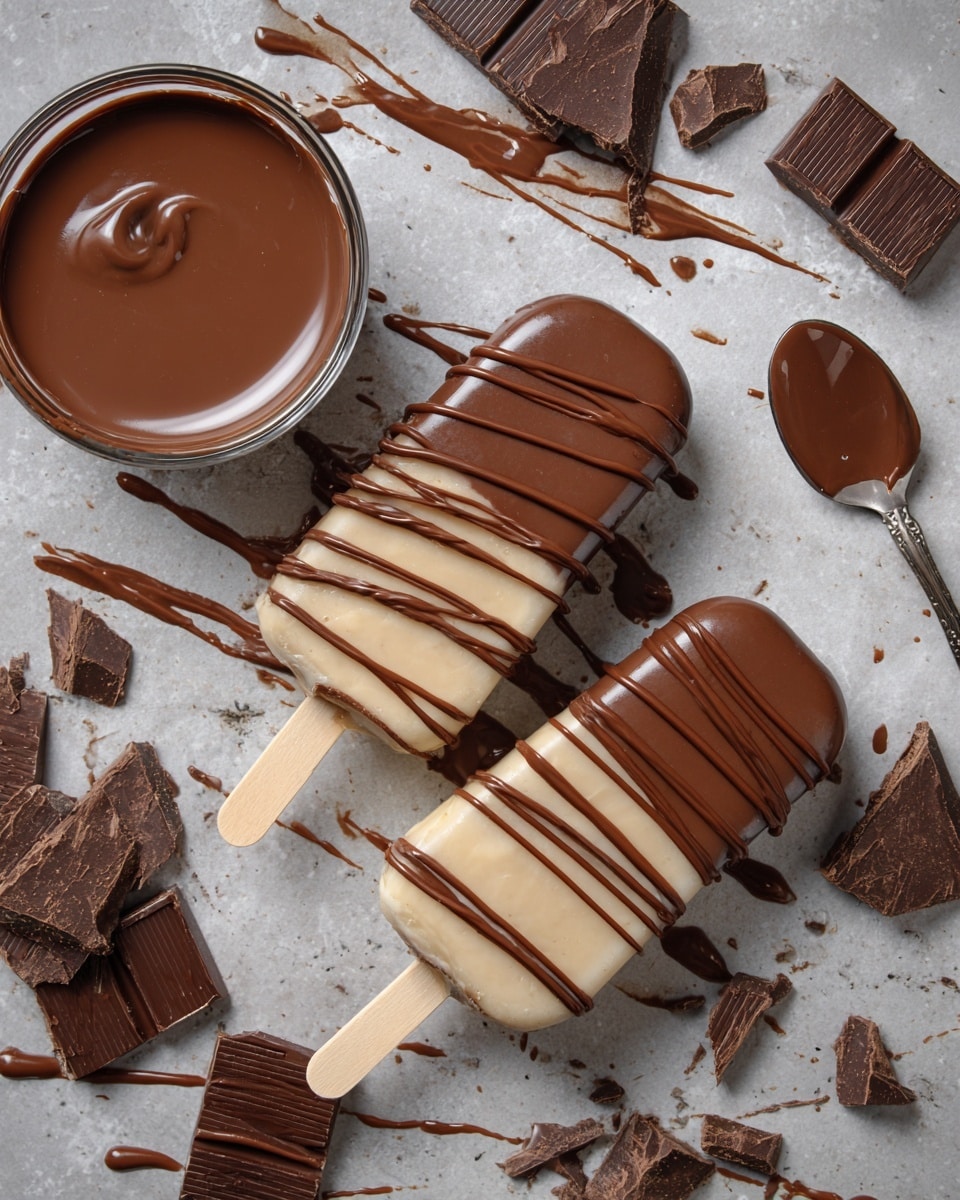
Take the fully frozen bars out of their molds and quickly dip each one into the melted chocolate. Allow the excess chocolate to drip off before placing them on a parchment-lined baking sheet. The key is to work swiftly so the bars stay frozen and the chocolate sets perfectly. Return them to the freezer for about 15 minutes to ensure the coating hardens completely before serving.
How to Serve Chocolate Ice Cream Bars Recipe
Garnishes
Top your bars with a variety of fun garnishes to elevate both appearance and texture. Sprinkles, finely chopped nuts, or even crushed cookies pressed lightly into the chocolate coating before it sets add a delightful crunch. These not only make your dessert party-ready but also add bursts of flavor that complement the creamy chocolate inside.
Side Dishes
While these bars are delicious on their own, pairing them with fresh fruit like strawberries or raspberries creates a bright contrast that balances the rich chocolate perfectly. For a grown-up twist, serve alongside a small glass of dessert wine or a rich espresso to round out the indulgence.
Creative Ways to Present
Think beyond the classic stick presentation: serve these bars cut in halves on elegant plates with a drizzle of homemade caramel sauce, or pop them onto skewers alternating with marshmallows and fresh berries for a playful dessert skewer. You can also wrap individual bars in parchment and tie with twine for a cute gift idea that’s sure to impress.
Make Ahead and Storage
Storing Leftovers
If you have any bars left over, store them in an airtight container in the freezer to prevent ice crystals from forming and to keep that fresh homemade taste intact. They will stay deliciously creamy for up to one week when kept properly frozen.
Freezing
This Chocolate Ice Cream Bars Recipe truly benefits from freezing as the main preservation method. Leaving them in the freezer ensures the creamy texture remains perfect and the chocolate coating stays crisp. Make sure to allow the bars to freeze completely before dipping, and refreeze promptly after coating.
Reheating
Reheating these bars is not recommended, as the texture and temperature are what make them so enjoyable. Instead, simply let them sit at room temperature for 2-3 minutes if you want the chocolate shell to soften slightly—this is perfect for savoring every last bite.
FAQs
Can I make these bars dairy-free?
Absolutely! To make a dairy-free version of the Chocolate Ice Cream Bars Recipe, substitute the heavy cream and whole milk with coconut milk and coconut cream. This swap keeps the creamy texture while maintaining the rich flavor.
How long can I store these ice cream bars in the freezer?
When stored properly in an airtight container, these chocolate ice cream bars can maintain their best quality for up to one week. Beyond that, the texture may start to degrade.
Can I add mix-ins to the ice cream base?
Yes, you can experiment with mix-ins like mini chocolate chips, crushed cookies, or nuts incorporated into the ice cream base before freezing to add some fun texture contrasts to the bars.
What kind of chocolate is best for the coating?
Semisweet chocolate works wonderfully since it balances sweetness with rich cocoa flavor. The addition of coconut oil gives it a glossy finish and crisp texture once hardened.
Can I use store-bought ice cream instead of making the base?
While this recipe celebrates homemade flavors and texture, you can use softened good-quality store-bought chocolate ice cream poured into molds, then follow the coating steps for a quicker alternative.
Final Thoughts
There is something so satisfying about crafting your own Chocolate Ice Cream Bars Recipe at home where every bite bursts with creamy chocolate goodness wrapped in a crisp shell. This recipe is a great reminder that with just a few simple ingredients and a little patience, you can make an impressive frozen dessert that feels indulgent and special. I can’t wait for you to try it and share this cool treat with your favorite people!
Print
Chocolate Ice Cream Bars Recipe
- Total Time: 6 hours 25 minutes
- Yield: 8 bars 1x
- Diet: Vegetarian
Description
Delight in these rich and creamy homemade Chocolate Ice Cream Bars, perfect for a refreshing summer treat. Made with a luscious blend of heavy cream, whole milk, cocoa, and real semisweet chocolate, these bars are dipped in a smooth chocolate coating and frozen to perfection. Customize them with nuts or sprinkles for added texture and enjoy a delicious dessert that’s both indulgent and fun to make.
Ingredients
Ice Cream Base
- 2 cups heavy cream
- 1 cup whole milk
- ¾ cup granulated sugar
- ¼ cup unsweetened cocoa powder
- 1 teaspoon vanilla extract
- ¼ teaspoon salt
Chocolate Coating
- 8 ounces semisweet chocolate, chopped
- 2 tablespoons coconut oil
Additional
- 8 wooden sticks
Instructions
- Prepare the Ice Cream Mixture: In a medium saucepan over medium heat, whisk together the heavy cream, whole milk, sugar, cocoa powder, vanilla extract, and salt. Stir constantly until the mixture is well combined and begins to steam, but do not let it boil.
- Cool the Mixture: Remove the saucepan from heat and allow the mixture to cool to room temperature, ensuring it’s ready to freeze without forming ice crystals.
- Fill Molds and Freeze: Pour the cooled mixture into ice pop molds, insert wooden sticks into each mold, and place them in the freezer for at least 6 hours or until completely solid.
- Melt the Chocolate Coating: In a heatproof bowl set over a pot of simmering water, gently melt the chopped semisweet chocolate and coconut oil together, stirring until smooth and glossy.
- Dip and Coat Bars: Remove the frozen ice cream bars from their molds quickly, then dip each bar into the melted chocolate to coat thoroughly. Allow excess chocolate to drip off.
- Set the Coating: Place the chocolate-coated bars on a parchment-lined baking sheet and return them to the freezer for about 15 minutes to let the chocolate harden before serving.
Notes
- For added texture, sprinkle chopped nuts, sprinkles, or crushed cookies onto the chocolate coating before it sets.
- To make a dairy-free version, substitute the heavy cream and whole milk with coconut cream and coconut milk respectively.
- Be sure not to overheat the cream mixture to avoid curdling or burning the cocoa powder.
- Remove ice cream bars from molds quickly to prevent melting before dipping in chocolate.
- Prep Time: 15 minutes
- Cook Time: 10 minutes
- Category: Dessert
- Method: Freezing
- Cuisine: American
