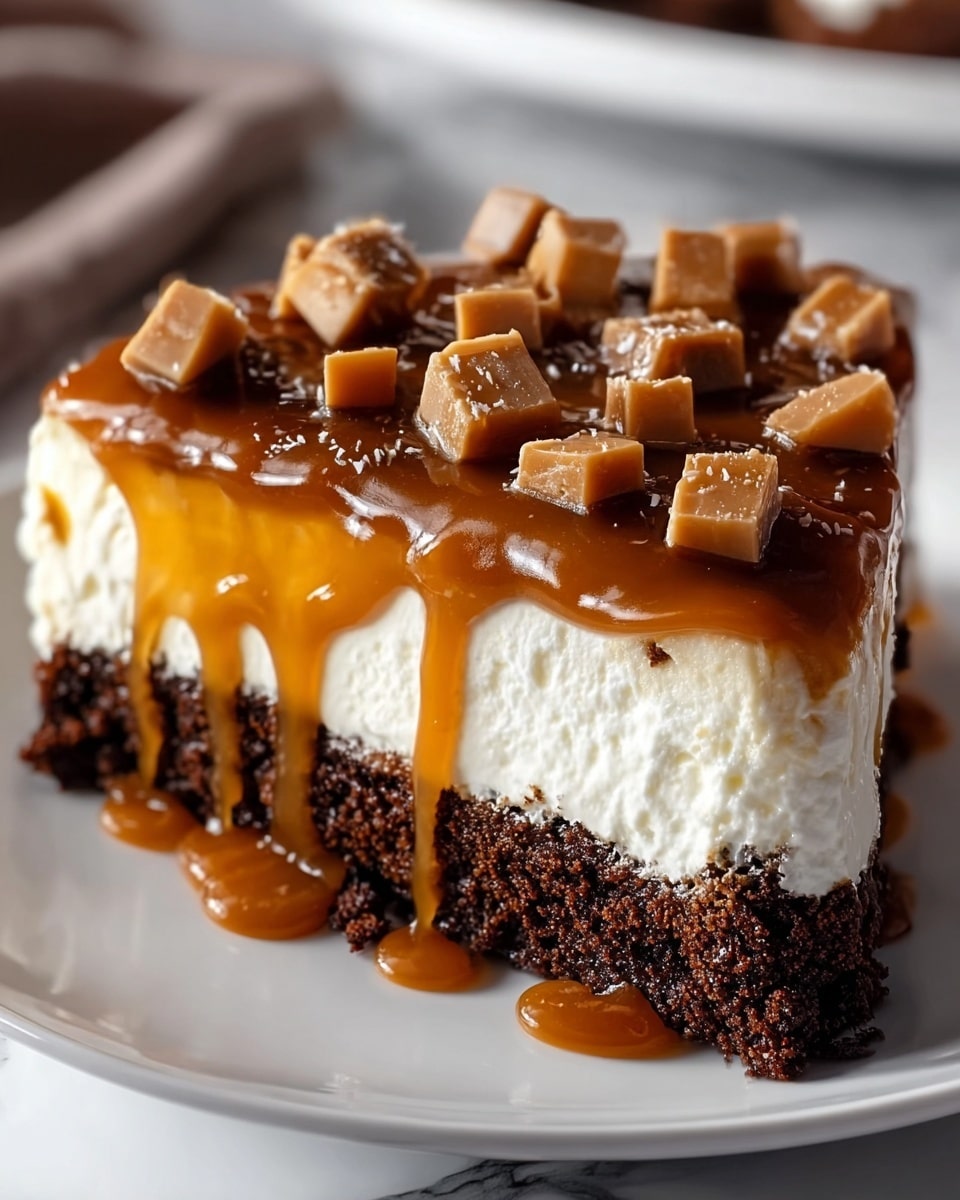
If you have a sweet tooth that loves a perfect balance of rich chocolate, luscious caramel, and that unmistakable crunchy peanut butter crunch, then you need to make this Butterfinger Candy Bar Poke Cake Recipe right now. It’s the kind of dessert that effortlessly combines simple pantry staples into a showstopper that’s crispy, creamy, and downright addictive. Poke cakes have a magical way of soaking up layers of flavor, and with crushed Butterfinger candy bars sprinkled on top, this cake bakes into a truly irresistible treat that everyone will ask for seconds of.
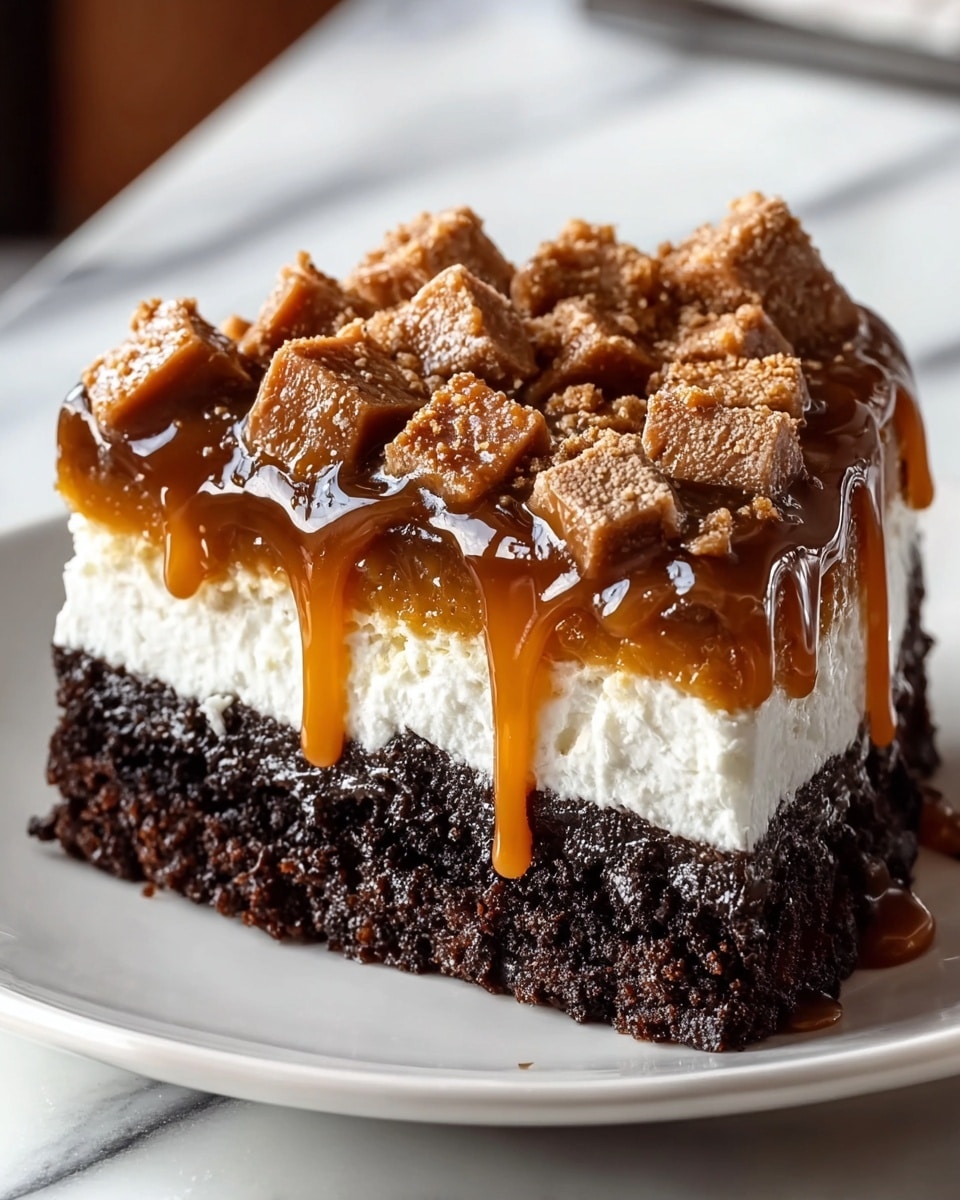
Ingredients You’ll Need
Every ingredient in the Butterfinger Candy Bar Poke Cake Recipe is straightforward but essential, bringing together the perfect harmony of textures and flavors—from moist chocolate cake to smooth caramel and crunchy candy pieces. Here’s what you’ll want to have ready:
- Chocolate cake mix: The base of our cake, your classic box mix keeps it simple and delicious.
- Eggs, oil, and water: Standard mix-in ingredients that bring your chocolate cake to moist perfection.
- Sweetened condensed milk (14 oz): This adds an irresistibly creamy sweetness, soaking deep into every hole.
- Caramel sauce (12 oz jar): Drizzled on top for that buttery, gooey layer of pure joy.
- Whipped topping (8 oz, thawed): For that fluffy, light finish that balances the cake’s richness.
- Butterfinger candy bars (4 full-size, crushed): The star of the show bringing crunchy peanut buttery delight.
- Optional chocolate syrup: A drizzle of this adds a pretty, luscious final touch.
How to Make Butterfinger Candy Bar Poke Cake Recipe
Step 1: Bake the Chocolate Cake
Start by preheating your oven to 350°F (175°C) and prepare the chocolate cake mix according to the package instructions—adding those eggs, oil, and water. Pour the batter into a 9×13-inch pan and bake until a toothpick inserted in the center comes out clean, roughly 30 minutes. The moist, homemade chocolate cake base is where magic begins.
Step 2: Poke the Cake and Add Sweetened Condensed Milk
Once the cake is out of the oven and still warm, grab a wooden spoon handle and carefully poke holes all over the top of the cake. This is what transforms your cake into a soak-worthy masterpiece. Pour the sweetened condensed milk evenly across the entire surface, letting it sink into those holes for that deeply creamy, chewy surprise in every bite.
Step 3: Add Caramel Sauce and Cool
Next, generously drizzle the caramel sauce over the cake’s surface. The caramel lends a buttery, slightly sticky layer that partners beautifully with the chocolate base. Allow the cake to cool completely on your counter so all those heavenly flavors meld and set properly.
Step 4: Spread Whipped Topping and Sprinkle Butterfinger
Once cooled, spread the whipped topping evenly across the cake for a cloud-like finish that contrasts the richness below. Immediately follow up by sprinkling the crushed Butterfinger candy bars over the top, adding that delightful crunch and signature peanut butter flavor that makes this poke cake unforgettable.
Step 5: Chill and Optional Drizzle
For best results, refrigerate the cake for at least 2 hours to let the flavors fully soak in and the cake set perfectly. If you want to take it over the top, drizzle chocolate syrup right before serving for that extra bit of chocolatey flair.
How to Serve Butterfinger Candy Bar Poke Cake Recipe
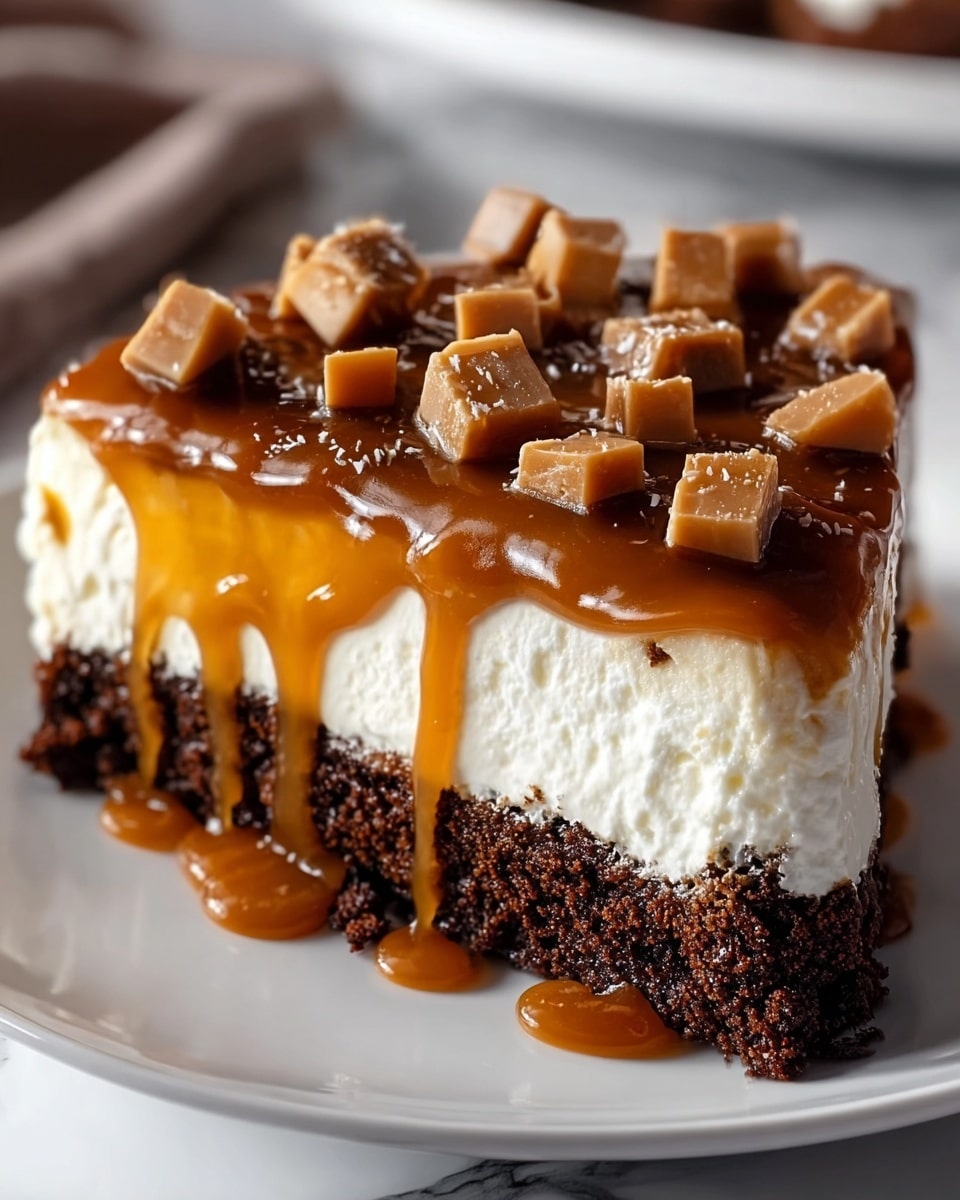
Garnishes
To make your Butterfinger Candy Bar Poke Cake Recipe even more visually stunning and tasty, try sprinkling additional crushed Butterfinger pieces or a light dusting of cocoa powder on top. Fresh whipped cream or a few chocolate chips can also add layers of creamy texture and decadence that guests will love.
Side Dishes
Pair this poke cake with a scoop of vanilla ice cream or a simple fresh fruit salad to balance the sweetness. The creamy coldness of ice cream perfectly complements the richness and variety of textures in the cake.
Creative Ways to Present
Serving this cake in individual clear cups layered with extra caramel and whipped topping makes for a playful dessert presentation at parties. Or slice it into neat squares and plate with a drizzle of chocolate syrup and a mint leaf for a refined touch that will impress your crowd.
Make Ahead and Storage
Storing Leftovers
Your Butterfinger Candy Bar Poke Cake Recipe tastes even better after resting, so keep leftovers covered tightly in the refrigerator. The flavors will continue to meld, and the cake will stay moist and fresh for up to 4 days.
Freezing
If you want to extend its shelf life, you can freeze the cake in an airtight container after chilling. Thaw it overnight in the fridge before serving to preserve that incredible texture and flavor without losing moisture.
Reheating
This poke cake is best enjoyed chilled, so reheating is generally unnecessary. If you prefer it slightly warmed, gently warm a single slice in the microwave for 10-15 seconds—but don’t overdo it or you’ll lose that lovely chilled creaminess.
FAQs
Can I use a homemade chocolate cake instead of a box mix?
Absolutely! A homemade chocolate cake works wonderfully in the Butterfinger Candy Bar Poke Cake Recipe and can add a personal touch, but the box mix keeps things quick and foolproof without sacrificing taste.
What kind of caramel sauce is best to use?
Store-bought caramel sauce is great for convenience, but if you have time, a homemade caramel drizzle adds a richer, buttery flavor that elevates the cake even more.
Can I substitute the Butterfinger candy bars with another candy?
While Butterfinger bars are the signature crunch, you could experiment with other peanut butter or crunchy candy bars like Heath or Twix, though the flavor profile will change accordingly.
Is this dessert gluten-free?
This recipe is not gluten-free as written due to the chocolate cake mix, but you can try a gluten-free chocolate cake mix to adapt it for gluten sensitivity.
How long should I poke the holes in the cake?
Just make sure to poke evenly across the cake with the handle of a wooden spoon while the cake is warm—this allows the sweetened condensed milk to soak fully right after pouring.
Final Thoughts
This Butterfinger Candy Bar Poke Cake Recipe is one of those joyous desserts that feels like a warm hug from the inside out. Its perfect combination of creamy, crunchy, and gooey layers will quickly turn into a family favorite or party showstopper. Give it a try—you really can’t go wrong indulging in this cakey slice of heaven.
Print
Butterfinger Candy Bar Poke Cake Recipe
- Total Time: 2 hours 45 minutes
- Yield: 12 servings 1x
- Diet: Vegetarian
Description
This Butterfinger Candy Bar Poke Cake is a decadent and easy-to-make dessert that combines rich chocolate cake with sweetened condensed milk, caramel sauce, whipped topping, and crunchy crushed Butterfinger candy bars. Perfect for chocolate and caramel lovers, this poke cake is moist, creamy, and loaded with delicious candy bar goodness, making it an irresistible treat for any occasion.
Ingredients
Cake
- 1 box chocolate cake mix (plus ingredients listed on box: eggs, oil, water)
Toppings and Filling
- 1 can (14 oz) sweetened condensed milk
- 1 jar (12 oz) caramel sauce
- 1 tub (8 oz) whipped topping (thawed)
- 4 full-size Butterfinger candy bars (crushed)
- Optional: chocolate syrup for drizzling
Instructions
- Preheat and Prepare Cake: Preheat your oven to 350°F (175°C). Prepare the chocolate cake mix according to the package instructions, incorporating the required eggs, oil, and water. Pour the batter into a 9×13-inch baking pan and bake until a toothpick inserted in the center comes out clean, about 30 minutes.
- Poke Holes in Warm Cake: While the cake is still warm, take the handle of a wooden spoon and gently poke holes all over the surface of the cake. This will allow the sweetened condensed milk to soak in deeply.
- Add Sweetened Condensed Milk and Caramel: Pour the entire can of sweetened condensed milk evenly over the cake, ensuring it seeps into the holes. Then drizzle the caramel sauce evenly over the top of the cake. Let the cake cool completely.
- Spread Whipped Topping & Add Crunch: Once the cake has cooled, spread the thawed whipped topping evenly over the surface. Sprinkle the crushed Butterfinger candy bars generously on top for a crunchy finish.
- Optional Finishing Touch: Drizzle chocolate syrup over the top if desired for extra chocolatey flavor.
- Chill Before Serving: Refrigerate the cake for at least 2 hours to allow the flavors to meld and to firm up the whipped topping before slicing and serving.
Notes
- Best made ahead so the flavors can soak in thoroughly.
- You can substitute with a homemade chocolate cake if preferred.
- Reserve some crushed Butterfinger pieces to sprinkle right before serving for extra crunch.
- Prep Time: 15 minutes
- Cook Time: 30 minutes
- Category: Dessert
- Method: Baking
- Cuisine: American
