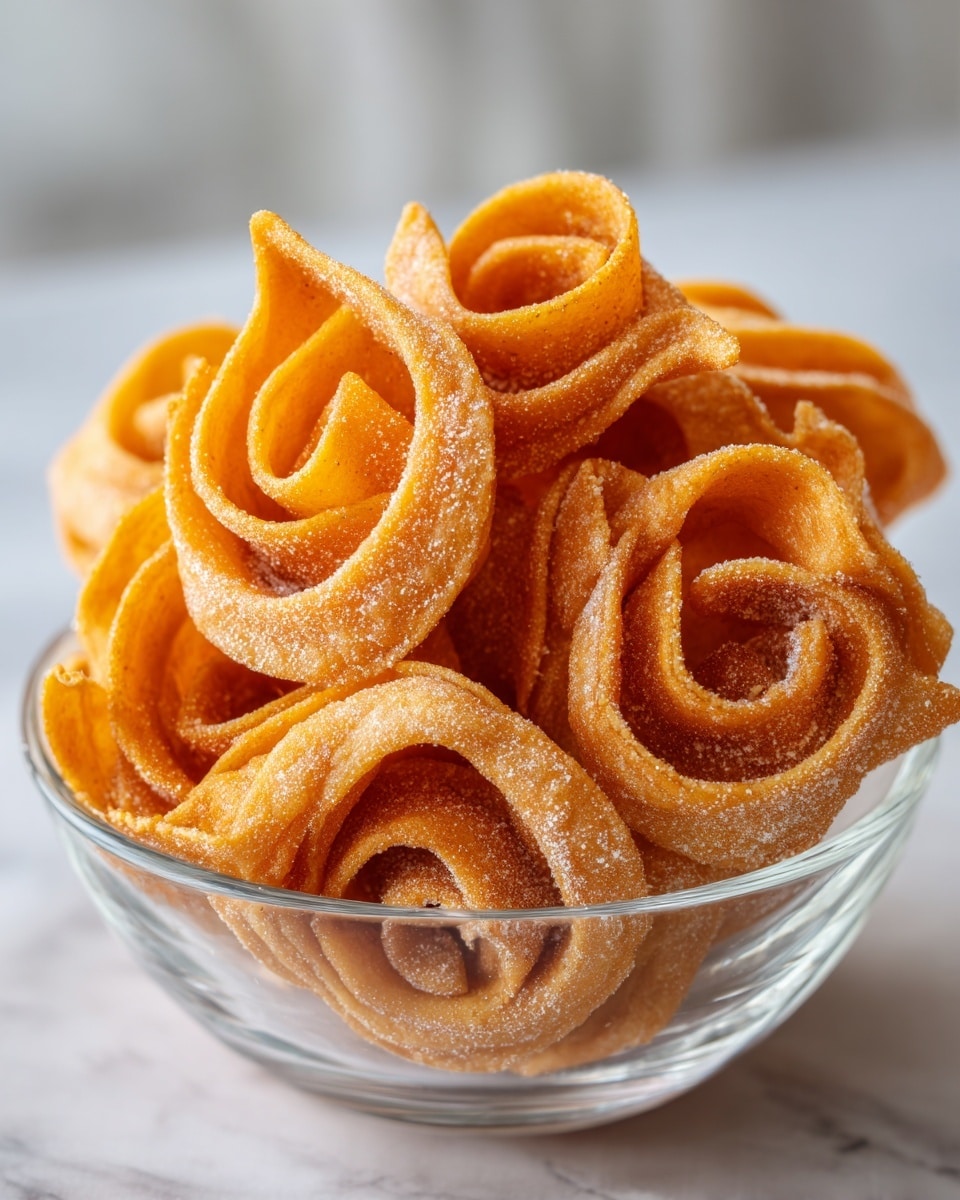
If you are on the hunt for a snack that seamlessly combines crispy, cheesy goodness with a touch of spice, this Cheese Straws Recipe is going to become your new go-to. These golden, crispy twists offer the perfect balance of sharp cheddar flavor with a tender, flaky texture that melts in your mouth. They are an absolute crowd-pleaser, whether you’re hosting a party, looking for a quick appetizer, or just craving something irresistibly savory. With just a handful of simple ingredients, this Cheese Straws Recipe brings an elegant yet humble snack to your table that everyone will adore.
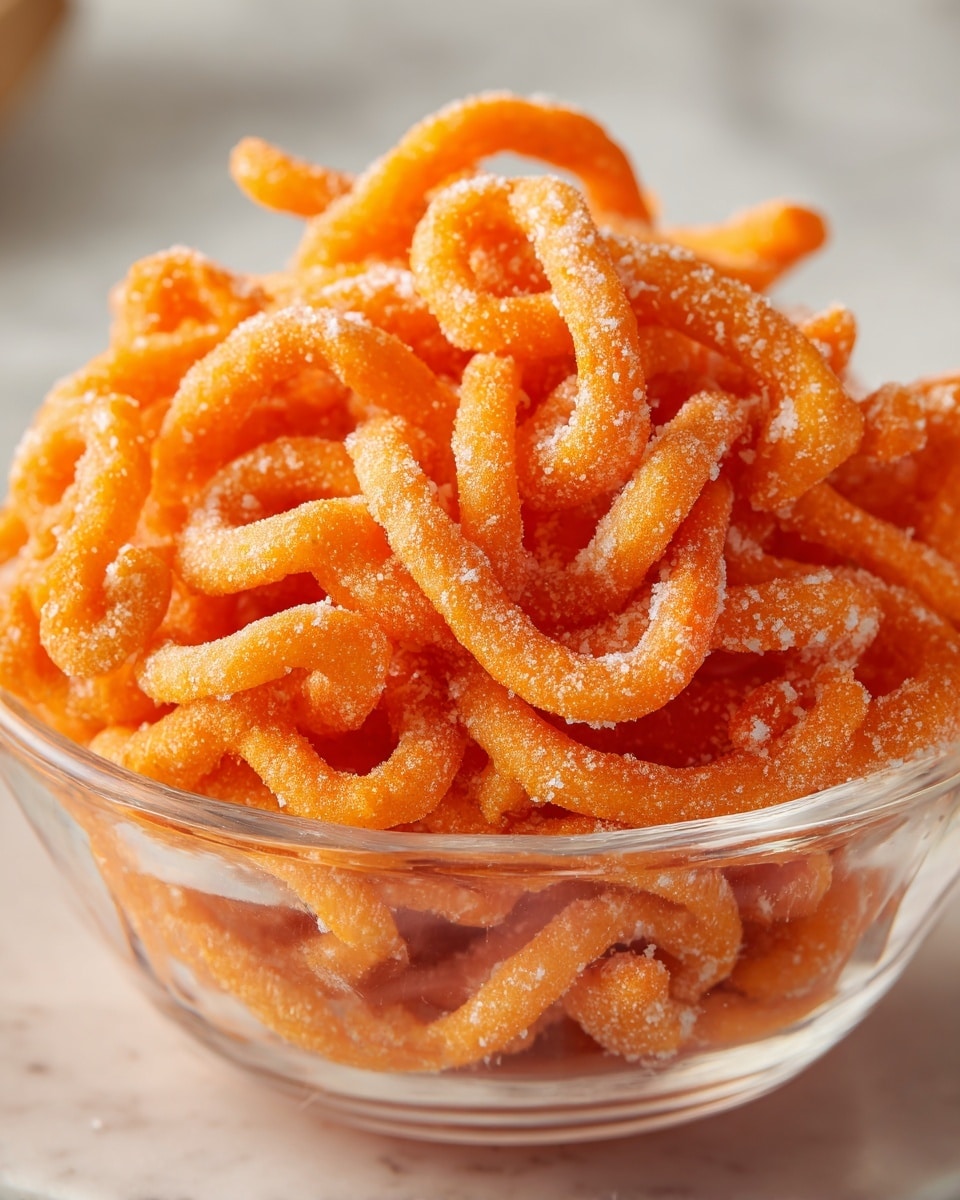
Ingredients You’ll Need
The ingredients for this Cheese Straws Recipe are straightforward yet play a vital role in achieving that perfect texture and bold flavor. Each component enhances the final result, ensuring these straws come out crispy, flavorful, and utterly addictive.
- Sharp cheddar cheese: Provides the rich, tangy flavor that’s essential for authentic cheese straws.
- All-purpose flour: The foundation that holds the dough together and creates a delicate crumb.
- Cold butter: Adds flakiness and richness, so cutting it in cold keeps the texture light.
- Baking powder: Helps the straws puff slightly, giving them an airy crunch.
- Salt: Enhances all the flavors without overpowering the cheese.
- Cayenne pepper (optional): Gives a subtle kick to balance the sharp cheese with a hint of heat.
- Ice-cold water: Just enough to bring the dough together without making it sticky.
How to Make Cheese Straws Recipe
Step 1: Preheat the Oven and Prepare Baking Sheet
Start by setting your oven to 350°F (175°C) so it reaches the perfect baking temperature by the time your cheese straws are ready to go in. Line a baking sheet with parchment paper to prevent sticking and ensure even baking. This simple prep work sets the stage for perfect golden straws every time.
Step 2: Combine Dry Ingredients and Cheese
In a large bowl, mix the grated sharp cheddar, flour, baking powder, salt, and cayenne pepper if you’re using it. This step is crucial for distributing the flavors evenly. The sharpness of the cheddar combined with a touch of spice from the cayenne creates a depth that makes these straws irresistibly tasty.
Step 3: Cut in the Butter
Work the cold, cubed butter into the dry mixture until it looks like coarse crumbs using a pastry cutter or your fingers. Keeping the butter cold ensures the dough remains flaky rather than greasy, giving you the coveted crispiness in every bite.
Step 4: Add Ice-Cold Water
Add ice-cold water a tablespoon at a time, mixing gently until the dough just comes together. The dough should be firm yet pliable — not sticky. If it feels too dry, a touch more water will help, but be careful not to overdo it to maintain light, flaky texture.
Step 5: Roll Out and Cut the Dough
Roll the dough on a lightly floured surface until about 1/8 inch thick. Then cut into strips approximately 1/2 inch wide and 4 to 5 inches long. Uniform sizing here helps them bake evenly, so take your time for that perfect shape.
Step 6: Twist and Bake the Straws
Now comes the fun part — twist each strip into a spiral before laying them on your prepared baking sheet. This gives your cheese straws a beautiful, rustic look and even more surface area to crisp up in the oven. Bake for 12 to 15 minutes until they’re golden and enticingly crunchy.
Step 7: Cool Before Serving
Transfer the baked cheese straws to a wire rack to cool completely. This step prevents sogginess and locks in that delightful crunch. Once cooled, these cheese straws are ready for guests or your own snacking pleasure.
How to Serve Cheese Straws Recipe
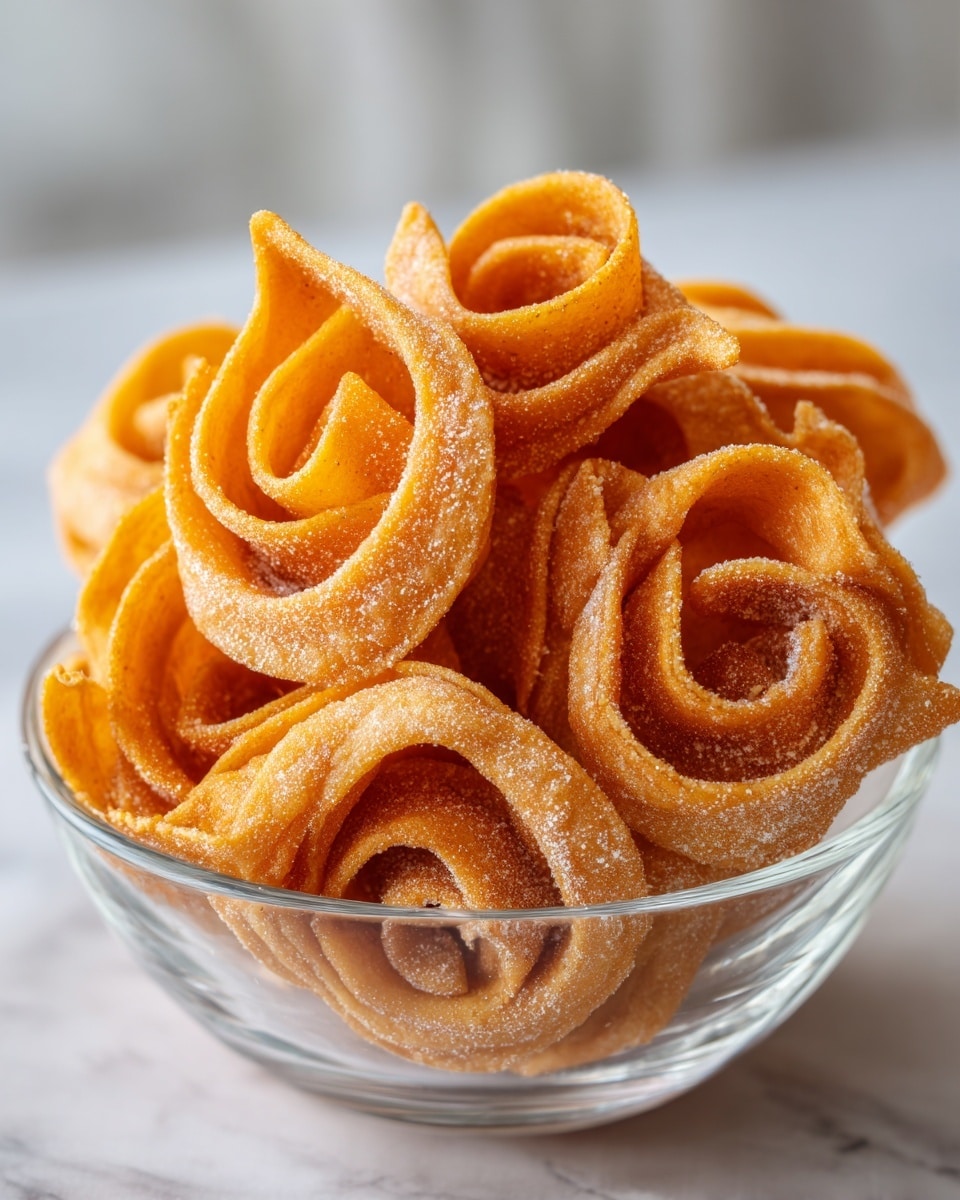
Garnishes
Cheese straws shine on their own, but adding a sprinkle of fresh herbs like finely chopped chives or parsley can brighten up the presentation and add a hint of freshness. A light dusting of extra grated cheese just out of the oven also looks and tastes amazing.
Side Dishes
Pairing these straws with dips such as homemade ranch, spicy mustard, or a smooth tomato chutney will take your snack experience next level. They also make excellent accompaniments to soups or salads, adding a satisfying crunch and cheesy contrast to softer dishes.
Creative Ways to Present
Serve your cheese straws upright in a rustic jar or linen-lined basket for a charming touch at parties. You can also bundle a few tied with kitchen twine for an elegant appetizer platter. Fun fact — they’re superb as edible stirrers for Bloody Marys or other cocktails if you want to get creative!
Make Ahead and Storage
Storing Leftovers
Once baked and cooled, store cheese straws in an airtight container at room temperature for up to three days. Keeping them sealed prevents them from absorbing moisture and losing their crispness, so you get that fresh-out-of-the-oven crunch even the next day.
Freezing
You can freeze unbaked dough by shaping it into a disc, wrapping tightly in plastic wrap, and placing it in a freezer bag. When ready to bake, thaw overnight in the fridge and proceed with rolling and cutting. Baked cheese straws can also be frozen in an airtight container for up to a month and then reheated to refresh their crisp texture.
Reheating
To revive leftover cheese straws’ crunch, gently warm them in a preheated oven at 300°F for about 5 minutes. Avoid microwaving as it tends to make them soggy. This quick reheat will make them taste almost as good as freshly baked!
FAQs
Can I use a different type of cheese?
Absolutely! While sharp cheddar gives that classic flavor, feel free to experiment with Gouda, Parmesan, or a smoky cheddar for different twists on the Cheese Straws Recipe. Just keep the cheese shredded for easy mixing and melting.
What if I don’t have cayenne pepper?
Cayenne pepper is optional and adds a subtle warmth, but leaving it out won’t ruin the recipe. You can also swap it for smoked paprika or black pepper to add a different flavor nuance.
How do I make the straws extra crispy?
Using cold butter and ice-cold water helps create a flaky texture that crisps perfectly. Also, make sure to bake at the right temperature and don’t overcrowd the baking sheet to allow the hot air to circulate freely around each straw.
Can I make these gluten-free?
Yes! Substitute the all-purpose flour for a gluten-free blend that’s suitable for baking, and you should get similar results. Just be mindful that the texture might vary slightly depending on the blend used.
Are cheese straws suitable for kids?
Definitely! They make a fun and flavorful snack for kids. If you’re concerned about spice, simply omit the cayenne pepper, and the straws will still be immensely tasty and kid-friendly.
Final Thoughts
There’s something beautifully comforting about homemade cheese straws that never gets old. This Cheese Straws Recipe brings together simplicity and flavor in the most delightful way, perfect for sharing or keeping all to yourself. Give it a try and you’ll quickly see why it’s one of those recipes that stays in your cooking repertoire forever. Happy baking!
Print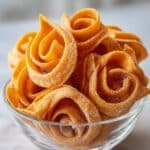
Cheese Straws Recipe
- Total Time: 30 minutes
- Yield: 12 servings 1x
Description
Delightfully crispy and cheesy, these classic Cheese Straws make a perfect savory snack or party appetizer. Made with sharp cheddar, a hint of cayenne for spice, and baked to golden perfection, they are irresistibly crunchy and flavorful.
Ingredients
For the Cheese Straws:
- 1 1/2 cups sharp cheddar cheese, grated
- 1 cup all-purpose flour
- 1/2 cup cold butter, cubed
- 1 tsp baking powder
- 1/2 tsp salt
- 1/4 tsp cayenne pepper (optional)
- Ice-cold water (as needed)
Instructions
- Preheat the Oven: Preheat your oven to 350°F (175°C) and line a baking sheet with parchment paper to prevent sticking and ensure even baking.
- Prepare the Dough: In a large mixing bowl, combine the grated sharp cheddar cheese, all-purpose flour, baking powder, salt, and cayenne pepper if you want a little heat. Mix the dry ingredients thoroughly with the cheese.
- Cut in the Butter: Incorporate the cold, cubed butter into the mixture using a pastry cutter or your fingers. Work the butter until the mixture reaches a coarse crumb texture, ensuring small butter pieces remain visible.
- Add Water: Gradually add ice-cold water to the mixture, one tablespoon at a time, stirring gently until the dough just comes together without being sticky.
- Roll and Cut: On a lightly floured surface, roll the dough out to about 1/8-inch thickness. Cut the dough into strips approximately 1/2 inch wide and 4 to 5 inches long for perfect bite-sized straws.
- Shape and Bake: Twist each strip into a spiral shape and place them on the prepared baking sheet, spaced apart slightly. Bake in the preheated oven for 12 to 15 minutes or until the cheese straws turn golden brown and crispy.
- Cool: Transfer the baked cheese straws onto a wire rack and allow them to cool completely before serving, so they set to a crunchy texture.
Notes
- You can adjust the cayenne pepper amount or omit it to suit your spice preference.
- For sharper flavor, use extra-sharp cheddar or a blend of cheeses like Parmesan and cheddar.
- Make sure the butter is very cold to achieve flaky and crisp texture.
- These cheese straws can be stored in an airtight container at room temperature for up to 3 days.
- Try adding herbs such as thyme or rosemary for an aromatic twist.
- Prep Time: 15 minutes
- Cook Time: 15 minutes
- Category: Snack
- Method: Baking
- Cuisine: American
