
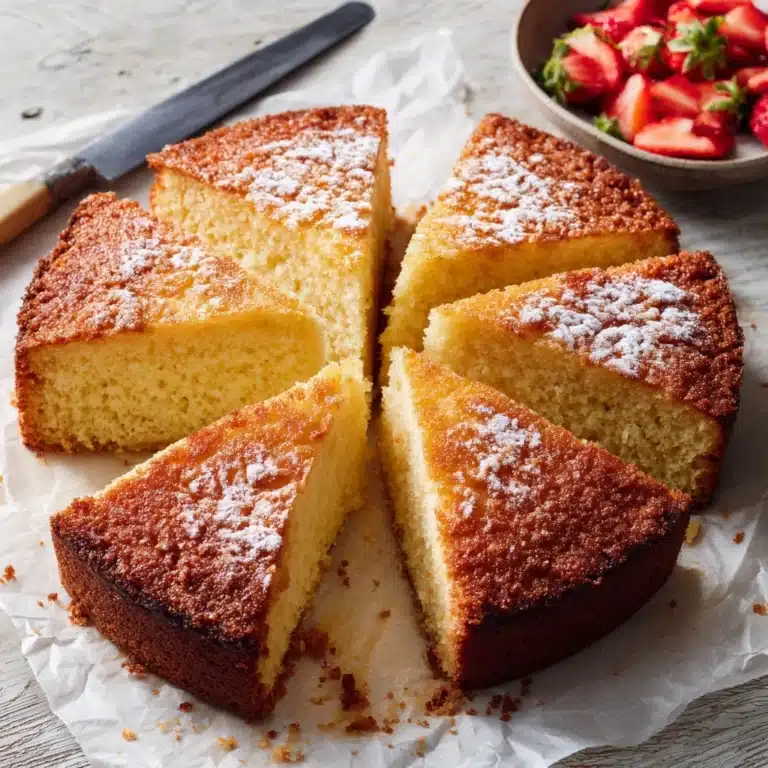
If you adore the warmth of a classic peach cobbler and the creamy indulgence of cheesecake, then you’re absolutely going to fall head over heels for this Peach Cobbler Cheesecake Cones Recipe. It’s the perfect marriage of sweet, tangy peaches with fluffy cheesecake filling, all nestled inside a crisp waffle cone topped with a buttery crumble. Whether you’re looking for a fun dessert to impress guests or a weekend treat to enjoy with family, this handheld delight brings together the best of both worlds in such an irresistibly charming way.

Ingredients You’ll Need
These ingredients are refreshingly simple but essential to capture the perfect balance of flavors and textures. Each component contributes something special — from the creamy, smooth cheesecake filling and the vibrant peach topping, to the crunchy crumble that adds just the right touch of texture.
- Cream cheese (2 cups, softened): The base for the creamy and tangy cheesecake filling, softened for easy mixing.
- Powdered sugar (1 cup): Adds the perfect level of sweetness and smoothness to the cheesecake.
- Whipped topping (1 cup): Lightens the cheesecake filling for an airy, fluffy texture.
- Vanilla extract (1 tsp): Enhances the cheesecake’s flavor with its sweet, aromatic notes.
- Peaches (2 cups, diced): Fresh or canned peaches provide juicy, fruity brightness in the topping.
- Brown sugar (1/4 cup + 1/4 cup): Sweetens both the peach topping and the crumble with a rich molasses undertone.
- Cinnamon (1 tsp + 1/2 tsp): Brings warmth and spice to the peach topping and crumble.
- Lemon juice (1 tbsp): Adds a fresh tang that balances the sweetness of the peaches.
- All-purpose flour (1/2 cup): Forms the base of the buttery crumble topping.
- Melted butter (1/4 cup): Binds the crumble ingredients and creates a golden, crisp topping.
- Waffle cones (6): The fun, handheld vessel that holds all these delightful flavors together.
How to Make Peach Cobbler Cheesecake Cones Recipe
Step 1: Prepare the Cheesecake Filling
Start by beating the softened cream cheese until it’s completely smooth and creamy — this sets the foundation for your luscious filling. Gradually add the powdered sugar, whipped topping, and vanilla extract, mixing everything until it becomes light and airy. For neat assembly, spoon the filling into a piping bag and pop it into the fridge while you move on to the next steps.
Step 2: Make the Peach Topping
Next, it’s time to infuse those peaches with sweet and spicy flavors. Combine diced peaches, brown sugar, cinnamon, and lemon juice in a pan over medium heat. Let them cook together for about 5 to 7 minutes until the peaches soften and the mixture thickens beautifully. This warmth and slight caramelization is where the magic happens — then take it off the heat and let it cool.
Step 3: Prepare the Crumble Topping
While the peach topping cools, mix flour, brown sugar, melted butter, and cinnamon in a bowl until everything forms crumbly bits. Spread this mix on a baking sheet and bake it at 350°F (175°C) for 10 to 12 minutes, keeping an eye out until it’s delightfully golden. This crumble adds a tantalizing crunch on top, completing the cobbler experience.
Step 4: Assemble the Cones
Now comes the fun part! Pipe the fluffy cheesecake filling carefully into each waffle cone. Follow with a generous spoonful of the peach topping that’s now cooled, and finish with a sprinkle of that golden crumble. The layers not only look gorgeous but offer a perfect bite every time.
Step 5: Serve and Enjoy
Serve these cones immediately if you love a crispy bite from the waffle cone, or refrigerate them for a chilled, refreshing twist. No matter how you serve them, each Peach Cobbler Cheesecake Cones Recipe bite is packed with love and irresistible flavor.
How to Serve Peach Cobbler Cheesecake Cones Recipe

Garnishes
A dusting of powdered sugar or a few fresh mint leaves add a lovely pop of color and freshness. You can even drizzle a little honey or caramel sauce over the tops for an extra touch of sweetness that will wow your guests.
Side Dishes
These cones shine as dessert on their own but pair wonderfully with simple vanilla ice cream or a scoop of cinnamon-spiced whipped cream. For a brunch setting, serve alongside a fruit salad or a cup of rich coffee to balance the sweet flavors.
Creative Ways to Present
For a party, place the cones upright in a pretty vase or a cone holder to keep them neat and eye-catching. You can also wrap the bottoms with parchment paper or festive ribbon to make them easy to hold and visually appealing. Turn them into bite-sized versions by using mini waffle cones for an adorable twist!
Make Ahead and Storage
Storing Leftovers
If you have leftover cones (which is rare!), keep any assembled cones refrigerated in an airtight container to maintain freshness. The cone might lose some crunch but the flavors will stay delicious for up to two days.
Freezing
For longer storage, it’s best to freeze the cheesecake filling separately in a freezer-safe container. The peach topping can be frozen too but the crumble is best made fresh. Freeze the filling for up to one month and thaw overnight in the fridge before assembling your cones.
Reheating
Since these cones are best enjoyed cold or at room temperature, reheating isn’t recommended. If you prefer a warmer peach topping, gently warm it on the stove and add it to the cones right before serving to keep everything crisp and fresh.
FAQs
Can I use canned peaches instead of fresh?
Absolutely! Canned peaches work wonderfully in this Peach Cobbler Cheesecake Cones Recipe, especially when fresh peaches are out of season. Just make sure to drain them well before cooking your topping to avoid excess liquid.
What if I don’t have a piping bag?
No worries! You can spoon the cheesecake filling carefully into the cones or use a plastic zip-top bag with a corner snipped off as a makeshift piping bag.
Can these cones be made dairy-free?
Yes, you can use dairy-free cream cheese and whipped topping alternatives. The texture might differ slightly, but the flavors will still be delightful.
How long will the cones stay crispy once filled?
For optimal crunch, serve immediately after filling. If refrigerated, the waffle cones will soften within a few hours due to moisture from the filling and toppings.
Can I make this recipe for a larger crowd?
Definitely! Just multiply the ingredients based on the number of cones you want to make, and prepare in batches. It’s a crowd-pleaser that’s sure to vanish quickly!
Final Thoughts
There’s something downright joyful about serving a dessert that’s not only bursting with classic southern charm but also totally portable and fun like these Peach Cobbler Cheesecake Cones Recipe. I promise, once you try this treat, it’ll become a favorite to share again and again. So grab those cones and get ready to create a dessert experience that’s as delicious as it is delightful!
Print
Peach Cobbler Cheesecake Cones Recipe
- Total Time: 40 minutes
- Yield: 6 servings 1x
- Diet: Vegetarian
Description
Delight in these Peach Cobbler Cheesecake Cones, a perfect blend of creamy cheesecake filling, sweet and tender peach topping, and a crunchy crumble topping all nestled in crispy waffle cones. This easy-to-make dessert combines classic Southern flavors with a fun, handheld twist, perfect for warm weather gatherings or anytime indulgence.
Ingredients
Cheesecake Filling
- 2 cups cream cheese, softened
- 1 cup powdered sugar
- 1 cup whipped topping
- 1 tsp vanilla extract
Peach Topping
- 2 cups diced peaches (fresh or canned)
- 1/4 cup brown sugar
- 1 tsp cinnamon
- 1 tbsp lemon juice
Crumble Topping
- 1/2 cup all-purpose flour
- 1/4 cup brown sugar
- 1/4 cup melted butter
- 1/2 tsp cinnamon
Cones
- 6 waffle cones
Instructions
- Prepare the Cheesecake Filling: In a mixing bowl, beat the cream cheese until smooth and creamy. Gradually add the powdered sugar, whipped topping, and vanilla extract, mixing until the filling is uniformly creamy and soft. Transfer to a piping bag and refrigerate to chill.
- Make the Peach Topping: Heat a pan over medium heat and combine diced peaches, brown sugar, cinnamon, and lemon juice in the pan. Cook the mixture for 5 to 7 minutes, stirring occasionally, until the peaches become tender and the topping thickens. Remove from heat and allow it to cool completely.
- Prepare the Crumble Topping: In a bowl, combine flour, brown sugar, melted butter, and cinnamon and mix until the mixture forms crumbly clumps. Spread this crumble evenly on a baking sheet and bake in a preheated oven at 350°F (175°C) for 10 to 12 minutes or until golden brown. Remove from oven and let cool.
- Assemble the Cones: Using the chilled cheesecake filling, pipe a generous amount into each waffle cone. Spoon a layer of the cooled peach topping over the cheesecake filling. Finally, sprinkle the crumble topping on the peaches to add a crunchy texture.
- Serve and Enjoy: Serve the assembled cones immediately to enjoy the crispiness of the waffle cones or refrigerate them to enjoy a chilled, creamy treat. Either way, these cones make a refreshing and delicious dessert.
Notes
- Use fresh peaches if available in season for the best flavor, but canned peaches work well as a convenient alternative.
- The crumble topping can be prepared ahead and stored in an airtight container to save time.
- Refrigerating the cones makes the waffle cones softer, so serve immediately if you prefer crunch.
- For a dairy-free version, substitute cream cheese and whipped topping with plant-based alternatives.
- Use piping bag or a spoon to fill cones as per preference; piping ensures neater presentation.
- Prep Time: 15 minutes
- Cook Time: 25 minutes
- Category: Dessert
- Method: Baking
- Cuisine: American


