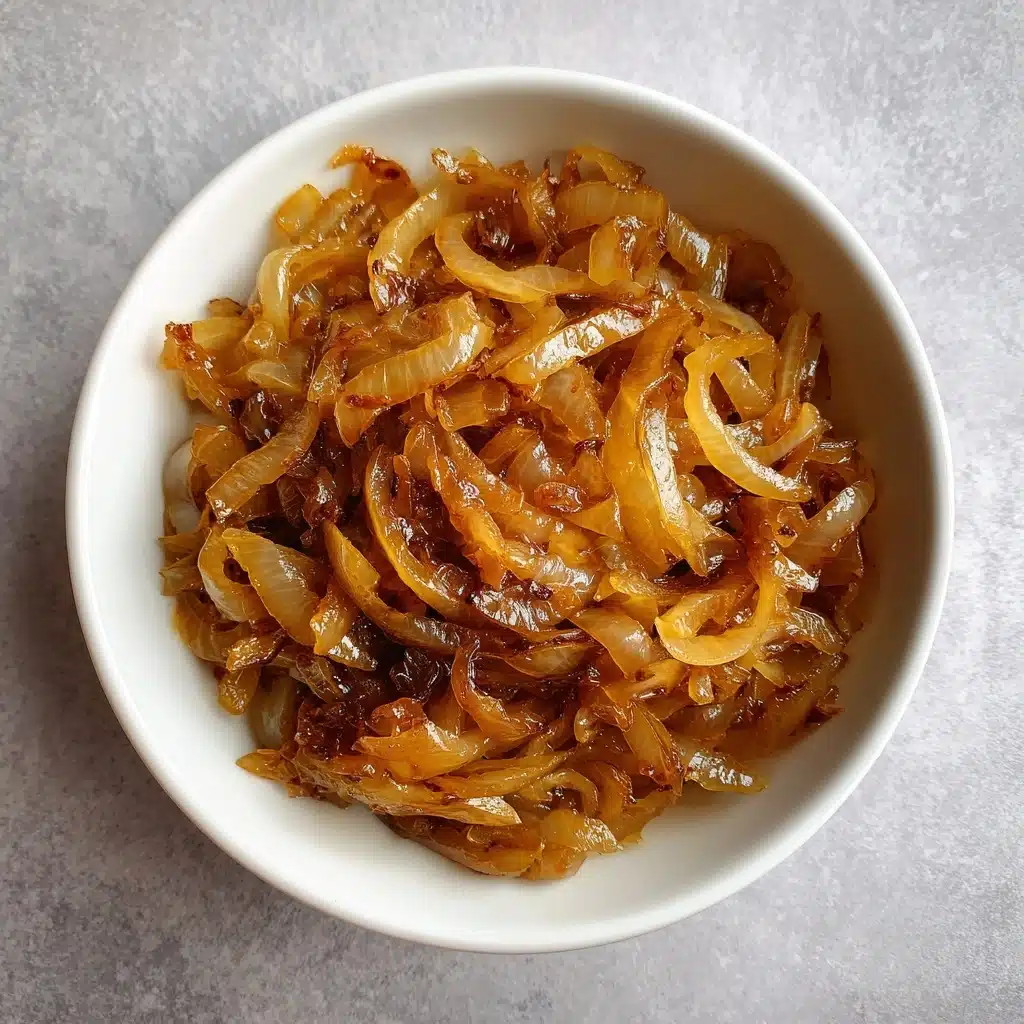
There’s just something magical about Caramelized Onions — that deep, golden hue and irresistible sweetness will take any meal from ordinary to unforgettable. Whether you’re spooning them onto a juicy burger, tucking them into grilled cheese, or swirling them through pasta, they’ll instantly add a layer of gourmet flavor and comfort. This recipe gives you all the tips and secrets for slow-cooked, perfectly caramelized onions every single time.
Ingredients You’ll Need
Despite their gourmet results, Caramelized Onions need only a handful of easy-to-find pantry staples. Each ingredient serves a distinct purpose, from building that signature sweetness to creating silky, golden layers that make any dish swoon-worthy.
- Yellow onions: Use large, thinly sliced onions—their natural sugars are perfect for caramelizing and they yield a rich, balanced flavor.
- Unsalted butter: This adds depth, a velvety texture, and classic richness as the onions slowly cook down.
- Olive oil: A splash keeps the butter from burning, helps the onions sweat gently, and rounds out the flavor.
- Salt: Essential for drawing out the moisture from the onions and kickstarting the caramelization process.
- Sugar (optional): If you’re short on time, just a pinch can speed up the golden browning and add an extra touch of sweetness.
- Balsamic vinegar or water: A quick deglaze lifts up the flavorful brown bits stuck to the pan and balances the onions’ sweetness with a subtle tang.
How to Make Caramelized Onions
Step 1: Melt the Butter and Oil
Place a large skillet on the stovetop over medium heat. Add the unsalted butter and olive oil together, letting them melt and mingle. Combining the two ensures the onions cook evenly and the butter doesn’t brown too quickly, giving you that smooth, luscious finish Caramelized Onions are known for.
Step 2: Add the Onions and Salt
Once your fats are warm and shimmering, toss in the thinly sliced yellow onions. Sprinkle in the salt right away—it’ll help release the onions’ moisture, which is key to coaxing out their sweetness. Stir well to coat every slice, then spread the onions into an even layer in the pan.
Step 3: Start the Caramelization
Let the onions cook, stirring occasionally, for about 10 minutes. They’ll begin to soften and turn translucent. Resist the urge to crank up the heat; patience is your secret weapon here. This gentle heat gives you beautifully even Caramelized Onions rather than burnt, crispy edges.
Step 4: Slow Cooking and Stirring
Turn the heat down to medium-low and continue to cook the onions, stirring every few minutes. This is the moment when transformation happens—watch as the pale slices relax and deepen in color, filling your kitchen with a rich, sweet aroma. If you’re in a hurry, add the optional teaspoon of sugar for a quicker golden finish, but for the best flavor, let time do its thing for 30 to 40 minutes.
Step 5: Deglaze and Finish
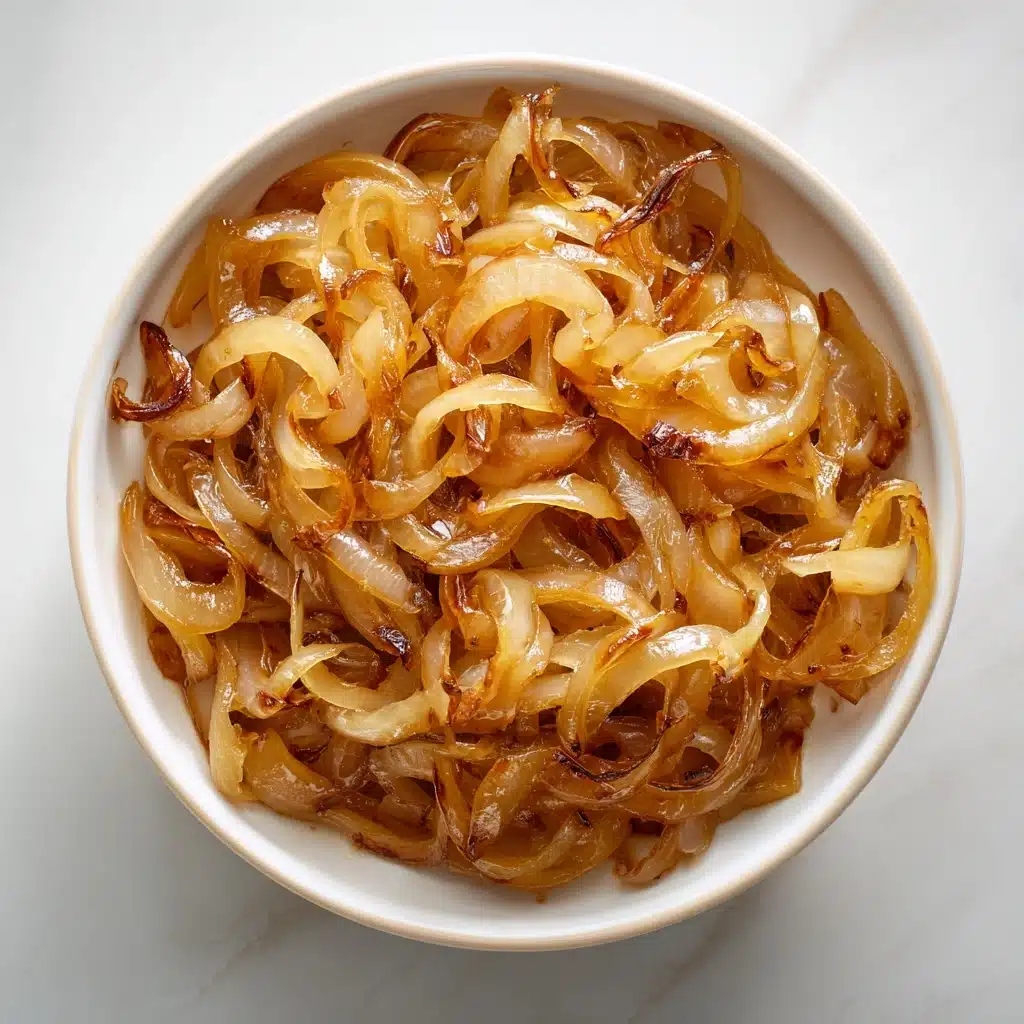
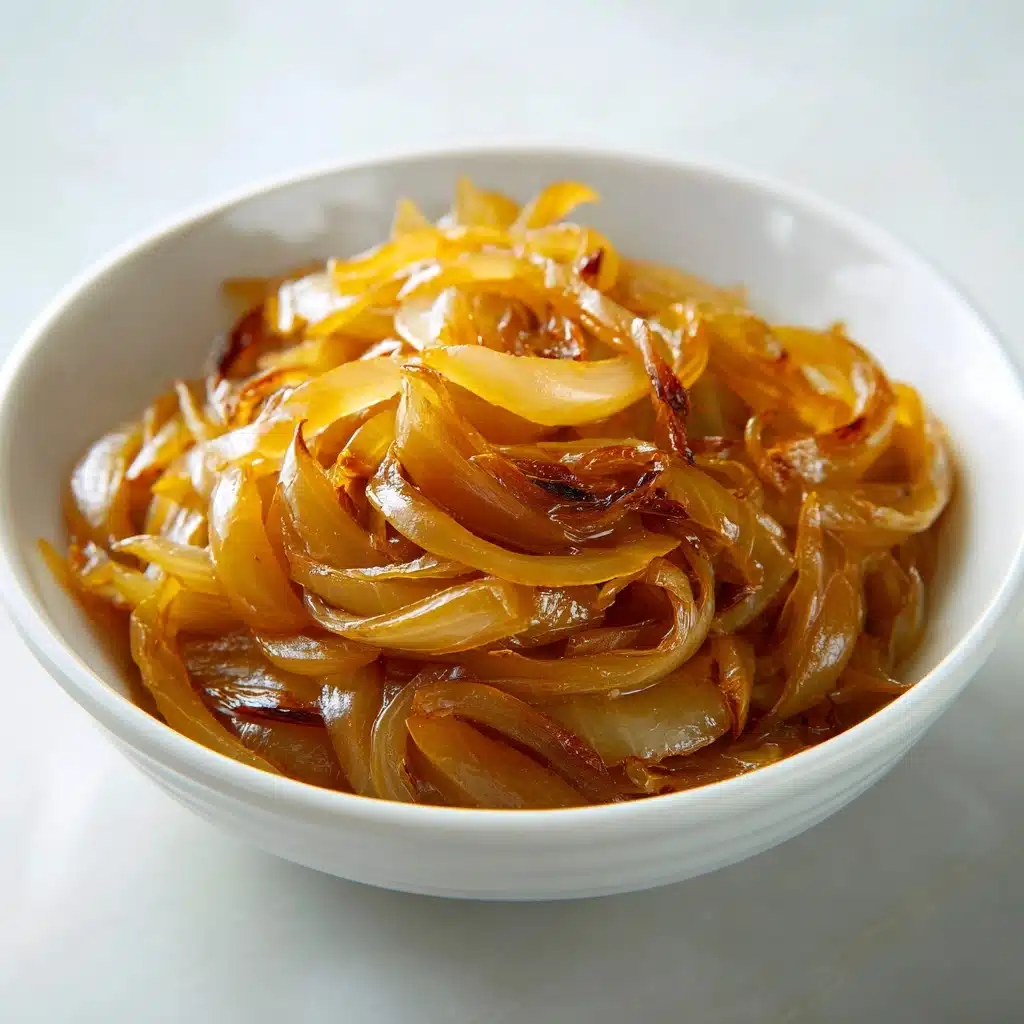
When your onions are a deep, jammy brown (but not blackened), splash in the balsamic vinegar or water. Use your spatula to scrape up every bit of caramelized goodness from the bottom of the pan. This step infuses the Caramelized Onions with a touch of brightness and ensures nothing gets left behind. Remove from heat and let them cool slightly before serving or storing.
How to Serve Caramelized Onions
Garnishes
These dreamy Caramelized Onions need little more than a scattering of fresh thyme or parsley to look as gorgeous as they taste. For a bistro-worthy presentation, shower them with a pinch of flaked sea salt or even a crumble of goat cheese right before serving.
Side Dishes
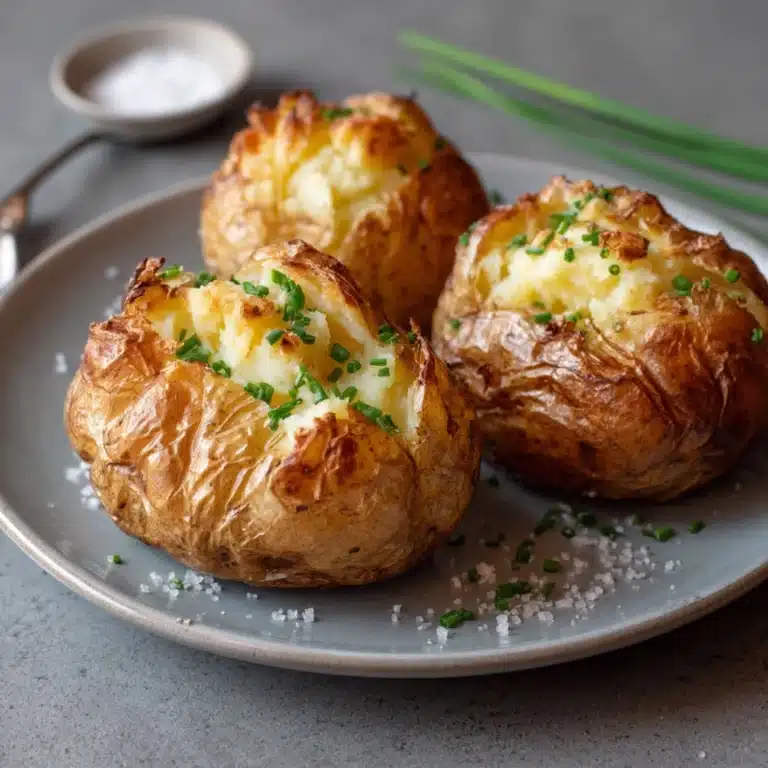
The possibilities are truly endless. Pile high atop creamy mashed potatoes, swirl into risottos, or fold into warm roasted vegetables. These onions are right at home alongside grilled meats, tucked into sliders, or spread over crostini as a star appetizer.
Creative Ways to Present
Let your imagination run wild! Spoon Caramelized Onions onto burgers or pizza for an instant flavor upgrade, stir them through rich mac and cheese, or layer them in savory tarts and quiches. They even work wonders as a topping for savory oatmeal or a magic ingredient in dips and spreads.
Make Ahead and Storage
Storing Leftovers
Once cooled, transfer your Caramelized Onions to an airtight container. Stored in the fridge, they’ll keep for up to five days with no loss in flavor—making them perfect for meal prep or elevating weeknight dinners.
Freezing
To freeze, portion the onions out into small, freezer-safe bags or containers. They’ll stay delicious for up to two months, and you can pull out just what you need for a quick burst of savory-sweet flavor any time.
Reheating
Warm refrigerated or thawed Caramelized Onions gently in a skillet over low heat, adding a drizzle of water or oil if they seem a bit dry. This revives their texture and aroma so they taste just-made.
FAQs
How thin should I slice the onions for caramelizing?
For best results, slice the onions as thinly as comfortable—about 1/8-inch thick is perfect. Thin slices cook evenly and melt into that luxurious texture you want in Caramelized Onions.
Can I use red or white onions instead?
Absolutely! Red onions will give a beautiful color and a slightly fruitier flavor, while white onions turn out milder and subtly sweet. Yellow onions, though, are the classic choice for deeply flavored Caramelized Onions.
Is sugar necessary for caramelizing onions?
Nope! Onions contain plenty of natural sugar for the caramelization process. The optional sugar is just there to speed things up if you’re in a rush—it’s not required for that classic taste.
Why do my onions look burnt instead of golden?
This is almost always due to the heat being too high. Keep things gentle and stir regularly; Caramelized Onions reward patience. Any crispy or burnt bits can usually be salvaged with a splash of water or vinegar to dissolve the fond.
Can I make Caramelized Onions in advance?
Definitely! In fact, they taste even better after a day or two in the fridge as their flavors develop. Make a double batch and you’ll always have a flavor-packed condiment on hand.
Final Thoughts
If you’ve never tried making Caramelized Onions from scratch, now is the perfect time—your taste buds will thank you! Whether it’s your first or fiftieth batch, each bite delivers cozy comfort and incredible flavor. Add your own twist and see just how many ways you can brighten up your favorite dishes with this classic kitchen magic.
Print
Caramelized Onions Recipe
- Total Time: 45 minutes
- Yield: 1 cup 1x
- Diet: Vegan
Description
Learn how to make perfectly caramelized onions that add a sweet, savory flavor to your dishes. These caramelized onions are easy to prepare and versatile to use in various recipes.
Ingredients
Ingredients:
- 2 large yellow onions (thinly sliced)
- 2 tablespoons unsalted butter
- 1 tablespoon olive oil
- ½ teaspoon salt
- optional: 1 teaspoon sugar for faster caramelization
- 1 tablespoon balsamic vinegar or water for deglazing
Instructions
- Heat the butter and olive oil: In a large skillet over medium heat, melt the butter and olive oil.
- Add the onions: Add the sliced onions to the skillet, sprinkle with salt, and cook for 10 minutes until softened.
- Caramelize the onions: Reduce heat to medium-low and cook the onions for 30–40 minutes, stirring occasionally, until deep golden brown.
- Deglaze the pan: Optionally, sprinkle sugar for faster caramelization. Deglaze with balsamic vinegar or water in the final minutes.
- Cool and use: Remove from heat, cool slightly, and use as desired.
Notes
- Caramelized onions can be made ahead and stored in the fridge for up to 5 days or frozen for up to 2 months.
- Great for enhancing the flavor of burgers, pizzas, sandwiches, and pastas.
- Prep Time: 5 minutes
- Cook Time: 40 minutes
- Category: Condiment
- Method: Stovetop
- Cuisine: American
Nutrition
- Serving Size: 2 tablespoons
- Calories: 60
- Sugar: 3 g
- Sodium: 90 mg
- Fat: 4.5 g
- Saturated Fat: 2 g
- Unsaturated Fat: 2.5 g
- Trans Fat: 0 g
- Carbohydrates: 5 g
- Fiber: 1 g
- Protein: 0 g
- Cholesterol: 5 mg
