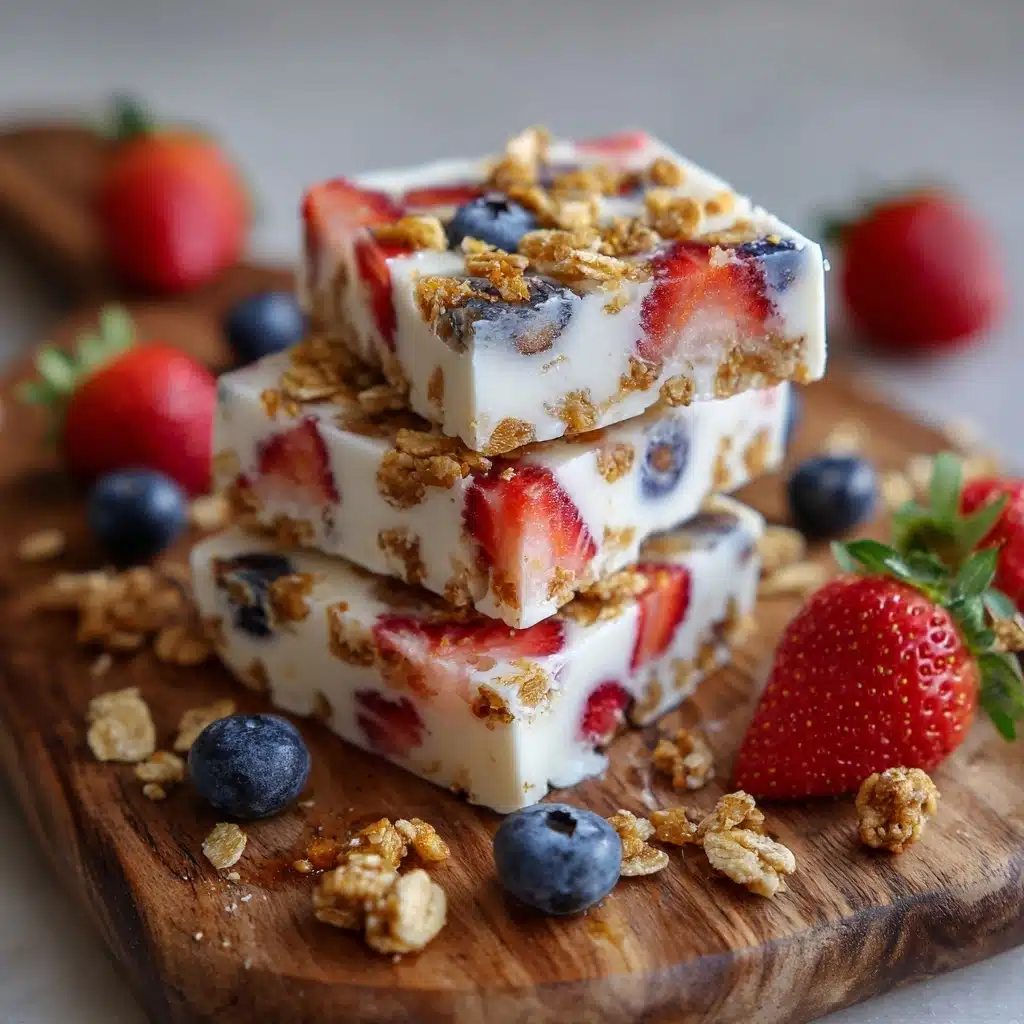
If you’re looking for a sweet treat that’s refreshing, light, and seriously easy to make, you’re going to fall hard for these Frozen Yogurt Bars. Every bite is a happy collision of creamy yogurt, sweet honey, vibrant berries, and crunchy granola. They’re healthy enough to have for breakfast (yep, I said it!) and fun enough for dessert. If you want something cool, customizable, and perfect for summer snacking, let’s dive in together and make these Frozen Yogurt Bars your new go-to favorite!
Ingredients You’ll Need
-
Main Ingredients:
- 2 cups plain or vanilla Greek yogurt
- 2–3 tablespoons honey or maple syrup
- ½ teaspoon vanilla extract
Additional Toppings:
- ½ cup fresh berries (blueberries, strawberries, raspberries)
- ¼ cup granola
- 2 tablespoons mini chocolate chips or chopped nuts (optional)
Others:
- Parchment paper for lining
How to Make Frozen Yogurt Bars
Step 1: Line Your Pan
Start by lining an 8×8-inch baking dish with parchment paper, making sure you leave some extra hanging over the sides. This simple trick will make it a breeze to lift out your Frozen Yogurt Bars once they’re set and ready for slicing!
Step 2: Mix the Yogurt Base
Grab a medium bowl and stir together the Greek yogurt, honey (or maple syrup), and vanilla extract until everything looks ultra-smooth and creamy. This is your dreamy base — taste and add a tad more sweetener if you like it on the sweeter side.
Step 3: Spread and Shape
Pour your yogurt blend into the lined pan, then use a spatula to spread it evenly from edge to edge. Try to keep it as level as possible for bars that look as good as they taste.
Step 4: Add the Add-Ons
Time for the fun part! Sprinkle your berries all over the yogurt, add the granola for crunch, and toss on any mini chocolate chips or nuts if you’re feeling extra. Gently press everything in so it sticks when frozen.
Step 5: Freeze
Pop the pan in your freezer and let it set for 3 to 4 hours, or until everything is firm and frozen through. The anticipation is the hardest part — but it’ll be so worth it!
Step 6: Slice and Serve
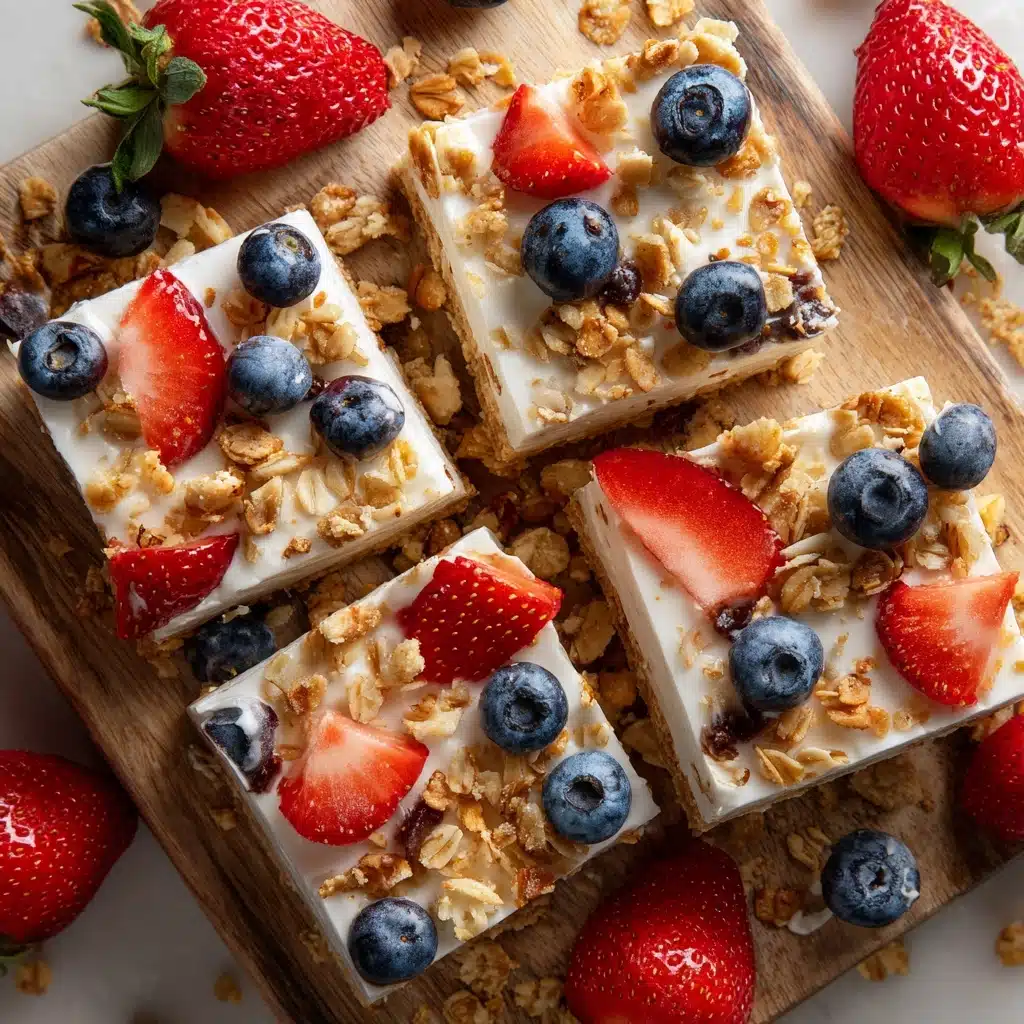
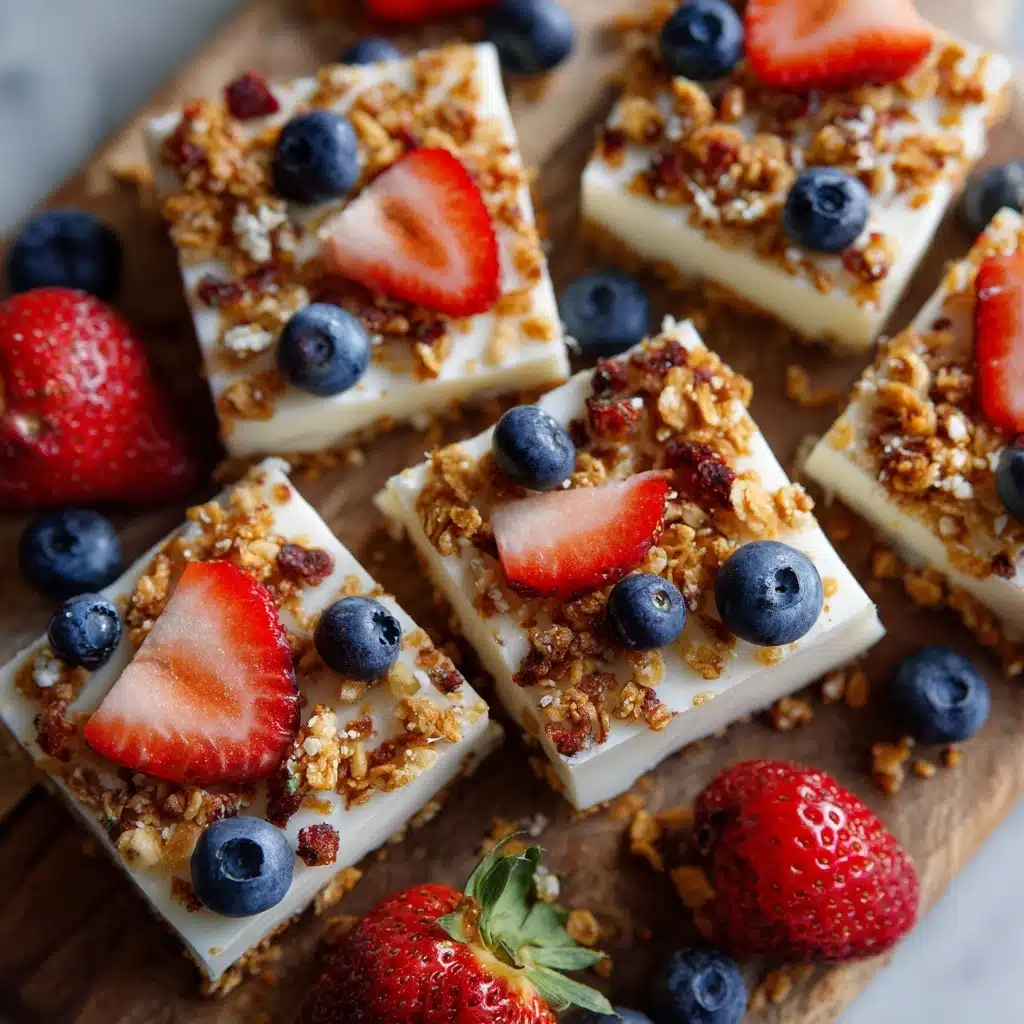
Once they’re set, use the parchment to lift your slab out of the pan. Place it on a cutting board and slice into bars or fun bite-sized squares. Voilà! Your delicious Frozen Yogurt Bars are ready to enjoy right from the freezer.
How to Serve Frozen Yogurt Bars
Garnishes
A flourish of fresh berries or an extra sprinkle of granola on top turns these bars from simple snack to showstopper. A drizzle of honey or a dusting of coconut flakes can add the perfect finishing touch when you want to wow, even when it’s just for you.
Side Dishes
Pair your Frozen Yogurt Bars with freshly sliced fruit, a handful of roasted nuts, or a cool minty lemonade for an easy breakfast or picnic spread. They also make an awesome companion to a big bowl of fruit salad at brunch, or served with crisp apple slices for an after-school snack.
Creative Ways to Present
Try arranging the bars on a platter lined with bright parchment or wax paper for a festive vibe at parties. For kids, cut the bars into smaller squares and thread onto skewers with extra berries to make yogurt bar popsicles. You can even sandwich two together with a swipe of nut butter for an extra-treat version!
Make Ahead and Storage
Storing Leftovers
Keep your leftover Frozen Yogurt Bars in an airtight container in the freezer. Slide parchment or wax paper between layers so they won’t stick together. They’ll stay fresh, tasty, and ready whenever your snack attack strikes.
Freezing
These bars are all about freezer convenience! Freeze them flat and fully set before transferring to your storage container with dividers. They’ll keep beautifully for up to two months, making them the ultimate make-ahead treat.
Reheating
No reheating required — in fact, it’s best to serve these bars straight from the freezer for the perfect bite. If they’re too firm, just let them rest at room temperature for two or three minutes to reach that sweet-spot texture.
FAQs
Can I use regular yogurt instead of Greek yogurt?
Absolutely, but remember that Greek yogurt is thicker and creamier, which helps the bars hold together when frozen. If you use regular yogurt, your Frozen Yogurt Bars may have more of an icy, less creamy texture — still tasty, just a bit less sturdy!
Can I add other fruits or mix-ins?
Definitely! Frozen Yogurt Bars are the ultimate canvas for creativity. Try chopped mango, kiwi, cherries, or pomegranate seeds, or swirl in a little nut butter, shredded coconut, or even sprinkles for a rainbow effect.
Are these bars gluten-free?
They can be! Just use a certified gluten-free granola, and you’re all set for a delicious, worry-free treat.
What sweetener works best?
Both honey and maple syrup are great; use whichever you love most or have on hand. Agave or a sugar-free syrup can work too if you need a lower-sugar option.
How do I keep them from melting too fast?
The key is to serve Frozen Yogurt Bars straight from the freezer. On hot days, consider freezing them a bit longer. Full-fat yogurt can also help them hold their shape better when sitting out.
Final Thoughts
Give these Frozen Yogurt Bars a spot in your snack rotation and you’ll never run out of reasons to smile! They offer the perfect excuse to play with your favorite flavors and simple, wholesome ingredients. Treat yourself (and your loved ones) to something frosty and fabulous — and don’t be surprised when you keep coming back for just one more bar.
Print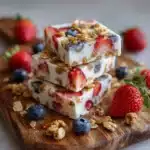
Frozen Yogurt Bars Recipe
- Total Time: 10 minutes (plus freezing)
- Yield: 8 bars 1x
- Diet: Vegetarian, Gluten-Free option
Description
Indulge in these frozen yogurt bars for a creamy, fruity treat that’s perfect for a hot day. Packed with the goodness of Greek yogurt, fresh berries, and crunchy granola, these bars are a delightful balance of sweet and tart flavors.
Ingredients
Main Ingredients:
- 2 cups plain or vanilla Greek yogurt
- 2–3 tablespoons honey or maple syrup
- ½ teaspoon vanilla extract
Additional Toppings:
- ½ cup fresh berries (blueberries, strawberries, raspberries)
- ¼ cup granola
- 2 tablespoons mini chocolate chips or chopped nuts (optional)
Others:
- Parchment paper for lining
Instructions
- Prepare the Dish: Line an 8×8-inch baking dish with parchment paper, leaving some overhang for easy removal.
- Mix the Yogurt: In a bowl, combine Greek yogurt, honey or maple syrup, and vanilla extract until smooth.
- Spread the Mixture: Pour the yogurt mix into the lined dish, spread evenly.
- Add Toppings: Sprinkle berries, granola, and optional toppings over the top, press gently.
- Freeze: Freeze for 3–4 hours until fully set.
- Serve: Lift out of the pan using the parchment, cut into bars, and enjoy! Store leftovers in a freezer-safe container with parchment between layers.
Notes
- Use full-fat yogurt for a creamier texture.
- Customize with your favorite fruits, seeds, or nut butters swirled in.
- Best enjoyed straight from the freezer to prevent melting.
- Prep Time: 10 minutes
- Cook Time: 0 minutes
- Category: Snack
- Method: Freezing
- Cuisine: American
Nutrition
- Serving Size: 1 bar
- Calories: 120
- Sugar: 8g
- Sodium: 40mg
- Fat: 4g
- Saturated Fat: 2g
- Unsaturated Fat: 2g
- Trans Fat: 0g
- Carbohydrates: 13g
- Fiber: 1g
- Protein: 7g
- Cholesterol: 5mg


