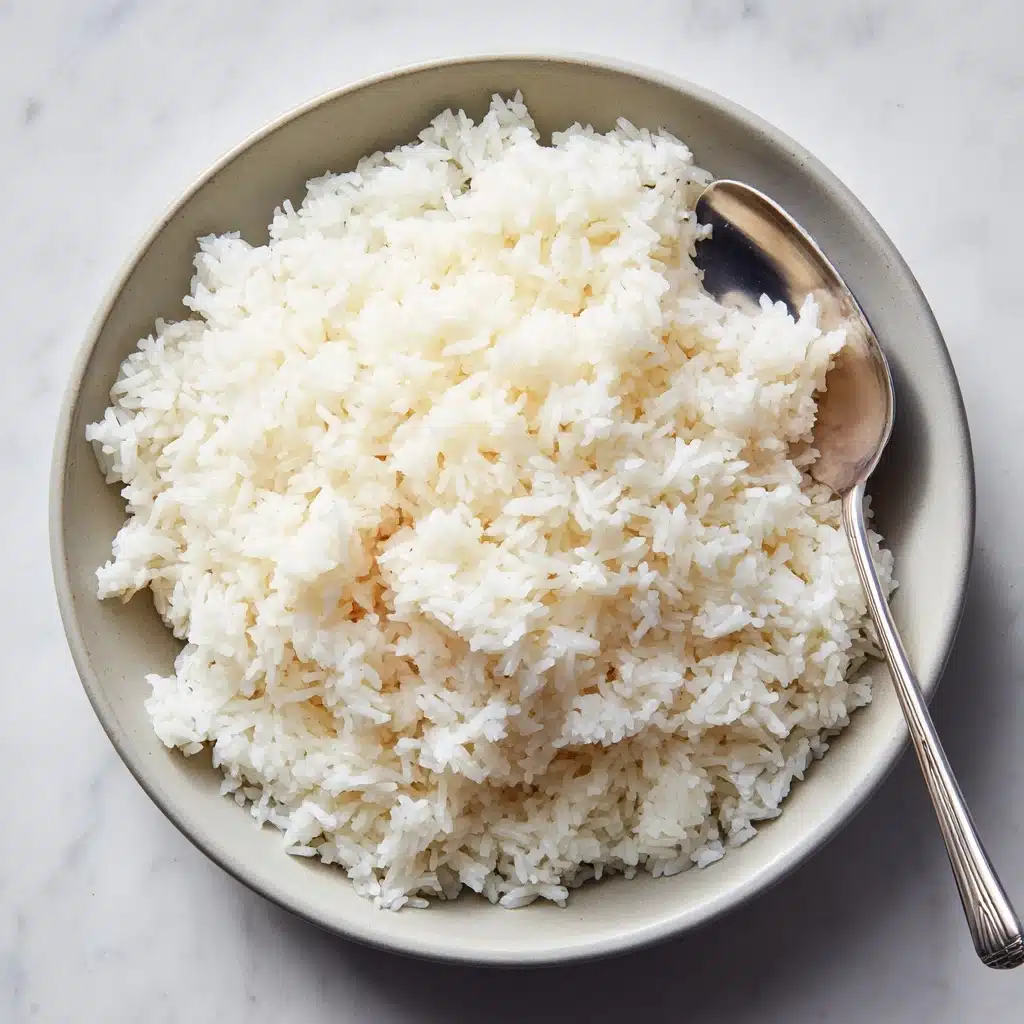
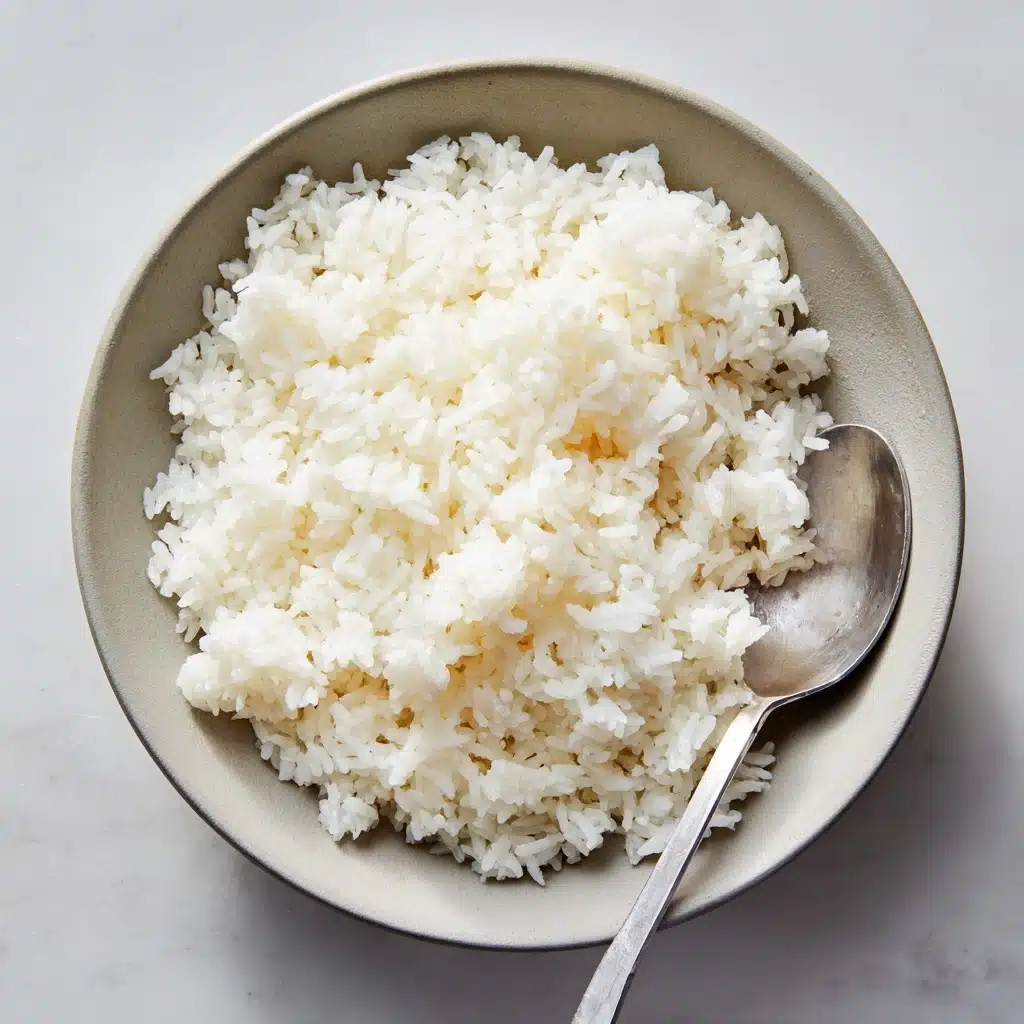
If you’ve ever dreamed of the perfect, glossy grains that almost melt together in a sticky embrace (without the hours of soaking and steaming), Instant Pot Sticky Rice is the answer to your cravings. This cooking method takes all the guesswork and fuss out of making sticky rice while delivering that classic chewy texture and subtle savory note. Whether you’re using it as the foundation for mango sticky rice or alongside your favorite stir fry, Instant Pot Sticky Rice is the shortcut to delicious comfort with a fraction of the effort.
Ingredients You’ll Need
Just three humble ingredients combine to work their magic here, yet each one is essential to getting that restaurant-worthy texture and flavor. Let’s take a closer look at what makes every element shine.
- Glutinous Rice (Sweet Rice): The secret ingredient for that classic sticky, chewy bite—don’t substitute regular rice, or you won’t get the texture you’re craving!
- Water: The simple base for cooking, measured precisely to coax the perfect stickiness from your glutinous rice without turning it mushy.
- Salt: Just a touch brings out the natural sweetness of the rice and keeps every bite balanced and delicious.
How to Make Instant Pot Sticky Rice
Step 1: Rinse the Rice
Start by placing your glutinous (sweet) rice in a fine-mesh strainer and rinsing it under cold running water. Swirl the rice with your fingers and keep rinsing 3 to 4 times until the water runs clear—this washes away the excess starch that can make the rice gummy instead of gorgeously sticky. Shake off as much water as you can before proceeding.
Step 2: Optional Soaking
If you have a little extra time, soak the rinsed rice in fresh water for about an hour. This extra step isn’t mandatory but it does yield a slightly chewier, more authentic texture, much like your favorite takeout spot.
Step 3: Combine in the Instant Pot
Transfer the drained rice directly into the Instant Pot inner pot. Pour in 2 1/2 cups of water and add 1/2 teaspoon salt. Give everything a gentle stir to make sure the grains are evenly distributed—this ensures even cooking and consistent flavor throughout your Instant Pot Sticky Rice.
Step 4: Pressure Cook
Secure the lid on your Instant Pot and set the valve to Sealing. Select the Manual (Pressure Cook) function, set it to High Pressure, and dial in 12 minutes as your cooking time. This is when the magic happens—the pressure gently cooks the rice without boiling or burning, allowing it to reach that signature sticky stage.
Step 5: Natural Release
Once the timer beeps, let the Instant Pot naturally release pressure for 10 minutes. This extra rest helps the grains finish absorbing moisture and gives them a final plump, sticky finish. After 10 minutes, carefully quick-release any remaining pressure.
Step 6: Fluff and Serve
Open the lid and use a rice paddle or fork to gently fluff the rice—don’t stir vigorously or mash, just break up any large clumps. Now your Instant Pot Sticky Rice is ready for scooping, serving, and devouring!
How to Serve Instant Pot Sticky Rice

Garnishes
For the prettiest platter, try scattering a few toasted sesame seeds or finely chopped fresh herbs (like cilantro or scallions) over your Instant Pot Sticky Rice. If you’re planning a sweet treat, a drizzle of coconut milk is divine—think mango sticky rice dreams come true!
Side Dishes
Sticky rice is a blank canvas for bold flavors. Pair your Instant Pot Sticky Rice with Asian classics like savory stir-fries, tender grilled meats, crispy spring rolls, or even spicy mapo tofu. It’s perfect for soaking up sauces and balancing rich entrées.
Creative Ways to Present
If you’re feeling playful, try shaping the rice into little balls or pressing it into molds for a bento-box look. Or use banana leaves to wrap individual portions—fun, festive, and extra fragrant! However you serve it, Instant Pot Sticky Rice is always a showstopper.
Make Ahead and Storage
Storing Leftovers
Got extra sticky rice? Let it cool completely before transferring it to an airtight container. It’ll stay fresh in the refrigerator for up to 3 days, making it easy to add to weeknight meals, lunch boxes, or quick snacks.
Freezing
Good news—Instant Pot Sticky Rice freezes beautifully! Portion the cooled rice into zip-top bags or containers, pressing out any air. Store in the freezer for up to 2 months. Just thaw overnight in the fridge or gently reheat from frozen.
Reheating
To restore that sticky, steamy texture, sprinkle a tablespoon of water over your refrigerated or thawed rice and microwave it loosely covered for 1–2 minutes, stirring halfway. Alternatively, reheat the rice in a steamer basket for soft, just-cooked results.
FAQs
Can I double the recipe in the Instant Pot?
Absolutely! Instant Pot Sticky Rice is easy to scale up—just double the ingredients and keep the cooking times the same. Just make sure not to fill your Instant Pot past the halfway point, as rice expands a lot during cooking.
Is glutinous rice the same as regular white rice?
No, glutinous rice (sometimes called sweet rice) is completely different from regular white rice or jasmine rice. It’s essential for this recipe because it gives you that classic chewy, sticky texture.
Do I have to soak the rice?
While soaking is optional, it can help improve the rice’s final texture, making each grain even more satisfyingly chewy. But if you’re short on time, the recipe still turns out beautifully without soaking!
Can I use the Instant Pot “Rice” button?
For Instant Pot Sticky Rice, stick to the Manual (Pressure Cook) setting. The “Rice” program is designed for regular long-grain white rice and won’t get you the same sticky, glutinous results.
What cuisines or recipes pair best with sticky rice?
Sticky rice is a superstar side for Thai, Lao, Vietnamese, and Chinese dishes. Use it in favorite recipes like mango sticky rice, coconut sticky rice, or alongside grilled meats, curries, or saucy stir-fries for an authentic touch.
Final Thoughts
There’s something magical about how quick and reliable Instant Pot Sticky Rice turns out every single time. Once you try it, you’ll never want to go back to stovetop guesswork. So grab your Instant Pot and your favorite toppings—sticky rice happiness is just minutes away! Give it a try and let the comforting, chewy goodness steal the show at your table.
Print
Instant Pot Sticky Rice Recipe
- Total Time: 30 minutes
- Yield: 4 servings 1x
- Diet: Gluten-Free, Vegan
Description
Learn how to make delicious Instant Pot Sticky Rice with this easy recipe. Perfectly cooked glutinous rice every time!
Ingredients
Glutinous Rice:
- 2 cups glutinous rice (also called sweet rice)
Water:
- 2 1/2 cups water
Salt:
- 1/2 teaspoon salt
Instructions
- Rinse the Rice: Rinse the glutinous rice under cold water 3-4 times until the water runs clear. Drain well.
- Cook in Instant Pot: Place the rice in the Instant Pot. Add water and salt, stir to combine. Set to Manual (Pressure Cook) for 12 minutes on high pressure.
- Natural Release: Allow a natural release for 10 minutes, then do a quick release for any remaining pressure.
- Fluff and Serve: Fluff the rice gently with a rice paddle or fork. Serve warm as a side dish or in your favorite recipes.
Notes
- For extra authenticity, soak the rinsed rice in water for 1 hour before cooking (optional but helps with texture).
- This sticky rice pairs perfectly with mango, stir-fry, or dumplings.
- Prep Time: 5 minutes
- Cook Time: 12 minutes (plus pressure build and release)
- Category: Side Dish
- Method: Instant Pot
- Cuisine: Asian
Nutrition
- Serving Size: 1 cup
- Calories: 240
- Sugar: 0g
- Sodium: 300mg
- Fat: 0g
- Saturated Fat: 0g
- Unsaturated Fat: 0g
- Trans Fat: 0g
- Carbohydrates: 53g
- Fiber: 1g
- Protein: 4g
- Cholesterol: 0mg


