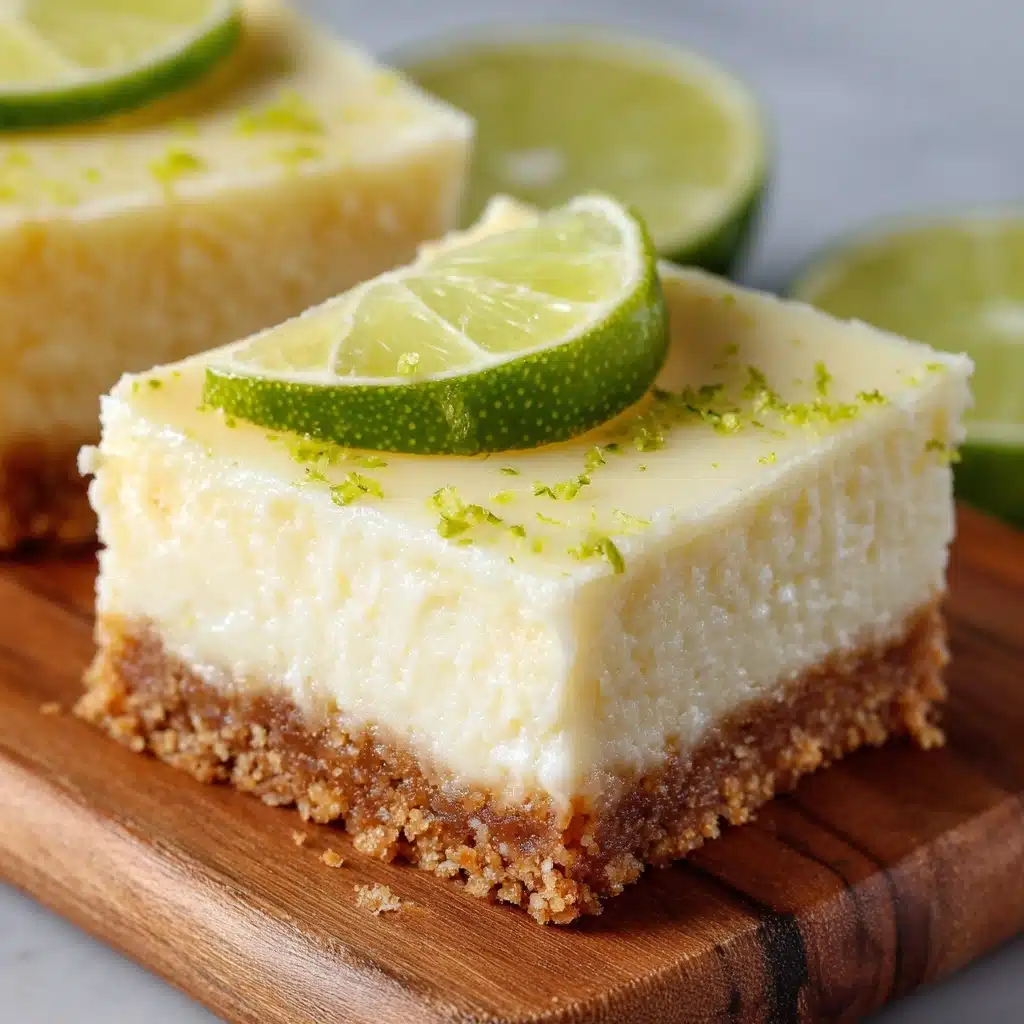
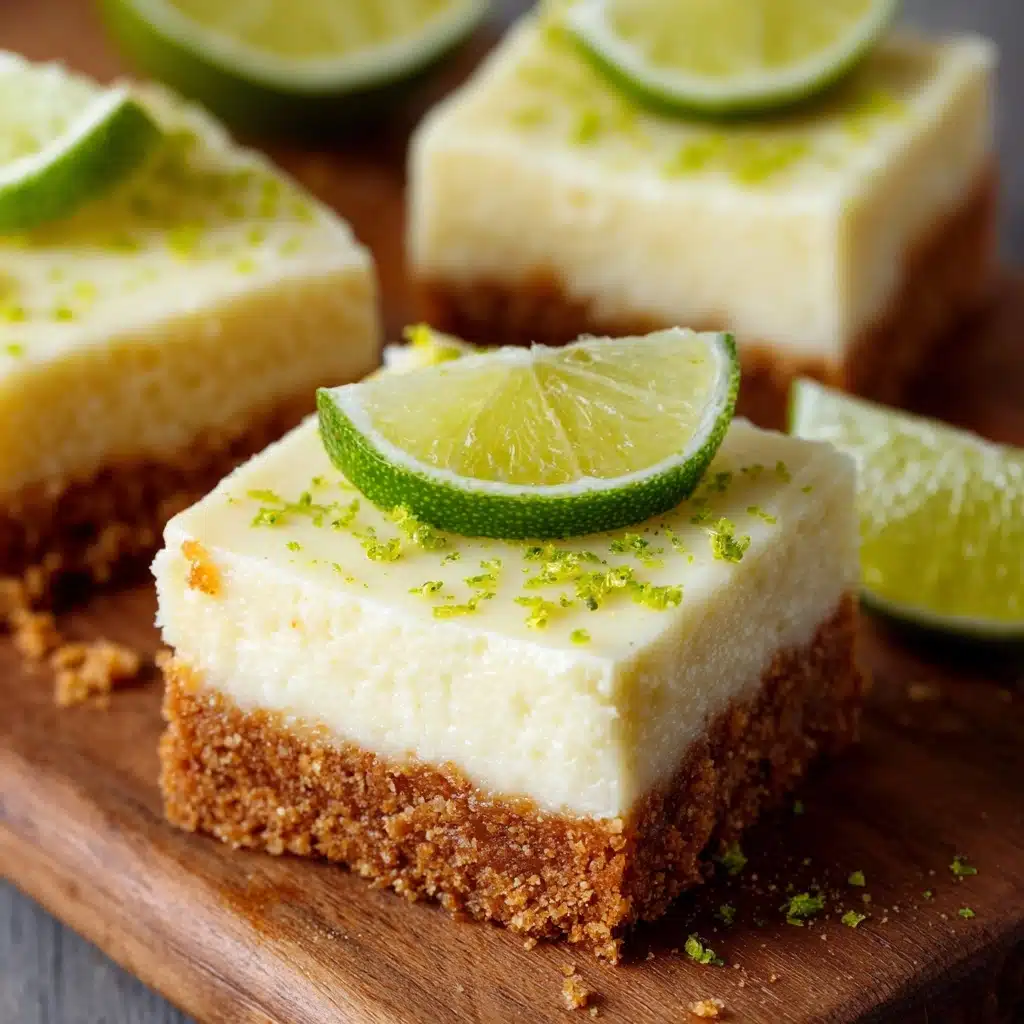
If you’re craving a burst of sunshine on a plate, these Key Lime Pie Bars will absolutely transport you to summer bliss—no matter the season. Imagine the creamy, tangy richness of a classic key lime pie, but in playful, portable bars perfect for sharing (or keeping all to yourself!). With a buttery graham cracker crust, a silky citrus filling, and a dollop of whipped cream on top, this easy dessert is a total crowd-pleaser. Every bite is bursting with that iconic zing and sweetness that makes key lime desserts so memorable.
Ingredients You’ll Need
Part of the magic of Key Lime Pie Bars is letting a few simple ingredients truly shine. Each one plays a crucial role in creating the perfect texture, flavor, and visual appeal, so here’s what makes them all special:
- Graham cracker crumbs: The foundation of that irresistible buttery crust, creating a delicate crunch with every bite.
- Granulated sugar: Adds just the right touch of sweetness to balance the tart key lime flavor.
- Unsalted butter, melted: Helps bind the crust and brings a rich, satisfying taste to the base.
- Sweetened condensed milk: The secret to a creamy, luscious filling that sets perfectly every time.
- Large egg yolks: These add richness and help the filling to firm up while baking.
- Key lime juice (fresh or bottled): This brings the signature tartness—bottled works great when fresh key limes are hard to find!
- Key lime zest: Infuses the filling with pure, aromatic citrus flavor and emerald-flecked beauty.
- Whipped cream and extra lime zest for garnish: Adds a creamy, airy finish and an extra pop of color and freshness when serving.
How to Make Key Lime Pie Bars
Step 1: Prepare the Pan
Begin by preheating your oven to 350°F (175°C). Line a 9×13-inch baking dish with parchment paper, making sure to leave some overhang on the sides. This trick isn’t just for neatness—it makes it extra easy to lift your finished Key Lime Pie Bars out later and ensures even slicing, with no sticking or mess.
Step 2: Build That Buttery Crust
In a medium bowl, combine the graham cracker crumbs, granulated sugar, and melted butter. Stir until the mixture resembles wet sand. Press it firmly and evenly into the base of your prepared pan to craft a thick, even crust. A flat-bottomed cup works wonders for packing it down. Pop the crust into the oven for about 10 minutes, just until it starts to turn golden and smell positively dreamy. Let it cool for a few minutes so it’s ready for the luscious filling.
Step 3: Whisk Up the Zesty Filling
Grab a large mixing bowl and whisk together the sweetened condensed milk, egg yolks, key lime juice, and that gorgeous lime zest until smooth and fully combined. Don’t rush this part—a thorough whisk ensures a creamy, even filling with no streaks. Pour this silky goodness over your slightly cooled crust, spreading it out evenly to the edges with a spatula.
Step 4: Bake to Perfection
Bake the pan for 15-18 minutes. You’re looking for the bars to be just set in the center—no wobbling when you gently shake the pan. This gentle baking keeps the filling dreamy and smooth, never rubbery. As soon as they’re firm, pull them out and let them cool to room temperature so the flavors can meld.
Step 5: Chill, Slice, and Decorate
Once cooled, place the pan in the refrigerator for at least two hours (overnight is even better if you can wait!). Chilling not only firms up the bars for perfect slicing, but it also deepens the flavors. Lift out the bars using the parchment, and cut into neat squares. Finish with a flourish—spoon or pipe whipped cream on top, and sprinkle with a little more key lime zest for color and sparkle. Now, enjoy the fruits of your labor!
How to Serve Key Lime Pie Bars

Garnishes
No slice is complete without a finishing touch. A swirl of freshly whipped cream teams up beautifully with extra key lime zest, adding brightness and that classic citrus aroma. For a pretty touch, try adding a thin wheel of lime or candied lime slices if you want to get extra fancy for a party.
Side Dishes
Key Lime Pie Bars are vibrant and rich, so pair them with something subtle to keep things refreshed. Try serving them alongside a bowl of fresh berries, tropical fruit salad, or a light scoop of vanilla ice cream. With coffee or an iced latte, they make for a dreamy afternoon treat as well.
Creative Ways to Present
Think outside the typical tray—serve each bar in an individual cupcake liner or nestle them on a platter lined with banana leaves for a tropical twist. For parties, cut the bars into bite-sized cubes, skewer them, and serve as dessert pops. Layer them in jars with whipped cream for an adorable picnic-friendly option!
Make Ahead and Storage
Storing Leftovers
Place any leftover bars in an airtight container and store them in the refrigerator. They’ll keep beautifully for up to four days, maintaining that zesty, creamy texture you love.
Freezing
If you need to make your Key Lime Pie Bars farther in advance, you’re in luck! These bars freeze surprisingly well. Lay the cut bars in a single layer on a baking sheet to freeze, then transfer to a freezer-safe container, separating layers with parchment paper. They’ll keep nicely for about three months—just thaw in the refrigerator before serving.
Reheating
No need to reheat these bars! They’re best enjoyed straight from the fridge or just slightly cool for optimal creaminess. If you’d like a bit more chill during the summer months, let them rest at room temperature for 5-10 minutes before serving.
FAQs
Can I use regular lime juice instead of key lime juice?
Absolutely! While key lime juice has a special tang, regular lime juice makes a fine substitute if that’s what you have on hand. The bars will still be delightfully tart and citrusy.
Do I have to use homemade whipped cream for topping?
Freshly whipped cream is always a treat, but store-bought is a handy shortcut and tastes great in a pinch. Feel free to use what works best for your schedule!
Can I make these Key Lime Pie Bars gluten-free?
Yes, just swap the graham cracker crumbs for your favorite gluten-free variety, and you’ll have a dessert everyone can enjoy without compromise.
Why do I need to chill the bars before slicing?
Chilling the bars allows the filling to fully set, making it much easier to get clean, even cuts. Plus, this rest time helps all the lime flavors to deepen beautifully.
How do I get my bars out of the pan in perfect squares?
That parchment paper overhang is your secret weapon! Lift from the edges to remove the whole slab, then use a hot knife (dipped in hot water and wiped dry) for ultra-neat slices every time.
Final Thoughts
If you’ve never made Key Lime Pie Bars before, you’re in for a real treat—this simple recipe delivers restaurant-level results every time! Whether you’re making them for a backyard picnic or a casual weeknight dessert, these bars promise to brighten any table. Give them a try and let that zesty, creamy magic win over your friends and family (and probably yourself!).
Print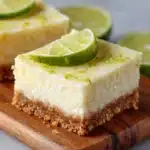
Key Lime Pie Bars Recipe
- Total Time: 2 hours 45 minutes
- Yield: 12 bars 1x
- Diet: Non-Vegetarian
Description
Indulge in the refreshing citrus goodness of these Key Lime Pie Bars. A perfect balance of sweet and tangy, these bars are a delightful dessert for any occasion.
Ingredients
For the Crust:
- 1 1/2 cups graham cracker crumbs
- 1/4 cup granulated sugar
- 6 tablespoons unsalted butter, melted
For the Filling:
- 2 (14-ounce) cans sweetened condensed milk
- 4 large egg yolks
- 1/2 cup key lime juice (fresh or bottled)
- 1 tablespoon key lime zest
For Garnish:
- Whipped cream
- Extra lime zest
Instructions
- Preheat the Oven: Preheat the oven to 350°F (175°C). Line a 9×13-inch baking dish with parchment paper.
- Make the Crust: Combine graham cracker crumbs, sugar, and melted butter. Press into the bottom of the pan and bake for 10 minutes.
- Prepare the Filling: Whisk together sweetened condensed milk, egg yolks, lime juice, and zest. Pour over the crust.
- Bake: Bake for 15-18 minutes until set. Cool, then refrigerate for at least 2 hours.
- Serve: Cut into squares, garnish with whipped cream and lime zest.
Notes
- For a stronger citrus flavor, add an extra tablespoon of lime zest.
- Store leftovers in the fridge for up to 4 days.
- Prep Time: 15 minutes
- Cook Time: 30 minutes
- Category: Dessert
- Method: Baking
- Cuisine: American
Nutrition
- Serving Size: 1 bar
- Calories: 320
- Sugar: 30g
- Sodium: 160mg
- Fat: 14g
- Saturated Fat: 8g
- Unsaturated Fat: 5g
- Trans Fat: 0g
- Carbohydrates: 44g
- Fiber: 0g
- Protein: 6g
- Cholesterol: 95mg


