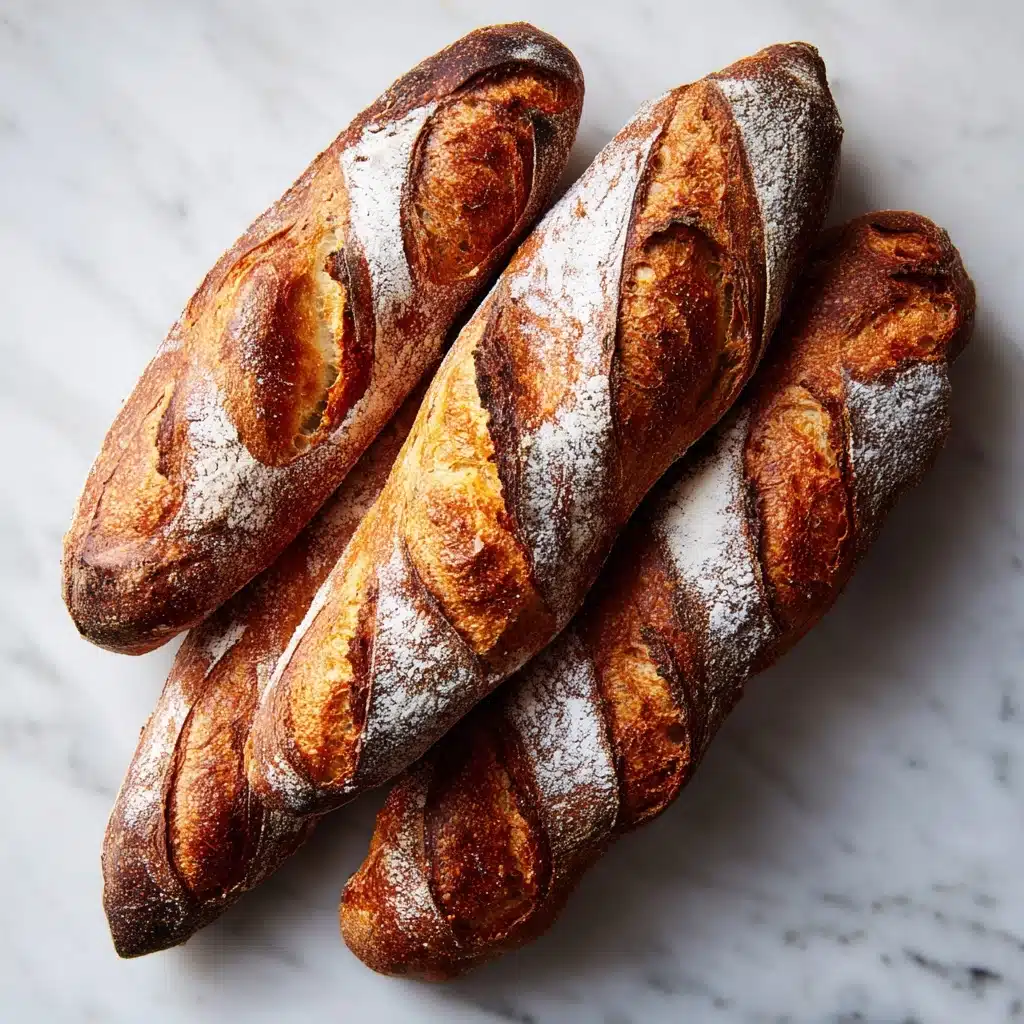
Imagine pulling a loaf of perfectly golden bread from your oven—crackly on the outside, tender and airy on the inside, and impossibly aromatic. This is the magic of the Artisan Bread Recipe, the ultimate way to bring bakery-quality bread right to your own table. With a handful of humble ingredients and a little patience, you can craft an irresistible loaf that will totally wow your friends, family, and, most importantly, yourself. There’s something so rewarding about creating bread from scratch, especially when every bite reminds you just how easy and achievable homemade goodness can be.

Ingredients You’ll Need
Each ingredient in this Artisan Bread Recipe matters, contributing to that perfect balance of chewy crumb, crisp crust, and earthy flavor. The simplicity here is what makes every detail shine—get ready to appreciate the magic that flour, yeast, water, and salt can create together.
- Flour: Choose all-purpose or bread flour for the right texture; bread flour gives slightly more chew, while all-purpose keeps things light.
- Salt: 1 1/2 teaspoons is just enough to enhance flavor without overpowering; always use fine sea or kosher salt for even distribution.
- Instant Yeast: Only 1/2 teaspoon needed—instant yeast works fast and reliably, giving you great rise without any fuss.
- Warm Water: At about 110°F, this wakes up the yeast and brings your dough together to the right consistency.
- Extra Flour or Cornmeal (for dusting): Prevents sticking and adds a rustic touch—cornmeal in particular lends a lovely crunch to the bottom.
How to Make Artisan Bread Recipe
Step 1: Mix Your Ingredients
Begin by taking a large bowl and whisking together your flour, salt, and instant yeast. This quick mix ensures the salt and yeast are evenly spread throughout the dough. Pour in your warm water and stir with a wooden spoon until the mixture becomes shaggy and sticky—don’t worry, it should look rough at this stage! The dough doesn’t need kneading, so you’re spared the arm workout.
Step 2: Let the Dough Rest and Rise
Cover your bowl tightly with plastic wrap or a clean towel, then let the magic happen overnight (or at least 12 hours) at room temperature. You’ll know the dough is ready when it’s doubled in size and the surface is dotted with bubbles—these mean flavor and texture!
Step 3: Preheat Your Oven and Dutch Oven
About 30 minutes before baking, set your oven to a hot 450°F (230°C). Place your empty Dutch oven (or heavy oven-safe pot with lid) inside as it preheats. This step is key—the radiant heat will help you achieve that iconic, crunchy artisan crust.
Step 4: Shape the Dough and Prepare for Baking
Lightly flour your work surface before turning out the dough. With well-floured hands, gently shape it into a ball—embrace the stickiness; it means you’re on track for a light, moist crumb. Let the shaped dough rest on parchment while your oven (and pot) finish heating up.
Step 5: Bake to Perfection
Carefully remove the hot Dutch oven from the oven and use the parchment paper to lift the dough right in. Cover and bake for 30 minutes. After that, remove the lid and bake another 10 to 15 minutes. Watch for a deep, rich golden crust—this is where the Artisan Bread Recipe gets its signature crackling finish.
Step 6: Cool and Enjoy
Resist the urge to slice into your bread right away—let it cool on a wire rack for at least 30 minutes. This helps the bread set up and makes slicing a dream. Then, go ahead and bask in your homemade achievement!
How to Serve Artisan Bread Recipe

Garnishes
Simple touches go a long way here! Try a sprinkle of flaky sea salt, a light brushing of olive oil, or a scattering of chopped fresh herbs right after baking. These little extras highlight the fresh, toasty flavors of your loaf.
Side Dishes
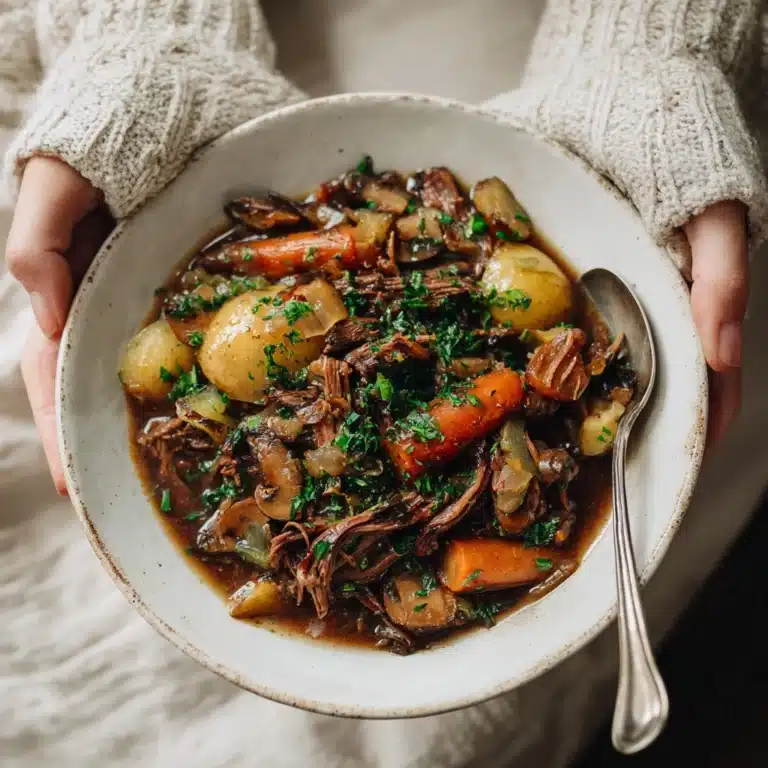
This Artisan Bread Recipe pairs beautifully with hearty soups, crisp green salads, or even a generous platter of cheeses and charcuterie. The bread’s robust crust can handle rich stews or be a star on a breakfast table with sweet jams and butter.
Creative Ways to Present
You can slice the loaf extra thick for rustic sandwiches, cube it for dreamy croutons, or even hollow it out for a show-stopping bread bowl filled with dip. Impress your guests further by serving warm slices in a basket lined with a cheery towel or a wooden board for that true bakery look.
Make Ahead and Storage
Storing Leftovers
If you find yourself with leftover Artisan Bread Recipe (lucky you!), wrap it in a clean kitchen towel and keep it at room temperature for up to two days. Avoid plastic bags, which trap moisture and make the crust chewy.
Freezing
Artisan bread freezes beautifully. Let it cool fully, then wrap tightly in a double layer of plastic wrap or foil and pop it in the freezer for up to three months. You can freeze whole loaves or pre-slice for grab-and-go toast any morning.
Reheating
To bring your bread back to warm, crusty greatness, preheat your oven to 350°F, wrap the loaf in foil, and heat for 10 to 15 minutes. For slices, a quick trip through the toaster works wonders too!
FAQs
Can I use active dry yeast instead of instant yeast?
Absolutely! Just dissolve the same amount of active dry yeast in your warm water and let it sit for a few minutes to get foamy before mixing into the flour and salt. This ensures it’s fully activated for your Artisan Bread Recipe.
What’s the best way to know when the bread is done baking?
The best indicator is that deep golden color and a hollow sound when you tap the bottom of the loaf. An instant-read thermometer inserted in the center should read about 200°F to 210°F.
Can I add flavors directly into the dough?
Definitely! Try folding in chopped fresh herbs, roasted garlic, shredded cheese, or even dried fruit and nuts before the first rise. This recipe is a perfect blank canvas for creative mix-ins.
Can I make this Artisan Bread Recipe without a Dutch oven?
Yes! If you don’t have a Dutch oven, use any heavy oven-safe pot with a tight-fitting lid. You can also bake on a sheet pan with an inverted oven-safe metal bowl covering the dough to mimic the steamy environment.
Why does the bread need to cool before slicing?
Resting allows steam to finish escaping, which keeps the crumb from turning dense or gummy. Slicing too soon can make even the best-loafed Artisan Bread Recipe seem underbaked, so a little patience pays off!
Final Thoughts
If you’ve ever dreamed of baking true bakery-style bread at home, this Artisan Bread Recipe is your delicious answer. It’s unbelievably easy, endlessly adaptable, and perfect for sharing—or savoring all by yourself. Give it a try and see just how rewarding (and scrumptious) homemade bread can be!
Print
Artisan Bread Recipe
- Total Time: 13 to 19 hours
- Yield: 1 loaf 1x
- Diet: Vegan
Description
Learn how to make a delicious Artisan Bread at home with this easy no-knead recipe. Perfect for beginners, this bread requires minimal effort for a crusty, flavorful loaf that pairs well with any meal.
Ingredients
Dough:
- 3 cups all-purpose flour or bread flour
- 1 1/2 teaspoons salt
- 1/2 teaspoon instant yeast
- 1 1/2 cups warm water (about 110°F)
Additional:
- Extra flour or cornmeal for dusting
Instructions
- Mix the Dough: In a large bowl, whisk together flour, salt, and instant yeast. Add warm water and stir until a sticky dough forms. Cover and let rest for 12 to 18 hours.
- Preheat and Shape: Preheat oven to 450°F. Shape dough into a ball on a floured surface. Let it rest on parchment paper.
- Bake: Place a Dutch oven in the oven to preheat. Transfer dough to the pot using parchment paper. Bake covered for 30 minutes, then uncover and bake for 10-15 minutes more.
- Cool and Enjoy: Cool bread on a wire rack before slicing.
Notes
- Enhance flavor by adding herbs, cheese, or garlic to the dough.
- Store leftovers wrapped in a kitchen towel for up to 2 days.
- Prep Time: 5 minutes (plus 12–18 hours resting time)
- Cook Time: 45 minutes
- Category: Bread
- Method: Baking
- Cuisine: American, European
Nutrition
- Serving Size: 1 slice (1/12 loaf)
- Calories: 120
- Sugar: 0g
- Sodium: 290mg
- Fat: 0g
- Saturated Fat: 0g
- Unsaturated Fat: 0g
- Trans Fat: 0g
- Carbohydrates: 25g
- Fiber: 1g
- Protein: 4g
- Cholesterol: 0mg


