
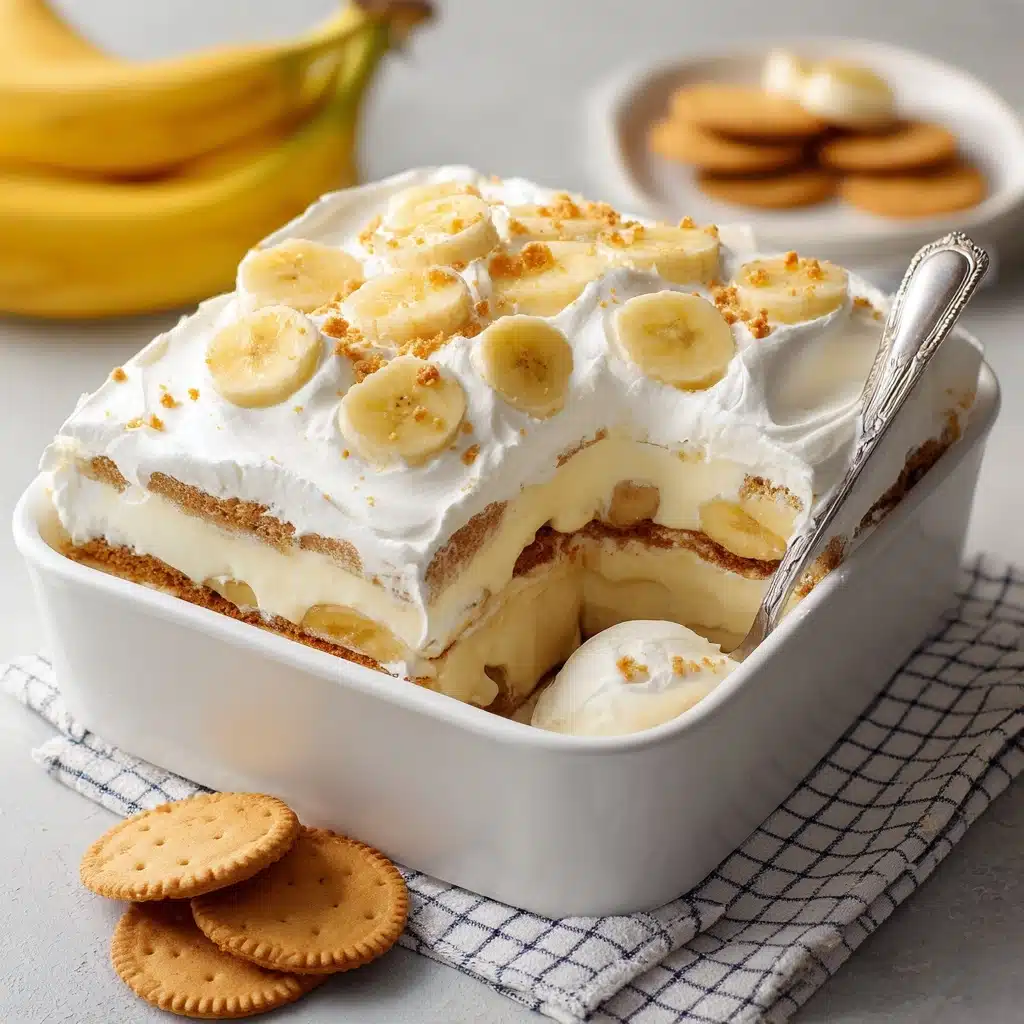
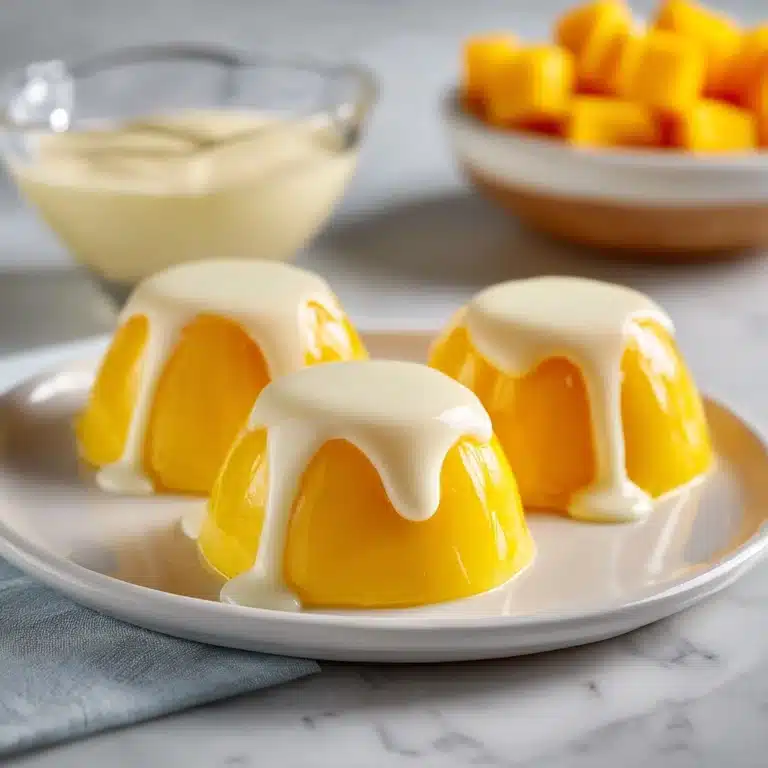
If you’ve never gathered around the table for dessert and scooped out a generous serving of Banana Pudding, consider this your invitation to a true Southern classic. This luscious, nostalgic treat layers creamy vanilla pudding, ripe bananas, and vanilla wafers in a no-bake, crowd-pleasing confection that feels both homey and celebratory. There’s something about the mingling of flavors and textures—the silky pudding, airy whipped topping, sweet bananas, and those just-softened cookies—that makes every bite feel like a warm hug. Whether you’re sharing it at potlucks, holidays, or just as a pick-me-up on an ordinary day, Banana Pudding is the kind of comfort that always leaves folks smiling.

Ingredients You’ll Need
-
Pudding:
- 1 box (5.1 oz) instant vanilla pudding mix
- 2 cups cold whole milk
- 1 can (14 oz) sweetened condensed milk
- 1 container (8 oz) whipped topping (like Cool Whip)
Layers:
- 1 box (11 oz) vanilla wafer cookies
- 4–5 ripe bananas (sliced)
- optional: extra whipped topping or crushed wafers for garnish
How to Make Banana Pudding
Step 1: Create the Creamiest Pudding Base
Start with a large mixing bowl and whisk the instant vanilla pudding mix with the cold milk for about two minutes, until the mixture thickens and you see those irresistible ribbons form. The secret here is to really let it set up nice and smooth! Once thickened, add the sweetened condensed milk. Whisk again until silky and combined—this step gives our Banana Pudding its signature richness. Finally, fold in the whipped topping using a spatula. Take your time and go gently, so everything stays fluffy and light.
Step 2: Layering Like a Pro
In a 9×13-inch dish or a deep trifle bowl, line the bottom with a single layer of vanilla wafers. Next, add a layer of sliced bananas, tucking them in side by side for even banana bliss in every scoop. Top with about a third of the creamy pudding mixture, spreading it gently to cover the bananas. Repeat these layers—wafers, bananas, pudding—until you’ve used up all the ingredients, ensuring you finish with a glorious layer of pudding on top to blanket everything below.
Step 3: The Chilling Magic
Here’s where Banana Pudding transforms! Cover your assembled masterpiece with plastic wrap and refrigerate it for at least 4 hours (overnight is even better, if you’ve got the patience). This chilling time lets the flavors mingle and the cookies soften into that dreamy, cake-like texture. Resist the urge to sneak a spoonful early—trust me, it’s so worth the wait!
Step 4: Ready to Serve
Just before serving, unveil your Banana Pudding and finish it with a billowy layer of whipped topping or a sprinkle of crushed vanilla wafers. The garnish is optional, but it always adds a little extra charm and texture. Now you’re ready to dig in and watch it disappear!
How to Serve Banana Pudding
Garnishes
For the perfect finishing touch, top your Banana Pudding with extra whipped topping and a scattering of crushed wafers. If you want to get fancy, add a few banana slices right before serving. Just keep in mind: bananas can brown quickly, so add them at the last minute for a picture-perfect dessert.
Side Dishes
Pairing is all about balance. This luscious dessert shines after a hearty Southern meal, such as fried chicken, BBQ, or baked ham. For something lighter, serve Banana Pudding with fresh berries or a sprig of mint to elevate its summery feel.
Creative Ways to Present
Think beyond the 9×13 dish! Try layering individual portions in mason jars or stemmed glasses for picnic-perfect treats or dinner parties. Mini trifles look adorable and make serving a breeze. You can even make a Banana Pudding icebox cake by building your layers in a springform pan and slicing it like a dream.
Make Ahead and Storage
Storing Leftovers
Banana Pudding actually improves as it sits, so don’t fret if you have leftovers! Simply cover tightly and refrigerate for up to three days. The wafers will soften even more over time, making each helping even more pudding-like and comforting.
Freezing
While you can technically freeze Banana Pudding, it isn’t always ideal—the texture of the bananas and whipped topping can change in the freezer. If you do freeze it, make sure to wrap it well and thaw gently in the fridge before serving. For best results, enjoy it fresh from the fridge within a few days of making.
Reheating
Great news: Banana Pudding is best served chilled, so there’s no reheating required! Just scoop, serve, and savor straight from the refrigerator. If it separates a little after sitting, a gentle stir before serving will perk it right up.
FAQs
How do I keep bananas from turning brown in my Banana Pudding?
A quick dip in lemon juice before layering your banana slices works wonders. It helps preserve their color and keeps your dessert looking fresh and vibrant.
Can I use homemade pudding or real whipped cream instead of boxed and store-bought?
Absolutely! If you have the time and the inclination, homemade vanilla pudding and freshly whipped cream can take this classic to a whole new level. Just make sure your pudding is cooled and thickened before you start layering.
Is Banana Pudding gluten-free?
As written, this recipe uses classic vanilla wafers, which typically contain gluten. For a gluten-free Banana Pudding, substitute with gluten-free vanilla cookies or wafers available at most grocery stores.
How far in advance can I make Banana Pudding?
This dessert is a make-ahead superstar! You can assemble it up to 24 hours before serving. In fact, giving it several hours to chill ensures those wonderful flavors and textures meld together perfectly.
What can I do if my pudding doesn’t set?
If your pudding base remains runny, it might be due to not whisking long enough or measuring the milk incorrectly. Give it a little more time to chill and set in the fridge before layering, and be sure to follow package directions for the pudding mix.
Final Thoughts
There’s a reason Banana Pudding has been beloved for generations—it’s easy to make, irresistibly creamy, and turns any gathering into a special occasion. This recipe is ready to bring smiles to your table, so grab those bananas and start layering up some blissful bites. Your friends and family will be asking for seconds in no time!
Print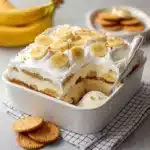
Banana Pudding Recipe
- Total Time: 4 hours 20 minutes (including chilling)
- Yield: 12 servings 1x
- Diet: Vegetarian
Description
Indulge in a classic Southern dessert with this easy and delicious Banana Pudding recipe. Layers of creamy pudding, fresh bananas, and vanilla wafers come together for a sweet treat that’s perfect for any occasion.
Ingredients
Pudding:
- 1 box (5.1 oz) instant vanilla pudding mix
- 2 cups cold whole milk
- 1 can (14 oz) sweetened condensed milk
- 1 container (8 oz) whipped topping (like Cool Whip)
Layers:
- 1 box (11 oz) vanilla wafer cookies
- 4–5 ripe bananas (sliced)
- optional: extra whipped topping or crushed wafers for garnish
Instructions
- Pudding: In a large mixing bowl, whisk together the pudding mix and cold milk for about 2 minutes until thickened. Add the sweetened condensed milk and mix until smooth. Fold in the whipped topping until fully combined.
- Layering: In a 9×13-inch dish or trifle bowl, layer the bottom with vanilla wafers. Add a layer of banana slices, followed by a layer of the pudding mixture. Repeat the layers until all ingredients are used, ending with a layer of pudding on top.
- Chill: Cover and refrigerate for at least 4 hours, or overnight for best flavor and texture. Before serving, garnish with additional whipped topping and crushed vanilla wafers if desired.
Notes
- To prevent bananas from browning, dip slices lightly in lemon juice before layering.
- For a from-scratch version, use homemade pudding and freshly whipped cream.
- Prep Time: 20 minutes
- Cook Time: 0 minutes
- Category: Dessert
- Method: No-Bake
- Cuisine: Southern
Nutrition
- Serving Size: 1 cup
- Calories: 300
- Sugar: 26g
- Sodium: 300mg
- Fat: 12g
- Saturated Fat: 7g
- Unsaturated Fat: 4g
- Trans Fat: 0g
- Carbohydrates: 42g
- Fiber: 1g
- Protein: 4g
- Cholesterol: 25mg
