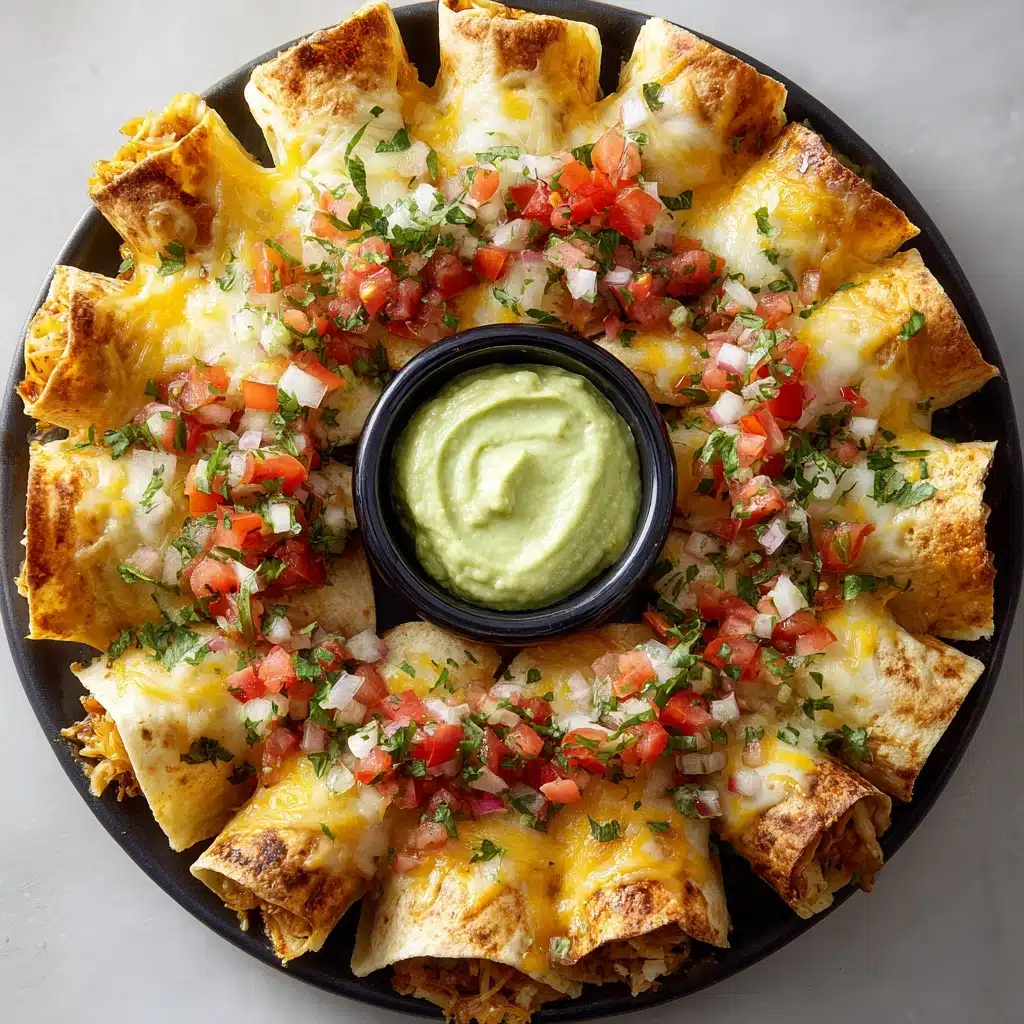
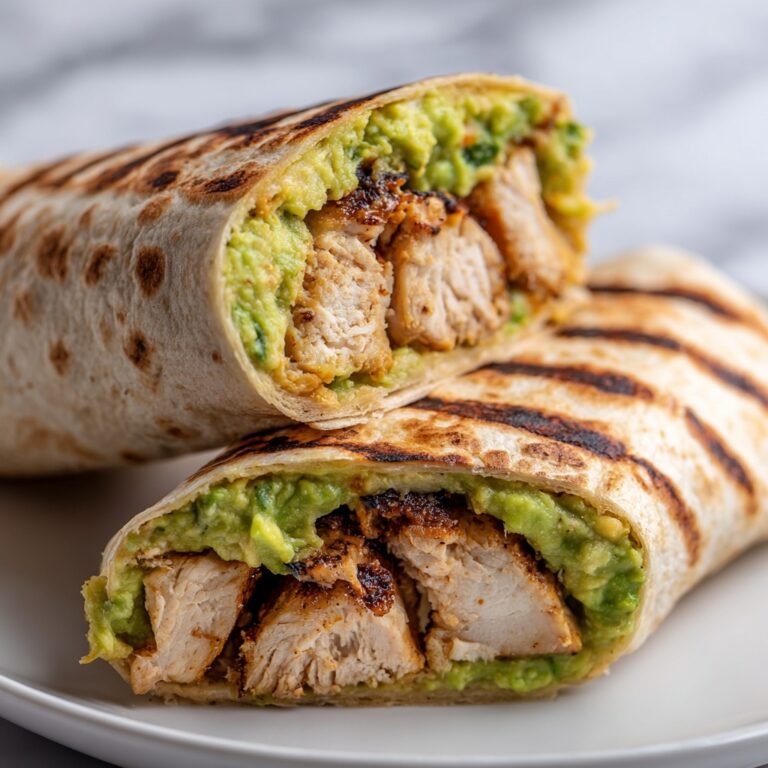
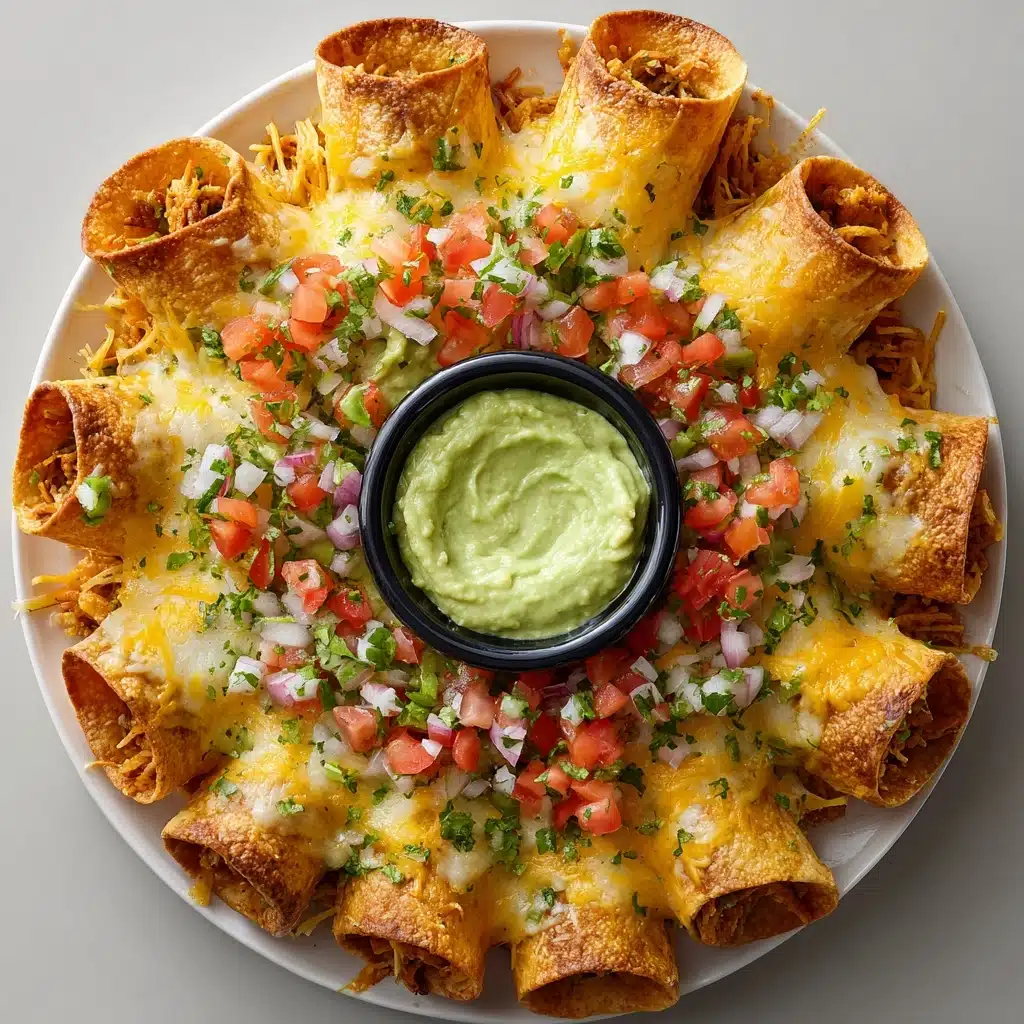
If you’re searching for the ultimate party centerpiece that’s both irresistibly cheesy and fun to pull apart, look no further than the Blooming Quesadilla Ring. This spectacular Tex-Mex-inspired appetizer wraps tender rotisserie chicken, colorful veggies, and two ooey-gooey cheeses inside crisped, golden tortillas—arranged in a gorgeous ring just waiting for your favorite dips. Whether you’re hosting a game night, celebrating family, or just craving a flavor-packed treat, this Blooming Quesadilla Ring promises to wow guests and satisfy snackers of all ages.
Ingredients You’ll Need
Every ingredient in the Blooming Quesadilla Ring has a role to play, bringing together a symphony of flavors, textures, and visual appeal. These simple, accessible ingredients make prep straightforward and guarantee every bite is a hit.
- Flour tortillas (6 large): The essential base, flexible enough to wrap, crisping perfectly when baked.
- Rotisserie chicken (2 cups, shredded): Wonderfully juicy and flavor-packed, offering effortless protein that saves prep time.
- Cheddar cheese (1 cup, shredded): For richness and classic orange color that melts beautifully.
- Monterey Jack cheese (1 cup, shredded): Adds extra creaminess and gives that epic cheese pull.
- Red bell pepper (1/2 cup, diced): Lends a sweet crunch and stunning pops of red.
- Green onions (1/4 cup, chopped): Their mild bite and fresh flavor brighten every bite.
- Chili powder (1 teaspoon): Brings warmth and gentle Tex-Mex authenticity.
- Cumin (1/2 teaspoon): Adds depth and earthy undertones that elevate the whole ring.
- Garlic powder (1/2 teaspoon): Rounds out the seasonings with a savory punch.
- Salt and pepper (to taste): Essential to make every flavor sing.
- Butter (2 tablespoons, melted): Helps the tortillas bake to a golden, irresistible crisp.
- Smoked paprika (1/2 teaspoon): Swirled into the butter for subtle smokiness and color.
- Sour cream, salsa, or guacamole (for dipping): The trio of classic Tex-Mex dips to pair with your ring.
How to Make Blooming Quesadilla Ring
Step 1: Mix the Filling
Start by gathering your ingredients and preheating the oven to 375°F. In a big mixing bowl, combine the tender shredded chicken, both types of cheeses, diced red bell pepper for a pop of color, green onions, chili powder, cumin, garlic powder, plus a sprinkle of salt and pepper. Toss everything together so the filling is evenly blended—this means every quesadilla bite is loaded with Tex-Mex goodness.
Step 2: Prep the Tortillas and Fill
Grab your stack of flour tortillas and cut each one in half. This makes the perfect canvas for creating those signature quesadilla cones. Take about two tablespoons of filling and place it right in the center of each tortilla half. Fold in the straight edge sides slightly, then roll into a neat cone shape, keeping the filling tucked in securely.
Step 3: Shape Your Blooming Quesadilla Ring
On a parchment-lined baking sheet, start building your masterpiece. Arrange the filled tortilla cones in a concentric circle, starting from the outer edge and overlapping each cone slightly. Keep layering towards the center until you’ve used all the tortillas and filling, creating a beautiful, blooming ring effect. This is the moment your Blooming Quesadilla Ring starts to come to life!
Step 4: Brush and Bake
Mix the melted butter with smoked paprika and brush it generously over the tops of each quesadilla cone. This buttery blend is the secret to that deep golden color and mildly smoky aroma. Slide the tray into your preheated oven and bake for 20 to 25 minutes, or until the ring is gloriously crisp and the cheese inside is gooey and bubbling.
Step 5: Cool Slightly and Serve
Let the Blooming Quesadilla Ring rest for a few minutes after baking—this sets the cheese and makes handling a breeze. Place your trio of dips—salsa, sour cream, or guacamole—in small bowls right in the center of the ring. Invite everyone to pull apart a cone, dunk into their favorite dip, and enjoy your culinary creation!
How to Serve Blooming Quesadilla Ring
Garnishes
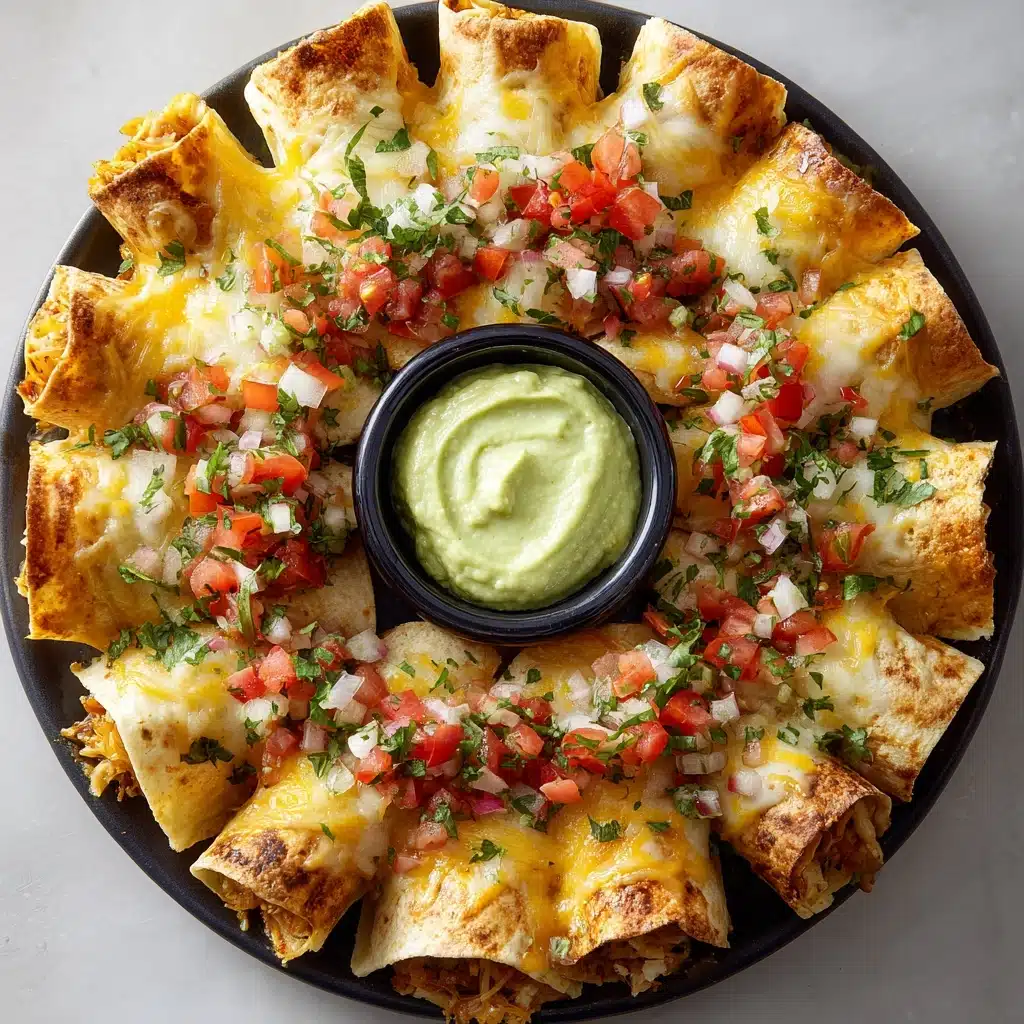
Top your Blooming Quesadilla Ring with a scattering of extra chopped green onions, a little fresh cilantro, or even finely diced jalapeños for those who like a bit more heat. A final dusting of smoked paprika or a squeeze of fresh lime will add that special finishing touch your guests will remember.
Side Dishes
This show-stopping appetizer pairs wonderfully with classic Tex-Mex sides like Mexican street corn, black bean salad, or a bright, zesty cucumber salsa. For heartier appetites, serve alongside a big bowl of tortilla chips or a light Southwestern coleslaw to round out your party spread.
Creative Ways to Present
Make your Blooming Quesadilla Ring the star of the table by building it on a large wooden board or colorful platter. Nestle your dipping sauces in small, vibrant ramekins in the center for visual impact. For family movie nights, try making mini rings for each person—kids especially love having their very own “blooms” to dunk and devour!
Make Ahead and Storage
Storing Leftovers
If you’re lucky enough to have some quesadilla cones left, store them in an airtight container in the refrigerator. They’ll keep for up to three days, staying flavorful and ready for quick snacking or a speedy lunch fix.
Freezing
To freeze, arrange the cooled quesadilla cones in a single layer on a baking sheet and freeze until firm. Transfer them to a freezer-safe bag or container, separating layers with parchment if needed. They’ll keep well for up to a month and can be reheated straight from frozen.
Reheating
For best texture, reheat leftover cones on a baking sheet in a 350°F oven for 8–10 minutes. They’ll come out crisp with melty cheese inside. A microwave works too, though the cones may turn a bit softer—perfect for a quick snack attack!
FAQs
Can I make the Blooming Quesadilla Ring vegetarian?
Absolutely! Just swap the chicken for more veggies like sautéed mushrooms, black beans, corn, or zucchini. The double cheese holds everything together beautifully, and you won’t miss the meat at all.
What are the best cheeses for this recipe?
The combination of cheddar and Monterey Jack yields the perfect balance of flavor and meltiness. Feel free to experiment with pepper jack for a spicy kick or a little mozzarella for extra stretch.
Can I prepare the Blooming Quesadilla Ring ahead of time?
Yes! Assemble the ring up to the baking step, cover, and refrigerate for up to a day. When you’re ready to bake, brush with butter and paprika, then pop it in the oven—so simple for party planning.
Will this work with corn tortillas?
Corn tortillas are less flexible and may crack when forming cones, but can be used if you warm them briefly and handle gently. For best results, stick to flour tortillas, which are sturdy and easy to shape.
How do I keep the quesadilla cones from unrolling?
Be sure to tuck in the sides of each tortilla half before rolling and nestle each cone snugly next to the last in the ring. A tight formation, plus the cheesy filling, helps everything hold together as it bakes.
Final Thoughts
If you’re craving a showstopper that’s as fun to make as it is to eat, you’ll love this Blooming Quesadilla Ring. It’s hearty, endlessly customizable, and guaranteed to get rave reviews at any gathering. Give it a whirl and watch your friends and family light up with every cheesy, flavor-packed bite!
Print
Blooming Quesadilla Ring Recipe
- Total Time: 45 minutes
- Yield: 6–8 servings 1x
- Diet: Non-Vegetarian
Description
Impress your guests with this stunning Blooming Quesadilla Ring, a fun and delicious appetizer perfect for any gathering. Filled with flavorful chicken, cheeses, and spices, this dish is sure to be a hit!
Ingredients
Ingredients:
- 6 large flour tortillas
- 2 cups shredded rotisserie chicken
- 1 cup shredded cheddar cheese
- 1 cup shredded Monterey Jack cheese
- 1/2 cup diced red bell pepper
- 1/4 cup chopped green onions
- 1 teaspoon chili powder
- 1/2 teaspoon cumin
- 1/2 teaspoon garlic powder
- Salt and pepper to taste
- 2 tablespoons butter (melted)
- 1/2 teaspoon smoked paprika (for brushing)
- Sour cream, salsa, or guacamole (for dipping)
Instructions
- Preheat the oven: Preheat the oven to 375°F (190°C) and line a baking sheet with parchment paper.
- Prepare the filling: In a large bowl, combine the shredded chicken, both cheeses, red bell pepper, green onions, chili powder, cumin, garlic powder, salt, and pepper.
- Assemble the quesadilla ring: Cut each tortilla in half. Fill each half with the prepared filling, fold in the sides, and roll into a cone shape. Arrange the cones in a circular pattern on the baking sheet, overlapping slightly to form a ring.
- Bake: Brush the tops with melted butter mixed with smoked paprika. Bake for 20–25 minutes until golden brown and cheese is melted.
- Serve: Let cool slightly, then serve with dipping sauces in the center of the ring.
Notes
- You can customize the filling with cooked ground beef, black beans, or corn.
- For a vegetarian version, omit the chicken and double up on vegetables and beans.
- Best served warm for melty cheese pulls.
- Prep Time: 20 minutes
- Cook Time: 25 minutes
- Category: Appetizer
- Method: Baking
- Cuisine: Tex-Mex
Nutrition
- Serving Size: 1 piece (1/8 ring)
- Calories: 310
- Sugar: 2g
- Sodium: 520mg
- Fat: 18g
- Saturated Fat: 9g
- Unsaturated Fat: 8g
- Trans Fat: 0g
- Carbohydrates: 21g
- Fiber: 1g
- Protein: 16g
- Cholesterol: 55mg
