
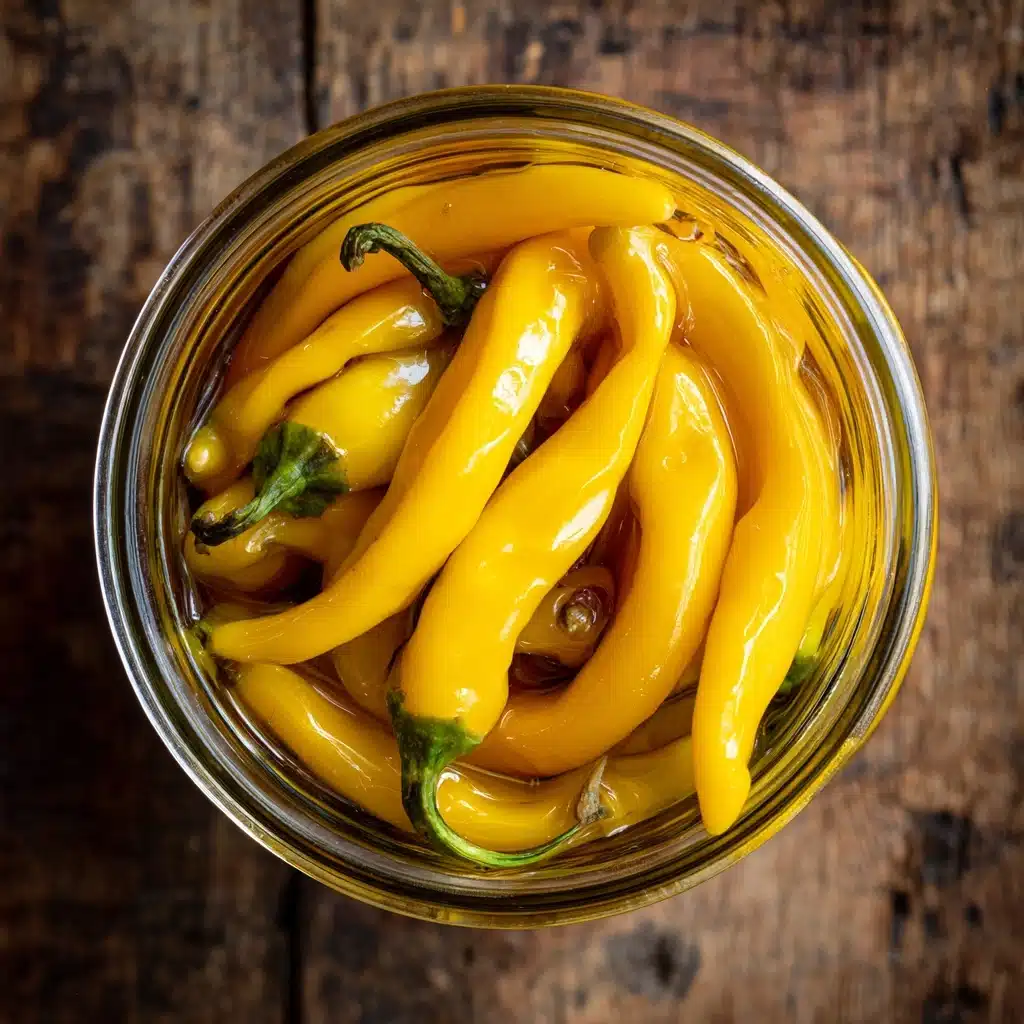
If you’ve ever bitten into a tangy, crunchy pepper and wondered how you could bottle that fresh zing at home, Brine-Pickled (Fermented) Peperoncini is the secret you’ve been searching for. This small-batch, Mediterranean-inspired ferment lets you capture the bright flavors and probiotic benefits of classic peperoncini with just a few simple steps, creating a condiment that utterly transforms sandwiches, salads, pizzas, and more. Wait until you try making your own—the vibrant peppers develop a mellow heat, compelling tartness, and satisfying crunch that just can’t be matched by store-bought versions. Plus, with a little patience and a little science, you’ll soon have jars of delicious, homemade goodness sitting proudly in your fridge, ready to liven up any meal.
Ingredients You’ll Need
What’s magical about Brine-Pickled (Fermented) Peperoncini is how a handful of honest ingredients can work together to create such complex flavor. Every component does its part, from infusing the peppers with gentle spice to building the briny bath where probiotic magic happens.
- Peperoncini Peppers (1 pound): Look for vibrant, firm, and blemish-free pods—these are the stars of the show and will retain their texture and gentle heat.
- Filtered Water (4 cups): Always use filtered or non-chlorinated water to help friendly bacteria thrive during fermentation.
- Kosher or Sea Salt (3 tablespoons, non-iodized): Salt not only seasons but also creates an environment that encourages good bacteria and repels the bad.
- Garlic (2 cloves, smashed): Adds delightful aroma and a mild bite that permeates the whole batch.
- Black Peppercorns (1 teaspoon): Sprinkle in subtle heat and a rich, earthy backbone to the brine.
- Mustard Seeds (1 teaspoon, optional): For those who enjoy a whisper of tangy complexity—mustard seeds make the flavor pop.
- Bay Leaves (2): These add an herbal, almost tea-like note that balances the punchy flavors.
How to Make Brine-Pickled (Fermented) Peperoncini
Step 1: Prepare the Peppers
Begin by giving your peperoncini a gentle but thorough wash. Make sure to scrub away any garden grit or waxy residue, as clean peppers equal a clean ferment. Trim the stems if they’re long or woody, but leave the peppers whole so they maintain their satisfying snap and beautiful appearance in the jar.
Step 2: Pack the Jar
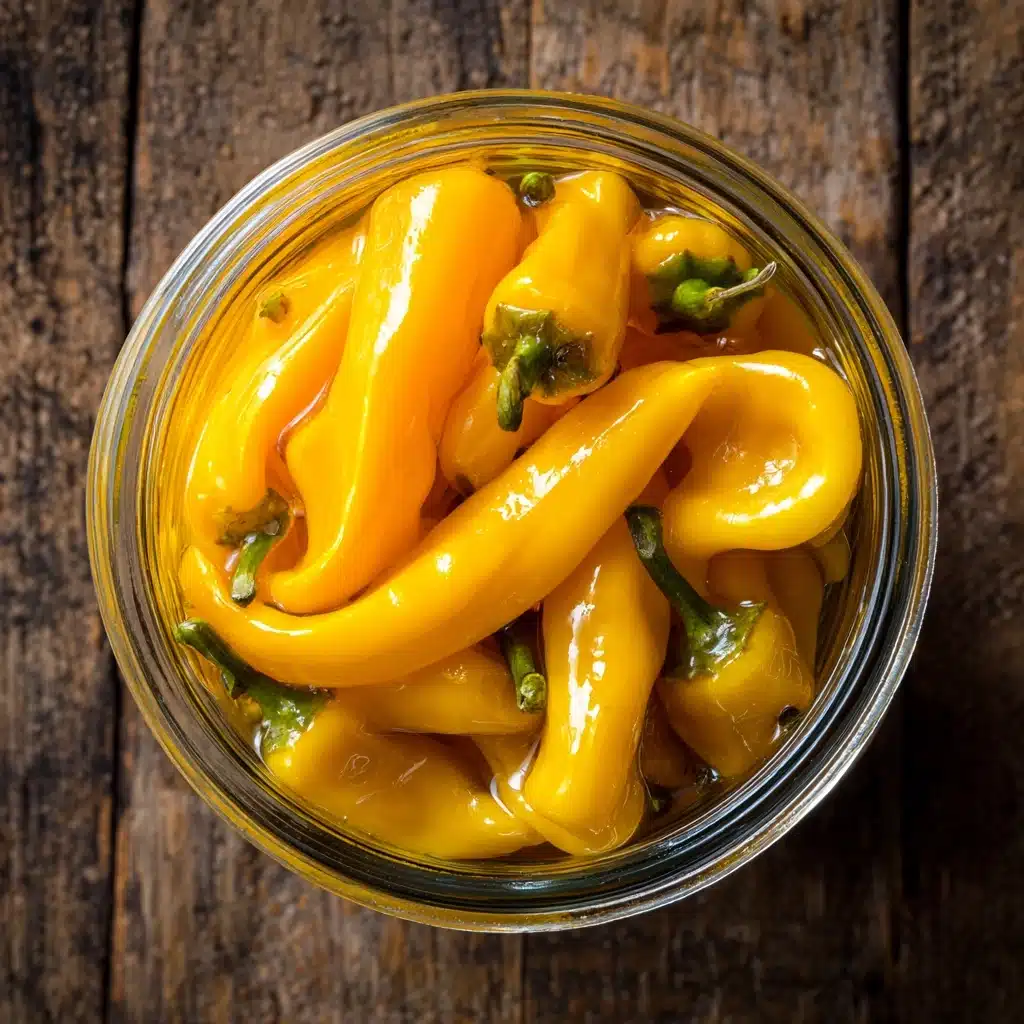
Take a sparkling-clean glass jar or fermentation crock and start packing in the peppers. Layer in the smashed garlic cloves, black peppercorns, bay leaves, and (if you’re tempted) the mustard seeds for that extra punch. Nestle everything tightly—the more snug, the less chance the peppers will float and expose themselves to air.
Step 3: Mix the Brine
In a bowl or large measuring jug, stir kosher or sea salt into room-temperature filtered water until it dissolves completely. This saltwater is the heart of the fermentation, encouraging probiotics to thrive while keeping unwelcome guests at bay.
Step 4: Submerge and Weigh Down
Slowly pour the brine over your peppers until they are completely submerged. If needed, use a fermentation weight, a cleaned smaller jar, or even a ziplock bag filled with brine to gently keep everything under the liquid. This step is crucial—peppers exposed to air will spoil.
Step 5: Cover and Ferment
Cover the jar with a lid loosely (so gases can escape) or secure a clean cloth with a rubber band. Place the jar at room temperature, out of direct sunlight. Check daily—make sure all the peppers stay submerged and notice how the brine turns a little cloudy and bubbly. Start tasting after 7 days; let them go up to 14 for deeper tanginess, then refrigerate to slow further fermentation.
How to Serve Brine-Pickled (Fermented) Peperoncini
Garnishes
For maximum flavor and color, scatter sliced Brine-Pickled (Fermented) Peperoncini over roasted meats, grilled vegetables, or creamy dips. Their vibrant hue and zingy bite are eye-catching and the finishing touch your platter has been missing.
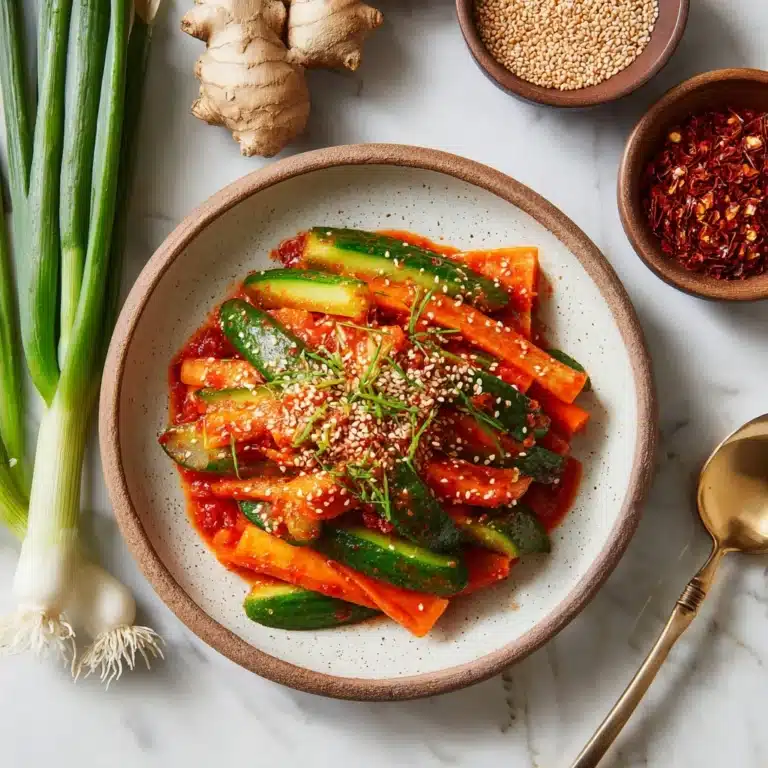
Side Dishes
Layer these peppers onto antipasto boards, sneak them into sandwiches, or toss a handful into pasta salads for a hit of probiotic punch and fresh acidity that brings your whole meal to life. They’re also dreamy alongside cheese, olives, and crusty bread.
Creative Ways to Present
Make your Brine-Pickled (Fermented) Peperoncini the star by stuffing them with herbed ricotta or feta and arranging on skewers with cherry tomatoes and basil. Or, chop and mix into egg salad or potato salad for a gourmet upgrade you’ll crave again and again.
Make Ahead and Storage
Storing Leftovers
Once fermented to your liking, keep your Brine-Pickled (Fermented) Peperoncini sealed in the refrigerator. They’ll happily last for up to six months, staying tangy, crisp, and ready to lend pep to meals at a moment’s notice. Make sure peppers are always submerged in brine for best quality.
Freezing
Fermented peppers aren’t usually frozen, as it can damage their unique crunch and muddle the flavors. For long-term storage, simply keep them refrigerated, or share extra jars with friends—these peppers are best enjoyed fresh from the fridge.
Reheating
There’s no need to reheat Brine-Pickled (Fermented) Peperoncini. They are a ready-to-eat condiment, delicious cold or at room temperature. If using in cooked dishes, add them at the last moment to keep their lively crunch and fresh flavor.
FAQs
Can I use regular tap water?
It’s highly recommended to use filtered or non-chlorinated water, because chlorine in tap water can inhibit the beneficial bacteria that make fermentation possible. If filtered water isn’t accessible, let tap water sit out uncovered overnight to help some chlorine dissipate.
Do I have to trim the stems off the peppers?
No, but you can trim if they’re long or tough. Keeping the peppers mostly whole helps them stay crisp and look beautiful in your jar, though a tiny slit can help peppers ferment more evenly if you like extra tang.
What if I see white film or bubbles forming on the brine?
That’s perfectly normal! A white film (known as kahm yeast) and bubbles signal healthy fermentation. Simply skim off any white spots from the surface with a clean spoon, but discard the batch only if you see fuzzy, colorful mold or detect an off smell.
My peppers are soft—not crunchy. What went wrong?
Usually, peppers soften if the ferment gets too warm or if the peppers weren’t very fresh to begin with. Next time, make sure your fridge is set cold enough and use the freshest peppers possible for max crunch.
Can I reuse the brine for another batch?
It’s best to make a fresh brine each time for consistent results and safety, but you can use a tablespoon of leftover brine to help kickstart a new ferment if you’d like. Just remember to mind cleanliness and avoid any off-smelling or discolored brine.
Final Thoughts
Homemade Brine-Pickled (Fermented) Peperoncini are my secret ingredient for instantly jazzing up almost any dish. With just a little patience and a few real ingredients, you can create a jar of irresistible, tangy peppers that will light up your taste buds and bring joyful, Mediterranean flavor to your table. Try it once, and I promise you’ll be hooked!
Print
Brine-Pickled (Fermented) Peperoncini Recipe
- Total Time: 20 minutes plus 7-14 days fermentation
- Yield: 1 quart 1x
- Diet: Vegan, Gluten-Free
Description
Learn how to make delicious brine-pickled (fermented) peperoncini peppers at home with this easy recipe. These probiotic peppers are tangy, flavorful, and perfect for adding a zing to your dishes.
Ingredients
Ingredients:
- 1 pound fresh peperoncini peppers
- 4 cups filtered water
- 3 tablespoons kosher salt or sea salt (non-iodized)
- 2 cloves garlic, smashed
- 1 teaspoon black peppercorns
- 1 teaspoon mustard seeds (optional)
- 2 bay leaves
Instructions
- Wash the peperoncini peppers: Thoroughly wash the peppers and trim the stems, leaving them whole.
- Prepare the fermentation container: Pack the peppers, garlic, peppercorns, mustard seeds, and bay leaves in a clean jar or crock.
- Create the brine: Dissolve salt in filtered water to make a brine. Pour the brine over the peppers to submerge them.
- Ferment the peppers: Use a weight to keep the peppers submerged. Cover loosely and store at room temperature for 7-14 days.
- Check and adjust: Ensure peppers stay submerged. Taste after a week and continue fermenting for desired tanginess.
- Store: Seal the jar and refrigerate for up to 6 months.
Notes
- Use filtered water to avoid killing beneficial bacteria.
- Remove any surface mold promptly; it is normal and does not spoil the batch.
- Prep Time: 20 minutes
- Cook Time: 0 minutes
- Category: Condiment
- Method: Fermenting
- Cuisine: Mediterranean
Nutrition
- Serving Size: 2 peppers
- Calories: 10
- Sugar: 1g
- Sodium: 350mg
- Fat: 0g
- Saturated Fat: 0g
- Unsaturated Fat: 0g
- Trans Fat: 0g
- Carbohydrates: 2g
- Fiber: 1g
- Protein: 0g
- Cholesterol: 0mg
