
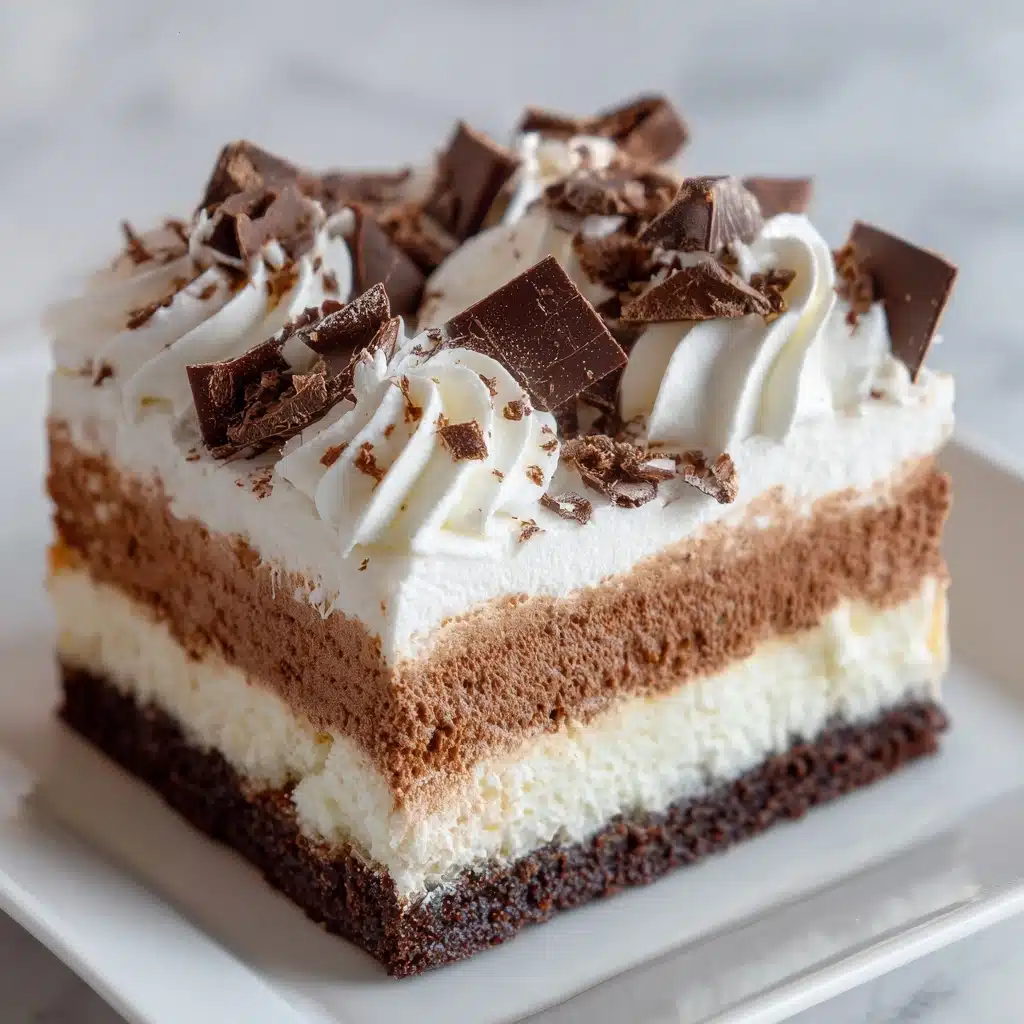
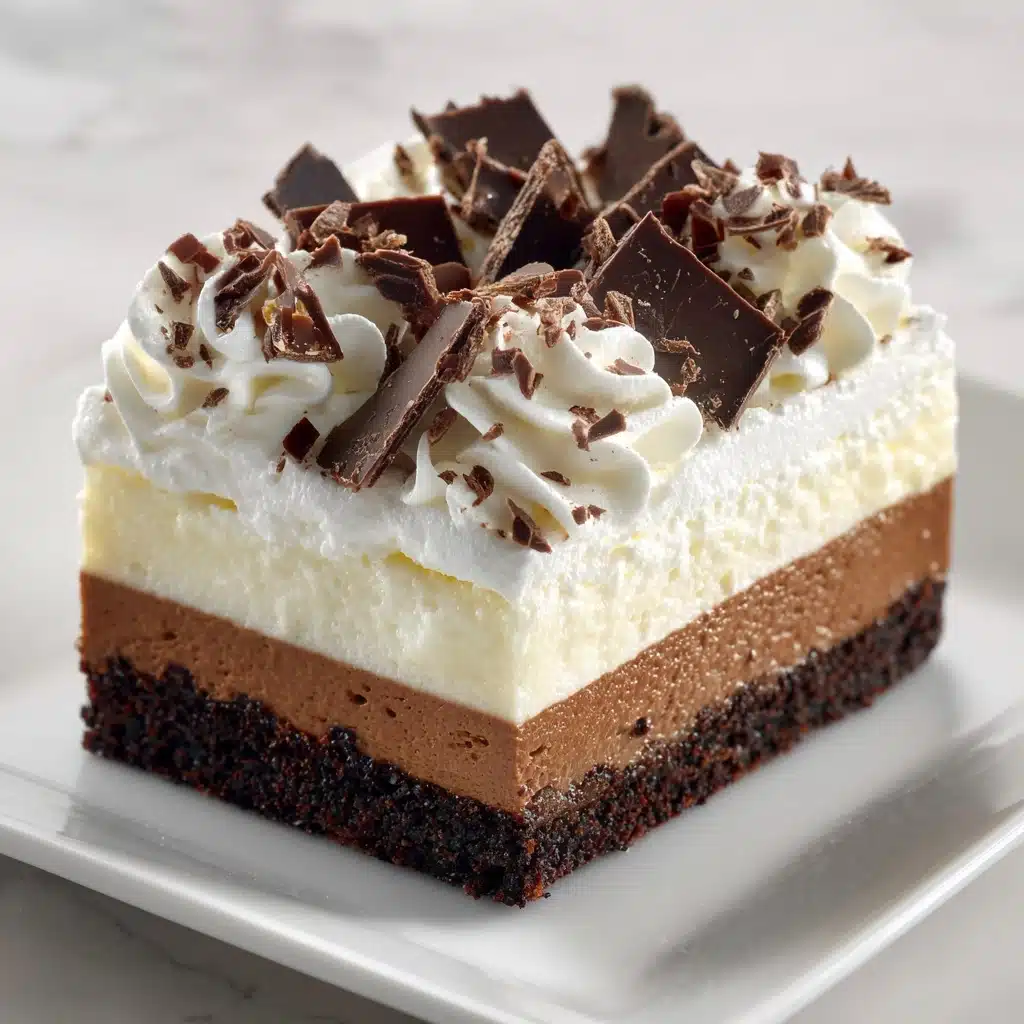
If you’re searching for a creamy, chocolatey indulgence that brings people together, look no further than the Brownie Refrigerator Cake. This delightful dessert layers fudgy brownies, silky chocolate pudding, and a cloud of whipped topping, all finished off with a drizzle of chocolate syrup and a shower of mini chocolate chips. Each bite is a cold, dreamy bite of nostalgia and fun, perfect for potlucks, birthday parties, or treating yourself at home. It’s stunningly easy to assemble and even easier to devour, making it a dessert you’ll crave all year.
Ingredients You’ll Need
-
Brownie Layer:
- 1 box brownie mix (plus ingredients listed on the box)
Pudding Layer:
- 1 package (3.4 oz) instant chocolate pudding mix
- 2 cups cold milk
Topping:
- 1 container (8 oz) whipped topping (such as Cool Whip)
- 1/2 cup mini chocolate chips
- 1/4 cup chocolate syrup
- Optional crushed nuts or sprinkles for topping
How to Make Brownie Refrigerator Cake
Step 1: Bake the Brownies
Start your Brownie Refrigerator Cake by prepping your favorite box brownie mix according to the directions (usually with eggs, oil, and water). Use a 9×13-inch pan for the ideal thickness—chewy but sturdy enough for layering. Once baked, allow the brownies to cool completely. Patience pays off here: a cool base prevents the pudding from soaking right through!
Step 2: Whip Up the Chocolate Pudding
While your brownies are cooling, grab a medium bowl and whisk together the instant chocolate pudding mix with the cold milk. Whisk vigorously for about 2 minutes until the mixture thickens, then let it stand for a minute or two. This step is key for achieving that indulgent pudding layer that won’t slide off the brownies.
Step 3: Layer on the Pudding
Once your brownies are fully cooled, evenly spread the chocolate pudding right over the top. Take your time here to make sure you cover every corner—you want each slice of Brownie Refrigerator Cake to have that luscious, chocolatey layer.
Step 4: Add the Whipped Topping
Next, gently dollop and spread the whipped topping over the pudding layer. Smooth it out with a spatula for a cloudlike effect. This not only makes the cake look stunning but also provides a cool, creamy contrast to the dense fudge below.
Step 5: Finish with Toppings
To take your Brownie Refrigerator Cake over the top, generously drizzle chocolate syrup across the whipped topping, then sprinkle with a handful of mini chocolate chips. This is your moment to get creative: add optional crushed nuts or colorful sprinkles if you’re in a festive mood!
Step 6: Chill, Slice, and Serve!
Cover the pan and refrigerate for at least 4 hours or (ideally!) overnight. Chilling sets the layers perfectly and enhances the flavors. When you’re ready, slice the cake into squares and serve it cold. Each bite will be luscious and irresistible!
How to Serve Brownie Refrigerator Cake
Garnishes
Elevate your Brownie Refrigerator Cake with a final flourish. Extra mini chocolate chips, lightly crushed nuts, or rainbow sprinkles can make it pop. For a special touch, add fresh berries or a mint sprig to each slice—your guests will feel positively spoiled.
Side Dishes
This chilled dessert is rich and tempting, so pairing it with something light is a smart move. Consider a bowl of fresh strawberries or raspberries on the side, or offer vanilla ice cream for a classic combo. The cool creaminess complements the dense brownie base beautifully.
Creative Ways to Present
Make your Brownie Refrigerator Cake the centerpiece by slicing it into neat, elegant squares and stacking them on a platter. Or, play around with presentation: use a cookie cutter to create fun shapes, or serve in individual parfait glasses with alternating layers of cake, pudding, and whipped topping—perfect for parties or potlucks!
Make Ahead and Storage
Storing Leftovers
Simply cover the leftovers tightly with plastic wrap or foil and keep them in the fridge. The Brownie Refrigerator Cake stays wonderfully moist for up to four days, and it actually becomes even more flavorful as it sits.
Freezing
If you want to save a few slices for later, you’re in luck! Cut the cake into single-serving pieces, wrap them well in plastic wrap and foil, and freeze for up to two months. Thaw overnight in the fridge before serving to keep the texture dreamy and smooth.
Reheating
This cake is always best served cold, straight from the fridge or slightly thawed from freezing. If you prefer a softer, slightly warmer dessert, let it sit at room temperature for 10 to 15 minutes before eating—no extra heating required!
FAQs
Can I use homemade brownies instead of boxed mix?
Absolutely! If you have a go-to brownie recipe, it works beautifully here. Just make sure to bake it in a 9×13-inch pan so you have enough base for your Brownie Refrigerator Cake.
What if I don’t have whipped topping?
You can substitute freshly whipped cream sweetened with a little powdered sugar and vanilla. Just whip until soft peaks form and use it as you would the store-bought topping.
Can I add fruit to the layers?
Definitely! For a fruity twist, layer in sliced bananas or strawberries between the pudding and whipped topping. This adds a fresh, juicy element that pairs wonderfully with the chocolate.
What’s the best way to cut the cake neatly?
For clean, precise slices, chill your Brownie Refrigerator Cake thoroughly and use a sharp knife dipped in hot water, wiping it between cuts. This keeps the layers tidy and beautiful.
Is this dessert kid-friendly?
Kids absolutely love this treat! It’s cool, chocolatey, and customizable with their favorite toppings. It’s also a fun recipe for young bakers to help assemble in the kitchen.
Final Thoughts
The Brownie Refrigerator Cake is a total crowd-pleaser—rich, creamy, and irresistibly easy to make. Treat yourself and your loved ones to this cool confection, and don’t be surprised when it disappears from the table in record time!
Print
Brownie Refrigerator Cake Recipe
- Total Time: 40 minutes plus chilling time
- Yield: 12 servings 1x
- Diet: Vegetarian
Description
Indulge in this decadent Brownie Refrigerator Cake that combines rich brownies, creamy pudding, and fluffy whipped topping for a delightful chilled dessert perfect for any occasion.
Ingredients
Brownie Layer:
- 1 box brownie mix (plus ingredients listed on the box)
Pudding Layer:
- 1 package (3.4 oz) instant chocolate pudding mix
- 2 cups cold milk
Topping:
- 1 container (8 oz) whipped topping (such as Cool Whip)
- 1/2 cup mini chocolate chips
- 1/4 cup chocolate syrup
- Optional crushed nuts or sprinkles for topping
Instructions
- Prepare Brownie Layer: Prepare and bake the brownies according to the package directions in a 9×13-inch pan. Allow to cool completely.
- Prepare Pudding Layer: In a medium bowl, whisk together the instant pudding mix and cold milk for 2 minutes until thickened. Spread over the cooled brownies.
- Add Topping: Top with whipped topping, spreading gently over the pudding layer. Drizzle chocolate syrup over the top and sprinkle with mini chocolate chips. Add optional crushed nuts or sprinkles if desired.
- Chill: Cover and refrigerate for at least 4 hours or overnight for best results.
- Serve: Slice and serve chilled.
Notes
- You can use homemade brownies if preferred.
- Add a layer of sliced bananas or strawberries between the pudding and whipped topping for a fruity twist.
- Prep Time: 15 minutes
- Cook Time: 25 minutes
- Category: Dessert
- Method: Refrigerator
- Cuisine: American
Nutrition
- Serving Size: 1 slice
- Calories: 290
- Sugar: 21g
- Sodium: 240mg
- Fat: 14g
- Saturated Fat: 5g
- Unsaturated Fat: 7g
- Trans Fat: 0g
- Carbohydrates: 38g
- Fiber: 2g
- Protein: 3g
- Cholesterol: 25mg


