
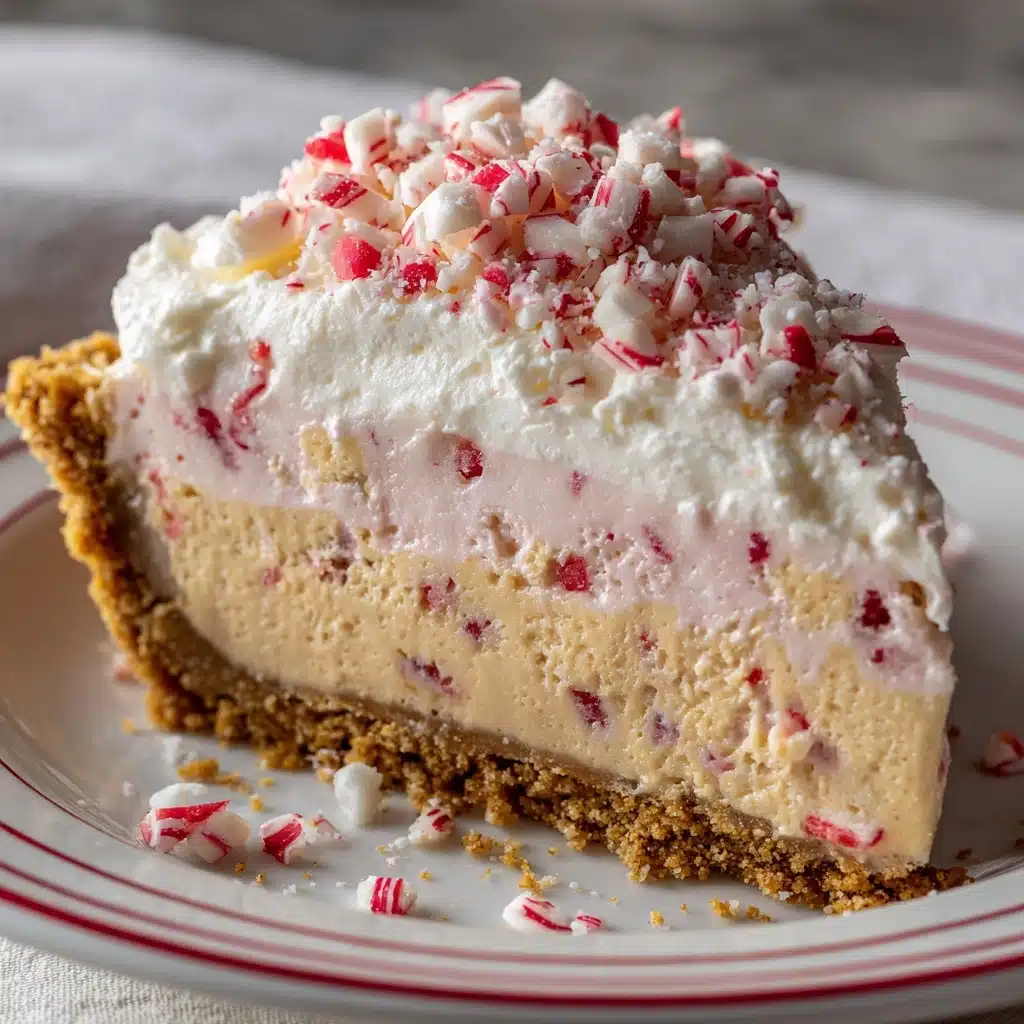
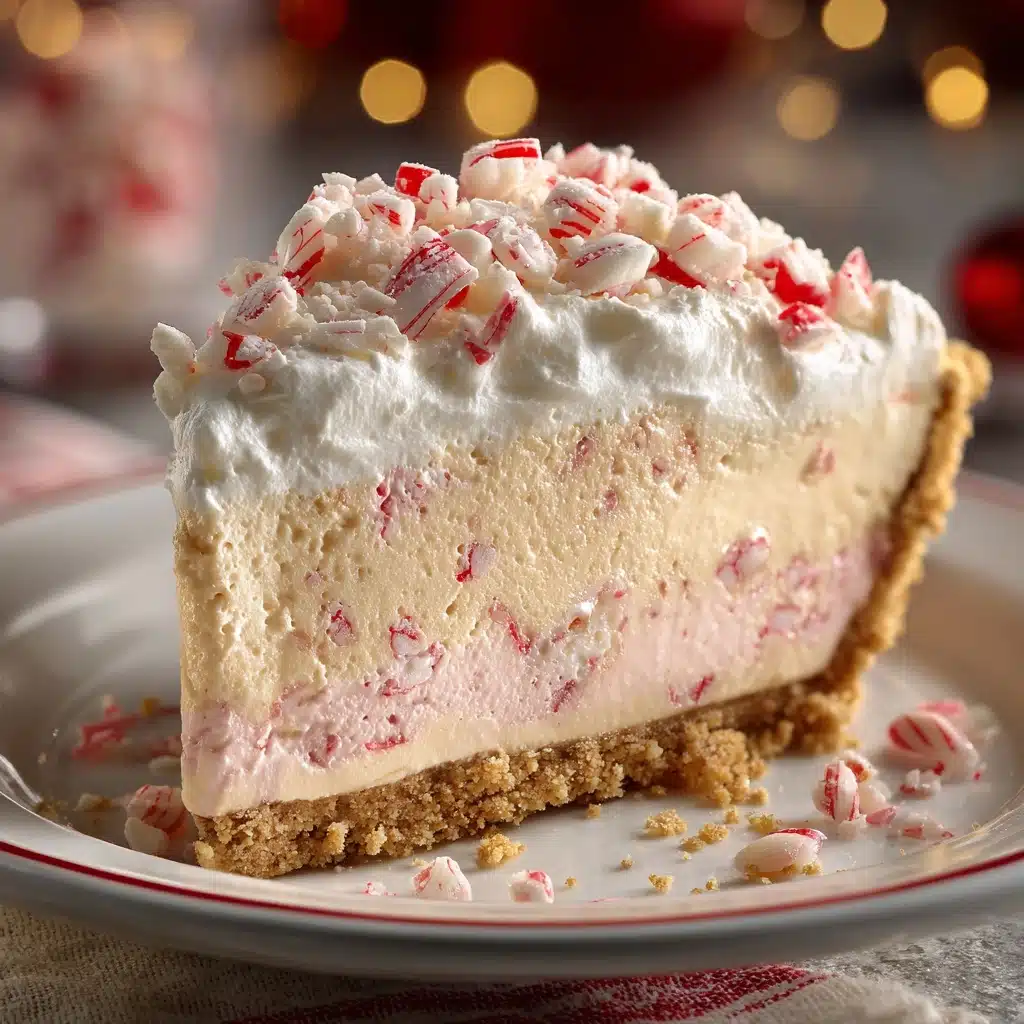
If you’re searching for a showstopping holiday dessert that’s both stunning and wonderfully easy, let me introduce you to the irresistible Candy Cane Pie. This creamy, dreamy pink creation is loaded with cool peppermint flavor, a chocolate cookie crust, fluffy marshmallows, and a festive crunch of crushed candy canes. It’s delightfully no-bake, incredibly fun, and guaranteed to sprinkle a little extra holiday magic on your dessert table.
Ingredients You’ll Need
The secret to Candy Cane Pie’s nostalgic charm is its simple, festive ingredient list. Each component brings something special, whether it’s rich flavor, pepperminty zing, or a pop of color. Here’s what you’ll need—and why every ingredient matters for the ultimate holiday treat!
- Prepared chocolate cookie pie crust: Brings a fudgy crunch that perfectly contrasts the creamy filling and sets the holiday mood.
- Cream cheese (softened): Adds tang and richness, creating a smooth, luscious foundation for the filling.
- Powdered sugar: Keeps everything sweet and silky without any grittiness, blending seamlessly into the pie.
- Peppermint extract: Delivers that unmistakable cool, minty kick—don’t skip it if you want authentic Candy Cane Pie flavor!
- Whipped topping (thawed): Makes the filling unbelievably light and fluffy, blending effortlessly with the cream cheese.
- Crushed candy canes (divided): Provides peppy color, crunch, and the signature peppermint burst in every bite.
- Mini marshmallows: Add an unexpected soft chew that makes every forkful extra playful and fun.
- Red or pink food coloring (optional): Gives the pie a cheerful holiday hue—swirl it for a whimsical, marbled effect!
- Extra whipped topping and whole candy canes for garnish: Because everyone loves an over-the-top finish, especially during the holidays.
How to Make Candy Cane Pie
Step 1: Whip Up the Creamy Base
In a large bowl, use an electric mixer to beat the softened cream cheese and powdered sugar together until the mixture is completely smooth and velvety—this is the key to the pie’s luscious texture. Make sure the cream cheese is truly soft before you start for the silkiest result!
Step 2: Peppermint Perfection
Add the peppermint extract and, if you’d like a festive pop of color, a few drops of red or pink food coloring. Blend until everything is fully combined and there are no streaks. The peppermint gives that classic holiday flavor, while the color instantly transforms this pie into a seasonal showpiece.
Step 3: Fold in the Fun
Gently fold in the thawed whipped topping, 1 cup of the crushed candy canes, and the mini marshmallows until just combined. This step is where the magic happens—the filling becomes airy, flecked with sweet peppermint bursts, and dotted with fluffy little marshmallows.
Step 4: Fill and Chill
Spoon the playful filling into your prepared chocolate cookie pie crust, and smooth the top with a spatula. Cover the pie with plastic wrap and refrigerate for at least four hours, or overnight if you’ve got the patience. The chilling step allows the flavors to meld and the pie to set up beautifully.
Step 5: The Festive Finish
Just before serving, pile on extra whipped topping, sprinkle over the remaining crushed candy canes, and add a few whole candy canes for that extra “wow” factor. Your Candy Cane Pie is now party-ready, and trust me, it’s hard to resist digging in right away!
How to Serve Candy Cane Pie
Garnishes
Go wild with your Candy Cane Pie toppings! A generous swirl of whipped topping, a hearty sprinkle of crushed candy canes, and a few strategically placed whole candy canes turn each slice into a slice of edible holiday art. If you’re feeling creative, try a marbled swirl of colored whipped cream or some chocolate shavings for extra flair.
Side Dishes
Serve this cheerful pie with mugs of hot cocoa or rich coffee to keep the peppermint theme going strong. If you’d like to balance out the sweetness, a fresh fruit salad or platter of juicy winter citrus alongside your Candy Cane Pie is wonderfully refreshing.
Creative Ways to Present
Candy Cane Pie is already festive as is, but individual mini pies in mason jars or cupcake liners make for darling gifts or kid-friendly desserts. Want to really wow a crowd? Add a sparkler or some edible glitter for over-the-top holiday sparkle!
Make Ahead and Storage
Storing Leftovers
Leftover Candy Cane Pie should be covered tightly with plastic wrap or stored in an airtight container in the refrigerator. It will stay fresh, creamy, and delicious for up to 3 days—though notice how quickly it disappears!
Freezing
Absolutely, you can freeze Candy Cane Pie! Simply wrap the chilled, fully set pie tightly in a double layer of plastic wrap, then foil. Freeze for up to 1 month. Thaw overnight in the fridge before serving and add fresh garnishes right before bringing to the table.
Reheating
No reheating necessary for this treat—Candy Cane Pie is best served chilled straight from the fridge. If you’ve stashed a frozen pie, allow it to defrost gently in the refrigerator before slicing and topping.
FAQs
Can I use regular peppermint candies instead of candy canes?
Definitely! If you can’t find candy canes, classic peppermint starlight candies work perfectly. Just crush them up and use them the same way—it’s the classic peppermint flavor and crunch that matters most.
Is there a way to make this pie ahead for a party?
Yes! Candy Cane Pie can be made up to 2 days before your event. Simply prepare the pie as directed, leave off the final whipped topping and candy cane garnishes until just before serving, and keep it chilled until party time.
What’s the best way to crush candy canes without making a mess?
Place unwrapped candy canes in a zip-top bag, lay a kitchen towel over the bag, and gently tap with a rolling pin or mallet. This keeps the mess contained and gives you even-sized, pepperminty pieces.
Can I use homemade whipped cream instead of whipped topping?
Absolutely! Freshly whipped cream makes a lovely swap for store-bought topping. Just whip about 1 cup heavy cream with a couple tablespoons of powdered sugar until stiff peaks form, and fold it into the filling.
How do I make a marbled look in the filling?
For a beautiful marbled effect, add a few drops of food coloring to the filling, then use a butter knife or skewer to gently swirl the color through instead of thoroughly mixing it. Viola—your Candy Cane Pie will look extra festive!
Final Thoughts
This Candy Cane Pie truly has the power to make any winter gathering feel magical. With its playful pink filling, refreshing peppermint, and snowy chocolate crust, it’s destined to become your holiday dessert tradition. I hope you give it a whirl—and watch everyone at the table reach for a second slice!
Print
Candy Cane Pie Recipe
- Total Time: 4 hours 15 minutes
- Yield: 8 servings 1x
- Diet: Vegetarian
Description
Indulge in the festive flavors of the season with this delightful Candy Cane Pie. A creamy peppermint filling loaded with crushed candy canes and marshmallows, all nestled in a chocolate cookie crust. This no-bake dessert is perfect for holiday gatherings and sure to impress your guests.
Ingredients
Pie Crust:
- 1 prepared chocolate cookie pie crust (9-inch)
Filling:
- 1 package (8 oz) cream cheese, softened
- 1/2 cup powdered sugar
- 1/2 teaspoon peppermint extract
- 1 container (8 oz) whipped topping, thawed
- 1 1/2 cups crushed candy canes, divided
- 1 cup mini marshmallows
- Red or pink food coloring (optional)
Garnish:
- Extra whipped topping
- Whole candy canes
Instructions
- In a large bowl, beat the softened cream cheese and powdered sugar until smooth and creamy.
- Add peppermint extract and food coloring if desired, then mix until fully incorporated.
- Fold in the whipped topping, 1 cup of crushed candy canes, and mini marshmallows until combined.
- Spoon the filling into the prepared chocolate crust and smooth the top with a spatula.
- Cover and refrigerate for at least 4 hours or overnight until firm.
- Before serving, top with extra whipped topping, remaining crushed candy canes, and whole candy canes for garnish.
Notes
- Use peppermint candies if candy canes aren’t available.
- For a more festive look, swirl in red food coloring gently instead of mixing completely.
- This pie can be made 1–2 days ahead and kept refrigerated.
- Prep Time: 15 minutes
- Cook Time: 0 minutes
- Category: Dessert
- Method: No-Bake
- Cuisine: American
Nutrition
- Serving Size: 1 slice
- Calories: 390
- Sugar: 34g
- Sodium: 220mg
- Fat: 24g
- Saturated Fat: 13g
- Unsaturated Fat: 9g
- Trans Fat: 0g
- Carbohydrates: 40g
- Fiber: 1g
- Protein: 3g
- Cholesterol: 45mg


