
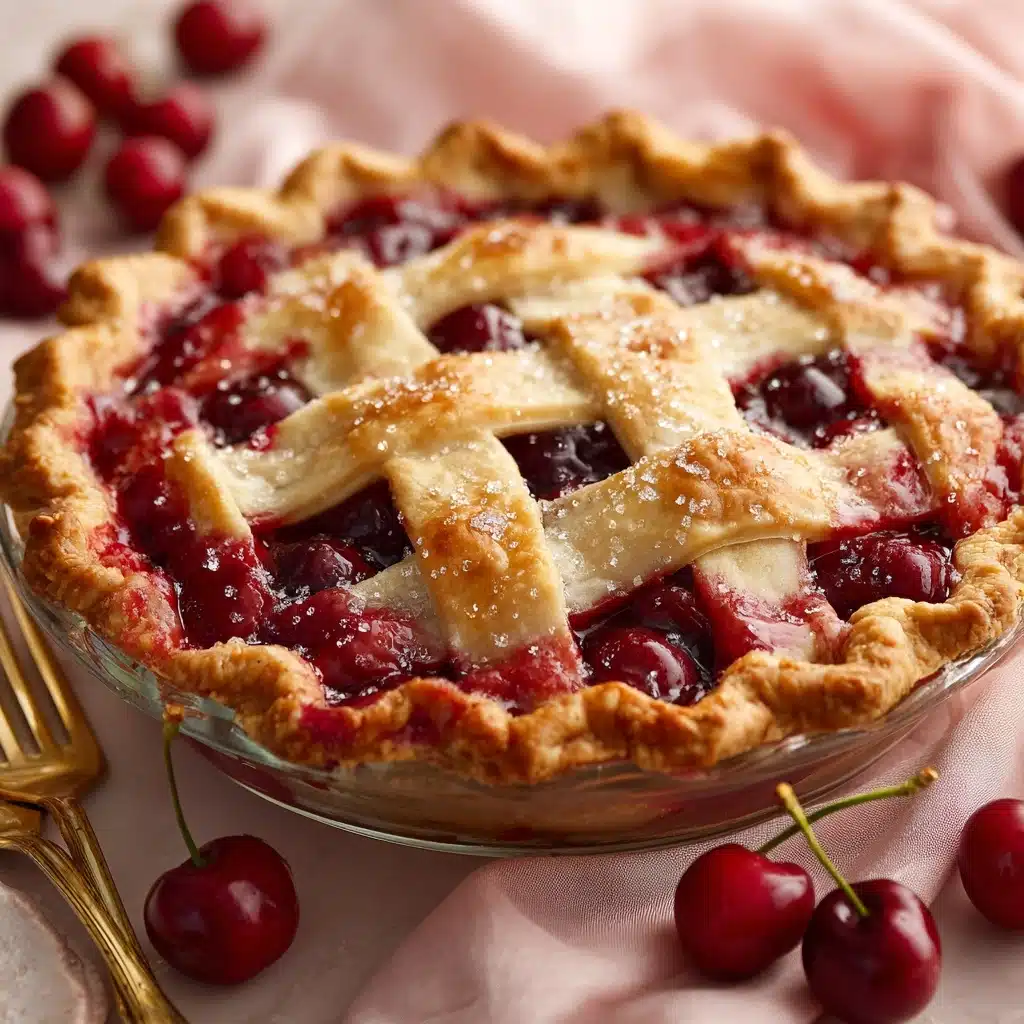
If you’re longing for a classic, all-American dessert that never goes out of style, look no further than this homemade Cherry Pie. With its buttery, flaky crust and a juicy, perfectly sweet-tart cherry filling, this recipe will fill your kitchen with the irresistible aroma of baked goodness and turn any meal into a celebration. From summer picnics to cozy winter nights, Cherry Pie is the kind of treat that brings everyone to the table, forks in hand, eager for just one more bite.
Ingredients You’ll Need
Cherry Pie keeps things delightfully simple, allowing every ingredient to shine. The magic comes from using quality cherries and real butter, with little touches here and there to amplify flavor and create that sensational golden crust.
- 2 ½ cups all-purpose flour: The backbone of our flaky crust, all-purpose flour gives the pie structure and helps achieve that tender bite.
- 1 teaspoon salt: Don’t skip it! Salt balances out the sweetness and brings out the buttery goodness of the crust.
- 1 tablespoon granulated sugar: Just a touch to lightly sweeten the crust and enhance overall flavor.
- 1 cup (2 sticks) cold unsalted butter (cubed): Cold butter is the secret to flakiness; each layer makes the crust irresistibly crisp and rich.
- 6–8 tablespoons ice water: Add just enough for the dough to come together—cold water keeps the butter from melting and helps create perfect layers.
- 4 cups fresh or frozen pitted cherries: The true star! Fresh cherries are ideal, but thawed, drained frozen cherries work beautifully and allow you to enjoy this treat year-round.
- 1 cup granulated sugar: This sweetens the pie filling just enough to let the cherries shine.
- ¼ cup cornstarch: Thickens the filling so it’s luscious and sliceable, not runny.
- 1 tablespoon lemon juice: A bit of brightness enhances and balances the cherries’ flavor.
- ½ teaspoon almond extract: A subtle background note that makes the filling sing (try not to skip this one).
- 1 tablespoon butter (cut into small pieces): Melts into the cherries during baking for an extra touch of richness.
- 1 egg (beaten, for egg wash): Brushed over the crust to coax out that shiny, golden-brown sheen.
- 1 tablespoon coarse sugar (optional, for topping): Sprinkled over the crust for sparkle and crunch—like a little crown for your Cherry Pie.
How to Make Cherry Pie
Step 1: Make the Pie Dough
Begin by whisking together the flour, salt, and sugar in a big, inviting mixing bowl. Cut in the cold, cubed butter using a pastry blender or your fingertips—it should look like a bowl of crumbly pebbles. Add ice water slowly, a tablespoon at a time, mixing until the dough just comes together. Divide it in half, form each piece into a disc, wrap in plastic, and let them chill in the fridge for at least an hour. The waiting is tough, but this step ensures your crust will turn out ultra-flaky.
Step 2: Cook the Cherry Filling
While your dough relaxes in the fridge, let’s get that vibrant cherry filling going. In a saucepan over medium heat, combine the cherries, sugar, cornstarch, lemon juice, and almond extract. Stir frequently as the mixture thickens and starts to bubble, which takes about 8 to 10 minutes. Your kitchen will start to smell incredible! Once thick, remove from heat and allow the filling to cool completely—this makes assembling the pie tidier and prevents a soggy bottom.
Step 3: Roll and Fill the Crust
Next up, dust your countertop with a bit of flour and roll out one disc of the chilled dough to fit a 9-inch pie dish. Gently place the dough in the dish, easing it into the corners without stretching. Pour in the cooled cherry filling and dot the top with pieces of butter for that extra bit of rich flavor.
Step 4: Add the Top Crust
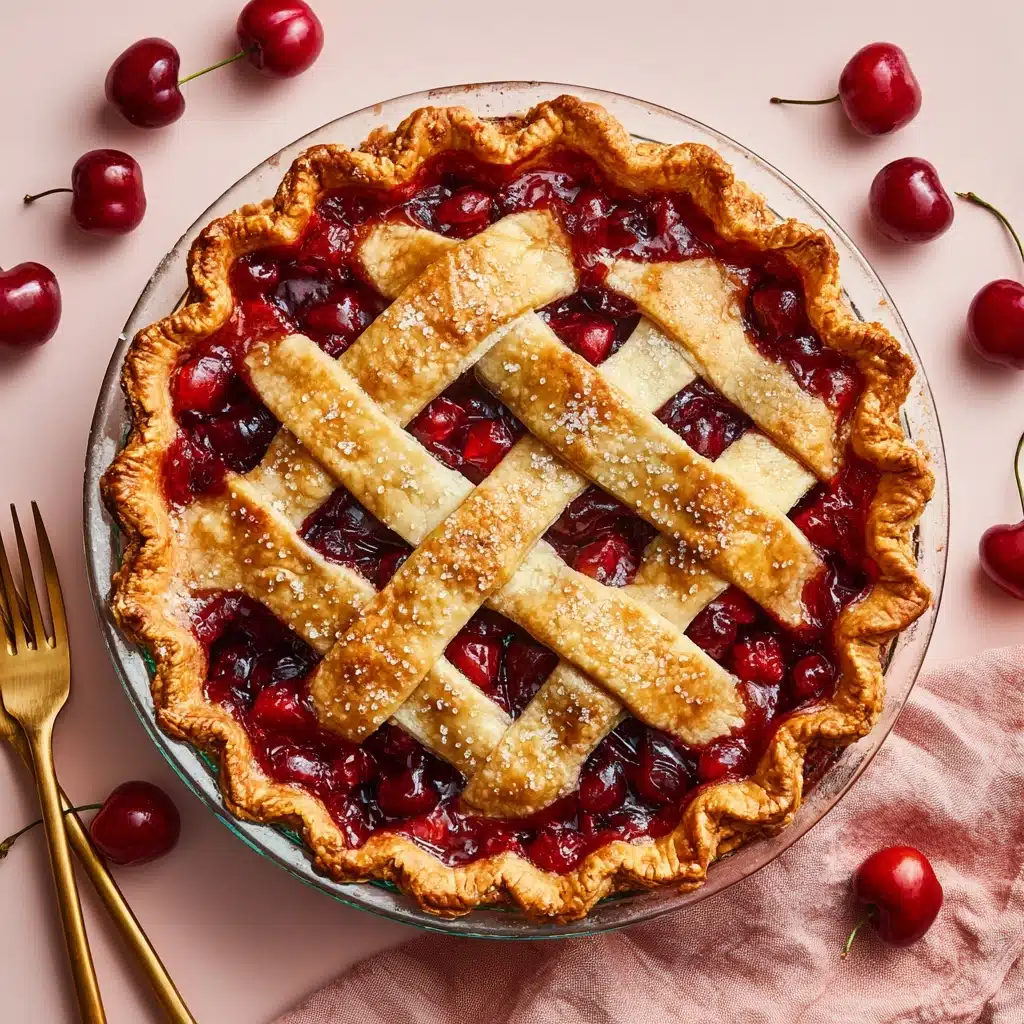
Roll out the second disc of dough and lay it over the filling. You can go for a full crust or try your hand at a classic lattice—either way, it’s sure to be gorgeous. Trim any excess dough, then crimp the edges with your fingers or a fork to seal. Brush the crust with a beaten egg for that signature glossy finish and, if you’d like, sprinkle with coarse sugar to make your Cherry Pie sparkle.
Step 5: Bake Your Cherry Pie
Place your masterpiece on a baking sheet to catch any bubbling juice, then bake it in a preheated 400°F oven for 45 to 50 minutes. You’re aiming for a golden, crisp crust and a filling that’s bubbling away. The hardest part? Letting it cool for at least two hours so the filling can set. Good luck resisting!
How to Serve Cherry Pie
Garnishes
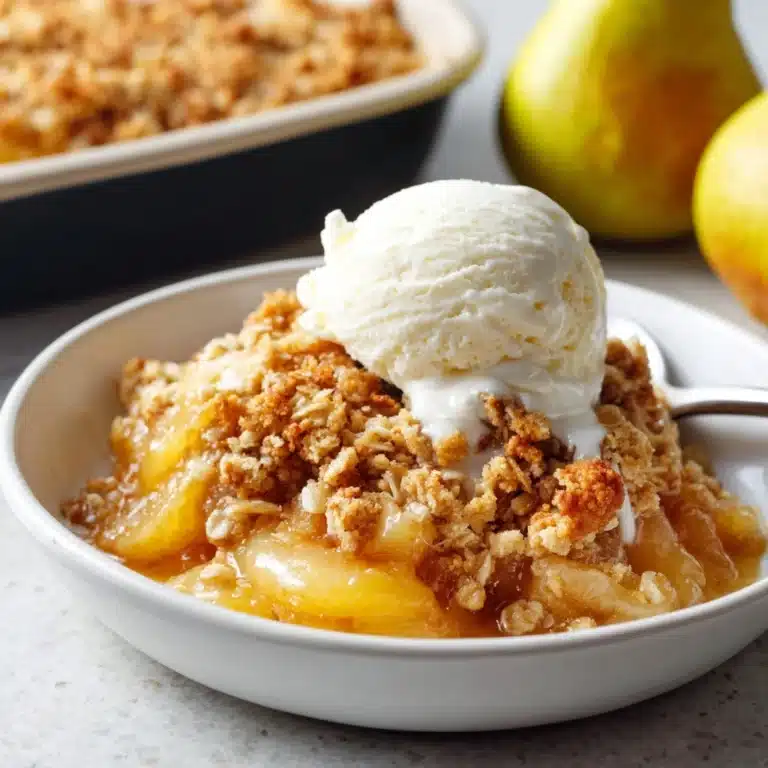
When it comes to garnishing your Cherry Pie, you’ve got delicious options. A scoop of creamy vanilla ice cream creates that dreamy, melting moment as it meets the warm pie, while a dollop of freshly whipped cream adds cloud-like decadence. For a festive touch, sprinkle with a hint of powdered sugar or a few slivered almonds just before serving.
Side Dishes
Pair this luscious treat with sides that complement its flavors without overpowering them. A crisp glass of sparkling lemonade or a cup of dark roast coffee makes every bite of Cherry Pie taste even more special. If you’re serving a big spread, add a citrusy fruit salad or some lightly sweetened yogurt on the side for a beautiful contrast.
Creative Ways to Present
Cherry Pie shines at the center of any dessert table, but you can also get a little playful. Serve individual slices in mason jars for a picnic, or cut the pie into mini square bars for easy potluck sharing. Mini lattice-topped pies baked in muffin tins make show-stopping party treats, each with its own generous burst of cherry flavor.
Make Ahead and Storage
Storing Leftovers
Leftover Cherry Pie is just as delightful the next day! Store it covered at room temperature for up to 24 hours, or in the fridge for up to 5 days. The pie stays moist, and the flavors only get better as they mingle together overnight.
Freezing
If you find yourself with extra pie or want to get ahead for your next celebration, Cherry Pie freezes beautifully. Wrap individual slices tightly in plastic wrap and foil, or freeze the whole pie in a freezer-safe bag or container. It’ll keep well for up to 3 months—just remember to label it so you don’t forget there’s pie waiting for you!
Reheating
To enjoy that fresh-baked taste again, reheat slices in a 350°F oven for about 10 to 15 minutes until warmed through and the crust is crisp. For a quick fix, the microwave works too (about 20–30 seconds per slice), though the crust may soften a bit. Either way, serve with a scoop of ice cream and no one will complain!
FAQs
Can I use canned cherries instead of fresh or frozen?
Yes, but aim for canned cherries in water or their own juice, not cherry pie filling, to control the sweetness and texture. Drain well and reduce added sugar as needed.
What’s the best way to get a crisp bottom crust?
Preheat your oven thoroughly and use a metal or glass pie dish if possible. Baking the pie on a lower rack and placing a metal baking sheet under the pie dish also helps achieve a beautifully crisp bottom.
Can Cherry Pie be made a day in advance?
Absolutely! In fact, making Cherry Pie ahead gives the filling more time to set, resulting in cleaner slices. Simply cover and keep at room temperature or refrigerate until you’re ready to serve.
Why does my filling sometimes turn out watery?
This usually happens if the filling isn’t cooked long enough to activate the cornstarch, or if frozen cherries weren’t fully thawed and drained. Be sure to simmer until thick and let the pie cool completely to help it firm up.
Do I have to do a lattice top, or can I just cover the pie?
You can absolutely do either! A lattice top looks classic and lets the cherry filling peek through, but a simple full crust with a few vent slits works just as well. Go with whichever style feels like fun—it’s all delicious.
Final Thoughts
This Cherry Pie isn’t just a dessert—it’s a celebration in every slice, bursting with sweet cherries and homey comfort. I hope you’ll give it a try, and share a piece with someone you love. If you’re lucky enough to have leftovers, don’t forget a scoop of ice cream for the perfect encore!
Print
Cherry Pie Recipe
- Total Time: 3 hours
- Yield: 8 servings 1x
- Diet: Vegetarian
Description
Indulge in the sweet and tangy flavors of a classic Cherry Pie with a buttery, flaky crust that encases a luscious cherry filling. This homemade dessert is perfect for any occasion and is sure to impress your family and friends.
Ingredients
Dough:
- 2 ½ cups all-purpose flour
- 1 teaspoon salt
- 1 tablespoon granulated sugar
- 1 cup (2 sticks) cold unsalted butter (cubed)
- 6–8 tablespoons ice water
Filling:
- 4 cups fresh or frozen pitted cherries
- 1 cup granulated sugar
- ¼ cup cornstarch
- 1 tablespoon lemon juice
- ½ teaspoon almond extract
- 1 tablespoon butter (cut into small pieces)
For Assembly:
- 1 egg (beaten, for egg wash)
- 1 tablespoon coarse sugar (optional, for topping)
Instructions
- Prepare Dough: In a large bowl, whisk together flour, salt, and sugar. Cut in the cold butter until the mixture resembles coarse crumbs. Gradually add ice water, mixing until the dough comes together. Divide, shape into discs, wrap, and refrigerate.
- Make Filling: In a saucepan, combine cherries, sugar, cornstarch, lemon juice, and almond extract. Cook until thickened. Cool.
- Assemble Pie: Roll out dough, fit into pie dish. Pour in filling, dot with butter. Add top crust, trim edges, brush with egg, sprinkle sugar.
- Bake: Preheat oven. Bake pie until golden and bubbly. Cool before slicing.
Notes
- If using frozen cherries, thaw and drain first.
- Add a dash of cinnamon for extra flavor.
- Pie can be made a day ahead, stored at room temperature or chilled.
- Prep Time: 30 minutes
- Cook Time: 50 minutes
- Category: Dessert
- Method: Baking
- Cuisine: American
Nutrition
- Serving Size: 1 slice
- Calories: 420
- Sugar: 26g
- Sodium: 220mg
- Fat: 22g
- Saturated Fat: 13g
- Unsaturated Fat: 8g
- Trans Fat: 0g
- Carbohydrates: 55g
- Fiber: 3g
- Protein: 4g
- Cholesterol: 55mg


