
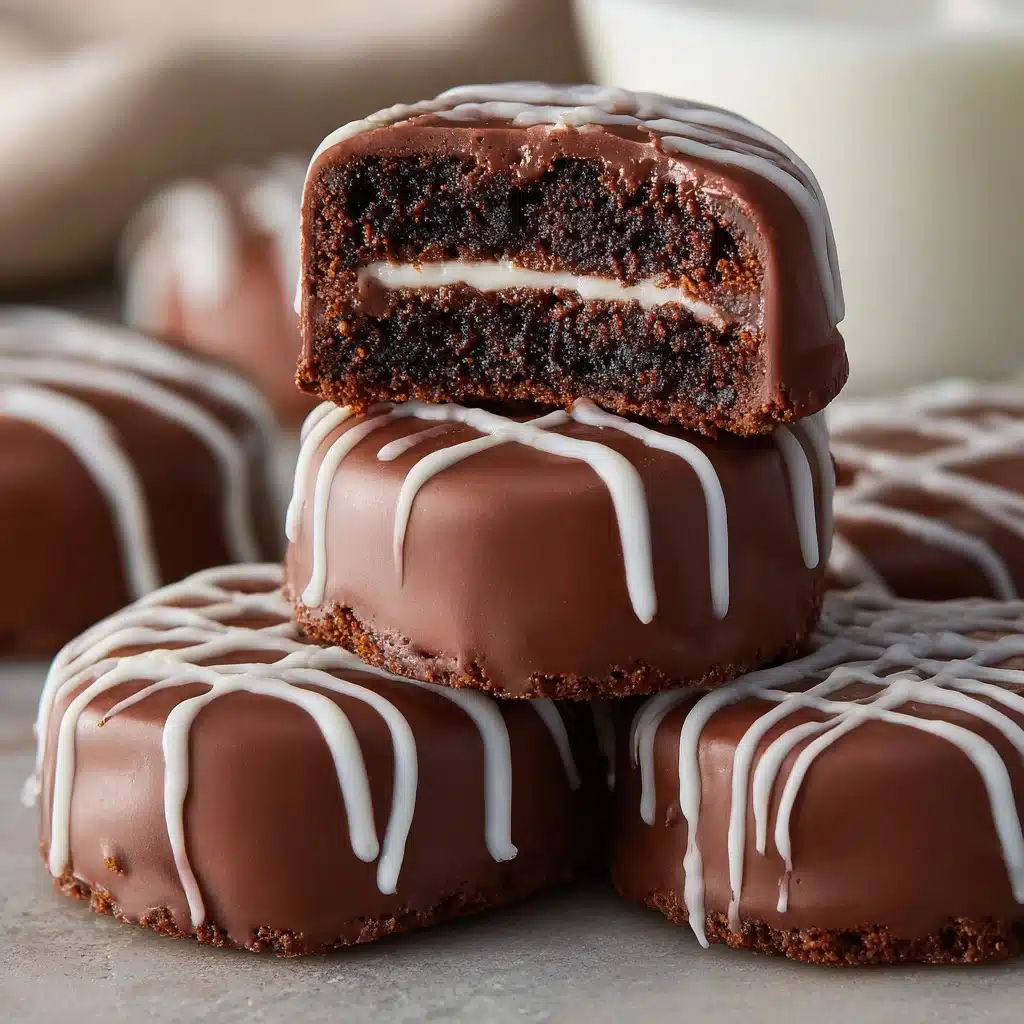
If there’s one treat that never fails to bring a smile to any party, it’s Chocolate Cake Pops. These bite-sized delights combine a rich, moist chocolate cake with creamy frosting, all enrobed in a crisp chocolate shell and topped with sprinkles or nuts. Whether you’re whipping them up for a birthday party, bake sale, or just because, Chocolate Cake Pops are truly as fun to make as they are delicious to eat!

Ingredients You’ll Need
-
For the Cake Pops:
- 1 box chocolate cake mix (plus ingredients listed on the box)
- 1/2 cup chocolate frosting
- 1 (12 oz) bag chocolate candy melts
- sprinkles or crushed nuts for decoration
- 20–24 lollipop sticks
How to Make Chocolate Cake Pops
Step 1: Bake and Cool Your Cake
First things first, prepare the chocolate cake according to the instructions on your box. You get the perfect, consistent crumb every time! Once baked, let your cake cool completely—this is key to making sure your cake pops hold together later without melting the frosting.
Step 2: Crumble Up the Cake
When your cake is fully cooled, break it up into a large mixing bowl and crumble it into fine, even bits. You can use your hands or a fork for this, but do take your time to get rid of any big lumps—the smoother the crumb, the smoother your pops will be.
Step 3: Mix with Frosting
Add your chocolate frosting to the crumbs and mix it all together until you have a thick, dough-like texture. It should hold together easily when pressed. If it feels a little dry, add a touch more frosting; if it’s too sticky, chill the mix for a few minutes.
Step 4: Shape and Skewer
Now comes the fun, hands-on part! Take small scoops of the dough and roll them into 1-inch balls. Line them up on a parchment-lined baking sheet so they don’t stick. Gently insert a lollipop stick into the center of each ball—just deep enough so they’re secure, but not poking through the other side.
Step 5: Chill Until Firm
Pop the tray of cake pops into the freezer for a quick 20–30 minute chill. This firms them up beautifully, making it much easier to dip and decorate without the cake balls sliding off their sticks.
Step 6: Dip and Decorate
Melt your chocolate candy melts in a microwave-safe bowl, heating in 30-second increments and stirring until smooth. Dip each chilled cake pop into the chocolate, coating it fully and letting any excess drip off. Now’s the time for sprinkles or nuts—add them right away, before the coating sets! Stand them upright in a styrofoam block or cake pop stand to cool and harden completely.
How to Serve Chocolate Cake Pops
Garnishes
The sky’s the limit when it comes to garnishing Chocolate Cake Pops. Try a generous sprinkle of rainbow jimmies for a kid’s party, gold sugar pearls for an elegant touch, or a dusting of edible glitter for special occasions. Crushed nuts, coconut flakes, or mini chocolate chips are all wonderful pop toppers too. Play around and mix and match for every event!
Side Dishes
If you’re building a dessert table, let Chocolate Cake Pops shine alongside a spread of fresh berries, mini cookies, or bowls of ice cream. Their rich chocolate flavor pairs perfectly with fruit skewers, lemon bars, or even a platter of salty pretzels for a sweet-and-savory vibe.
Creative Ways to Present
For a show-stopping presentation, arrange your cake pops in a decorative vase, mug, or even a flower pot filled with beans or rice to hold the sticks upright. Use themed ribbons tied around the sticks to match the holiday or party. Or, wrap each Chocolate Cake Pop individually in cellophane with a tag as a take-home party favor that everyone will adore.
Make Ahead and Storage
Storing Leftovers
Store finished Chocolate Cake Pops in an airtight container at room temperature for up to three days. If your kitchen is warm or humid, it’s better to pop them in the fridge, where they’ll easily last up to a week. Just be sure to let them come back to room temperature before serving so the coating isn’t too firm to enjoy.
Freezing
Chocolate Cake Pops are freezer-friendly! Arrange them in a single layer and freeze until solid, then transfer to a zip-top freezer bag or an airtight container. They’ll stay fresh for up to two months—perfect for prepping ahead for parties. To enjoy, thaw them in the fridge overnight or at room temperature for about an hour.
Reheating
Cake pops don’t need reheating per se, but if you’re coming straight from the fridge or freezer, a short rest at room temperature brings back that ideal texture. Don’t microwave them to avoid ruining the chocolate shell—gentle patience pays off here!
FAQs
Can I customize Chocolate Cake Pops with different cake or frosting flavors?
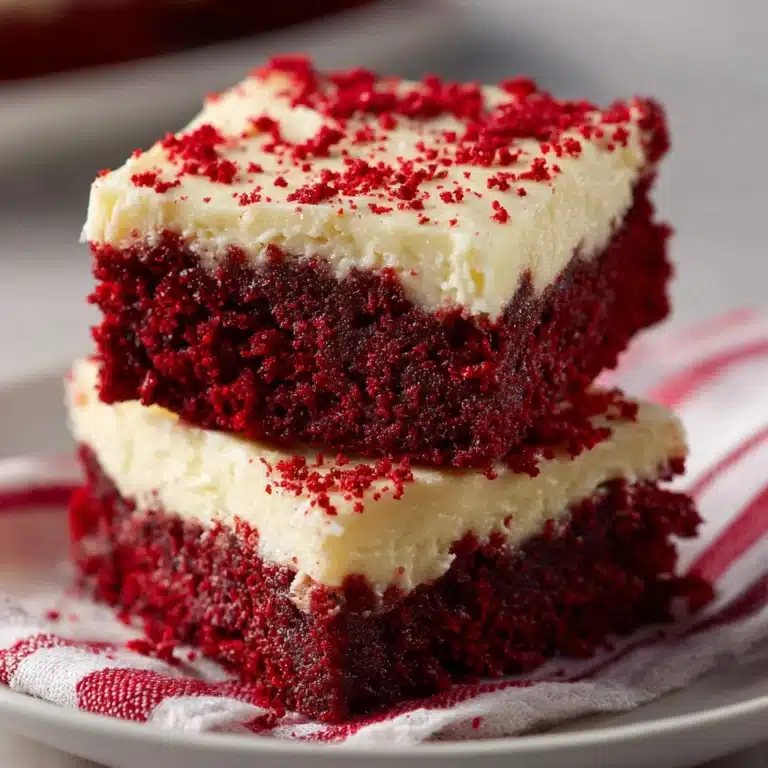
Absolutely! While classic chocolate is always a hit, you can use red velvet, vanilla, or funfetti cake mixes and pair with your favorite frosting. Toss in complementary coatings and decorations for endless flavor fun.
What if my cake balls fall off the sticks during dipping?
This usually means the cake pops aren’t chilled enough or the ball is too heavy. Make sure to really firm them up in the freezer before dipping, and shape them a bit smaller if needed. Also, dipping the tip of each stick in melted chocolate before inserting can help anchor them.
How do I tint the white candy melts for colorful pops?
Use oil-based gel food coloring (not water-based!) to tint white candy melts any shade you desire. A few drops is all you need for pastel hues, or add more for bolder colors. This is a great way to match Chocolate Cake Pops to party themes or holidays.
Can these be made gluten-free or dairy-free?
Definitely—with a simple swap! Use your favorite gluten-free chocolate cake mix and dairy-free frosting, plus allergy-friendly candy melts. Always double-check ingredient labels to ensure they fit your dietary needs.
Do Chocolate Cake Pops need to be refrigerated?
If your home is nice and cool, you can store them at room temperature for a few days. In hot or humid environments, refrigeration helps preserve freshness and keeps the pops from getting sticky or melty, especially in warmer months.
Final Thoughts
Once you try homemade Chocolate Cake Pops, you’ll find yourself making up excuses to share them at every event! Each bite is a mini celebration, and the decorating possibilities are endless. Give them a try and get creative—you’re going to love just how easy and irresistible this recipe can be!
Print
Chocolate Cake Pops Recipe
- Total Time: 1 hour 15 minutes (includes chilling)
- Yield: 20–24 cake pops 1x
- Diet: Vegetarian
Description
Indulge in these delightful Chocolate Cake Pops that are perfect for parties or as a sweet treat. These easy-to-make, no-bake cake pops are a fun and delicious way to enjoy chocolate cake in a bite-sized form.
Ingredients
For the Cake Pops:
- 1 box chocolate cake mix (plus ingredients listed on the box)
- 1/2 cup chocolate frosting
- 1 (12 oz) bag chocolate candy melts
- sprinkles or crushed nuts for decoration
- 20–24 lollipop sticks
Instructions
- Bake the Cake: Prepare and bake the chocolate cake according to package instructions. Let it cool completely.
- Make Cake Pop Mixture: Crumble the cake into fine crumbs in a bowl. Add chocolate frosting, mix until dough-like.
- Form Cake Balls: Roll mixture into 1-inch balls, place on a baking sheet, insert lollipop sticks.
- Chill Cake Pops: Freeze for 20–30 minutes until firm.
- Melt Chocolate: Melt candy melts, dip cake pops, decorate, and let cool upright.
Notes
- Try tinting white chocolate for a colorful twist.
- Store in an airtight container at room temperature or refrigerate for longer freshness.
- Prep Time: 30 minutes
- Cook Time: 25 minutes
- Category: Dessert
- Method: No-Bake
- Cuisine: American
Nutrition
- Serving Size: 1 cake pop
- Calories: 170
- Sugar: 15g
- Sodium: 140mg
- Fat: 9g
- Saturated Fat: 5g
- Unsaturated Fat: 3g
- Trans Fat: 0g
- Carbohydrates: 22g
- Fiber: 1g
- Protein: 2g
- Cholesterol: 15mg


