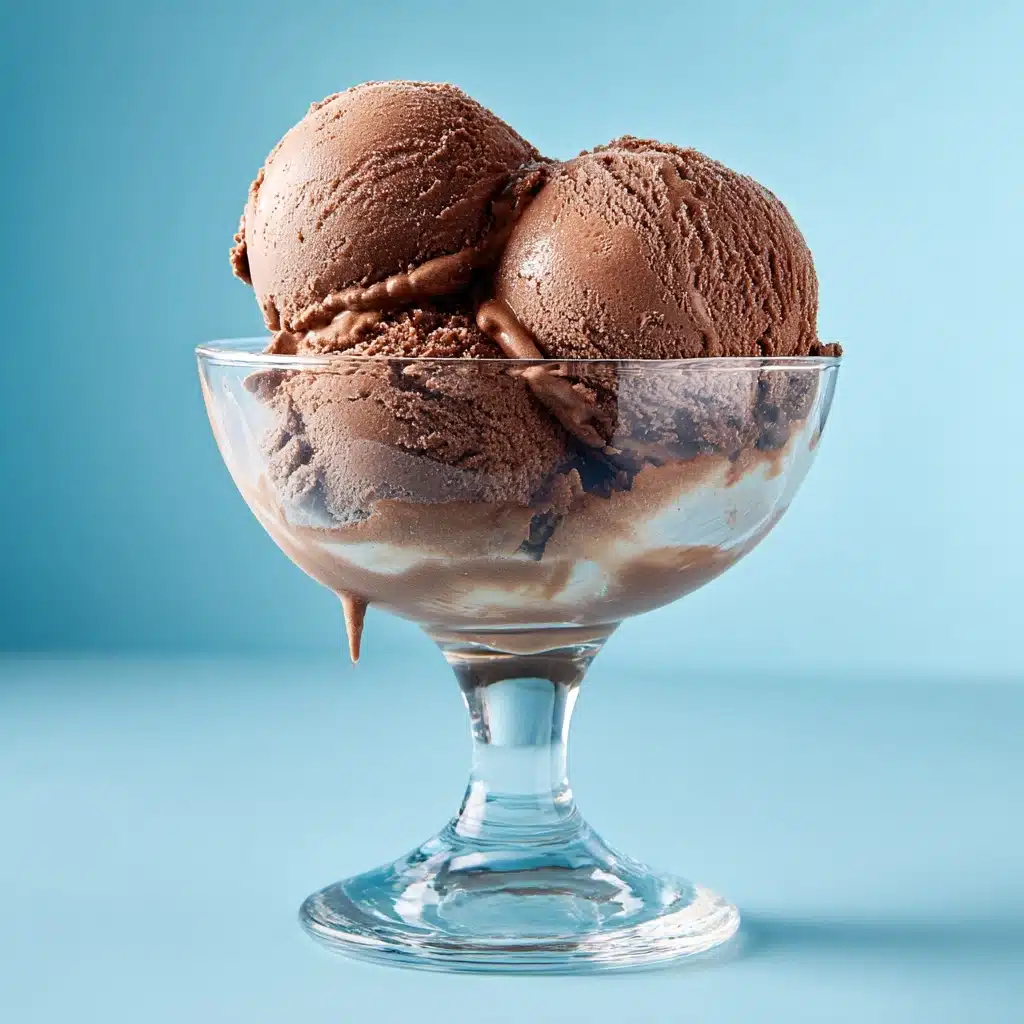
If you’re looking for a frozen treat that truly satisfies every chocolate craving, this Chocolate Ice Cream is about to become your go-to dessert. Creamy, luscious, and deeply chocolaty, it’s the kind of recipe you’ll want to share at every summer get-together (and maybe sneak a spoonful of on a quiet night in). With just a handful of classic ingredients, you can create a Chocolate Ice Cream that rivals the best scoop shops—only better, because you made it yourself!
Ingredients You’ll Need
The beauty of this Chocolate Ice Cream recipe is that every ingredient plays a star role in building layers of flavor and texture. From the rich creaminess to the perfect hint of sweetness and deep cocoa notes, each addition is key—simple, but chosen to let the chocolate shine.
- Heavy Cream: Brings that luxurious, scoopable richness that makes every spoonful utterly satisfying.
- Whole Milk: Balances the cream, making the ice cream light enough to melt beautifully on your tongue.
- Granulated Sugar: Sweetens without overpowering, allowing the chocolate flavors to take center stage.
- Unsweetened Cocoa Powder: Delivers the signature chocolate punch you expect; opt for Dutch-process for extra depth.
- Semisweet or Bittersweet Chocolate (finely chopped): Melted into the base, it adds a silky, fudge-like character you’ll love.
- Pure Vanilla Extract: Rounds everything out with warmth and aromatic sweetness.
- Pinch of Salt: Did you know salt amps up chocolate? Just a touch makes every bite sing!
How to Make Chocolate Ice Cream
Step 1: Combine Dry Ingredients
Start with a medium saucepan over medium heat. Whisk together the cocoa powder, sugar, and just a pinch of salt. This step makes sure these dry ingredients dissolve evenly and gives your Chocolate Ice Cream a perfectly smooth texture and balanced flavor foundation.
Step 2: Add Dairy Components
Pour in the heavy cream and whole milk, continuing to whisk until the mixture is completely blended. This combination gives the ice cream its ultra-creamy body, and whisking ensures your base is free of lumps and ready for the next flavorful additions.
Step 3: Heat to Simmer
Bring the mixture up to a gentle simmer, stirring occasionally. Be patient here—the gentle heat not only melds the flavors but also helps achieve that signature dreamy consistency. As soon as bubbles appear around the edges, it’s time to move to the next step.
Step 4: Melt in the Chocolate
Remove your pan from the heat and immediately stir in the finely chopped chocolate. The warmth will melt it right in, transforming your base into a velvety, chocolatey custard. Keep stirring until it’s fully melted and smooth—this is the secret to swoon-worthy Chocolate Ice Cream!
Step 5: Add Vanilla
Stir in the vanilla extract, infusing the base with a beautiful fragrant depth that compliments all those chocolate notes.
Step 6: Chill the Base
Let your mixture cool to room temperature, then cover and pop it in the fridge. Chill for at least 2 hours, or until it’s completely cold—this helps your Chocolate Ice Cream churn up fluffier and freeze more evenly.
Step 7: Churn the Ice Cream
Once chilled, pour the mixture into your ice cream maker. Follow the manufacturer’s instructions (usually about 20 to 25 minutes), and watch as it transforms into a thick, creamy frozen dessert. If you’re craving mix-ins, now’s the time to fold them in!
Step 8: Freeze Until Scoopable
Scoop your freshly churned ice cream into an airtight container and freeze for at least 2 hours, until firm. This helps your Chocolate Ice Cream finish setting, so every scoop is just the right blend of creamy and soft.
How to Serve Chocolate Ice Cream
Garnishes
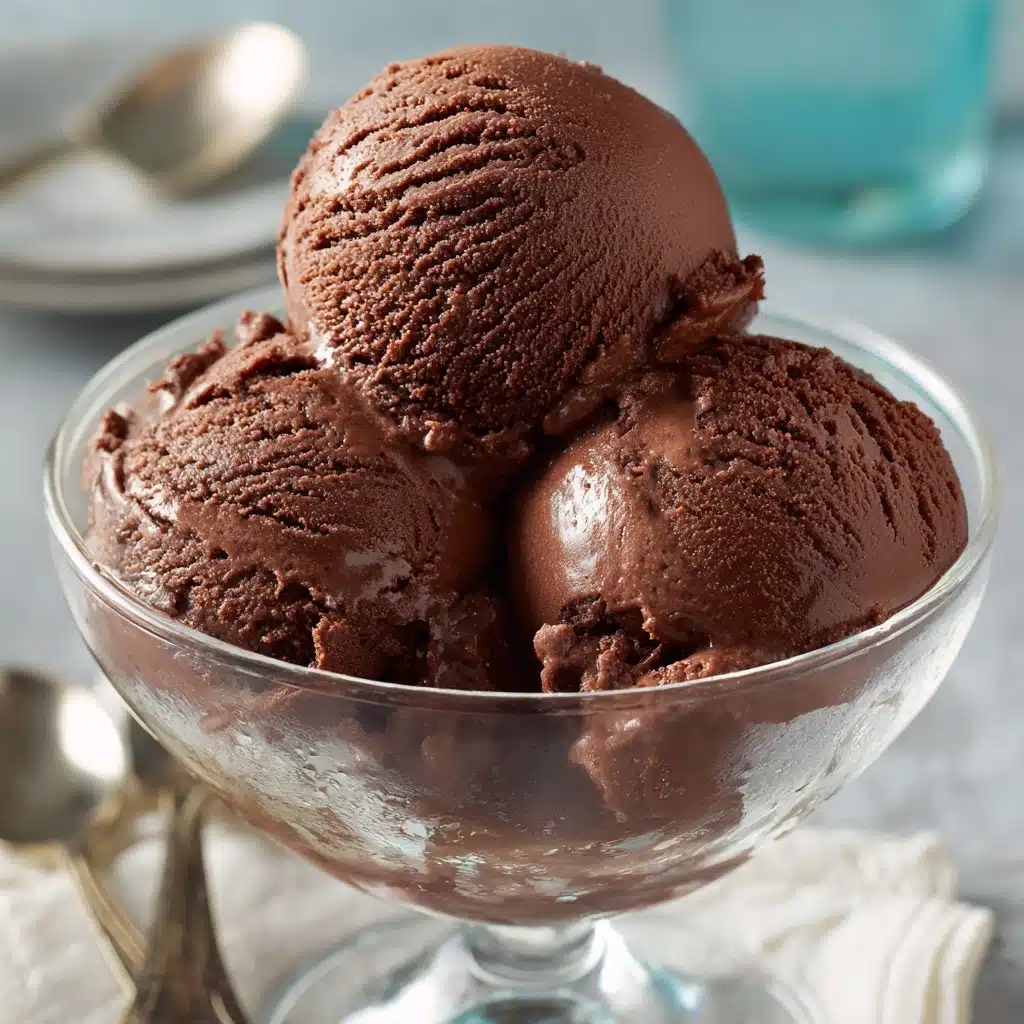
The perfect scoop of Chocolate Ice Cream is a canvas for all sorts of delicious toppings! Try a cloud of whipped cream, a scatter of chocolate shavings, chopped toasted nuts, or even a drizzle of warm fudge sauce. A pinch of flaky sea salt makes the chocolate flavor pop in a whole new way.
Side Dishes
Chocolate Ice Cream pairs gorgeously with so many treats. Serve it alongside fudgy brownies, crisp butter cookies, or a classic slice of pound cake for a dreamy dessert combo. If you’re feeling adventurous, scoop it over grilled fruit or enjoy with a fresh berry salad for a decadent twist.
Creative Ways to Present
Why not turn your Chocolate Ice Cream into a showstopper? Layer it into an ice cream sundae with caramel and marshmallow sauces, sandwich it between cookies for homemade ice cream sandwiches, or spoon it into a chocolate-dipped waffle cone. It’s fun to get fancy—especially when it tastes this good!
Make Ahead and Storage
Storing Leftovers
Pop any leftover Chocolate Ice Cream into an airtight container and keep it in the freezer. For best texture and flavor, try to enjoy it within two weeks. Remember, pressing a piece of parchment directly onto the surface helps prevent pesky ice crystals from forming.
Freezing
This recipe is tailor-made for freezing! After churning, pack the Chocolate Ice Cream into a well-sealed container and freeze until firm. If you love mix-ins, sprinkle them in at this stage and gently swirl to distribute. Always label your container, especially if you make batches with different flavors.
Reheating
Okay, you don’t exactly “reheat” ice cream, but if your Chocolate Ice Cream is extra firm straight from the freezer, just leave it on the counter for 10 to 15 minutes to soften up. This makes it perfectly scoopable and brings out all the nuanced chocolate flavors.
FAQs
Can I make Chocolate Ice Cream without an ice cream maker?
Absolutely! After chilling the mixture, pour it into a freezer-safe dish and freeze, stirring vigorously with a fork every 30 minutes for 2–3 hours. While the texture won’t be as silky as churned, you’ll still get a decadent, homemade result.
What’s the secret to ultra-creamy Chocolate Ice Cream?
The combo of heavy cream and whole milk creates a custard-like texture. Additionally, chilling the base thoroughly before churning and not over-churning helps keep your Chocolate Ice Cream smooth and luxurious.
Can I use milk chocolate instead of semisweet or bittersweet chocolate?
You can, but the final product will be sweeter and have a less intense chocolate flavor. For classic Chocolate Ice Cream, semisweet or bittersweet chocolate gives you that rich, satisfying depth most chocolate lovers crave.
Are there good mix-in options for this recipe?
Definitely! Try swirling in chocolate chips, brownie bits, crushed cookies, or toasted nuts after churning. Just be sure to keep mix-ins small so your Chocolate Ice Cream stays easy to scoop.
How do I prevent ice crystals from forming?
Make sure your ice cream base is very cold before churning, then store your finished Chocolate Ice Cream tightly covered. Pressing parchment or wax paper to the surface can also help keep it ultra-creamy.
Final Thoughts
There’s something magical about homemade Chocolate Ice Cream—from the deep cocoa aroma to the first creamy bite. I genuinely hope you’ll give this recipe a whirl the next time a chocolate craving hits. Get creative with your mix-ins, share a scoop with loved ones, and let every bowlful remind you that some of life’s best pleasures really are homemade.
Print
Chocolate Ice Cream Recipe
- Total Time: 20 minutes (plus chilling and freezing time)
- Yield: 8 servings 1x
- Diet: Gluten Free, Vegetarian
Description
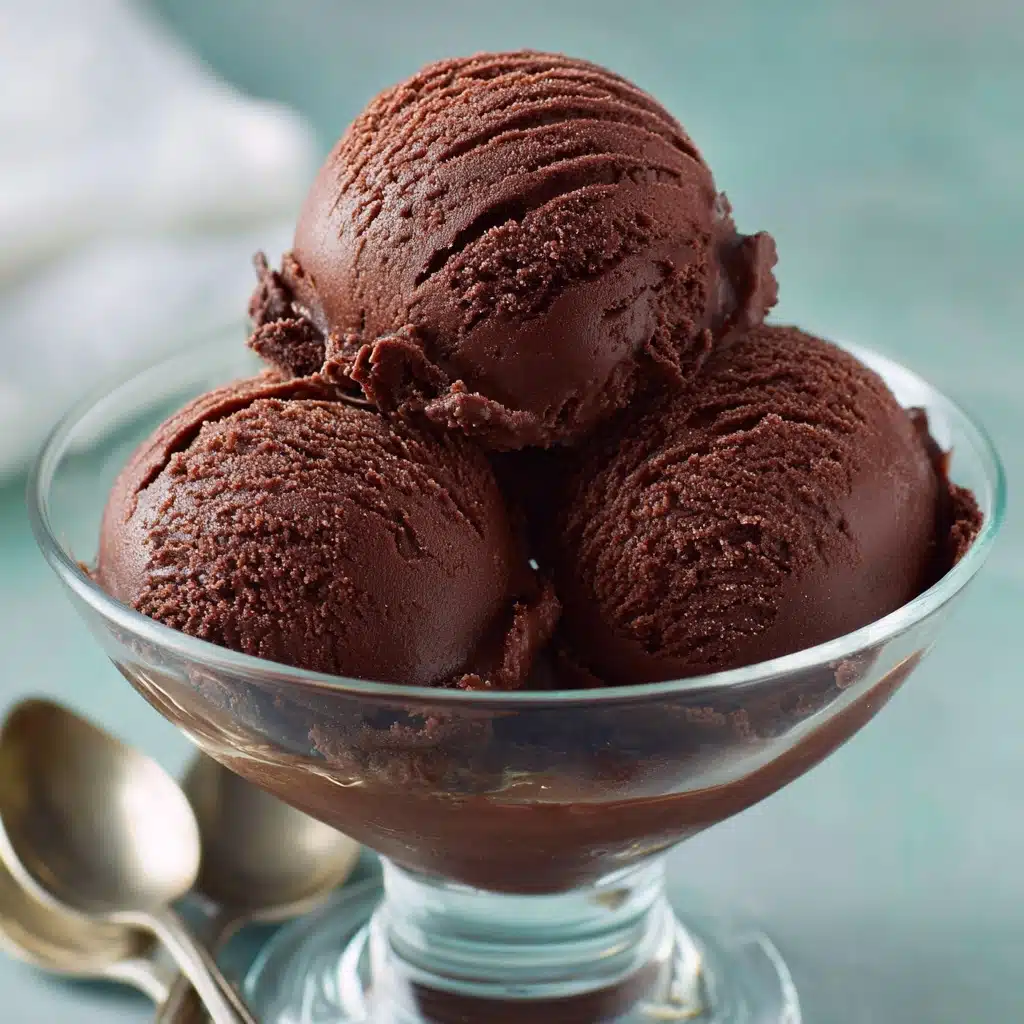
Indulge in the rich and creamy goodness of homemade Chocolate Ice Cream. This decadent frozen treat is a perfect dessert for any occasion.
Ingredients
Ice Cream Base:
- 2 cups heavy cream
- 1 cup whole milk
- ¾ cup granulated sugar
- ½ cup unsweetened cocoa powder
- 4 oz semisweet or bittersweet chocolate (finely chopped)
- 1 teaspoon pure vanilla extract
- Pinch of salt
Instructions
- Mix the Base: In a saucepan, whisk cocoa, sugar, salt, cream, and milk. Simmer, then add chopped chocolate until smooth.
- Chill the Mixture: Let it cool, then refrigerate for at least 2 hours.
- Churn the Ice Cream: Pour the chilled mixture into the ice cream maker and churn for 20–25 minutes.
- Freeze and Serve: Transfer churned ice cream to a container, freeze for 2 hours, and enjoy!
Notes
- For a richer taste, use Dutch-processed cocoa and dark chocolate.
- Customize with mix-ins like chocolate chips or nuts post-churning.
- Prep Time: 15 minutes
- Cook Time: 5 minutes
- Category: Dessert
- Method: Freezing
- Cuisine: American
Nutrition
- Serving Size: ½ cup
- Calories: 270
- Sugar: 22g
- Sodium: 40mg
- Fat: 18g
- Saturated Fat: 11g
- Unsaturated Fat: 6g
- Trans Fat: 0g
- Carbohydrates: 24g
- Fiber: 2g
- Protein: 3g
- Cholesterol: 55mg


