
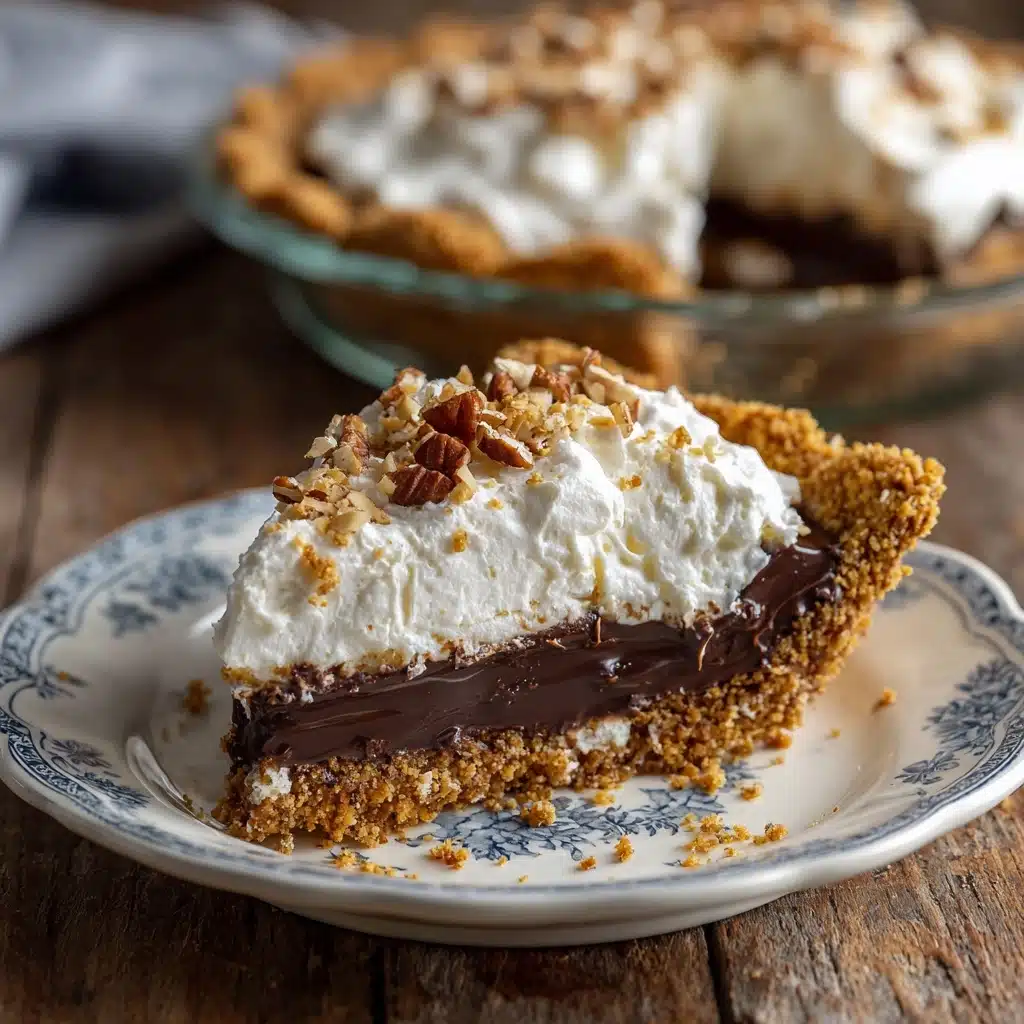
If you’ve been searching for a decadent dessert that’s effortless to pull together yet absolutely unforgettable, look no further than this Chocolate Icebox Pie. Rich, creamy chocolate filling nestles inside a chocolate cookie crust, all finished with a glorious heap of whipped cream and a scatter of chocolate shavings. This chilled treat is the ultimate answer for chocolate lovers and summer bakers alike, delivering both nostalgia and pure chocolate bliss in every single, cool-as-can-be slice.
Ingredients You’ll Need
This Chocolate Icebox Pie proves just how magical a handful of pantry staples can be. Every component plays a starring role, from the crisp, buttery chocolate crust to the luscious, custardy filling and cloud of whipped cream on top. Gather these simple ingredients and let’s make a pie you’ll crave over and over again.
- Chocolate cookie crumbs: Use Oreos or your favorite chocolate cookies for a deep, cocoa-rich base that supports the creamy filling beautifully.
- Unsalted butter: Melted butter brings the cookie crumbs together and ensures the crust holds its shape after baking.
- Heavy cream: This is the secret to a silky, ultra-smooth chocolate filling with just the right hint of richness.
- Semisweet chocolate chips: Choose good-quality chips for a filling that’s fudgy, not too sweet, and downright irresistible.
- Granulated sugar: A touch of sweetness balances the chocolate and helps thicken the custard.
- Egg yolks: These provide structure and creaminess, making the filling luxuriously thick once chilled.
- Whole milk: Adds just enough extra creaminess to keep the filling light and luscious.
- Vanilla extract: A splash of vanilla lifts the flavors of chocolate and cream to new heights.
- Salt: Never underestimate the power of a pinch! Salt amplifies all the deep chocolate notes.
- Whipped cream (for topping, optional): A generous dollop is the perfect cool and airy counterpoint to the dense filling.
- Chocolate shavings or curls (optional for garnish): Little chocolate flourishes instantly make each slice look bakery-worthy.
How to Make Chocolate Icebox Pie
Step 1: Build and Bake the Crust
First, preheat your oven to 350°F (175°C). In a medium bowl, mix the chocolate cookie crumbs and melted butter until every crumb glistens and the mixture resembles wet sand. Press this blend firmly across the bottom and up the sides of a 9-inch pie dish. A measuring cup works wonders for pressing! Bake the crust for 8 to 10 minutes, until slightly set and fragrant, then let it cool completely — patience now means the filling stays put later.
Step 2: Simmer Cream, Sugar, and Salt
Next, grab your saucepan. Combine the heavy cream, granulated sugar, and salt, and place over medium heat. Warm the mixture just until it begins to gently simmer. Don’t step away — you want everything dissolved and creamy, but not boiling, which is key to achieving that smooth custard texture we love in Chocolate Icebox Pie.
Step 3: Temper the Egg Yolks
Meanwhile, in a separate bowl, whisk together the egg yolks and whole milk until smooth and well combined. This step sets you up for a velvety filling! Slowly drizzle some hot cream mixture into the yolks, whisking all the while, to slowly bring up the temperature and prevent scrambling. Once tempered, pour the egg mixture back into the saucepan to finish thickening.
Step 4: Thicken and Finish the Filling
Return the mixture to the stove and cook over medium-low heat, stirring non-stop, for about 5 to 7 minutes. You’ll notice it thickening to a pudding-like consistency. Remove from the heat as soon as it coats the back of a spoon. Stir in the chocolate chips and vanilla extract — keep stirring until the chocolate is fully melted and the filling is glossy and smooth.
Step 5: Fill, Chill, and Dream
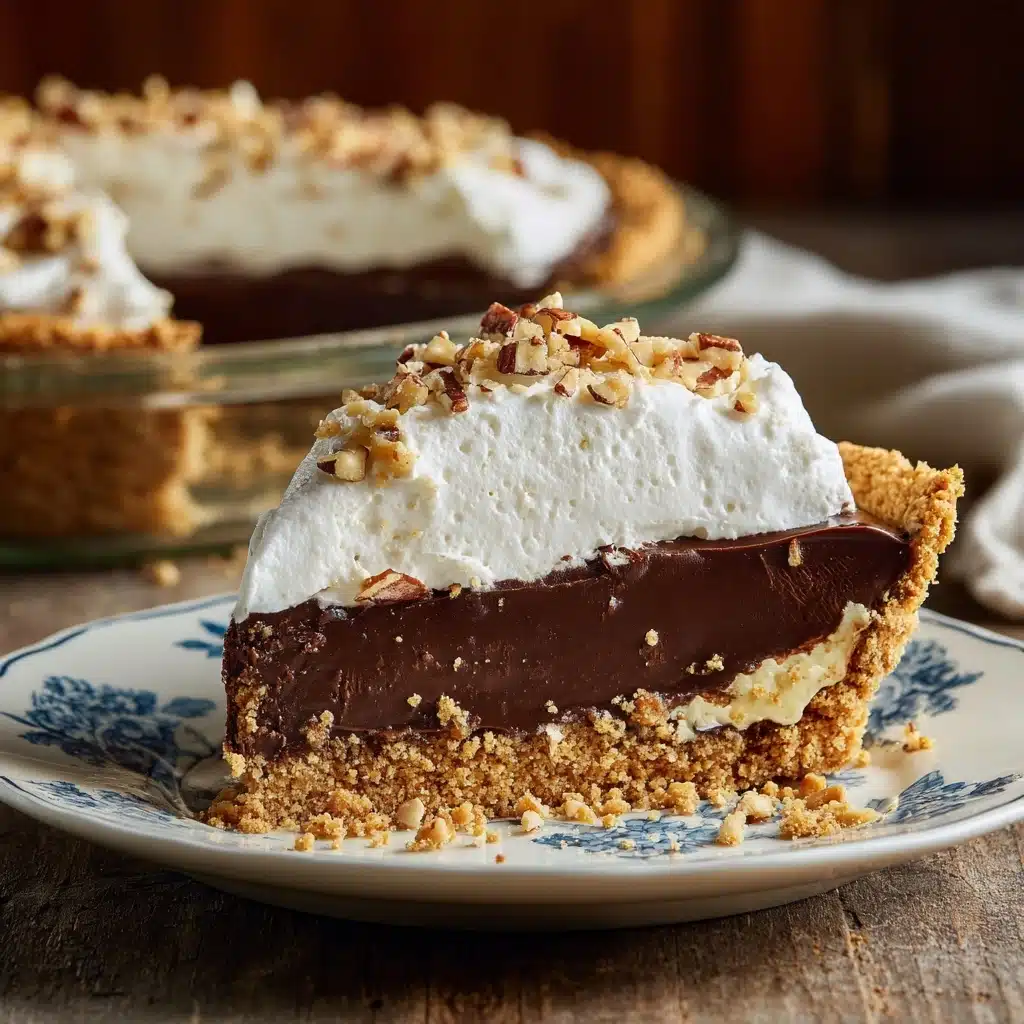
Pour the warm chocolate custard into your cooled crust and use a spatula to smooth the top. Now comes the hardest part: chilling your Chocolate Icebox Pie for at least 6 hours, or overnight if possible. This wait transforms the filling into sliceable perfection. Once set, top with mounds of whipped cream and a flourish of chocolate curls just before serving.
How to Serve Chocolate Icebox Pie
Garnishes
This pie practically begs for a blanket of billowy whipped cream and a scatter of chocolate shavings or curls. Dust the top just before serving for extra flair and an inviting contrast of textures. If you’re feeling adventurous, try a dusting of cocoa powder or a sprinkle of flaky sea salt to amp up the flavors even more.
Side Dishes
Chocolate Icebox Pie is decadent enough to stand on its own, but it also plays well with a handful of fresh summer berries, like raspberries or strawberries. A scoop of vanilla ice cream, if you’re feeling extravagant, is never out of place beside a cool, creamy slice — especially on hot days.
Creative Ways to Present
For a party-worthy twist, consider making individual pies in small jars or ramekins. Mini Chocolate Icebox Pies are perfect for sharing on a picnic or at a casual dinner. You can also drizzle caramel sauce or serve with espresso for a sophisticated finish everyone will remember.
Make Ahead and Storage
Storing Leftovers
If you’re lucky enough to have leftovers, simply cover the pie dish with plastic wrap or foil and keep it in the refrigerator. Your Chocolate Icebox Pie will stay fresh and divine for up to 3 days — perfect for sneaky midnight slices!
Freezing
This pie can handle the freezer like a champ. Wrap slices or the whole pie tightly in plastic wrap, followed by a layer of foil. When you’re ready, let it thaw overnight in the fridge. The texture stays impressively creamy, making this a great make-ahead dessert for parties or busy weeks.
Reheating
No need for reheating — Chocolate Icebox Pie is at its very best when it’s cool, creamy, and straight from the fridge. Just slice and enjoy; the filling melts perfectly on your tongue just as it is.
FAQs
Can I use a store-bought chocolate crust instead?
Absolutely! A pre-made chocolate cookie crust will save you a step, and Chocolate Icebox Pie still turns out wonderfully rich and satisfying. Just make sure to chill the crust before pouring in the filling to keep everything firm.
What’s the best chocolate to use for the filling?
Semisweet chocolate chips are your best bet for a balanced, crowd-pleasing sweetness. For an even deeper chocolate flavor, try substituting with chopped bittersweet chocolate or mixing in a combination of your favorites!
Is there a way to make this pie gluten-free?
Yes! Simply substitute gluten-free chocolate cookies in place of the traditional kind for the crust. Every other ingredient in Chocolate Icebox Pie is naturally gluten-free, so everyone can enjoy a decadent slice.
Can I make this ahead of time?
Definitely. In fact, Chocolate Icebox Pie only gets better with a long, slow chill. Prepare it a day in advance and it’ll be ready to slice and serve when dessert time comes around.
Do I have to use whipped cream on top?
Whipped cream is optional but highly recommended. Its lightness is a lovely contrast to the dense chocolate custard, but if you prefer, you can top your pie with fresh berries or even enjoy it just as it is.
Final Thoughts
I can’t recommend baking (and chilling!) this Chocolate Icebox Pie enough. It’s a showstopper that tastes as indulgent as it looks, all with minimal effort and maximum chocolate payoff. Do yourself a favor and treat your friends or family — or just yourself — to this cool classic. You’ll be craving it again and again!
Print
Chocolate Icebox Pie Recipe
- Total Time: 6 hours 30 minutes (includes chilling)
- Yield: 8 servings 1x
- Diet: Vegetarian
Description
Indulge in the creamy and rich Chocolate Icebox Pie, a perfect no-bake dessert for any occasion. This pie features a decadent chocolate filling nestled in a crunchy chocolate cookie crust, topped with fluffy whipped cream and chocolate shavings.
Ingredients
For the Crust:
- 1 ½ cups chocolate cookie crumbs (such as Oreos, finely crushed)
- 6 tablespoons unsalted butter, melted
For the Filling:
- 1 ½ cups heavy cream
- 1 cup semisweet chocolate chips
- ½ cup granulated sugar
- 4 large egg yolks
- ¼ cup whole milk
- 1 teaspoon vanilla extract
- ¼ teaspoon salt
For Topping (Optional):
- Whipped cream
- Chocolate shavings or curls
Instructions
- Prepare the Crust: Preheat the oven to 350°F (175°C). Combine chocolate cookie crumbs and melted butter. Press into a pie dish and bake for 8–10 minutes. Let cool.
- Make the Filling: In a saucepan, heat cream, sugar, and salt. In a separate bowl, whisk egg yolks and milk, then combine with hot cream. Cook until thickened. Add chocolate and vanilla. Pour into crust and chill for at least 6 hours.
- Serve: Top with whipped cream and chocolate shavings before serving.
Notes
- This pie can be made a day ahead and stored in the refrigerator for up to 3 days.
- For a gluten-free option, use gluten-free chocolate cookies for the crust.
- Prep Time: 20 minutes
- Cook Time: 10 minutes
- Category: Dessert
- Method: No-Bake, Baking
- Cuisine: American
Nutrition
- Serving Size: 1 slice
- Calories: 410
- Sugar: 30g
- Sodium: 160mg
- Fat: 28g
- Saturated Fat: 16g
- Unsaturated Fat: 10g
- Trans Fat: 0g
- Carbohydrates: 38g
- Fiber: 2g
- Protein: 5g
- Cholesterol: 145mg


