
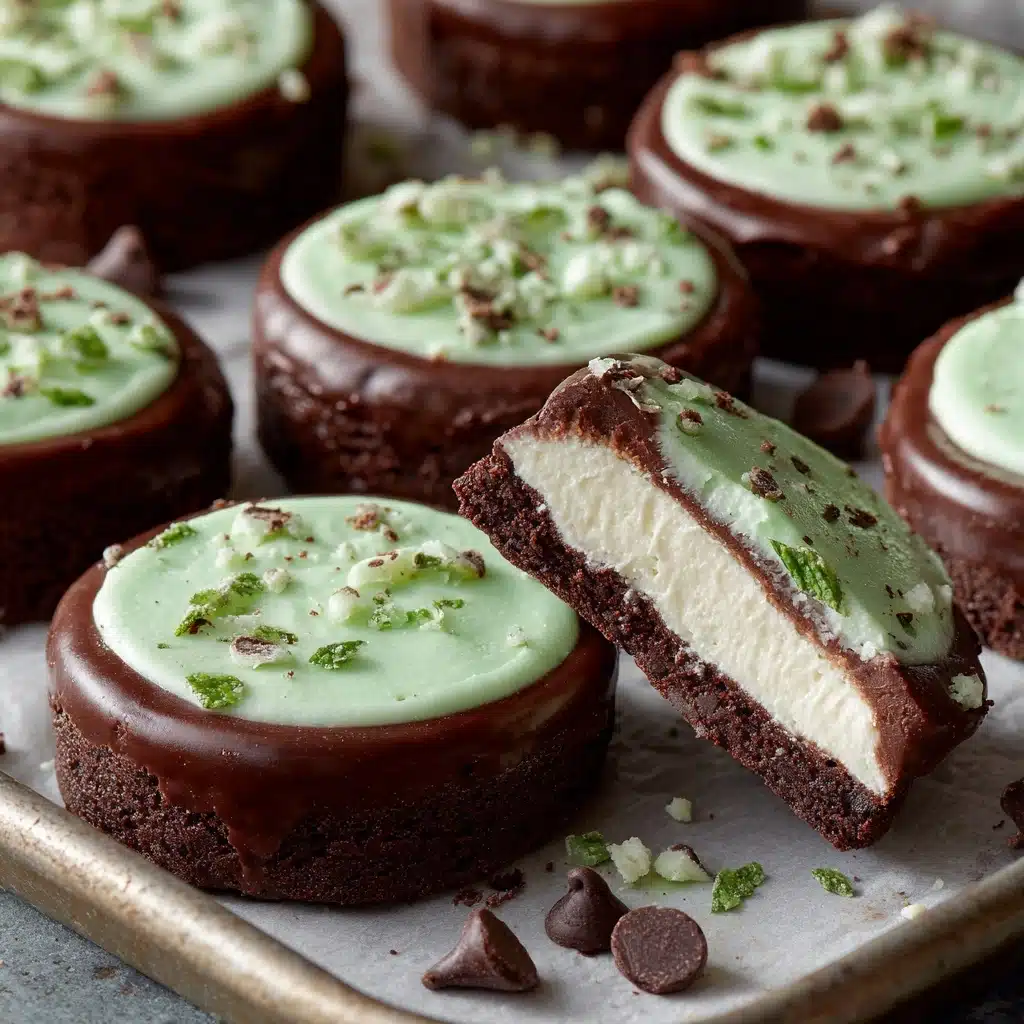
If you love the magical combination of chocolate and mint, you’re in for a treat with these Chocolate Mint Creams. Silky-smooth peppermint centers cloaked in a jacket of rich, glossy chocolate make these candies utterly irresistible and perfect for every occasion—from special holidays to simple weeknight cravings. With only a handful of ingredients, you can craft a batch of Chocolate Mint Creams at home that rivals anything you’d find at a candy shop. Trust me, sharing these is optional—they’re that good!
Ingredients You’ll Need
The beauty of Chocolate Mint Creams lies in their simplicity, with each ingredient playing a starring role. From buttery richness to cooling peppermint and decadent chocolate, these basics work in harmony to create a stunning, creamy confection.
- Powdered sugar: The foundation for the creamy center, powdered sugar ensures the filling is melt-in-your-mouth smooth.
- Unsalted butter: Adds buttery richness and helps bind the filling together for the perfect texture.
- Heavy cream: Gives the center its soft, luscious bite—add an extra tablespoon for a meltier interior!
- Peppermint extract: This is where the burst of minty freshness comes in; don’t skimp for that classic flavor.
- Vanilla extract: Rounds out the peppermint, adding warmth and depth to every bite.
- Semisweet or dark chocolate: The ultimate shell—choose your favorite for a more intense cocoa flavor.
- Coconut oil or shortening: Just a touch helps the chocolate coat the creams with a gorgeous shine and easy snap.
- Crushed peppermint candies (optional): Sprinkle on top for festive color, extra crunch, and even more minty flair.
How to Make Chocolate Mint Creams
Step 1: Prepare the Mint Cream Filling
Start by beating together the powdered sugar, softened butter, heavy cream, peppermint extract, and vanilla extract in a medium bowl. You want to achieve a smooth, thick dough. If your mixture seems a little too sticky to handle, don’t worry! Just add an extra tablespoon of powdered sugar at a time until it’s soft but workable. The dough should hold its shape when you roll it—think the texture of play clay, only much tastier.
Step 2: Shape the Creams
Once your filling is ready, scoop out teaspoonfuls and gently roll them into small 1-inch balls using your hands. Line a baking sheet with parchment paper, then flatten each ball into a disc shape. Try to keep the discs similar in size so your Chocolate Mint Creams look beautifully uniform. Pop them onto the tray as you go—they’re quick to make once you get rolling!
Step 3: Chill the Discs
To help the creams set and make dipping easier, place your tray of mint centers in the freezer for about 20 minutes. This firming step will keep them from falling apart when you coat them in warm chocolate later, making your candy-making process so much smoother.
Step 4: Melt the Chocolate
While your centers are chilling, it’s time to get that glorious chocolate shell ready! In a heatproof bowl, melt the chopped chocolate and coconut oil together. You can do this over simmering water (double boiler style) or use the microwave in 30-second bursts, stirring after each go. Be patient and stir until the mixture is fully glossy and lump-free—you want the chocolate to flow effortlessly for dipping.
Step 5: Dip Each Mint Cream
Now for the fun part! Using a fork or dipping tool, carefully lower each chilled mint disc into the melted chocolate, making sure it’s completely covered. Let the excess drip off, then set each finished piece back onto the parchment-lined sheet. If you’re dreaming of extra holiday sparkle, sprinkle a pinch of crushed peppermint candies on top before the chocolate sets. Once you’re done, refrigerate everything for another 20 minutes to harden the chocolate shell.
How to Serve Chocolate Mint Creams
Garnishes
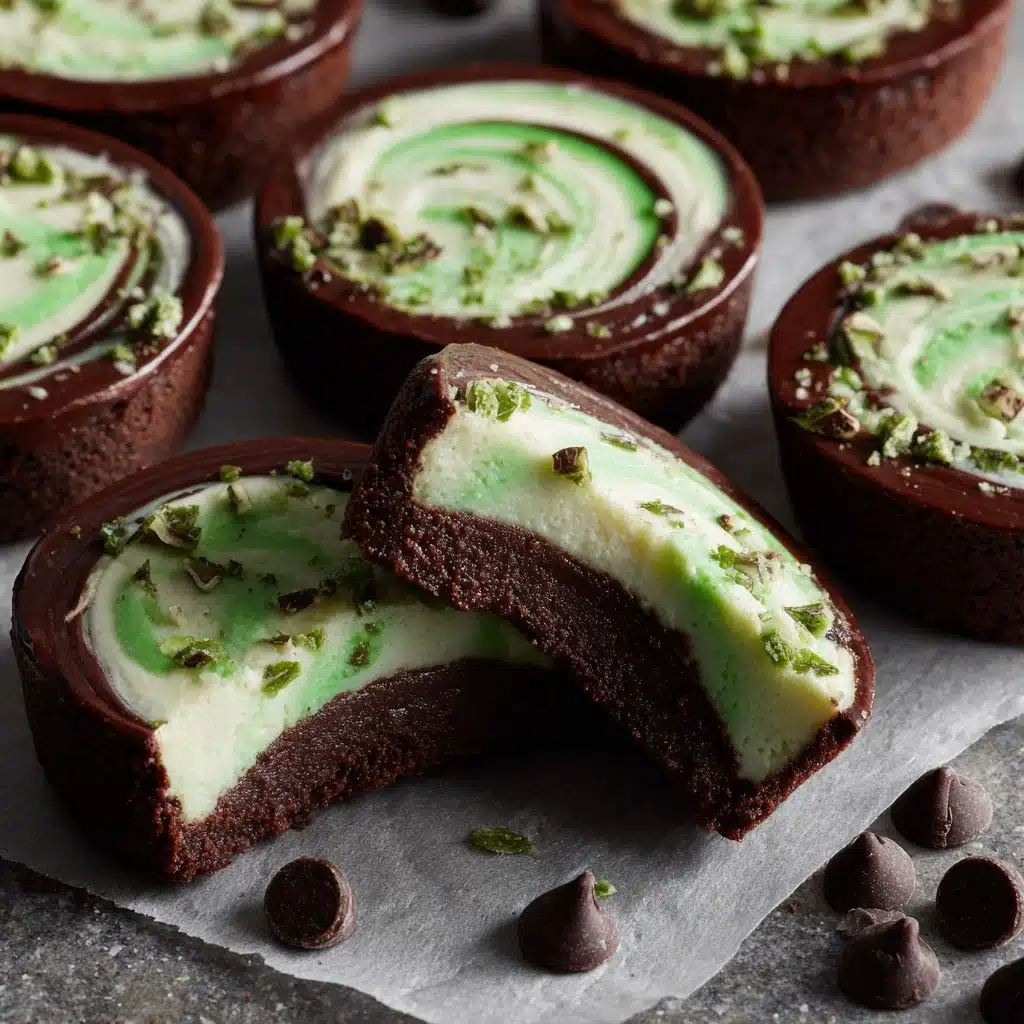
When it comes to topping your Chocolate Mint Creams, a hint of crushed peppermint candy is not only eye-catching—it adds a sweet, cooling crunch to each bite. You can also try dusting them with a bit of powdered sugar, a drizzle of white chocolate, or even a few edible glitter flakes for truly festive flair.
Side Dishes
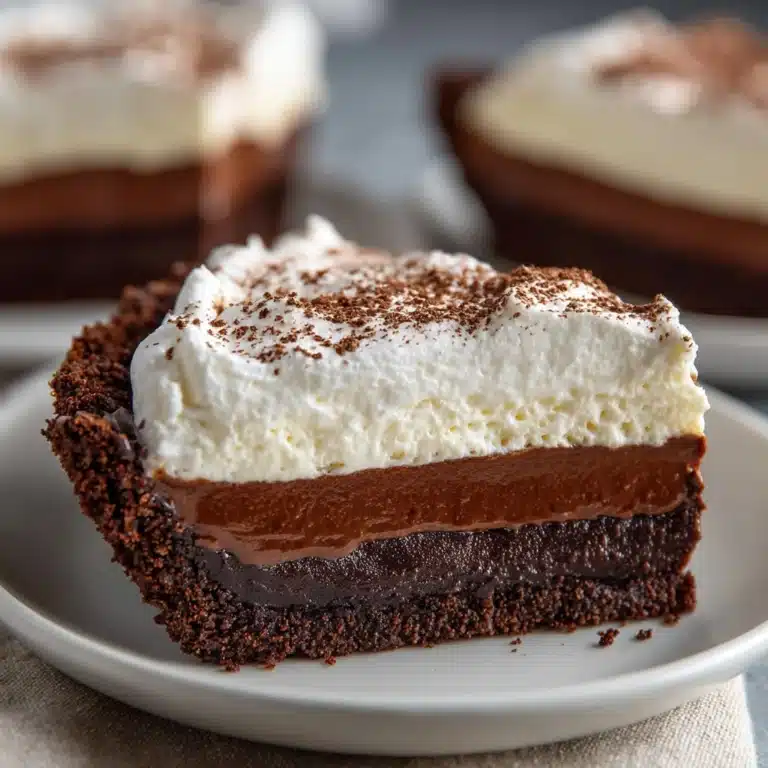
These candies are perfect on their own, but if you want to make dessert extra-special, try pairing them with a hot cup of coffee, tea, or even a small scoop of vanilla ice cream. Set them alongside a platter of cookies or a simple chocolate tart at your next gathering—Chocolate Mint Creams make a delightful contrast to richer or fruitier desserts.
Creative Ways to Present
Elevate your presentation by tucking Chocolate Mint Creams into mini cupcake liners and boxing them for gifting. For parties, pile them high on a tiered serving tray or sandwich one between two chocolate shortbread cookies for a decadent minty twist. You can even skewer them and serve as chocolate-mint pops at your next celebration!
Make Ahead and Storage
Storing Leftovers
Chocolate Mint Creams store beautifully in an airtight container in the refrigerator, where they’ll keep fresh and delicious for up to two weeks. Layer them between sheets of parchment to prevent sticking—if you can resist eating them all at once!
Freezing
Planning ahead for holiday gifting or parties? These candies freeze perfectly! Store them in a sealed container with parchment between layers and freeze for up to three months. Just thaw for a few hours in the fridge before serving, and they’ll taste freshly made.
Reheating
Chocolate Mint Creams are best enjoyed cold or at room temperature, so no reheating required. If you like a softer center, simply leave them out at room temp for about 15 minutes before serving to let the filling mellow just a bit.
FAQs
Can I use milk chocolate instead of dark or semisweet?
Absolutely! Milk chocolate will give your Chocolate Mint Creams an even creamier, sweeter flavor. Just be aware that the extra sweetness will soften the minty edge, but the result is equally delicious.
Is there a dairy-free version of this recipe?
Yes—simply use a plant-based butter and dairy-free cream alternative for the filling, and opt for dark chocolate that’s certified vegan. The texture will still be smooth and lovely, with plenty of peppermint zing.
My filling is too sticky to roll—what should I do?
No worries! Just add more powdered sugar, one tablespoon at a time, until the filling is stiff enough to handle. If you accidentally make it too dry, a splash more cream brings it back to perfect consistency.
How can I keep the chocolate coating shiny?
Adding a small amount of coconut oil or shortening to the melted chocolate gives your Chocolate Mint Creams a beautiful gloss and cleaner snap. Make sure to cool the chocolate to just-warm before dipping for the best shine.
Can I make these in advance for gifts?
Absolutely! These candies are perfect for holiday prep. Make them up to two weeks ahead and store in the fridge, or freeze in sealed containers and thaw before wrapping for a thoughtful, homemade treat.
Final Thoughts
Trust me when I say, once you’ve made a batch of Chocolate Mint Creams, you’ll be finding every excuse to whip up another. They’re delightfully simple, endlessly versatile, and always manage to steal the show. I hope you’ll give this recipe a try and share a bit of their minty-chocolate magic with your favorite people!
Print
Chocolate Mint Creams Recipe
- Total Time: 30 minutes (plus chilling)
- Yield: 30 candies 1x
- Diet: Vegetarian
Description
Indulge in these delightful Chocolate Mint Creams for a burst of minty freshness enveloped in rich dark chocolate. These homemade treats are perfect for holiday gatherings or as a sweet gift for loved ones.
Ingredients
Filling:
- 3 cups powdered sugar
- 3 tablespoons unsalted butter, softened
- 3 tablespoons heavy cream
- 1 teaspoon peppermint extract
- 1/4 teaspoon vanilla extract
Coating:
- 12 ounces semisweet or dark chocolate, chopped
- 2 teaspoons coconut oil or shortening
Garnish:
- Optional crushed peppermint candies for garnish
Instructions
- Prepare Filling: In a medium bowl, combine powdered sugar, butter, cream, peppermint extract, and vanilla until a smooth dough forms.
- Shape: Roll dough into 1-inch balls, flatten into discs, and freeze for 20 minutes.
- Melt Chocolate: In a heatproof bowl, melt chocolate and coconut oil until smooth.
- Dip & Coat: Dip mint cream discs in chocolate, ensuring complete coating.
- Chill: Refrigerate until set, about 20 minutes. Garnish with crushed peppermint candies if desired.
Notes
- For a softer center, add 1 more tablespoon of cream to the filling.
- Store in an airtight container in the refrigerator for up to 2 weeks.
- These also freeze well for holiday prep.
- Prep Time: 25 minutes
- Cook Time: 5 minutes
- Category: Dessert, Candy
- Method: No-Bake
- Cuisine: American
Nutrition
- Serving Size: 1 candy
- Calories: 120
- Sugar: 17g
- Sodium: 10mg
- Fat: 6g
- Saturated Fat: 3g
- Unsaturated Fat: 2g
- Trans Fat: 0g
- Carbohydrates: 20g
- Fiber: 1g
- Protein: 1g
- Cholesterol: 5mg


