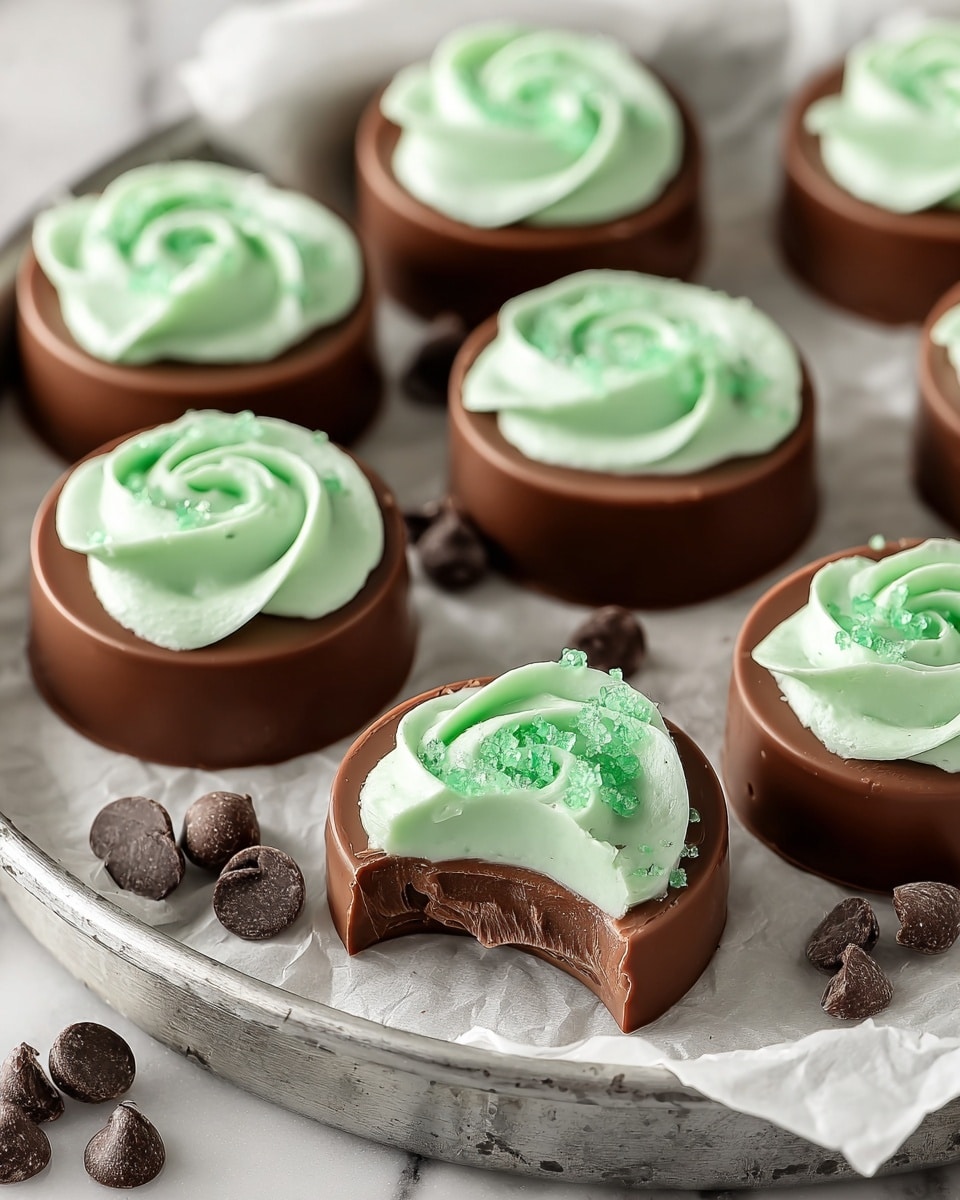
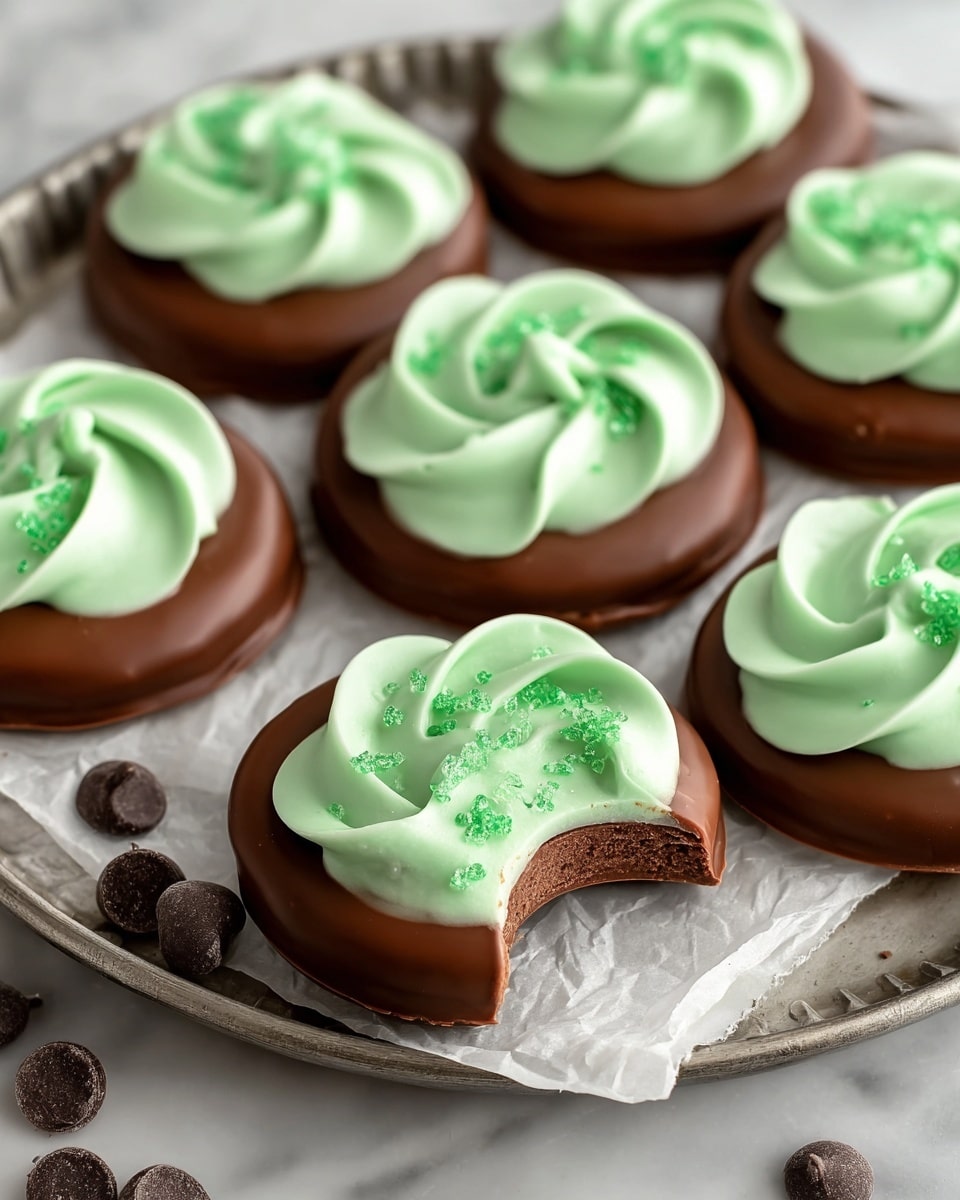
If you love the refreshing burst of mint paired with rich, smooth chocolate, then this Chocolate Mint Creams Recipe is about to become your new favorite treat. These no-bake delights blend a luscious, creamy peppermint center with a glossy chocolate coating, creating perfect little bites that melt in your mouth. Easy to make yet incredibly satisfying, this recipe brings together simple ingredients for a homemade mint candy experience that rivals store-bought favorites, but with that extra personal touch that makes all the difference.
Ingredients You’ll Need
Every ingredient in this Chocolate Mint Creams Recipe plays a crucial role—from the sweetness of powdered sugar to the cool peppermint extract that gives these creams their signature flavor. The semisweet chocolate chips melt down beautifully for coating, while butter and cream ensure a smooth, creamy texture that will have you coming back for more.
- Powdered sugar: Provides the perfect sweet base and a silky texture for the mint filling.
- Unsalted butter (softened): Adds richness and helps bind the ingredients into a smooth dough.
- Heavy cream: Contributes to the creamy consistency and softness of the centers.
- Peppermint extract: Infuses the filling with that unmistakable refreshing mint flavor.
- Green food coloring (optional): Gives the creams a classic pastel-green hue, but feel free to skip for a traditional white center.
- Semisweet chocolate chips: Melt down smoothly for a rich chocolate coating that perfectly complements the mint inside.
- Shortening or coconut oil: Helps keep the melted chocolate smooth and glossy for dipping.
How to Make Chocolate Mint Creams Recipe
Step 1: Prepare the Mint Filling
Start by combining powdered sugar, softened butter, heavy cream, peppermint extract, and green food coloring (if using) in a mixing bowl. Beat these together until you have a smooth, pliable dough. The mixture should be firm enough to hold its shape, but still soft enough to roll easily.
Step 2: Shape and Chill
Roll the mint dough into small 1-inch balls, then gently flatten each into a disc shape. Arrange these on a parchment-lined baking sheet and pop them in the refrigerator for about 30 minutes. This chilling step makes sure the creams firm up, making them easier to dip in chocolate later.
Step 3: Melt the Chocolate Coating
While the mint discs chill, melt the semisweet chocolate chips together with shortening or coconut oil. Use a double boiler or microwave in short bursts, stirring regularly to create a smooth, glossy chocolate that’s perfect for coating your creams.
Step 4: Dip and Set
Once the mint discs are firm, dip each one into the melted chocolate, making sure to cover it completely. Return the chocolate-coated creams to the parchment-lined baking sheet. Refrigerate for another 30 minutes so the chocolate can harden beautifully.
How to Serve Chocolate Mint Creams Recipe
Garnishes
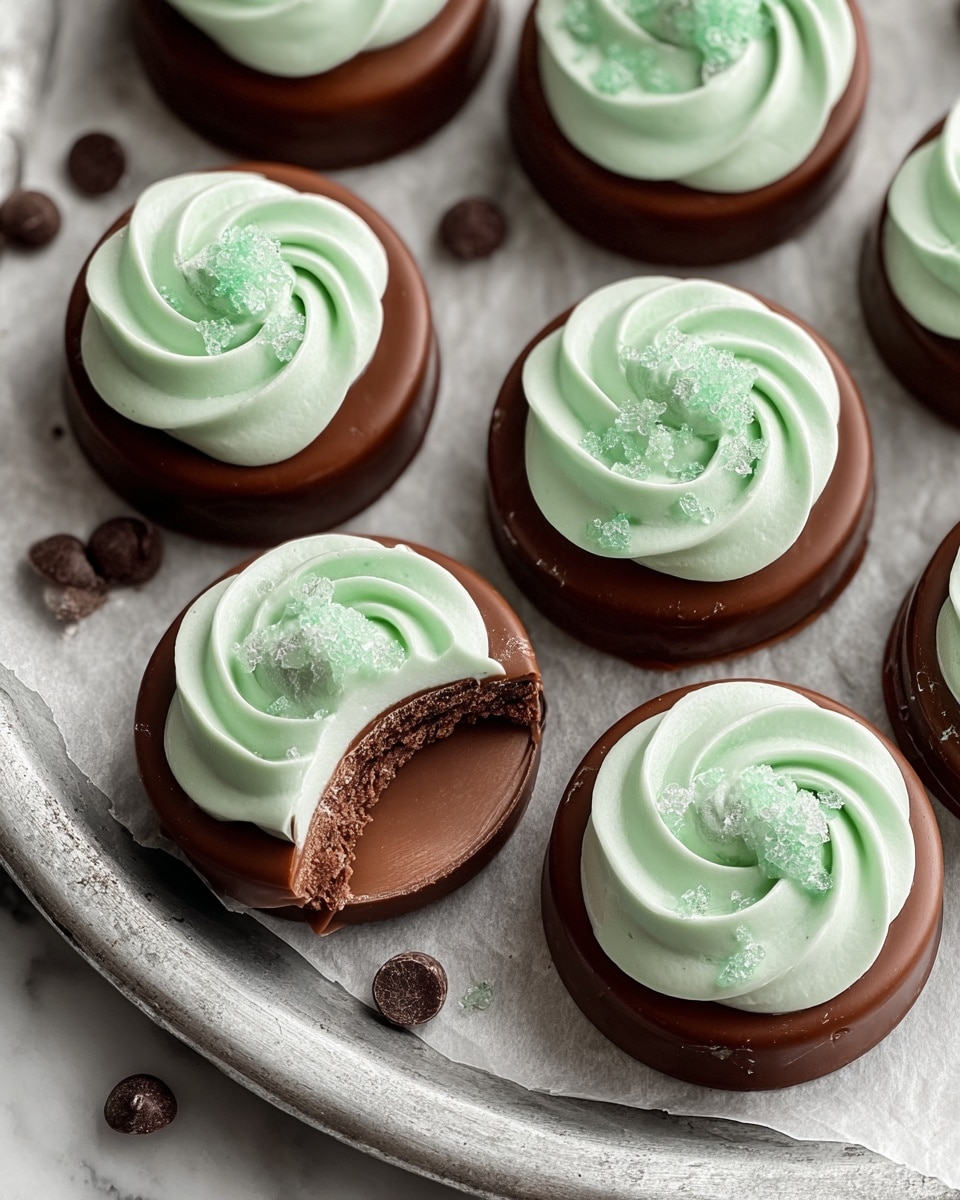
If you want to add extra flair to your Chocolate Mint Creams Recipe, consider sprinkling the tops with crushed peppermint candies, a light dusting of cocoa powder, or even edible glitter for a festive touch. These simple garnishes can elevate the appearance and add a fun texture contrast.
Side Dishes
These creams make a perfect companion to a hot cup of coffee, rich hot chocolate, or even a glass of milk. They’re also great served alongside other holiday cookies or desserts for a varied sweet platter that’s sure to impress your guests.
Creative Ways to Present
For gift-giving, package your Chocolate Mint Creams in decorative tins or boxes with parchment paper for an elegant touch. You can also arrange them on a pretty cake stand or slate board, garnished with fresh mint leaves, making them the centerpiece of any dessert table.
Make Ahead and Storage
Storing Leftovers
Store any leftover Chocolate Mint Creams in an airtight container in the refrigerator. They will keep well for up to two weeks without losing their texture or flavor, making them a perfect treat to enjoy over time.
Freezing
If you want to make a batch ahead of time, these creams freeze beautifully. Place them in a single layer on a baking sheet to freeze initially, then transfer to a freezer-safe container. They can be stored for up to three months and thawed in the fridge before serving.
Reheating
There’s no need to reheat Chocolate Mint Creams since they’re best enjoyed chilled. However, if you prefer a slightly softer texture, letting them sit at room temperature for 10 to 15 minutes before indulging can do the trick.
FAQs
Can I use other extracts besides peppermint?
Absolutely! While peppermint is classic, you can experiment with spearmint, wintergreen, or even a drop of almond extract to create your own unique twist on the Chocolate Mint Creams Recipe.
Is there a dairy-free version of this recipe?
Yes, simply substitute plant-based butter and cream, and choose dairy-free chocolate chips. The texture and flavor remain wonderfully rich and creamy with these swaps.
How do I prevent the chocolate from seizing while melting?
Make sure to melt the chocolate slowly, either in a double boiler or microwave in short intervals, stirring often. Adding the shortening or coconut oil helps it stay smooth and fluid for easy dipping.
Can I make the peppermint filling ahead of time without dipping?
Definitely! You can prepare and chill the mint discs up to 24 hours in advance. Just keep them refrigerated until you’re ready to dip them in chocolate.
What’s the best way to serve these creams at a party?
Serve them chilled on a decorative platter with fresh mint leaves or crushed candy canes sprinkled around. Providing small tongs or toothpicks also makes them easy for guests to enjoy without sticky fingers.
Final Thoughts
There’s something truly magical about homemade treats that come together with just a few simple steps but deliver so much joy. This Chocolate Mint Creams Recipe combines nostalgic flavors with an easy process that anyone can master. Give it a try, share with friends, and watch these sweet, minty delights disappear fast!
Print
Chocolate Mint Creams Recipe
- Total Time: 1 hour
- Yield: 24 pieces 1x
- Diet: Vegetarian
Description
Delicious homemade Chocolate Mint Creams featuring a smooth, peppermint-flavored cream center coated in rich semisweet chocolate. These no-bake, easy-to-make treats are perfect for satisfying your sweet tooth with a refreshing mint twist.
Ingredients
Mint Cream Center
- 2 cups powdered sugar
- 2 tablespoons unsalted butter, softened
- 2 tablespoons heavy cream
- 1/2 teaspoon peppermint extract
- A few drops green food coloring (optional)
Chocolate Coating
- 1 1/2 cups semisweet chocolate chips
- 1 tablespoon shortening or coconut oil
Instructions
- Prepare the Mint Cream: In a mixing bowl, combine powdered sugar, softened butter, heavy cream, peppermint extract, and green food coloring if desired. Beat the mixture until it forms a smooth, pliable dough.
- Shape the Creams: Roll the dough into small 1-inch balls. Then flatten each ball slightly into a disc shape. Place the discs onto a parchment-lined baking sheet.
- Chill the Creams: Refrigerate the discs for 30 minutes or until they are firm enough to handle for dipping.
- Melt the Chocolate: In a double boiler or microwave (using short bursts and stirring frequently), melt together the semisweet chocolate chips and shortening or coconut oil until smooth and glossy.
- Dip the Creams in Chocolate: Using a fork or dipping tool, coat each chilled mint disc completely with the melted chocolate. Return the coated creams to the parchment-lined baking sheet.
- Set the Chocolate: Place the dipped creams back into the refrigerator and chill for another 30 minutes until the chocolate coating is firm and set.
- Store Properly: Keep the finished chocolate mint creams refrigerated until ready to serve to maintain their freshness.
Notes
- Omit green food coloring for a classic white mint center.
- For a dairy-free version, substitute plant-based butter and heavy cream, and use dairy-free chocolate chips.
- Ensure the chocolate is fully set before storing to avoid melting or stickiness.
- Prep Time: 20 minutes
- Cook Time: 10 minutes
- Category: Dessert
- Method: No-Cook
- Cuisine: American
