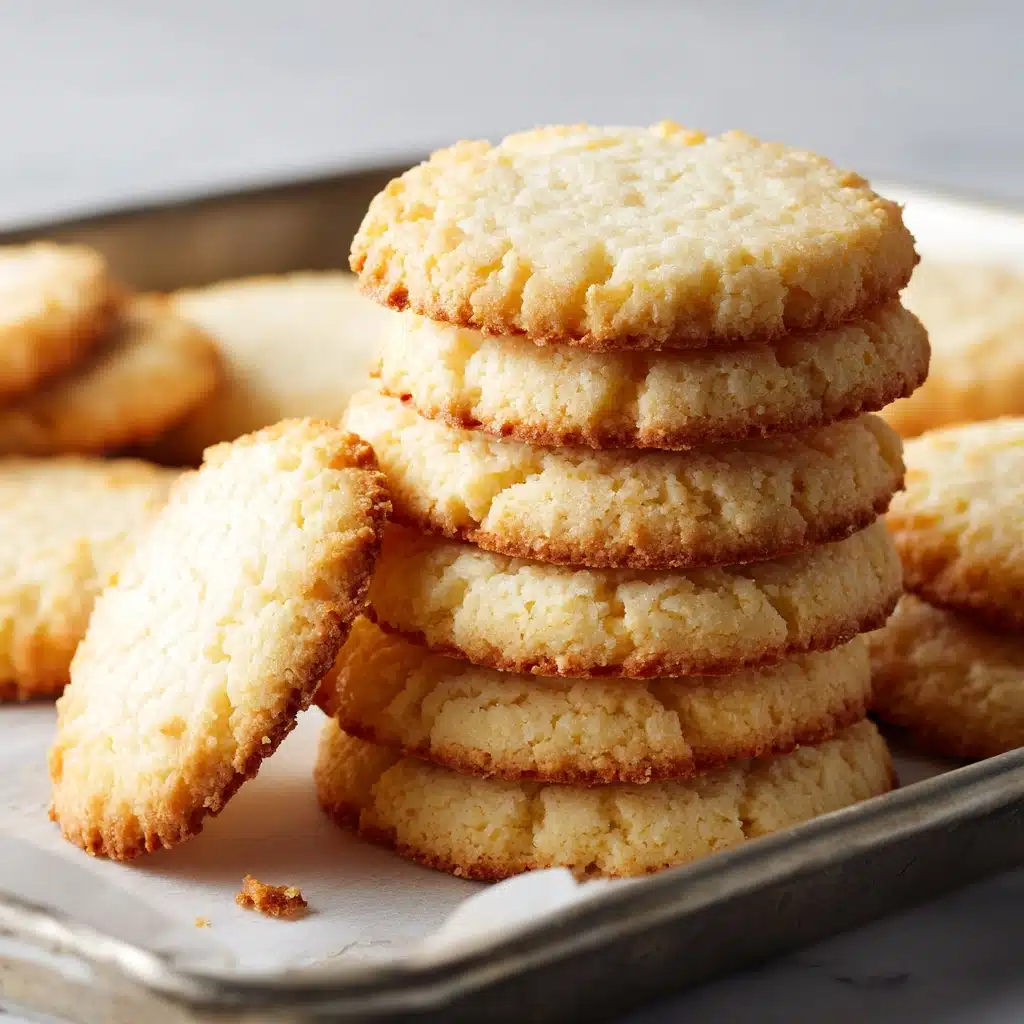
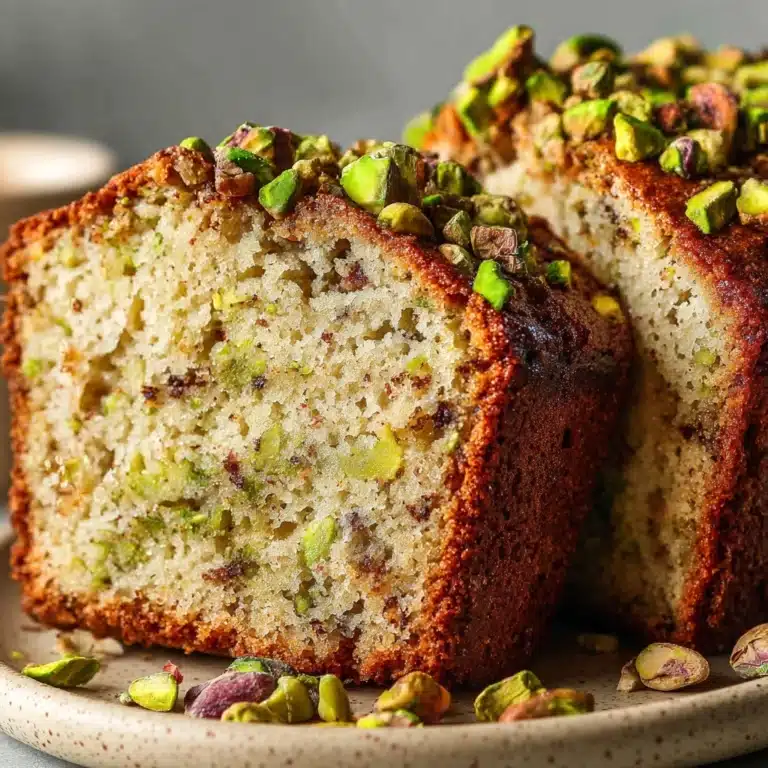
Cloud Bread is one of those magical recipes that transforms just a handful of ordinary ingredients into something light, fluffy, and downright irresistible! Whether you’re living that keto life, need a gluten-free swap for sandwich bread, or simply want a crave-worthy homemade treat, this pillowy baked bread brings a melt-in-your-mouth experience that doesn’t weigh you down. You’ll be amazed at the delicate texture and subtle, savory flavor, making Cloud Bread a kitchen favorite you’ll come back to again and again.

Ingredients You’ll Need
The magic of Cloud Bread comes from its simplicity, so each ingredient truly counts. You’ll find that these essentials are probably right in your kitchen already, and every single one helps create the dreamy, airy texture and subtly rich flavor that sets this bread apart.
- Eggs: The structure and fluff of cloud bread all comes down to the eggs! Make sure they’re at room temperature for the best loft.
- Cream Cheese: This adds creaminess and just enough tang to keep things interesting—plus it helps bind everything together.
- Cream of Tartar: This little power player stabilizes your whipped egg whites, ensuring your cloud bread stays super airy.
- Salt (optional): A pinch goes a long way to accentuate flavor, so don’t skip it if you love a bit of savory depth.
How to Make Cloud Bread
Step 1: Prep Your Equipment
Start by preheating your oven to 300°F (150°C). Line a baking sheet with parchment paper—this helps prevent any sticking, and makes transferring your finished Cloud Bread a total breeze.
Step 2: Separate the Eggs
Carefully separate the egg whites and yolks into two clean, dry bowls. Even a drop of yolk in the whites can prevent perfect peaks, so take your time with this step for super fluffy results.
Step 3: Whip the Egg Whites
Add cream of tartar to the egg whites. Using an electric mixer on high speed, beat until stiff peaks form. You want the mixture to be glossy and stand up straight when the beaters are lifted—that’s when you know you’ve nailed it!
Step 4: Make the Yolk Mixture
In the second bowl, whisk together the egg yolks with softened cream cheese and, if you’re using it, the salt. Whisk until the mixture is perfectly smooth and all the cream cheese clumps are gone.
Step 5: Fold Gently
With a large spoon or spatula, gently fold the egg yolk mixture into the stiff, fluffy egg whites. Take care not to over-mix or deflate your whites—those precious air bubbles are what give Cloud Bread its signature texture!
Step 6: Shape and Bake
Spoon the mixture onto your prepared baking sheet in rounds about 1/2 inch thick. Give them a little space to expand. Slide them into the oven and bake for 25 to 30 minutes, or until your Cloud Bread is golden, set, and puffed up.
Step 7: Cool and Enjoy
Allow the cloud bread to cool on the baking sheet for a few minutes before carefully lifting each round onto a wire rack. Enjoy their cloud-like softness and barely-there crispness while they’re still slightly warm!
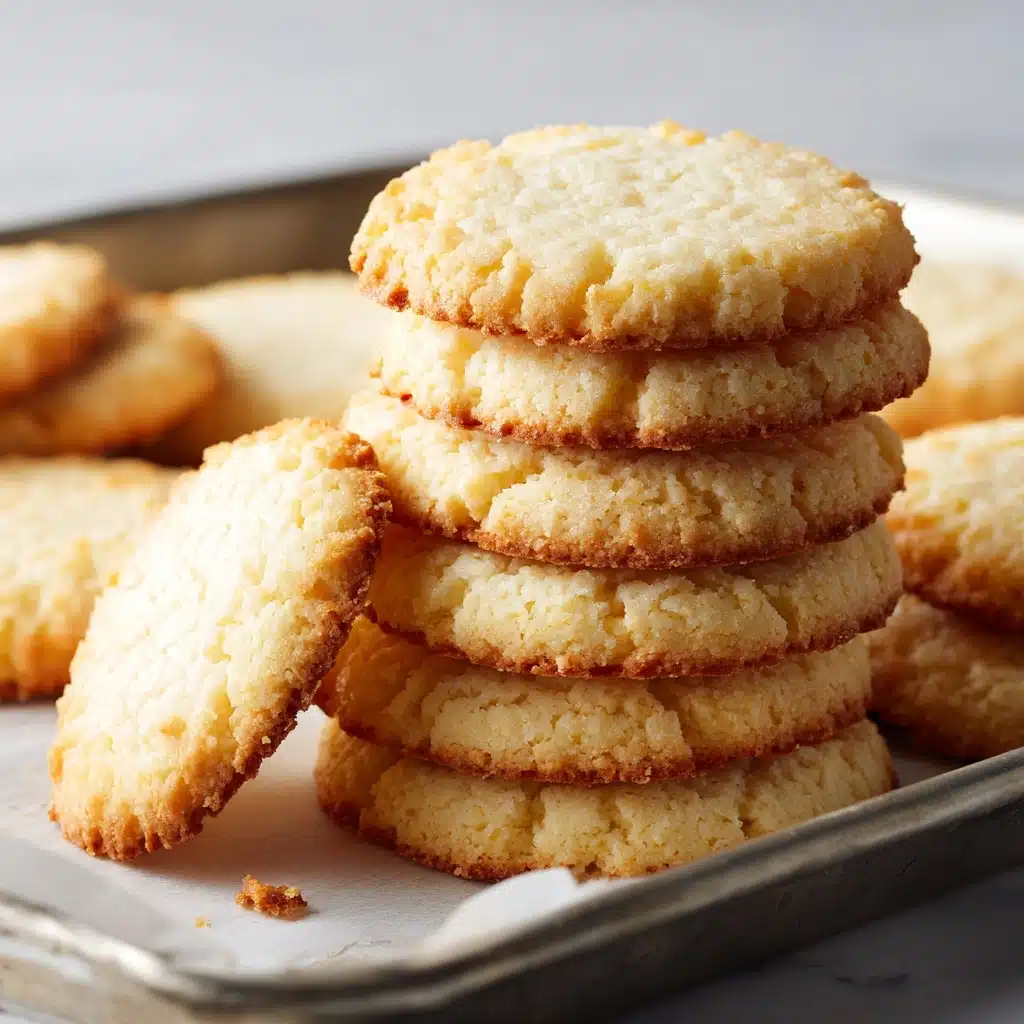
How to Serve Cloud Bread
Garnishes
Dress up your cloud bread with a spritz of fresh herbs, a light grating of parmesan, or even a sprinkle of flaky sea salt for extra sparkle. The bread’s neutral flavor truly lets your favorite toppings shine.
Side Dishes
Pair your cloud bread with eggs and avocado for brunch, a fresh tomato salad for lunch, or tender roast chicken at dinnertime. Its delicate texture is perfect with both hearty and light accompaniments.
Creative Ways to Present
Transform your Cloud Bread into sliders, open-faced sandwiches topped with lox or veggies, or fancy canapés for a gathering. Stack it for mini breakfast sandwiches, or even use it as a playful twist on classic burger buns!
Make Ahead and Storage
Storing Leftovers
Keep leftover cloud bread fresh by storing it in an airtight container at room temperature for up to two days. It will maintain its softness, making it an easy grab-and-go snack or bread swap for several meals.
Freezing
Yes, you can freeze cloud bread! Let the pieces cool completely, then wrap each in plastic wrap and place in a freezer-safe bag. Pop them in the freezer for up to a month—just thaw as needed for a quick, fluffy bread fix.
Reheating
To bring back the fresh-baked feel, gently warm cloud bread in a toaster oven or briefly in the microwave. A few seconds is all it takes to restore that fluffy, pillowy deliciousness.
FAQs
Can I use flavored cream cheese in Cloud Bread?
Absolutely! Flavored cream cheese adds a fun twist—think garlic and herb or chive for savory, or strawberry for a light hint of sweetness. Just be sure it’s soft and blends easily into the egg yolks.
Why didn’t my Cloud Bread rise?
Usually, the culprit is deflated egg whites. Make sure your egg whites are beaten to stiff peaks, and fold in the yolk mixture gently so you don’t lose volume. Also, check that there’s no yolk in your whites!
Is Cloud Bread gluten-free?
Yes—it’s naturally gluten-free since there’s no flour involved at all. That makes Cloud Bread ideal for anyone avoiding gluten for dietary or health reasons.
Can I make Cloud Bread dairy-free?
You can swap the cream cheese for a plant-based spread if you’re avoiding dairy, though the final taste and texture might change a bit. Be sure to use a dairy-free cream cheese that’s soft and blends well.
How do I get my Cloud Bread golden and not pale?
Make sure your oven is fully preheated, and don’t be afraid to let the bread bake at the upper end of the time range. The cream cheese combined with egg yolks gives that warm golden color as it bakes.
Final Thoughts
Cloud Bread is proof that a few simple ingredients can deliver a delightful, fluffy surprise every single time. Whether you’re serving it solo, packing it with toppings, or reinventing your favorite sandwiches, this easy recipe is bound to become your secret weapon in the kitchen. Give it a whirl and let your taste buds float on a cloud!
Print
Cloud Bread Recipe
- Total Time: 40 minutes
- Yield: 6 pieces 1x
- Diet: Vegetarian
Description
Cloud bread is a light, fluffy, and low-carb alternative to traditional bread. Made with just a few simple ingredients, it’s easy to whip up and perfect for those following a gluten-free or keto lifestyle.
Ingredients
Egg Mixture:
- 3 large eggs, separated
- 3 tablespoons cream cheese, softened
Additional Ingredients:
- 1/4 teaspoon cream of tartar
- 1/4 teaspoon salt (optional)
Instructions
- Preheat and Prepare: Preheat your oven to 300°F (150°C) and line a baking sheet with parchment paper.
- Separate and Beat: Separate the egg whites and yolks into two clean bowls. Add the cream of tartar to the egg whites and beat with an electric mixer on high speed until stiff peaks form.
- Whisk and Fold: In the other bowl, whisk the egg yolks with the softened cream cheese and salt until smooth. Gently fold the egg yolk mixture into the whipped egg whites, being careful not to deflate them.
- Bake: Spoon the mixture onto the prepared baking sheet in rounds about 1/2 inch thick. Bake for 25-30 minutes or until the cloud bread is golden and set.
- Cool and Serve: Let cool slightly before removing from the baking sheet.
Notes
- Cloud bread is best enjoyed fresh but can be stored in an airtight container for up to 2 days.
- Use as a low-carb alternative to sandwich bread.
- Prep Time: 10 minutes
- Cook Time: 30 minutes
- Category: Bread
- Method: Baking
- Cuisine: American
Nutrition
- Serving Size: 1 piece
- Calories: 45
- Sugar: 0g
- Sodium: 70mg
- Fat: 3g
- Saturated Fat: 1.5g
- Unsaturated Fat: 1g
- Trans Fat: 0g
- Carbohydrates: 0.5g
- Fiber: 0g
- Protein: 3g
- Cholesterol: 65mg
