
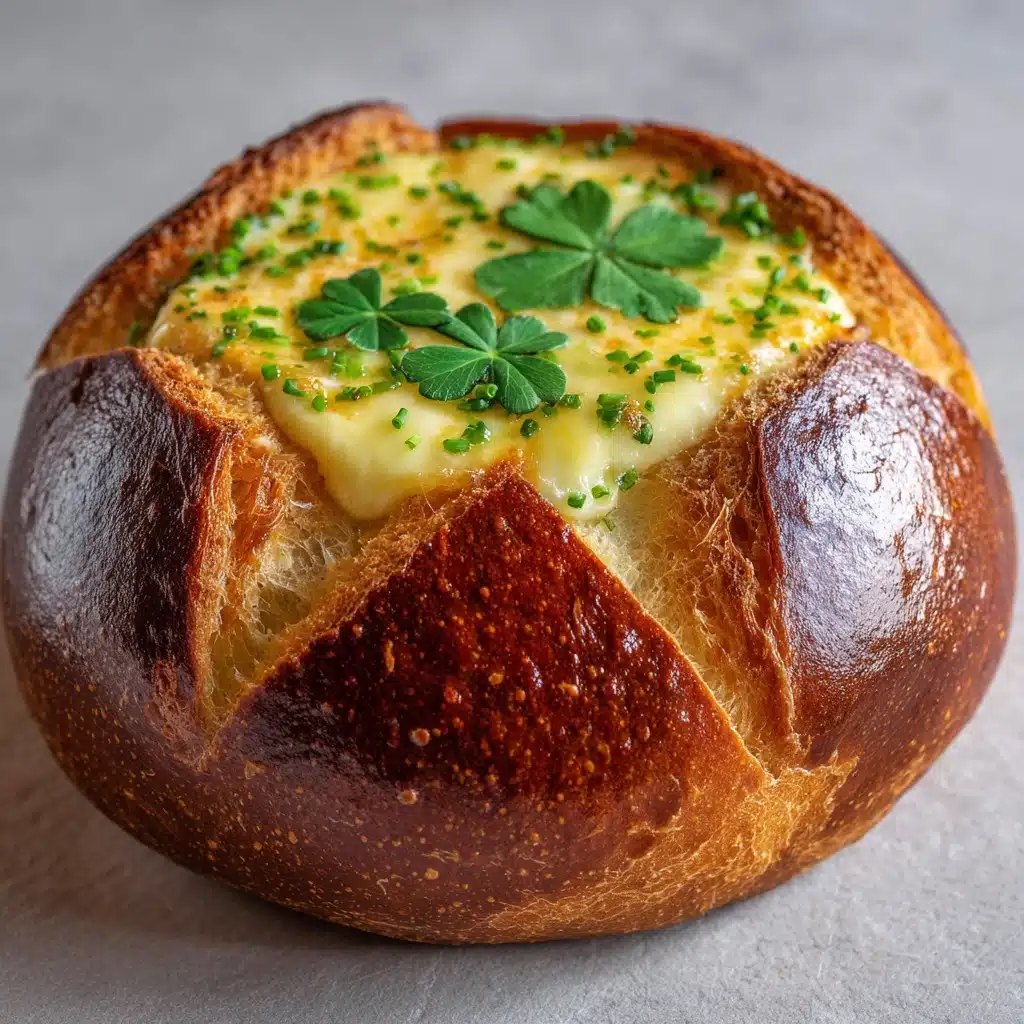
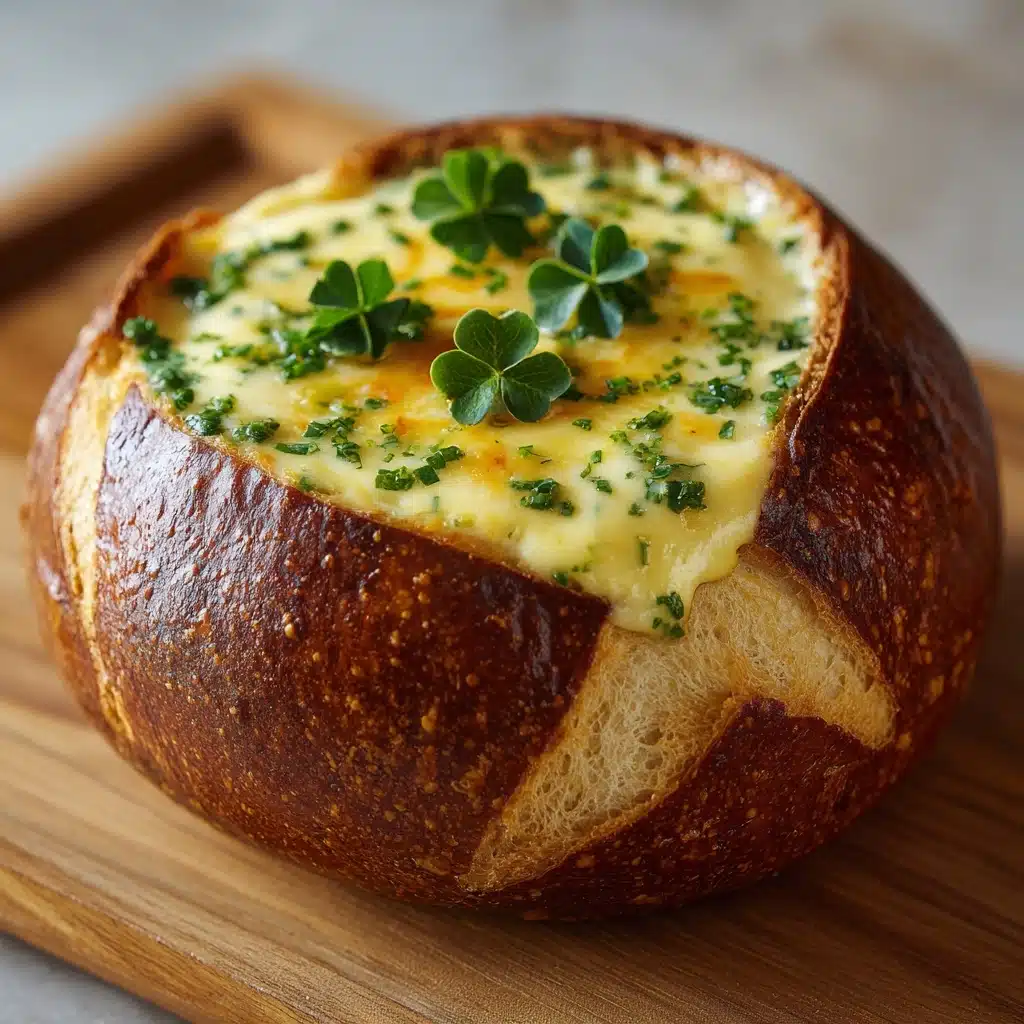
If you’re looking for a show-stopping way to serve soup, dip, or even a festive salad, look no further than the Clover-Shaped Bread Bowl. This isn’t just bread — it’s an edible centerpiece! With its charming clover form, pillowy interior, and golden crust, this bread bowl is equal parts impressive and comforting. Perfect for special occasions, gatherings, or just a cozy night in, the Clover-Shaped Bread Bowl brings smiles to the table and elevates any meal into something magical.
Ingredients You’ll Need
The beauty of this recipe lies in its simplicity, with every ingredient playing a starring role in taste, texture, and color. You probably have everything you need already, and each item brings something special to your final, gorgeous loaf.
- All-purpose flour: This is the foundation for your bread, providing the perfect structure and soft crumb.
- Active dry yeast: The essential leavening agent for a lofty, airy rise in your Clover-Shaped Bread Bowl.
- Warm water (110°F/45°C): Just warm enough to activate the yeast and get that dough moving.
- Olive oil: Adds flavor and keeps the bread incredibly moist.
- Sugar: Just a touch to feed the yeast and help with browning.
- Salt: Enhances flavor and balances everything out — never skip it!
- Egg (for egg wash): Gives your bread a shiny, golden finish and helps any toppings stick.
How to Make Clover-Shaped Bread Bowl
Step 1: Activate the Yeast
Begin your bread journey by whisking the warm water, sugar, and active dry yeast together in a large bowl. Wait for 5 to 10 minutes — the mixture should become foamy, like a latte with a fluffy top! This step ensures your yeast is alive and raring to go, setting your Clover-Shaped Bread Bowl up for that pillowy rise.
Step 2: Make the Dough
Stir in the olive oil and salt, then gradually add 3 1/2 cups of flour. Mix until a shaggy dough forms. Now comes the fun — tip it onto a floured surface and knead for 8 to 10 minutes, adding the remaining flour a bit at a time as needed. The dough should become smooth and elastic, bouncing back when you poke it gently.
Step 3: First Rise
Transfer your kneaded dough into a greased bowl, cover it with a clean towel, and let it rise somewhere warm for about an hour. Don’t rush this! The dough will double in size, turning into a cloud of potential. This slow transformation is what gives your Clover-Shaped Bread Bowl its desirable texture.
Step 4: Shape the Clover
Punch down the dough and split it into four equal pieces. Roll each one into a ball. To create that lucky clover look, arrange the balls close together on a parchment-lined baking sheet. They should be touching but not squished — think of them as best friends enjoying each other’s company!
Step 5: Second Rise
Cover the shaped dough balls lightly and let them rise for another 30 minutes. You’ll see them puff up and start to merge, ensuring the whole clover holds together in the oven. Meanwhile, preheat your oven to 375°F (190°C) so it’s hot and ready.
Step 6: Egg Wash and Bake
Once risen, gently brush the tops with a beaten egg for that enviable bakery shine. Feeling adventurous? Sprinkle on sesame seeds or a pinch of coarse salt for extra flavor and texture. Bake for 25 to 30 minutes, until the loaf is golden and sounds hollow when you tap it.
Step 7: Cool and Hollow Out
Let your Clover-Shaped Bread Bowl cool slightly. When ready, use a small knife to carefully cut and scoop out the center of each section, creating four hearty little bread bowls that are perfect for your favorite fillings.
How to Serve Clover-Shaped Bread Bowl
Garnishes
Finish your bread bowl with a flourish! Brush the crust with a dab of melted butter as soon as it emerges from the oven for extra sheen and softness. A sprinkle of finely chopped herbs or more sesame seeds on top gives a gourmet look that’ll make your Clover-Shaped Bread Bowl the star of your table.
Side Dishes
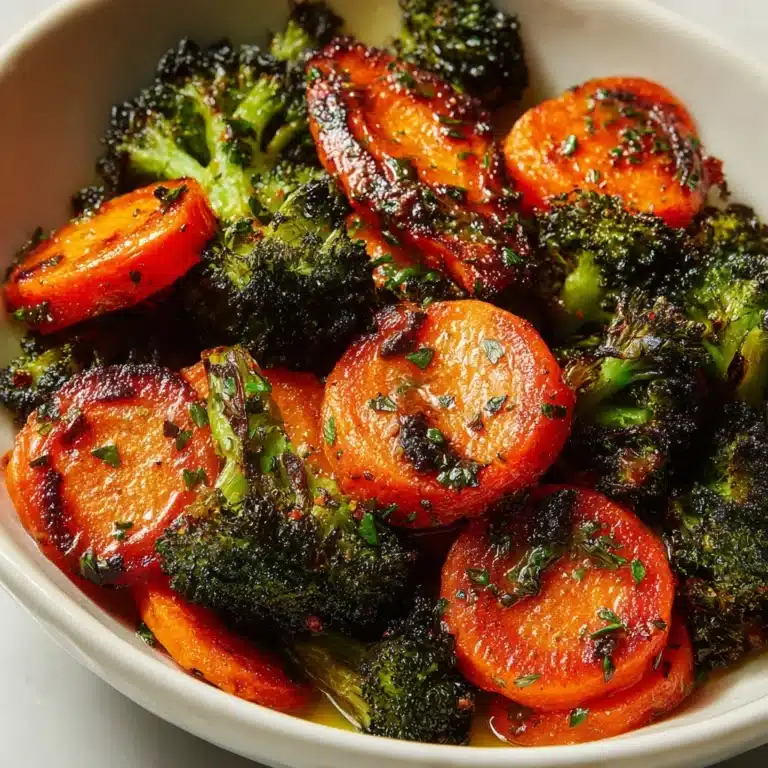
Pair your bread bowl with vibrant salads, creamy soups, or even a savory stew. Think tomato basil soup, gooey spinach artichoke dip, or chili for a hearty meal. The bread bowl soaks up delicious flavors and adds a touch of fun to any side you serve.
Creative Ways to Present
The beauty of the Clover-Shaped Bread Bowl is its versatility. Serve one on a platter for group sharing, or break off each section and fill it with a different dip for a tasting spread. For St. Patrick’s Day, add a green-tinted dip or a scatter of microgreens for extra Irish cheer.
Make Ahead and Storage
Storing Leftovers
If you somehow end up with leftovers (it happens!), wrap your Clover-Shaped Bread Bowl tightly in plastic wrap or foil. Store at room temperature for up to two days, or in the fridge for up to four days, though it’s best enjoyed fresh for maximum fluffiness.
Freezing
To freeze, let the bread cool entirely, then wrap in a couple of layers of plastic wrap and slip it into a freezer bag. It’ll stay delicious for up to two months. Thaw overnight at room temperature before reheating or serving.
Reheating
To recreate that just-baked magic, preheat your oven to 300°F (150°C), then warm the bread for 10 to 15 minutes. This brings the crust back to life and perks up the interior — just like fresh from the oven!
FAQs
Can I use whole wheat flour instead of all-purpose?
You can! Substitute up to half the all-purpose flour with whole wheat for a heartier texture and nutty flavor. Just remember, whole wheat can make the bread a little denser, so you might need to add a splash more warm water if the dough feels too stiff.
What’s the best way to hollow out the sections without breaking the crust?
Let the bread cool for at least 10-15 minutes before using a small serrated knife to gently cut a circle in the top of each section. Use your fingers or a spoon to pull out some of the crumb, leaving enough to support whatever delicious filling you add.
Can I prep the dough ahead of time?
Absolutely! After the first rise, you can transfer the punched-down dough to the fridge and let it rise slowly overnight. Shape, rise again, and bake the next day — a great option for early meal prep!
How do I make my Clover-Shaped Bread Bowl shiny and golden?
The magic is in the egg wash! Brushing the dough with beaten egg just before baking creates that irresistible, glossy finish. For extra crunch, sprinkle with seeds or flaky salt before popping it in the oven.
Can I make mini versions for individual servings?
Yes, you can divide the dough into even smaller balls and bake several clover clusters for adorable, single-serve treats. Just keep an eye on them in the oven and reduce the baking time as needed.
Final Thoughts
No matter the occasion, bringing a homemade Clover-Shaped Bread Bowl to the table is sure to create a little kitchen magic and a lot of happy memories. You’ll love how fun it is to make, and everyone will rave about how beautiful (and tasty!) it turns out. Give it a try — you might just find a new favorite tradition!
Print
Clover-Shaped Bread Bowl Recipe
- Total Time: 1 hour 50 minutes (including rising time)
- Yield: 4 mini bread bowls (attached in clover shape) 1x
- Diet: Vegetarian
Description
Impress your guests with these delightful Clover-Shaped Bread Bowls that are perfect for serving soups or dips. These mini bread bowls are not only delicious but also add a festive touch to any occasion.
Ingredients
Dough:
- 4 cups all-purpose flour
- 2 1/4 teaspoons active dry yeast (1 packet)
- 1 1/2 cups warm water (110°F/45°C)
- 2 tablespoons olive oil
- 2 teaspoons sugar
- 2 teaspoons salt
Egg Wash:
- 1 egg (for egg wash)
Instructions
- Prepare the Dough: In a large bowl, combine warm water, sugar, and yeast. Let sit for 5 to 10 minutes until foamy. Stir in olive oil, salt, and 3 1/2 cups of flour. Mix until a dough forms, then knead on a floured surface for 8 to 10 minutes, adding the remaining flour as needed until the dough is smooth and elastic.
- Rise and Shape: Place the dough in a greased bowl, cover, and let rise in a warm spot for 1 hour, or until doubled in size. Punch down the dough and divide it into four equal balls. Arrange the balls closely together on a parchment-lined baking sheet to form a clover shape. Cover and let rise for another 30 minutes.
- Bake: Preheat the oven to 375°F (190°C). Brush the dough with beaten egg and bake for 25 to 30 minutes, or until golden brown and hollow-sounding when tapped.
- Serve: Let the bread cool slightly before hollowing out the center of each section to use as bread bowls for soup or dip.
Notes
- For a rustic touch, sprinkle sesame seeds or coarse salt on top before baking.
- This bread can be made a day ahead and reheated in the oven.
- Prep Time: 20 minutes
- Cook Time: 30 minutes
- Category: Bread
- Method: Baking
- Cuisine: American
Nutrition
- Serving Size: 1 bread bowl
- Calories: 260
- Sugar: 2 g
- Sodium: 470 mg
- Fat: 5 g
- Saturated Fat: 1 g
- Unsaturated Fat: 3.5 g
- Trans Fat: 0 g
- Carbohydrates: 46 g
- Fiber: 2 g
- Protein: 7 g
- Cholesterol: 20 mg


