If you’ve ever wondered how to make coconut flour at home, you’re in for a wonderful treat! This ultra-fine, aromatic flour brings a gorgeous hint of coconut flavor to anything it touches and is a go-to for anyone who loves gluten-free, paleo, or low-carb baking. Making your own coconut flour is both simple and incredibly satisfying, and you’ll adore having a jar of fresh, homemade coconut flour ready to go for your favorite recipes.
Ingredients You’ll Need
-
Ingredients:
- 2 cups unsweetened shredded coconut
How to Make Coconut Flour
Step 1: Blend the Coconut
Place your unsweetened shredded coconut into a high-speed blender or food processor. Blitz it up until it forms a fine, crumbly meal—this transforms the coconut into a consistency that will dry quickly in the oven. It’s important not to over-blend at this stage, since we’re not trying to make coconut butter, just a very fine meal.
Step 2: Dry the Meal in the Oven
Preheat your oven to 200°F (95°C). Line a baking sheet with parchment paper, then spread your coconut meal out evenly. The key here is low and slow baking, which removes moisture without browning or toasting the coconut. Bake for 45 minutes to 1 hour, stirring every so often to ensure all parts dry out evenly. It’s done when it’s dry to the touch and no longer clumps together.
Step 3: Blend into Flour
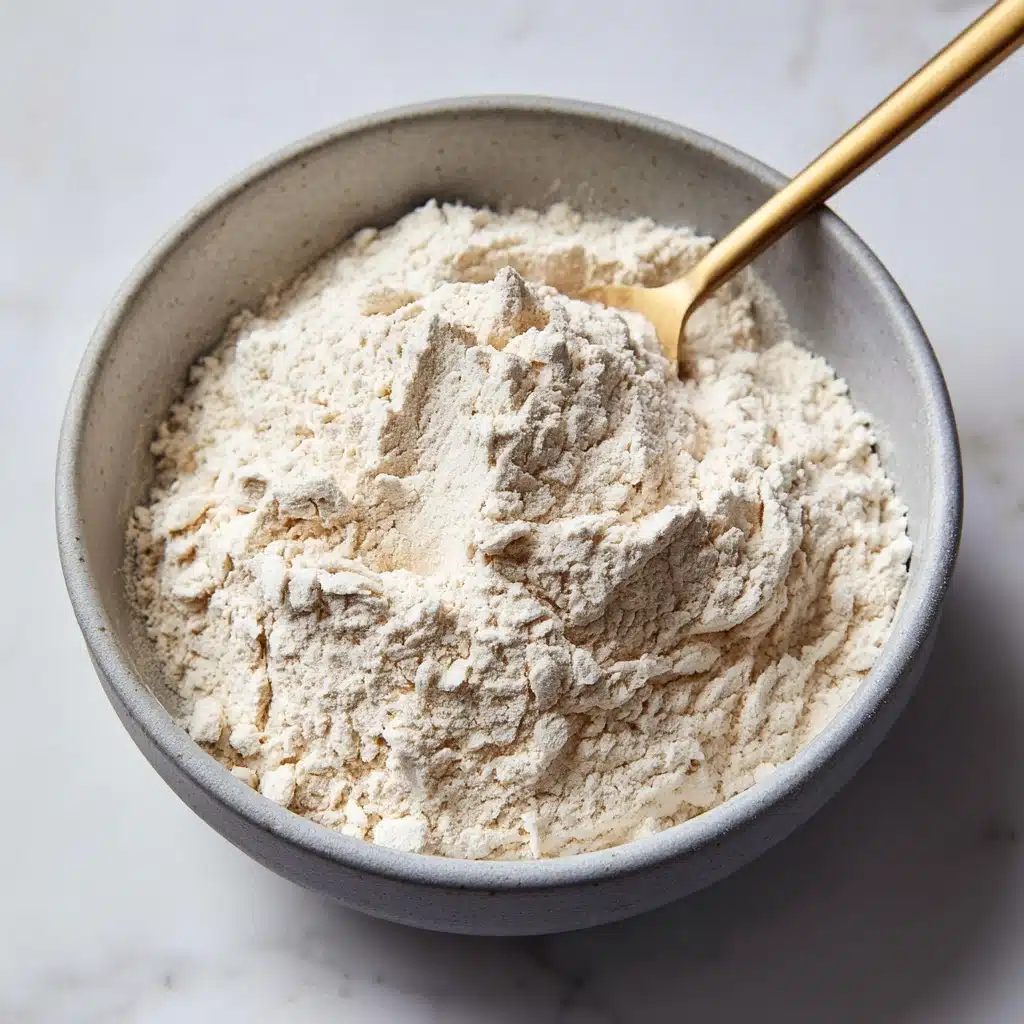
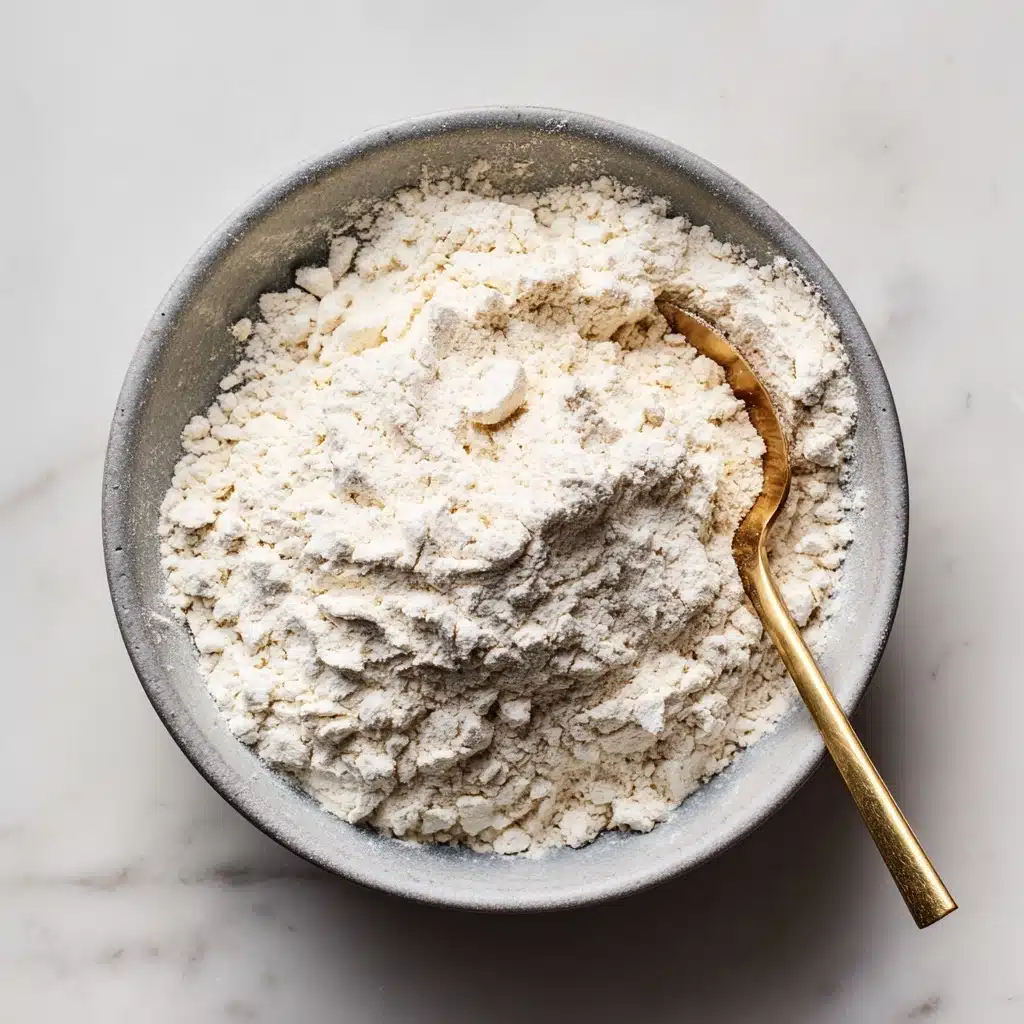
Once the dried coconut meal has cooled completely, transfer it back into a clean blender or a spice grinder. This second blitz will turn it into a super-fine powder—the soft, fluffy texture that makes coconut flour so unique and gorgeous in baking. Don’t rush; pulse until the tiniest crumbs disappear.
Step 4: Sift and Store
Pour the processed flour through a sieve or fine strainer to sift out any larger bits. This step gives you the silkiest coconut flour possible, which blends seamlessly into recipes. Transfer your finished flour to an airtight jar or container and store it in a cool, dry place. For longer shelf life, you can even keep it in the fridge or freezer.
How to Serve Coconut Flour

Garnishes
Coconut flour is most commonly used as an ingredient, but it can also add personality to a dish when sprinkled on top for garnish. Try dusting a spoonful over smoothie bowls, parfaits, or fresh fruit to add a delicate, nutty finish and a hint of tropical aroma.
Side Dishes
Once you have homemade coconut flour on hand, you’ll find endless ways to incorporate it. Whisk it into gluten-free pancakes, use it to bread chicken or fish for a crisp coating, or even add a scoop to homemade energy bites. Its subtle coconut taste brings an unexpected flair to all sorts of side dishes.
Creative Ways to Present
For a special touch, gift your coconut flour in a glass jar tied with a pretty ribbon and a handwritten label. Pair it with your favorite coconut flour recipe card or bake a batch of coconut muffins to share with friends and family. Its snowy-white color looks beautiful layered in a pantry or given as a thoughtful homemade treat.
Make Ahead and Storage
Storing Leftovers
To keep your coconut flour fresh, store it in an airtight container in a cool, dry cupboard. Because homemade coconut flour contains small amounts of natural oils, it’s best not to leave it out in the open for long periods. Used within a month, your flour will taste just as delicious and fragrant as the day you made it.
Freezing
For even longer life, coconut flour can be stored in the freezer. Simply transfer your flour into a freezer-safe bag with as much air removed as possible. It will keep beautifully for several months, with no change in flavor or texture. Just let it come to room temperature before using in recipes.
Reheating
While you never really need to “reheat” coconut flour, if you notice it’s picked up any moisture in the fridge or freezer, you can gently re-dry it. Spread the flour out on a baking sheet and warm it in a 200°F oven for about 10 minutes, then let it cool before returning to storage.
FAQs
Can I make coconut flour from sweetened coconut?
Technically, yes, but it’s not recommended. Sweetened coconut has added sugars and moisture, which can affect the texture, flavor, and how well the flour works in recipes. Stick to unsweetened shredded coconut for best results and more versatility.
Is coconut flour the same as ground coconut flakes?
No, coconut flour is much finer and more powdery than ground coconut flakes. The special process of blending, drying, and re-blending creates that signature flour-like texture, making it ideal for seamless mixing into baked goods and batters.
How absorbent is coconut flour compared to other flours?
Coconut flour is incredibly absorbent—much more so than regular wheat or almond flour. This means you need far less in recipes, and you’ll usually need to add extra liquids or eggs to ensure a moist, tender result in your baking.
Do I need any special equipment to make coconut flour?
A high-speed blender, food processor, or spice grinder is really all you need to get that fine, fluffy texture. If you don’t have one, making a smaller batch in a powerful coffee grinder can also work beautifully.
How do I use coconut flour in recipes?
You’ll get the best results using coconut flour in recipes that are specifically designed for it. Because of its absorbency and lack of gluten, it can’t always be swapped in at a 1:1 ratio with other flours. Start with trusted coconut flour recipes and experiment from there!
Final Thoughts
There’s something so rewarding about creating your own coconut flour, and it opens up a world of gluten-free, nutritious cooking at home. Give it a try—your next batch of muffins, pancakes, or homemade bread will truly thank you!
Print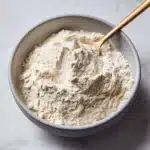
Coconut Flour Recipe
- Total Time: 1 hour 10 minutes
- Yield: 1 to 1¼ cups coconut flour 1x
- Diet: Vegetarian
Description
Learn how to make your own coconut flour at home with just one simple ingredient – unsweetened shredded coconut. This DIY coconut flour recipe is gluten-free, paleo, keto, and vegan, perfect for those following specific dietary needs.
Ingredients
Ingredients:
- 2 cups unsweetened shredded coconut
Instructions
- Preheat your oven: Preheat your oven to 200°F (95°C).
- Blend the coconut: Place the shredded coconut in a high-speed blender or food processor and blend until it turns into a fine, crumbly meal.
- Bake the coconut: Spread the coconut meal on a baking sheet lined with parchment paper. Bake for 45 minutes to 1 hour, stirring occasionally until completely dry but not browned.
- Cool and process: Allow the baked coconut to cool, then transfer it to a clean blender or spice grinder and process until it becomes a fine flour.
- Sift and store: Sift the flour to remove any large pieces and store it in an airtight container in a cool, dry place.
Notes
- Use dried, unsweetened coconut for best results.
- Homemade coconut flour is best used in recipes that specifically call for it due to its unique absorbency.
- Store in the refrigerator or freezer for longer shelf life.
- Prep Time: 10 minutes
- Cook Time: 1 hour
- Category: DIY
- Method: Baking
- Cuisine: International
Nutrition
- Serving Size: 2 tablespoons
- Calories: 60
- Sugar: 1g
- Sodium: 5mg
- Fat: 3.5g
- Saturated Fat: 3g
- Unsaturated Fat: 0.5g
- Trans Fat: 0g
- Carbohydrates: 6g
- Fiber: 4g
- Protein: 2g
- Cholesterol: 0mg


