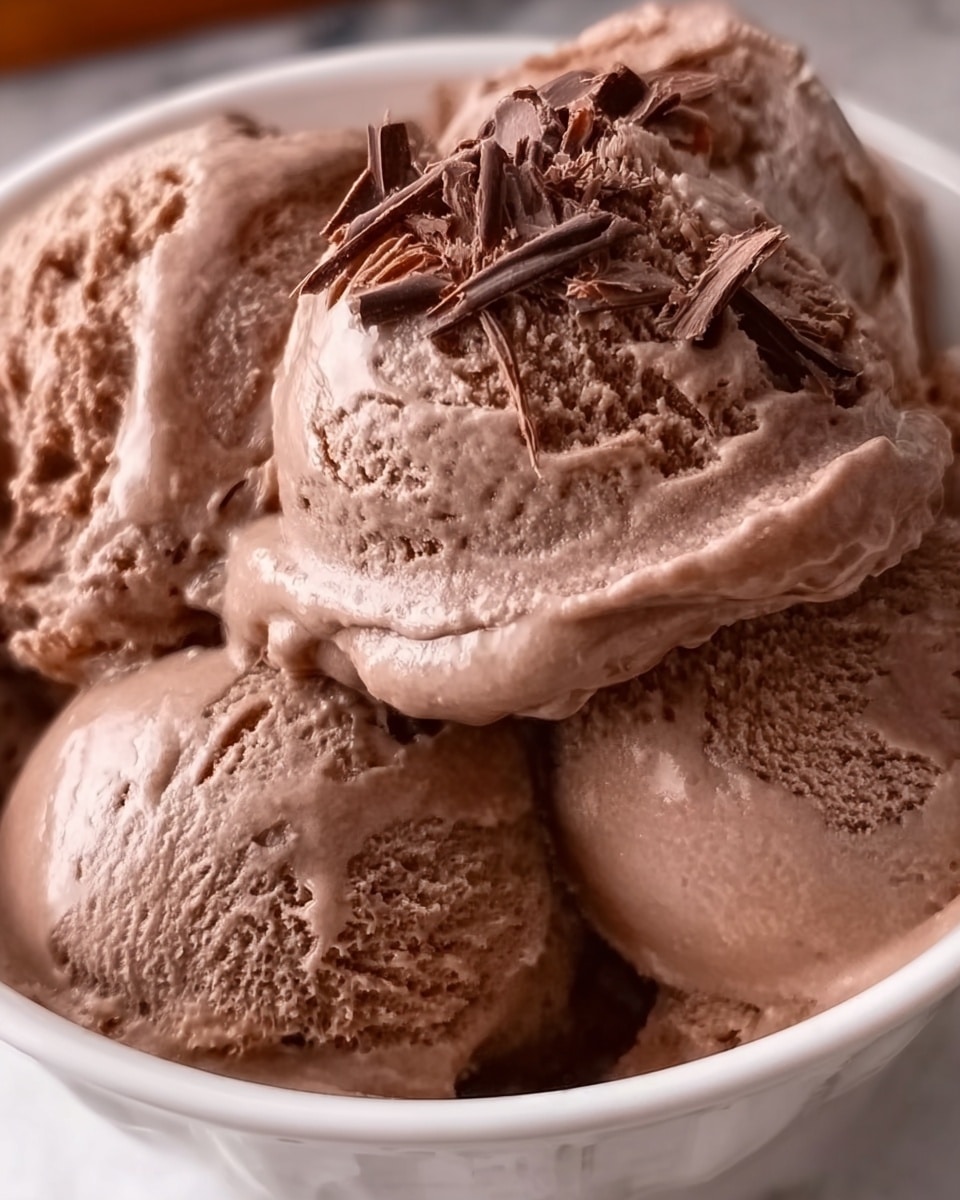
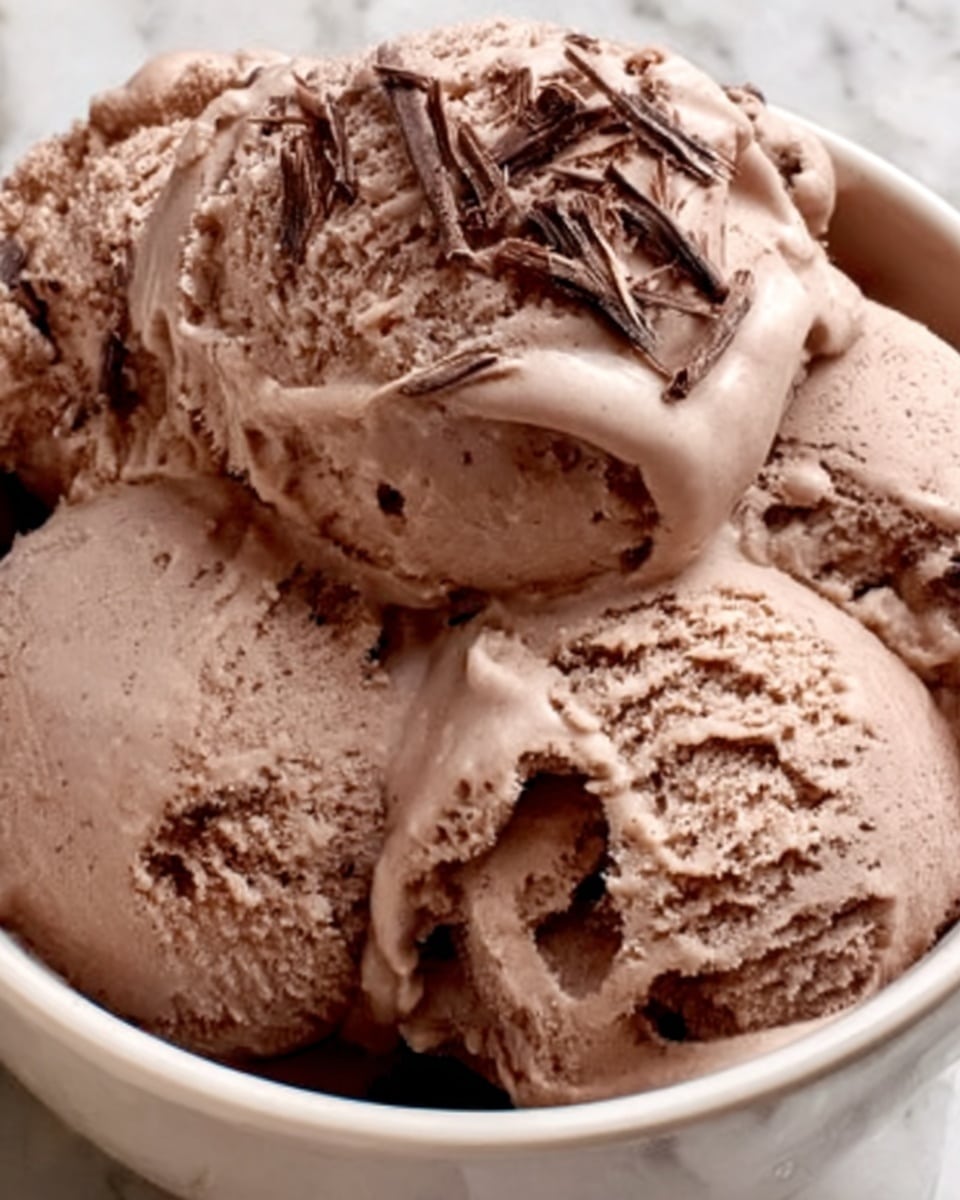
If you are a chocolate lover searching for the ultimate frozen treat, you simply must try this Creamy Frozen Chocolate Ice Cream Recipe. It is a luscious, velvety dessert that perfectly balances rich cocoa flavors with a smooth, melt-in-your-mouth texture. This recipe transforms simple ingredients into a delightful frozen masterpiece that both kids and adults will rave about. Whether it’s a warm summer day or a special occasion, this ice cream will quickly become your go-to favorite for satisfying chocolate cravings in the most luxurious way possible.
Ingredients You’ll Need
Gathering your ingredients for this recipe is refreshingly simple, but each component plays a crucial role in building that creamy texture and deep chocolate flavor that makes this ice cream irresistible. From the richness of heavy cream to the bittersweet charm of dark chocolate, every element is essential for the perfect scoop.
- Heavy cream: The secret to a luxuriously smooth and creamy base.
- Whole milk: Adds body and balances the richness of the cream.
- Granulated sugar: Sweetens the ice cream while helping to improve texture.
- Unsweetened cocoa powder: Provides intense, pure chocolate flavor.
- Semi-sweet or dark chocolate, finely chopped: Melts into the base, intensifying chocolate depth and smoothness.
- Vanilla extract: Enhances and rounds out the chocolate notes beautifully.
- Pinch of salt: A subtle ingredient that heightens all the flavors.
How to Make Creamy Frozen Chocolate Ice Cream Recipe
Step 1: Combine Dry Ingredients
Start by whisking together the sugar, cocoa powder, and pinch of salt in a medium saucepan. This blend ensures that your chocolate flavor will be even throughout and the sugar begins dissolving early to avoid grit in your final ice cream.
Step 2: Heat with Milk
Add the whole milk to your dry ingredients and heat the mixture over medium heat, stirring constantly to prevent scorching. The goal here is to warm the mixture just enough for the sugar and cocoa powder to dissolve smoothly without boiling, which keeps the texture silky and prevents bitterness.
Step 3: Melt the Chocolate
Once the mixture is hot and smooth, remove it from the heat and stir in your finely chopped semi-sweet or dark chocolate. Keep stirring until the chocolate has fully melted, creating a beautifully glossy and richly flavored base that’s the heart of this recipe.
Step 4: Add Cream and Vanilla
Next, fold in the heavy cream and vanilla extract. The cream adds lushness, while the vanilla complements the cocoa with a warm, sweet aroma. Combine everything thoroughly for an indulgent mixture that will become the base of your ice cream.
Step 5: Chill the Mixture
Cover your mixture and chill it in the refrigerator for at least 2 to 4 hours, or even better, overnight. This chilling period is crucial as it allows the flavors to meld and the base to thicken, which improves both texture and taste once churned.
Step 6: Churn Your Ice Cream
Pour the chilled mixture into your ice cream maker and churn following the manufacturer’s instructions. This process aerates the ice cream, incorporating just enough air for a light, creamy consistency. It usually takes around 20 to 25 minutes for it to reach soft-serve texture.
Step 7: Freeze Until Firm
Transfer your churned ice cream into an airtight container and freeze it for at least 2 hours to firm up. This step ensures you’ll be able to scoop perfect, creamy portions every time you serve.
Step 8: Scoop and Enjoy!
Now you’re ready to indulge in your homemade delight! Scoop generous servings and watch as the creamy texture and rich chocolate flavor bring instant joy to every bite.
How to Serve Creamy Frozen Chocolate Ice Cream Recipe
Garnishes
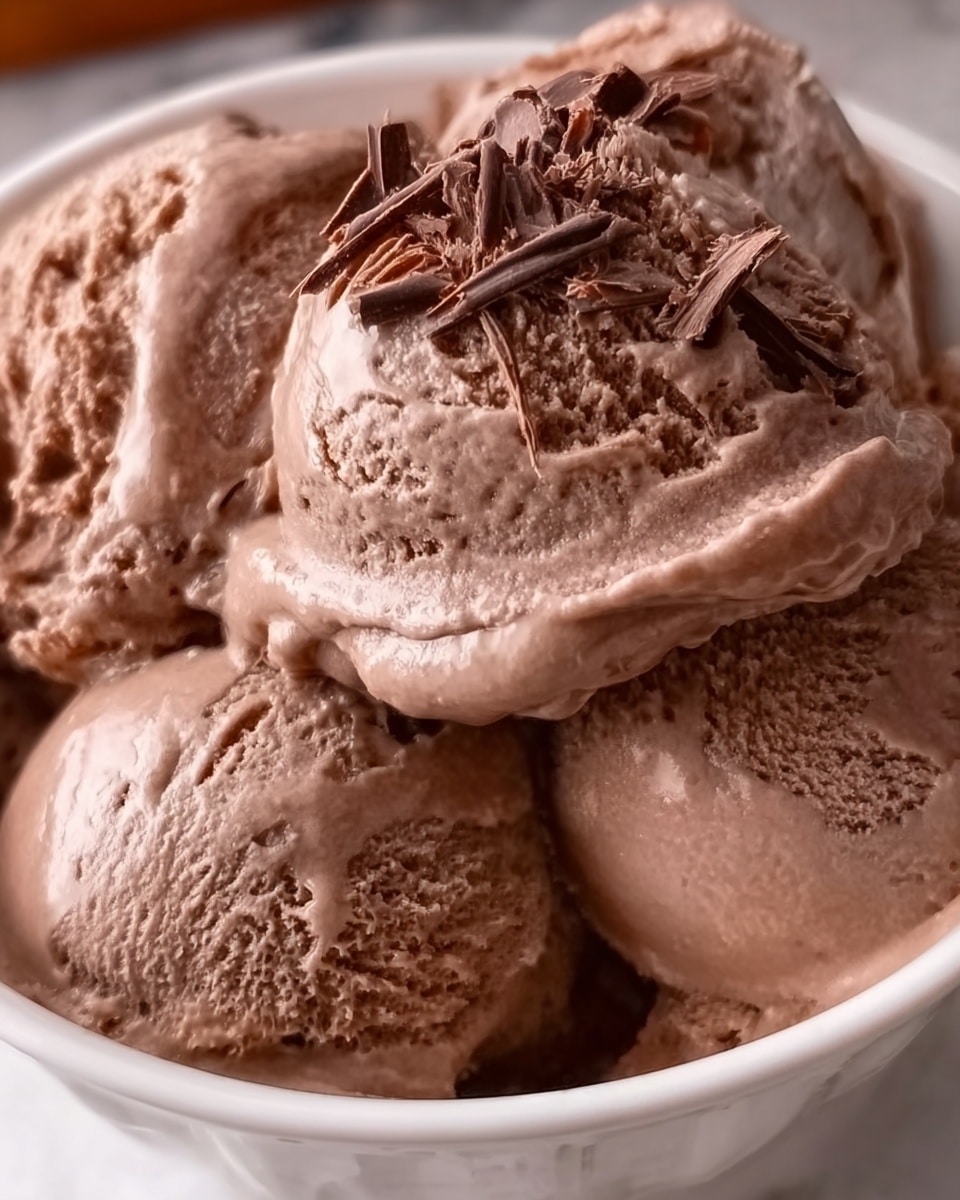
Top your ice cream with crunchy chocolate shavings, chopped nuts, or a drizzle of caramel or raspberry sauce. Fresh berries or a sprig of mint can also add a pop of color and freshness, making every serving feel like a treat crafted just for you.
Side Dishes
This ice cream pairs wonderfully with warm desserts like brownies, chocolate lava cake, or fruit cobblers. It also complements crisp cookies or waffle cones for a fun, textured contrast that elevates the whole experience.
Creative Ways to Present
Try serving scoops in chocolate-dipped waffle bowls or layer it into parfait glasses with brownie chunks and whipped cream. You can even sandwich it between homemade cookies for an irresistible ice cream sandwich that delights both the eyes and the palate.
Make Ahead and Storage
Storing Leftovers
Stored properly in an airtight container, any leftover ice cream will maintain its creamy texture and flavor for up to a week. Just be sure to press a piece of parchment paper directly on the surface before sealing to prevent ice crystals from forming.
Freezing
The ice cream will stay fresh and delicious in the freezer for about 2 weeks. After this, you may notice some texture changes, but it will still taste great – perfect for satisfying spontaneous chocolate cravings.
Reheating
Reheating isn’t typically necessary, but if the ice cream becomes too hard to scoop, allow it to sit at room temperature for 5 to 10 minutes before serving. This short wait will soften it to the ideal creamy consistency without losing its luxurious texture.
FAQs
Can I make this recipe without an ice cream maker?
Yes! You can pour the mixture into a shallow container and freeze it, stirring vigorously every 30 minutes for 2 to 3 hours to break up ice crystals. It won’t be quite as smooth but will still be delicious.
What type of chocolate works best?
Semi-sweet or dark chocolate with at least 60% cocoa content gives the best balance of sweetness and rich flavor, perfect for this creamy frozen chocolate ice cream recipe.
Is it possible to use a milk substitute?
Whole milk is preferred for creaminess and texture, but full-fat coconut milk can be a great dairy-free alternative, adding a unique twist while keeping the ice cream rich and velvety.
Can I add mix-ins like nuts or chocolate chips?
Absolutely! Add your favorite mix-ins in the last 5 minutes of churning to distribute them evenly without affecting the ice cream’s smooth texture.
How long does the chilling step really take?
Chilling for at least 2 to 4 hours is necessary to allow flavors to meld and the base to thicken, which helps create that signature creamy texture once churned. Overnight chilling yields the best results.
Final Thoughts
There’s something magical about making your own ice cream from scratch, especially when it’s as incredibly smooth and bursting with chocolate flavor as this Creamy Frozen Chocolate Ice Cream Recipe. It’s genuinely one of those desserts that feels like a special treat yet is so simple to whip up. I encourage you to give it a try and watch your family and friends light up with every scoop!
Print
Creamy Frozen Chocolate Ice Cream Recipe
- Total Time: 4 hours 25 minutes
- Yield: 6 servings 1x
Description
This creamy frozen chocolate ice cream recipe yields a rich, smooth, and decadent treat perfect for chocolate lovers. Made with real cocoa powder and chopped dark chocolate, it blends the deep chocolate flavor with the luscious creaminess of heavy cream and whole milk. Churned in an ice cream maker and frozen until firm, this homemade dessert is simple to prepare and sure to satisfy any sweet tooth.
Ingredients
Chocolate Base
- 3/4 cup granulated sugar
- 1/2 cup unsweetened cocoa powder
- Pinch of salt
- 1 cup whole milk
- 4 oz semi-sweet or dark chocolate, finely chopped
Cream Mixture
- 2 cups heavy cream
- 1 teaspoon vanilla extract
Instructions
- Combine Dry Ingredients: In a medium saucepan, whisk together the sugar, cocoa powder, and a pinch of salt to ensure even distribution of flavors and prevent lumps.
- Add Milk and Heat: Stir in the whole milk and place the saucepan over medium heat. Cook, stirring constantly, until the mixture is hot and the cocoa and sugar are fully dissolved, making sure not to let it boil to avoid curdling.
- Melt Chocolate: Remove the pan from heat and immediately add the finely chopped semi-sweet or dark chocolate. Stir until the chocolate is completely melted and the mixture is smooth and glossy.
- Incorporate Cream and Vanilla: Stir in the heavy cream and vanilla extract, mixing thoroughly to combine all ingredients evenly for a rich, creamy base.
- Chill Mixture: Cover the saucepan and refrigerate the mixture for at least 2 to 4 hours, or ideally overnight, to allow the flavors to meld and the base to chill thoroughly for best churning results.
- Churn Ice Cream: Once chilled, pour the mixture into an ice cream maker and churn according to the manufacturer’s instructions, typically about 20 to 25 minutes, until the mixture thickens to a soft-serve consistency.
- Freeze to Firm Up: Transfer the churned ice cream to an airtight container and freeze for at least 2 hours to let it harden to scoopable firmness.
- Serve: Scoop the creamy homemade chocolate ice cream into bowls or cones and enjoy the rich, velvety dessert.
Notes
- For a stronger chocolate flavor, use a higher percentage dark chocolate or add a tablespoon of espresso powder during heating.
- Do not boil the milk and cocoa mixture to maintain smooth texture without curdling.
- Chilling the mixture overnight improves texture and flavor development.
- If you don’t have an ice cream maker, place the mixture in a shallow container and freeze, stirring every 30 minutes to break up ice crystals until firm.
- Store leftover ice cream in an airtight container to prevent ice crystals and freezer burn.
- Prep Time: 15 minutes
- Cook Time: 10 minutes
- Category: Dessert
- Method: Churning
- Cuisine: American
