Dreaming of making authentic and nourishing Cultured Dairy and Fermented Milk at home? This recipe opens the door to a world of creamy, tangy, probiotic-rich delights that are endlessly versatile and so much fun to make. Let’s dive into the process of transforming simple milk into yogurt, kefir, or buttermilk you’ll want to spoon, pour, and savor every day. The magic of Cultured Dairy and Fermented Milk isn’t just in the flavor and texture, but in how empowering and easy it is to create these classics from scratch in your own kitchen!
Ingredients You’ll Need
-
For Yogurt:
- 4 cups whole milk (preferably non-UHT, organic)
- 2 tablespoons live active culture (such as plain yogurt)
- Optional: 2 tablespoons heavy cream
For Kefir:
- 4 cups whole milk (preferably non-UHT, organic)
- 2 tablespoons kefir grains
For Buttermilk:
- 4 cups whole milk (preferably non-UHT, organic)
- 2 tablespoons mesophilic starter
How to Make Cultured Dairy and Fermented Milk
Step 1: Prepare and Heat the Milk
Start by pouring your milk (and optional cream) into a clean pot. For yogurt, gently heat the milk to 180°F (82°C) — this helps ensure a thicker texture and mellow flavor by denaturing the proteins. If you’re making kefir or buttermilk, you can keep things even simpler: just bring the milk to room temperature, between 70 and 77°F (21–25°C), no stovetop needed!
Step 2: Cool the Milk to Culturing Temperature
If you heated your milk, give it time to cool down. For yogurt, aim for about 110°F (43°C), the sweet spot for those friendly cultures to thrive. For mesophilic cultures like kefir and buttermilk, simply make sure the milk stays at room temperature. Patience here pays off—a thermometer works wonders for accuracy.
Step 3: Add the Live Culture
Spoon in your live active culture or kefir grains, and stir gently to distribute them evenly. This is where the transformation begins! Avoid vigorous stirring, which can break down the milk’s natural structure—gentle is best for creamy Cultured Dairy and Fermented Milk.
Step 4: Incubate and Ferment
Pour your inoculated milk into a pristine glass jar and cover it (with a lid or cloth, depending on your culture). Let the mixture sit at the right temperature: Yogurt loves cozy warmth at around 110°F (43°C) for 6–12 hours. Kefir and buttermilk thrive at room temp but need a bit more time—kefir for 24–48 hours, buttermilk for 12–24 hours. Watch for signs of thickening, gentle tanginess, and maybe just a hint of separation.
Step 5: Taste, Chill, and Store
Check your Cultured Dairy and Fermented Milk when it starts looking set, creamy, and a little tangy. Once it meets your taste, move the jar into the refrigerator—this halts fermentation and thickens things up a bit more. After a few hours, it’s ready to enjoy. If you’re making kefir, don’t forget to strain out and save your grains for the next batch.
How to Serve Cultured Dairy and Fermented Milk

Garnishes
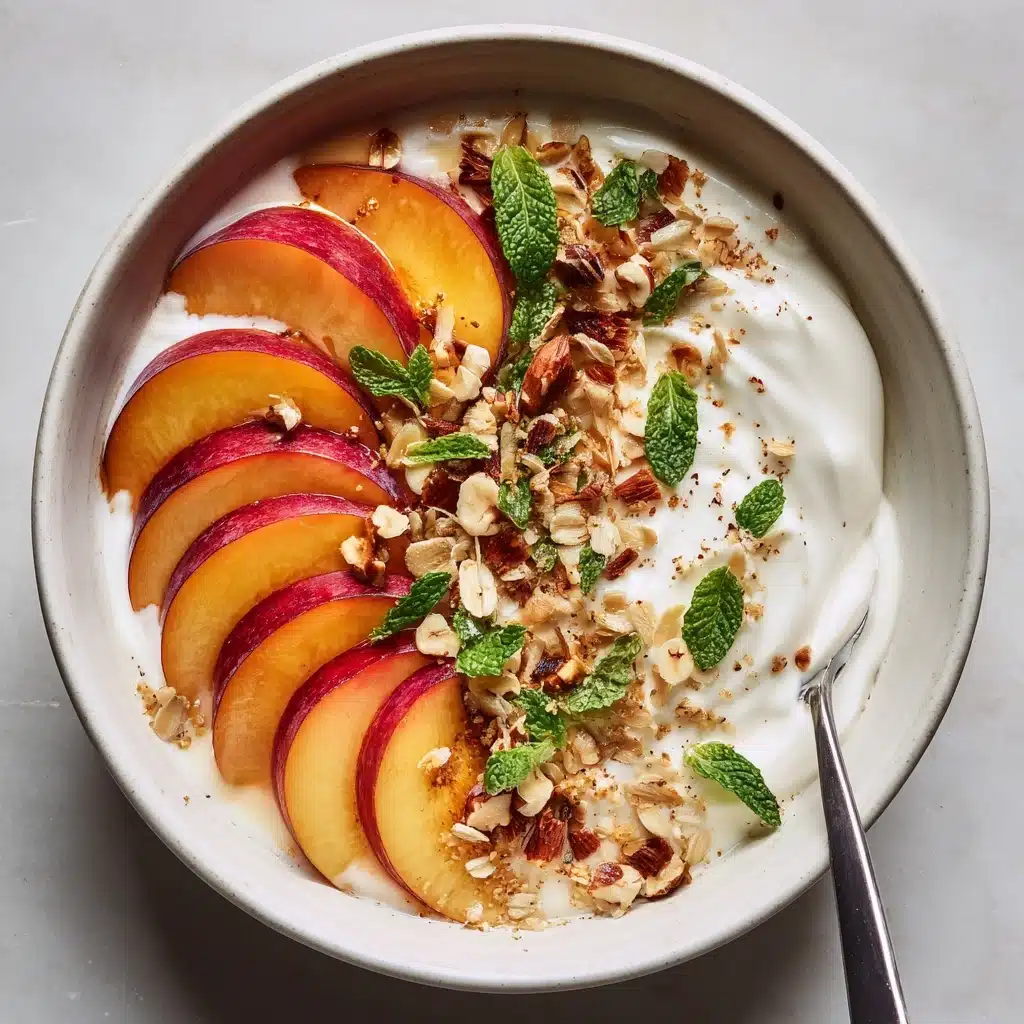
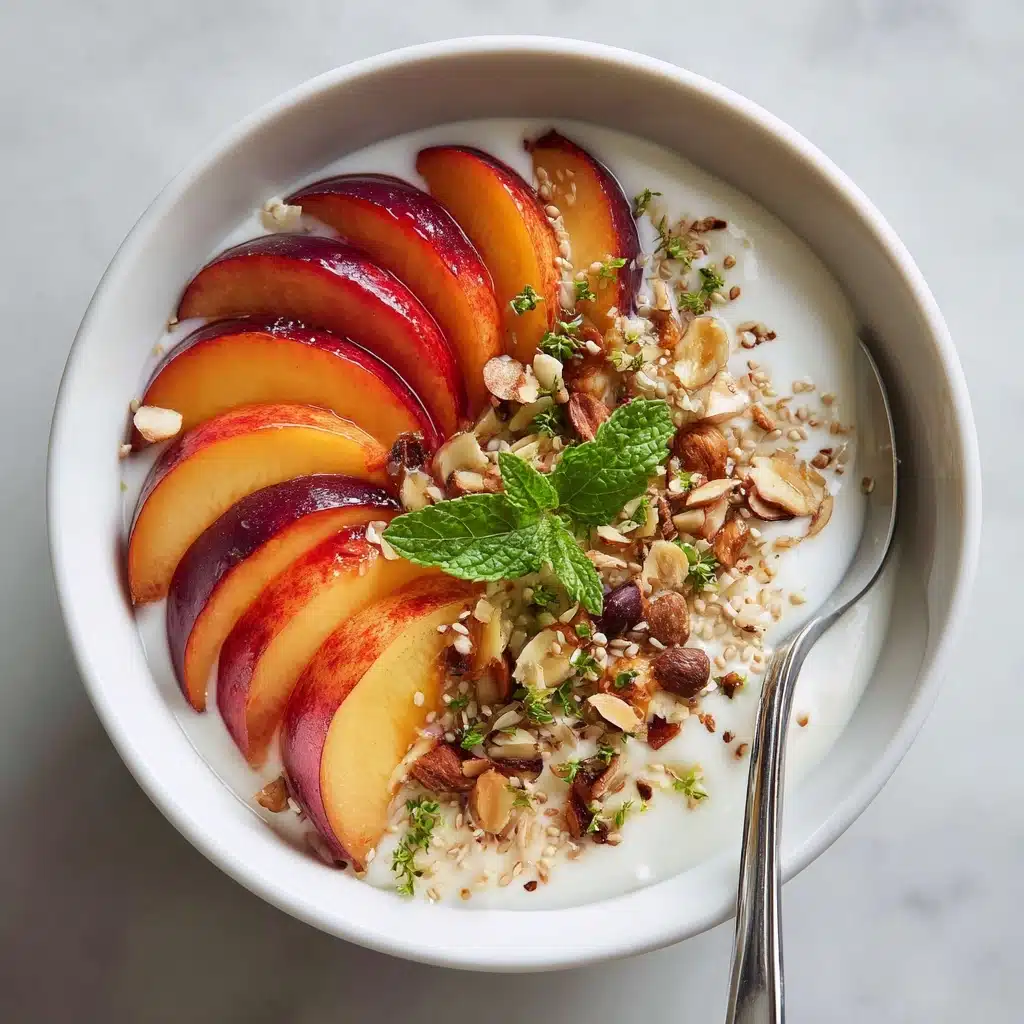
Your freshly-cultured creation is fantastic as is, but the right toppings can take it to another level. I love a swirl of honey, fresh berries, toasted seeds, or even a sprinkle of flaky sea salt. Each accent complements the tangy, creamy goodness of Cultured Dairy and Fermented Milk in a unique way.
Side Dishes
Cultured Dairy and Fermented Milk is a star next to warm granola, fresh fruit salad, and crusty sourdough bread. Or, serve it as a refreshing side to spicy curries, rich meat dishes, or roasted vegetables to balance flavors and cool your palate.
Creative Ways to Present
Think beyond the bowl! Layer your Cultured Dairy and Fermented Milk in a parfait, use it as a dipping sauce for savory fritters, or turn it into a base for chilled soups or smoothies. A drizzle of olive oil and cracked pepper makes it the perfect starter with grilled bread.
Make Ahead and Storage
Storing Leftovers
Homemade Cultured Dairy and Fermented Milk will keep beautifully in the fridge in a well-sealed jar or container for up to 1–2 weeks. Give it a gentle stir before each use to re-incorporate any whey separation, and always use a clean spoon to keep things fresh.
Freezing
While freezing is possible, it may change the texture of yogurt or buttermilk, making it a bit grainy when thawed—still delicious for smoothies or baking. Kefir can also be frozen but try to strain out the grains first for best results and store the grains separately if you want to revive them later.
Reheating
Generally, you won’t need to reheat Cultured Dairy and Fermented Milk, as the beauty lies in its cool, creamy freshness. If you need it at room temp, just let the desired portion sit out for a bit—never heat it directly, as high temperatures can kill those beneficial cultures.
FAQs
Can I use low-fat or skim milk instead of whole milk?
Yes, you can use any milk you like, but whole milk results in a creamier texture and richer taste. Reduced-fat milks tend to yield a thinner Cultured Dairy and Fermented Milk.
What’s the difference between yogurt, kefir, and buttermilk?
They’re all fabulous forms of Cultured Dairy and Fermented Milk, but each is made with different cultures and fermentation techniques, leading to unique textures and flavors—yogurt is smooth and spoonable, kefir is pourable and slightly effervescent, and buttermilk is tangy and thin.
How do I know if my batch has spoiled?
Homemade Cultured Dairy and Fermented Milk should smell pleasantly tangy, never foul or yeasty. Discard it if you see mold, pink or green spots, or detect any unusual odors.
Can I flavor my Cultured Dairy and Fermented Milk during fermentation?
It’s best to add flavors like fruits, sweeteners, or spices after fermentation—this preserves the integrity of the cultures and gives you the option to customize each serving.
Will my next batch be as good if I save some as a starter?
Absolutely! Many home fermenters find that the flavor and consistency improve with practice. Just reserve a few spoonfuls of finished Cultured Dairy and Fermented Milk as your starter for the next batch—your personal culture will only get better!
Final Thoughts
If you’ve ever wanted to explore the world of Cultured Dairy and Fermented Milk, trust me, you’ll love how empowering and rewarding this simple method can be. Once you taste the vibrant tang and mesmerizing creaminess of your own batch, you won’t want to go back. Give it a try—you’ll be hooked!
Print
Cultured Dairy and Fermented Milk Recipe
- Total Time: 15 minutes (plus fermentation time)
- Yield: 4 cups 1x
- Diet: Vegetarian
Description
Learn how to make your own cultured dairy and fermented milk at home, including yogurt, kefir, and buttermilk. These probiotic-rich foods are delicious and easy to prepare.
Ingredients
For Yogurt:
- 4 cups whole milk (preferably non-UHT, organic)
- 2 tablespoons live active culture (such as plain yogurt)
- Optional: 2 tablespoons heavy cream
For Kefir:
- 4 cups whole milk (preferably non-UHT, organic)
- 2 tablespoons kefir grains
For Buttermilk:
- 4 cups whole milk (preferably non-UHT, organic)
- 2 tablespoons mesophilic starter
Instructions
- Heat the Milk: Gently heat the milk to 180°F (82°C) for yogurt or to room temperature for mesophilic cultures like buttermilk or kefir.
- Add Culture: Cool milk to appropriate culturing temperature and stir in the active culture or grains.
- Incubate: Pour the mixture into a clean glass jar, cover, and incubate at the proper temperature for each culture type.
- Finish: Refrigerate the cultured milk once thickened or tangy to taste. Stir before serving.
Notes
- Use clean, sanitized utensils and containers
- Save a small portion of each batch to culture the next
- For kefir, remove and reuse grains for continuous batches
- Avoid adding fruit or honey during fermentation
- Prep Time: 10 minutes
- Cook Time: 5 minutes (if heating milk)
- Category: Fermented Foods
- Method: Culturing
- Cuisine: Traditional
Nutrition
- Serving Size: 1/2 cup
- Calories: 80
- Sugar: 6g
- Sodium: 60mg
- Fat: 4g
- Saturated Fat: 2.5g
- Unsaturated Fat: 1.5g
- Trans Fat: 0g
- Carbohydrates: 6g
- Fiber: 0g
- Protein: 4g
- Cholesterol: 15mg


