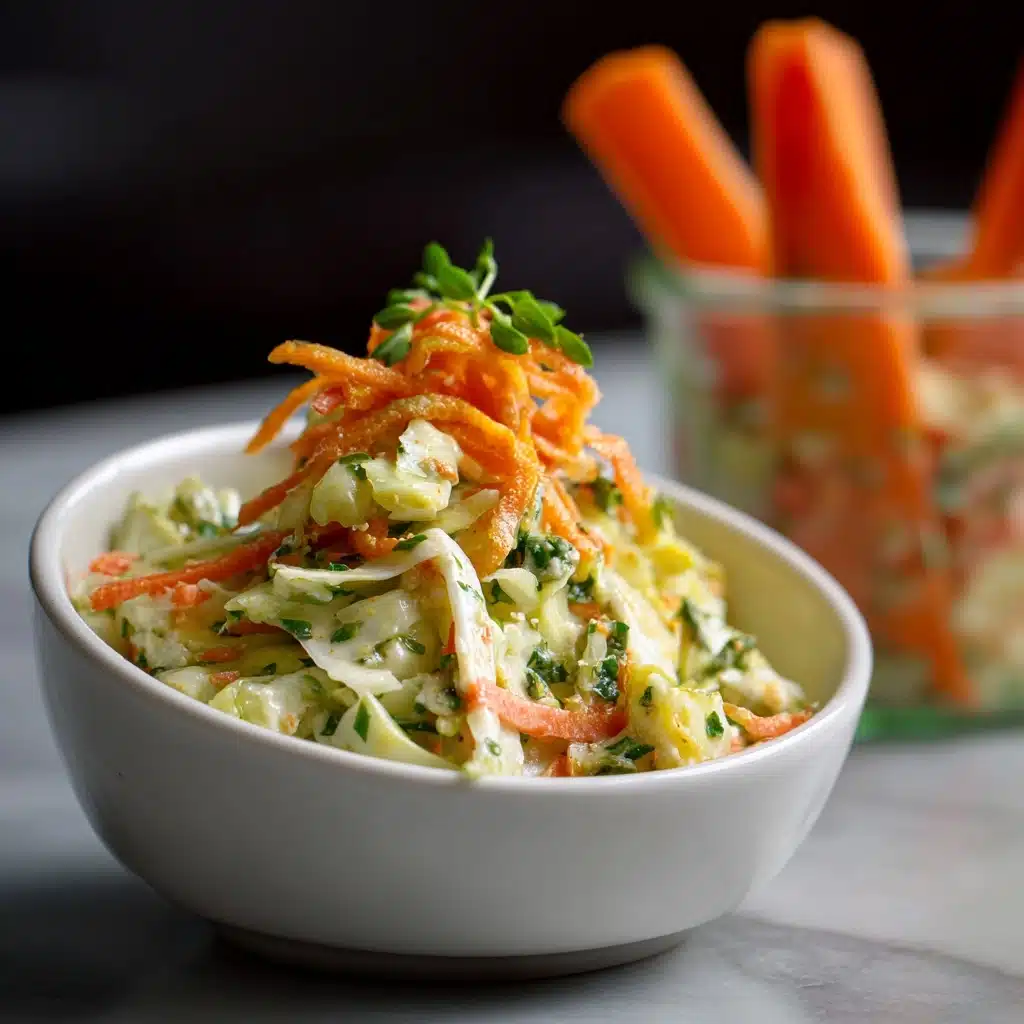
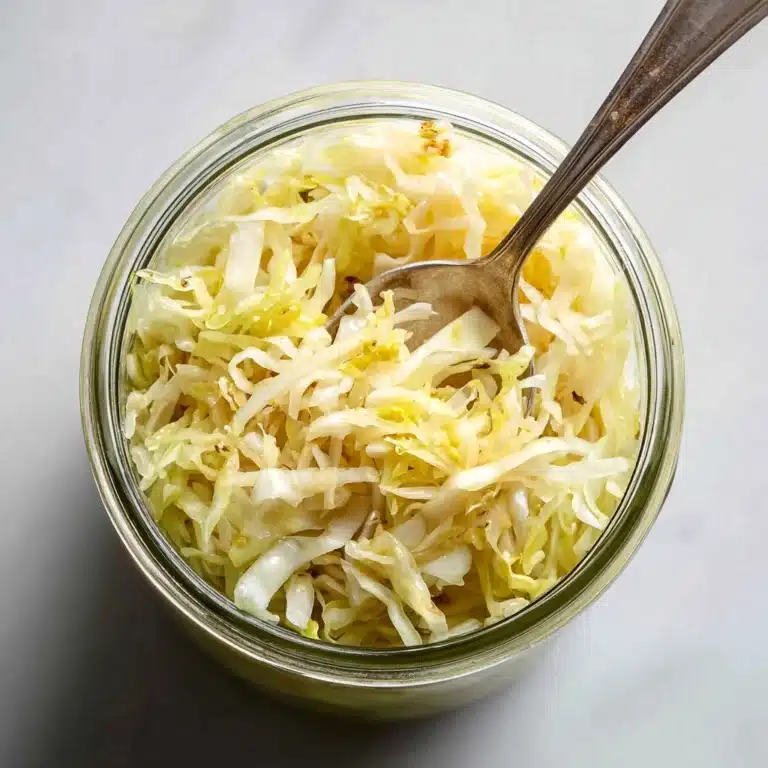
If you’re looking for a fresh, tangy way to boost your gut health and add a pop of flavor to any meal, cultured veggies are your new kitchen staple! This easy method transforms everyday vegetables into zesty probiotic powerhouses brimming with crunch, color, and vibrant taste. Whether you’re new to fermentation or a seasoned fermentista, the flexibility and joyful simplicity of this recipe make it nearly foolproof. From busy weeknights to leisurely brunch spreads, having a jar of homemade cultured veggies in your fridge means you’re always a spoonful away from something exciting.
Ingredients You’ll Need
These few simple ingredients are all it takes to produce fantastic cultured veggies at home. Each element—no matter how basic—plays a special part in helping the flavors sing, the texture crisp, and the finished veggies burst with color.
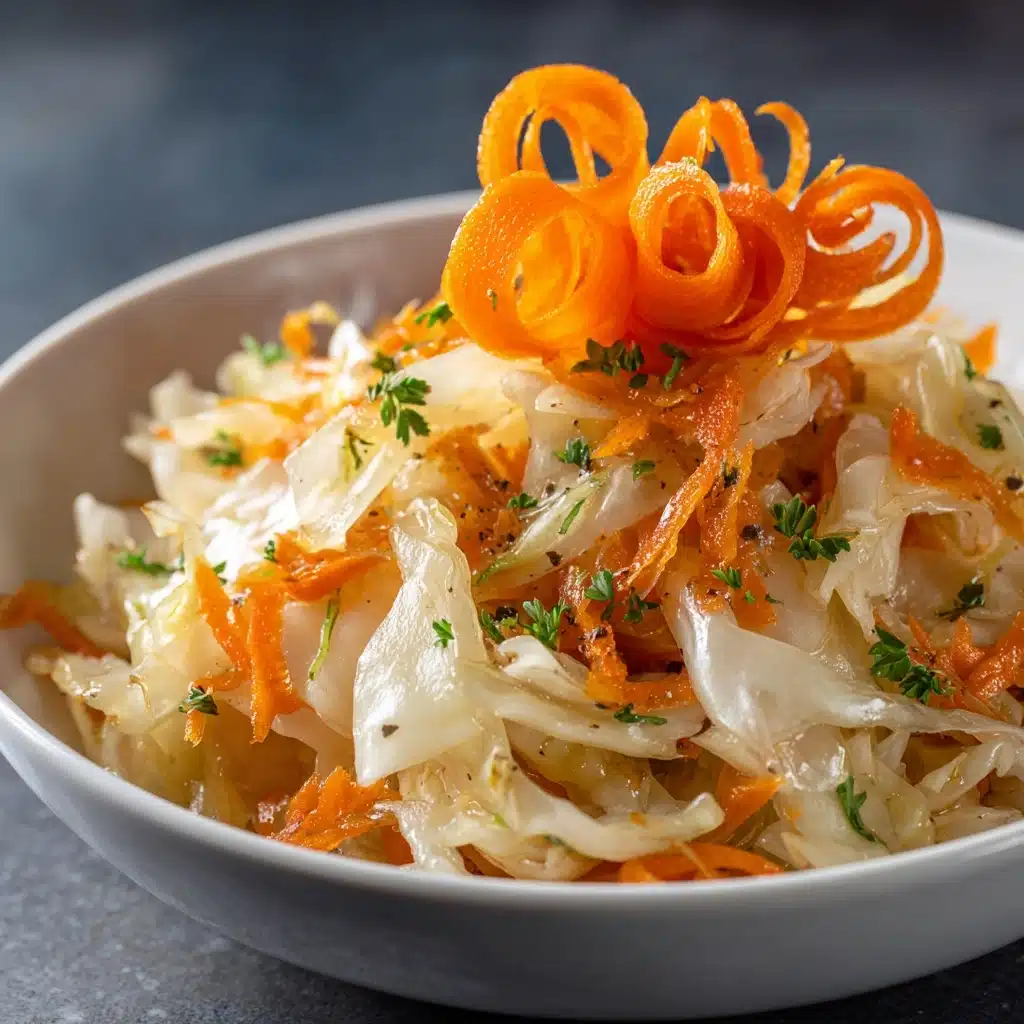
- Shredded or chopped vegetables (4 cups): Mix colors and textures, such as cabbage, carrots, radish, or bell pepper, for eye-catching variety and satisfying crunch.
- Sea salt, non-iodized (1 tablespoon): This is key to drawing out moisture and kickstarting the fermentation magic—avoid iodized or processed salts.
- Garlic, smashed (2 cloves, optional): Brings bold, aromatic notes—try it if you love a bit of garlicky zing!
- Fresh ginger, grated (1 teaspoon, optional): For a gentle heat and peppery fragrance, ginger livens up every bite.
- Filtered water, as needed: Helps keep veggies just under the brine for a crisp, safe ferment—never use chlorinated tap water.
How to Make Cultured Veggies
Step 1: Prep and Salt the Veggies
Start by shredding or chopping your selected vegetables and placing them into a big mixing bowl. Sprinkle warmly with sea salt and then roll up your sleeves—it’s time to massage! Work the salt into the veggies with clean hands, squeezing and mixing for about 5 to 10 minutes, until they feel soft and release a flood of their own juices. This step not only jump-starts fermentation but also ensures your cultured veggies will stay deliciously crisp and well-brined later on.
Step 2: Pack Into the Jar
Transfer the salty veggie mix into a clean quart-sized glass jar. As you add them, press each handful down hard so there are no air pockets, letting the juices rise above the vegetables. If your veggies aren’t fully submerged, add a little filtered water to top it off, making sure to leave at least one inch of space at the top for bubbles and expansion during fermentation. Tuck in the garlic and ginger (if using) for that extra boost of flavor.
Step 3: Weigh Down and Cover
To keep the veggies under the brine (where all the magic happens), place a fermentation weight or a smaller clean jar inside your main jar. This simple trick prevents floating bits from getting exposed to air. Cover the mouth of the jar with a loose lid or a cloth secured with a rubber band—this lets gases escape but keeps dust and bugs away!
Step 4: Ferment and Taste
Set your jar at room temperature, ideally between 65 to 75 degrees Fahrenheit, and let nature take over. Check on your cultured veggies daily, making sure they stay submerged in brine. Within 5 days they’ll be delicious, but if you crave even more tang, let them go up to 10 days. Taste frequently—you’re looking for just the right balance of crunch, flavor, and “zing.”
Step 5: Store and Enjoy
Once your cultured veggies taste just right, remove the weight, seal with a tight lid, and transfer to the fridge. Here they’ll develop even more depth and stay crisp for weeks, ready to lift every meal to new heights!
How to Serve Cultured Veggies

Garnishes
Scatter a sprinkle of fresh herbs—think dill, cilantro, or scallions—over your cultured veggies for a burst of vibrant color and aroma. A squeeze of lemon or a twist of freshly ground pepper can amplify their zest, turning a simple spoonful into a showstopper side or topping.
Side Dishes
Pair your cultured veggies with just about anything! They wake up grain bowls, sandwiches, and grain-free wraps, and they’re fabulous alongside grilled meats or roasted tofu. Try them on avocado toast for a probiotic punch or dotted over simple steamed rice for instant excitement.
Creative Ways to Present
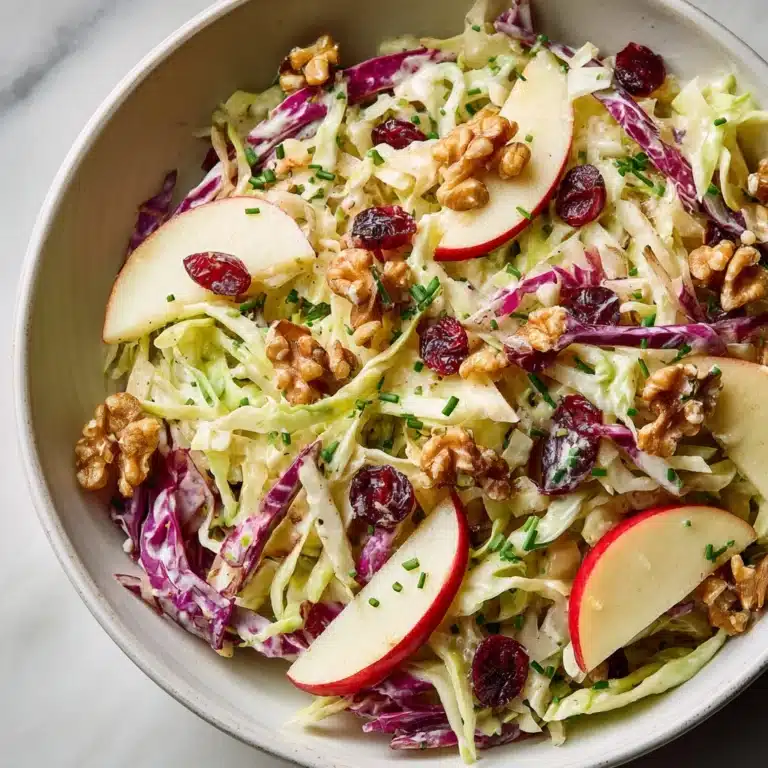
For parties or family spreads, layer your cultured veggies in clear jars or small dishes for a colorful, rainbow-hued salad bar. They make outstanding pizza toppings, nacho fixings, or a tangy twist in tacos and spring rolls. Let your imagination (and taste buds) be your guide!
Make Ahead and Storage
Storing Leftovers
One of the joys of cultured veggies is how beautifully they last. Keep your jar tightly closed in the refrigerator, and you’ll have a flavorful stash on hand for up to two months. Just remember to always use clean utensils to serve and keep the veggies submerged in their brine for peak freshness and crunch.
Freezing
Freezing cultured veggies is possible, but not usually recommended—while freezing won’t harm their safety, it can turn their texture soft and mushy. If you do need to freeze, use them in soups or stews rather than for fresh eating, as their crunch likely won’t survive the chill.
Reheating
It’s best to enjoy cultured veggies cold or at room temperature, as high heat can destroy the beneficial probiotics you worked so hard to develop. If you want to add them to cooked dishes, stir them in just before serving so you get the most out of their zesty, fermented magic.
FAQs
Can I use other vegetables in my cultured veggies?
Absolutely! This recipe is endlessly flexible—try cauliflower, beets, or even shredded brussels sprouts. Just make sure all veggies are clean, fresh, and cut into even pieces so they ferment at the same rate.
What if white film forms on top?
This is often harmless kahm yeast, not mold. Gently skim it off and keep fermenting as long as there’s no off smell or fuzzy growth. If anything ever smells truly unpleasant or moldy, it’s best to start over for safety.
How do I tell if my cultured veggies are done fermenting?
Taste is your guide! After five days, sample a piece—if you love the tang and crunch, they’re ready. If not, let them go a few more days, tasting each day until they reach your perfect flavor.
Can I make cultured veggies without garlic or ginger?
Yes! If you prefer a plainer flavor profile or need to avoid alliums, simply skip the garlic and ginger. The fermentation process will still work perfectly and the veggies will still be punchy and delicious.
Why does my brine look cloudy?
Cloudy brine is completely normal during fermentation! It’s a sign that the process is working and healthy bacteria are forming. Only worry if you see colorful molds or smell something truly off.
Final Thoughts
Making your own cultured veggies is equal parts art, science, and everyday kitchen joy. Each batch is a little different—bold, bright, and never boring! I hope you gather your favorite mix of vegetables and give these tangy wonders a try. Soon, you’ll wonder how you ever cooked without a stash of cultured veggies ready to liven up every meal!
Print
Cultured Veggies Recipe
- Total Time: 5-10 days
- Yield: 1 quart 1x
- Diet: Vegan
Description
Learn how to make your own delicious and nutritious cultured vegetables at home with this easy recipe. These tangy and crunchy veggies are packed with probiotics and are a great addition to your meals.
Ingredients
Vegetables:
- 4 cups shredded or chopped vegetables (e.g., cabbage, carrots, radish, bell pepper)
Others:
- 1 tablespoon sea salt (non-iodized)
- 2 cloves garlic, smashed (optional)
- 1 teaspoon grated fresh ginger (optional)
- Filtered water as needed
Instructions
- Prepare Vegetables: Place the shredded vegetables in a large bowl.
- Add Salt: Sprinkle with sea salt and massage for 5–10 minutes.
- Pack Jar: Pack the vegetables tightly into a clean quart-sized glass jar.
- Add Water: Add filtered water if needed to cover the vegetables.
- Add Flavors: Tuck in garlic and ginger if using.
- Ferment: Cover with a loose lid and ferment at room temperature for 5–10 days.
- Check Daily: Ensure vegetables remain submerged, taste after 5 days.
- Store: Once ready, seal with a tight lid and refrigerate.
Notes
- Use a mix of colorful veggies for visual appeal and variety.
- Always use non-chlorinated water and avoid table salt with additives.
- Once refrigerated, cultured veggies can last up to 2 months.
- Prep Time: 20 minutes
- Cook Time: 0 minutes
- Category: Condiment
- Method: Fermenting
- Cuisine: International
Nutrition
- Serving Size: 1/4 cup
- Calories: 15
- Sugar: 2g
- Sodium: 220mg
- Fat: 0g
- Saturated Fat: 0g
- Unsaturated Fat: 0g
- Trans Fat: 0g
- Carbohydrates: 3g
- Fiber: 1g
- Protein: 0g
- Cholesterol: 0mg


