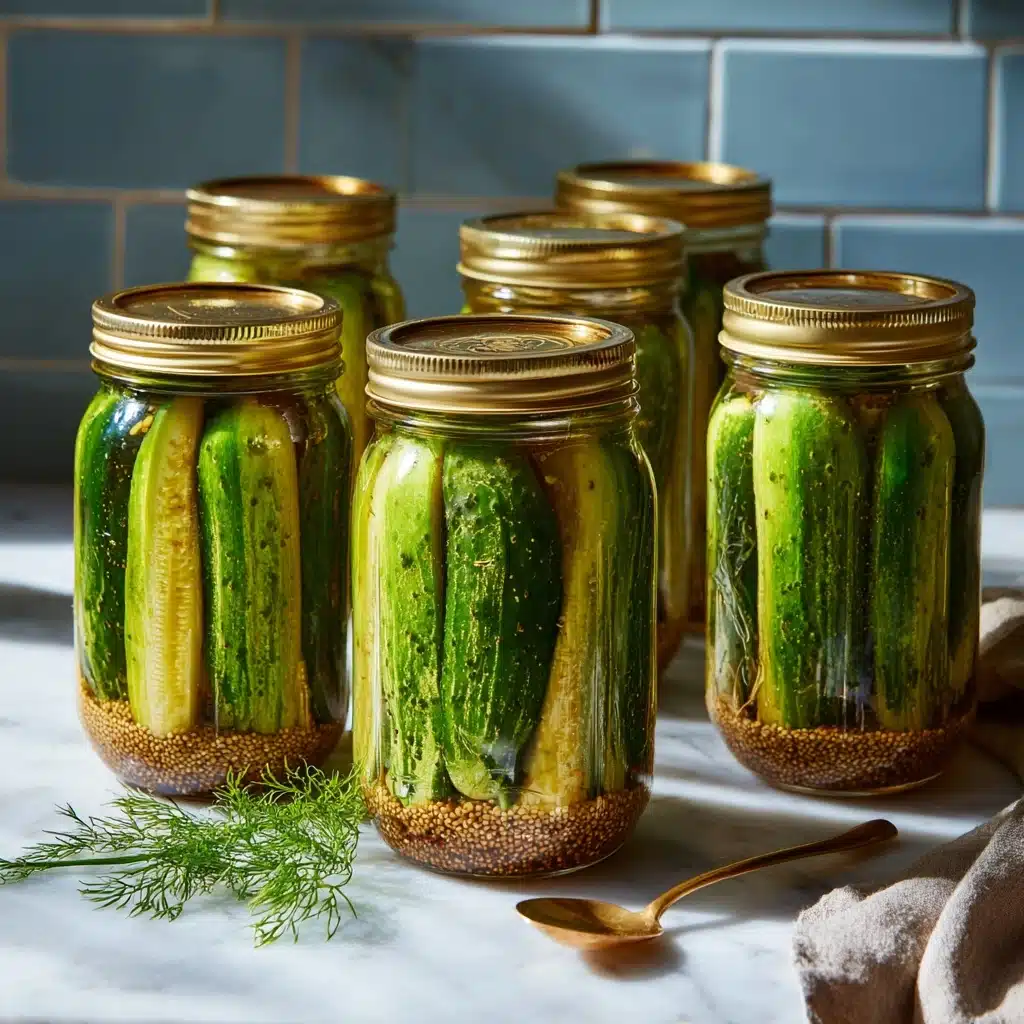
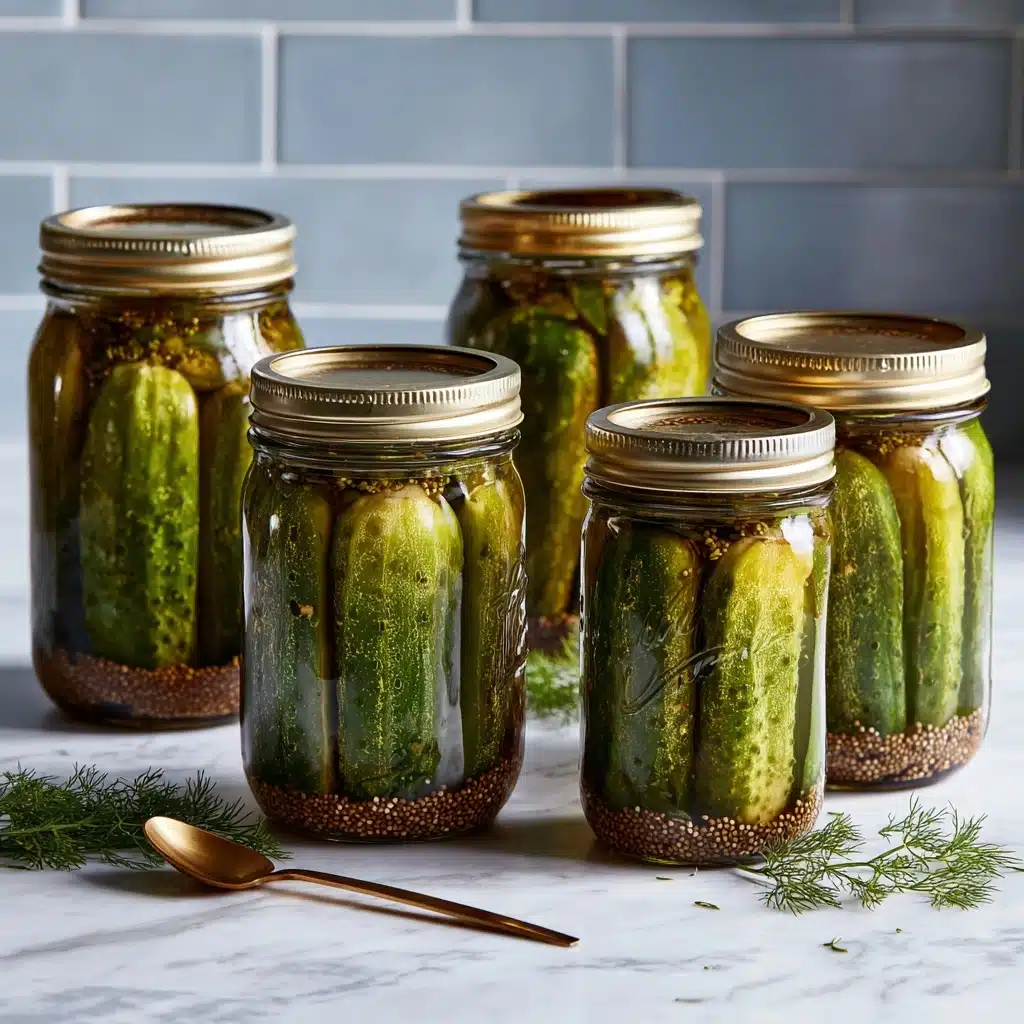
If you’ve ever found yourself reaching for that crunchy, tangy pickle from the fridge and thinking, “Could these get any better?” then this Dill Pickle Recipe is about to become your new obsession. Imagine crisp cucumbers transformed with real garlic, fresh dill, and a zingy brine—right in your own kitchen, with absolutely zero fuss. Each spear bursts with nostalgic deli flavor, and you control the crunch! Whether you’re piling them onto burgers or munching straight from the jar, these homemade delights capture everything you love about classic dill pickles, but fresher, with a sprinkle of kitchen magic only homemade pickling can provide.
Ingredients You’ll Need
Let’s talk ingredients: simple, familiar, but totally non-negotiable for that signature pickle perfection. Every single component in this Dill Pickle Recipe has its moment to shine, adding either crunch, tang, heat, or a hint of herbaceous depth. Grab your jars and line up the following stars:
- Water: The base of your brine—make sure it’s filtered for the cleanest flavor.
- White Vinegar: Brings the vital tart punch and preserves that signature pickle tang.
- Kosher Salt: Essential for drawing out moisture and creating true pickle flavor—don’t substitute table salt!
- Sugar: Just a spoonful balances the acidity and rounds out the brine.
- Garlic Cloves: Peeled and tucked in for that garlicky bite every good dill pickle needs.
- Black Peppercorns: Add warmth and a grounding spice note without overpowering the other ingredients.
- Mustard Seeds: Classic for a gentle pungency and a little old-timey flavor pop.
- Red Pepper Flakes (optional): For a subtle heat that gently perks up each pickle.
- Fresh Dill Sprigs: The undisputed hero—vivid, herbal, unmistakably “dill pickle.”
- Small Cucumbers (Kirby or pickling): Crisp, tender, and just the right shape for classic spears or rounds—choose the freshest you can find.
How to Make Dill Pickle Recipe
Step 1: Make the Brine
Start by grabbing a medium saucepan and combine the water, white vinegar, kosher salt, and sugar. Bring this mixture to a boil, giving everything a good stir as you go. You’ll want the salt and sugar fully dissolved—this is your flavor-packed pickling potion! Once the brine hits a rolling boil and everything’s blended, take it off the heat and let it cool slightly. This preserves the brightness of your aromatics when you add them later.
Step 2: Layer the Flavor
While your brine is cooling, get your quart jar sparkling clean. In the bottom of the jar, pile in the peeled garlic cloves, black peppercorns, mustard seeds, red pepper flakes if you like a little zing, and those wonderfully fragrant dill sprigs. Layering these at the base ensures every pickle is evenly infused with real deli-shop character.
Step 3: Pack the Cucumbers
Next, slice your cucumbers into classic spears or rounds, then pack them as snugly as possible into the jar without squishing. The closer the fit, the more even the brining. For the crispiest pickles, be gentle and don’t overpack—keep them firm, never mushy.
Step 4: Pour the Brine
Now it’s the magic moment: pour your warm (not hot) brine slowly over the cucumbers in the jar, making sure every piece is fully submerged. If the brine doesn’t stretch all the way, top off with a little extra vinegar and water. The whole batch should soak up the briny goodness!
Step 5: Cool and Refrigerate
Let your jar cool to room temperature on the counter. Once cooled, seal the jar with a tight-fitting lid and pop it in the fridge. Let them pickle for at least 24 hours for a quick fix, but if you can wait 2–3 days, the flavor gets even deeper and more irresistible. These are classic refrigerator pickles, so they’ll stay fresh and punchy for up to a month.
How to Serve Dill Pickle Recipe

Garnishes
Top your dill pickles with a fresh sprig of dill right before serving to brighten up the platter, or add thin slices of red onion or a sprinkling of crushed red pepper for an extra burst of color and drama. A few mustard seeds or cracked black pepper sprinkled over the spears can clue everyone in on the zesty flavors inside.
Side Dishes
This Dill Pickle Recipe is so versatile—you can pair these crunchy pickles with everything from burgers and grilled cheese sandwiches to hearty potato salads and smoky barbecue plates. Try them alongside a charcuterie board or simply serve as a bracing snack with chips and a cold drink.
Creative Ways to Present
For a fun twist, thread pickle rounds onto skewers with cubes of cheddar and cherry tomatoes, or use spears as a quirky stir stick in your next Bloody Mary. You could even chop these beauties up to punch up your favorite tuna salad, or stack them high atop sliders at your next backyard bash.
Make Ahead and Storage
Storing Leftovers
Your homemade Dill Pickle Recipe will keep its zing and snap in the fridge for up to four weeks. Just make sure the jar stays sealed and the pickles remain fully submerged in brine. If you see any cloudy brine or the pickles start to soften too much, it’s time to make a new batch.
Freezing
Freezing isn’t recommended for this recipe—the cucumbers lose their crisp texture and turn mushy. For best results, always keep your pickles nestled in their brine in the fridge, where they’ll stay satisfyingly crunchy.
Reheating
Since these are refrigerator pickles, there’s no need (or want!) to reheat. Just fish them straight from the jar and enjoy chilled for maximum snap and flavor.
FAQs
Can I use apple cider vinegar instead of white vinegar?
Absolutely! Apple cider vinegar will bring a slightly sweeter, fruitier note to your Dill Pickle Recipe. It’s a fun twist and worth a try if you’re experimenting with flavors.
How do I keep my pickles extra crunchy?
Always start with very fresh cucumbers, avoid overpacking your jar, and make sure not to pour boiling brine directly onto the cucumbers—let it cool down a bit first. Some folks even toss in a grape leaf, though it’s not necessary here!
Are these pickles suitable for canning?
This Dill Pickle Recipe is a refrigerator version, which means it isn’t processed for long-term preservation or shelf stability. For true canned pickles, you’d need a slightly different method and sterile equipment.
What other vegetables can I use in this brine?
Go wild—try sliced carrots, green beans, cauliflower florets, or jalapeño rounds along with your cucumbers. The brine recipe adapts beautifully, so mix and match or add a little of everything for a colorful pickle medley.
How soon can I eat my pickles?
If you’re really eager, you can try them after 24 hours in the fridge, but for max flavor, let them mingle and intensify for at least two or three days. It’s worth the wait!
Final Thoughts
I hope you’re as excited as I am to try this Dill Pickle Recipe—once you taste that tangy burst and satisfying crunch, store-bought pickles will never quite measure up. Grab a jar, gather your ingredients, and let’s make some pickle magic happen!
Print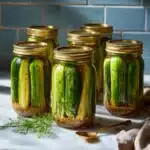
Dill Pickle Recipe
- Total Time: 20 minutes (plus 24 hours pickling time)
- Yield: 1 quart jar (about 12–14 spears) 1x
- Diet: Vegan, Gluten-Free, Dairy-Free
Description
Learn how to make delicious and tangy homemade dill pickles with this easy refrigerator pickle recipe. These pickles are crisp, flavorful, and perfect for snacking or adding to sandwiches and salads.
Ingredients
Brine:
- 4 cups water
- 2 cups white vinegar
- 3 tablespoons kosher salt
- 1 tablespoon sugar
Additional Ingredients:
- 4 cloves garlic, peeled
- 2 teaspoons black peppercorns
- 2 teaspoons mustard seeds
- 1 teaspoon red pepper flakes (optional)
- 4 fresh dill sprigs
- 4 small cucumbers (Kirby or pickling cucumbers, about 4–5 inches each), sliced into spears or rounds
Instructions
- Prepare the Brine: In a medium saucepan, combine the water, vinegar, salt, and sugar. Bring to a boil, stirring until the salt and sugar dissolve.
- Assemble the Pickles: Place garlic, peppercorns, mustard seeds, red pepper flakes (if using), and fresh dill in the bottom of a clean quart-size jar. Pack the cucumbers tightly into the jar.
- Add the Brine: Pour the warm brine over the cucumbers, ensuring they are fully submerged.
- Chill and Enjoy: Let the jar cool to room temperature, then seal and refrigerate for at least 24 hours before serving. Flavor improves with time.
Notes
- These pickles will last up to 4 weeks in the refrigerator.
- For crunchier pickles, use smaller cucumbers and avoid overpacking the jar.
- Experiment with additional vegetables like onions, carrots, or jalapeños for variety.
- Prep Time: 15 minutes
- Cook Time: 5 minutes
- Category: Condiment, Snack
- Method: Pickling, No-Cook (after brine)
- Cuisine: American, Eastern European
Nutrition
- Serving Size: 1 spear
- Calories: 5
- Sugar: 0 g
- Sodium: 160 mg
- Fat: 0 g
- Saturated Fat: 0 g
- Unsaturated Fat: 0 g
- Trans Fat: 0 g
- Carbohydrates: 1 g
- Fiber: 0 g
- Protein: 0 g
- Cholesterol: 0 mg


