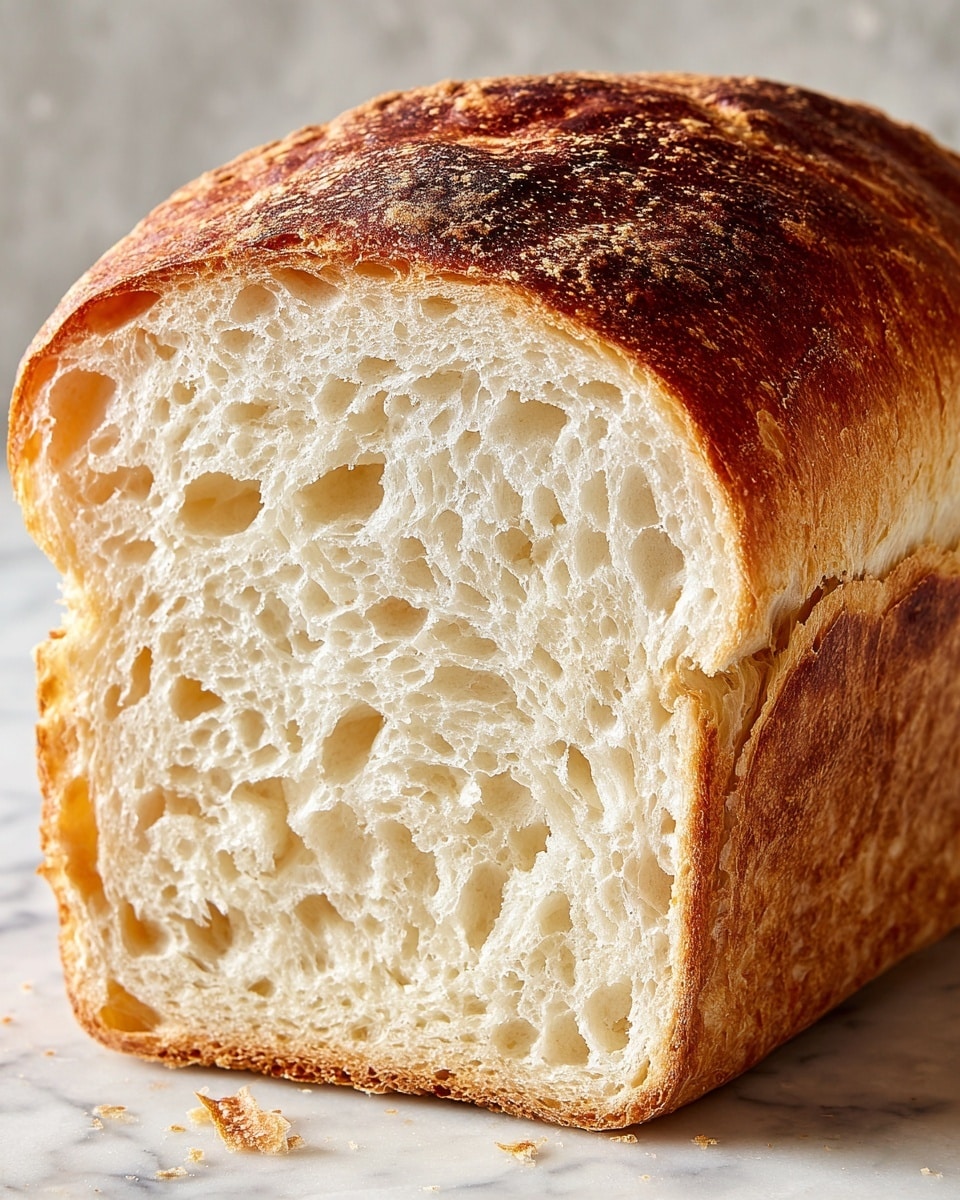
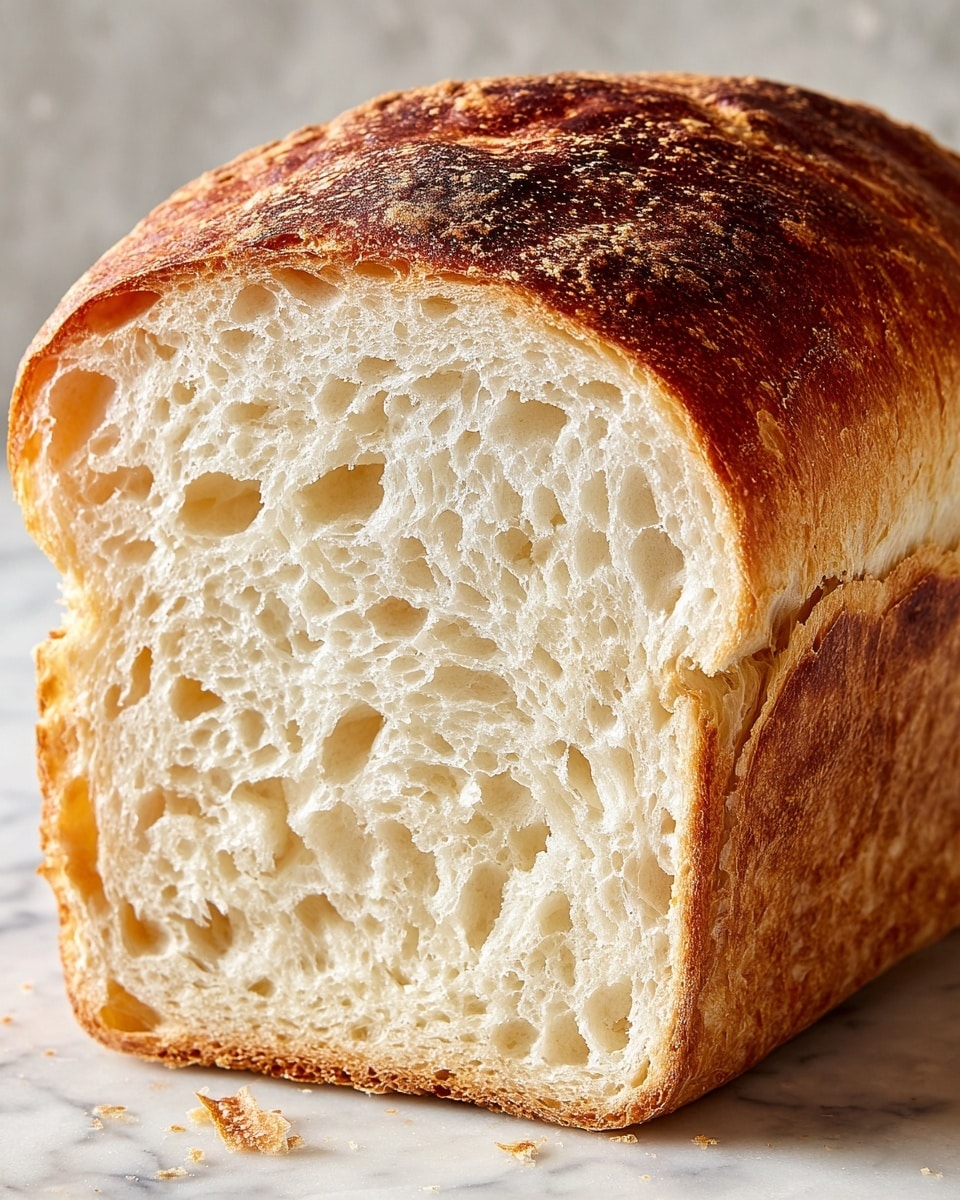
If you ever dreamed of baking bakery-quality bread right at home with a wonderfully crusty exterior and a soft, chewy crumb, this Dutch Oven Bread Recipe is your golden ticket. It’s a charmingly simple loaf that requires just a few basic ingredients, yet the magic happens thanks to our trusty Dutch oven that locks in steam, creating that perfect artisan crust and tenderness. Whether you’re a bread novice or a seasoned baker, this recipe brings incredible satisfaction and irresistible aroma that fills your kitchen with warmth.

Ingredients You’ll Need
For this Dutch Oven Bread Recipe, you only need a handful of simple, pantry staples. Each ingredient plays a vital role: the strong bread flour provides structure, salt enhances flavor, yeast brings life to the dough, warm water hydrates it all, and honey adds a subtle touch of sweetness and helps with browning.
- Strong bread flour: This high-protein flour is essential for gluten development, contributing to a chewy texture.
- Salt: Adds flavor depth and controls yeast activity to improve texture.
- Active dried yeast: The powerhouse responsible for that wonderful rise and airy crumb.
- Warm water: Activates the yeast and hydrates the flour for dough formation.
- Honey: Offers a subtle sweetness and helps create a beautifully browned crust.
How to Make Dutch Oven Bread Recipe
Step 1: Combine Dry Ingredients
Start by whisking the strong bread flour, salt, and active dried yeast together in a large bowl. Mixing these dry ingredients evenly sets the foundation for a consistent and well-risen loaf.
Step 2: Prepare Wet Ingredients
In a measuring jug, stir the warm water with the tablespoon of honey until the honey completely dissolves. This sweetened liquid will feed the yeast and help the crust develop a lovely color.
Step 3: Mix Dough
Create a well in the center of your dry ingredients and pour in the honey-water mixture. Stir with a wooden spoon or your hands until you get a shaggy, sticky dough. Nothing fancy here—just rustic and ready to be kneaded.
Step 4: Knead the Dough
Turn the dough out onto a lightly floured surface and knead vigorously for about 10 minutes. You’re aiming for a smooth, elastic dough that springs back when poked, which means the gluten is nicely developed.
Step 5: First Rise
Transfer your dough to a clean, lightly greased bowl, cover it with a damp cloth, and give it about 1 hour to rise until doubled in size. This step is where the yeast does its magic, expanding the dough and boosting flavor.
Step 6: Preheat Oven & Dutch Oven
Preheat your oven to 200ºC (400ºF). Place your empty cast iron Dutch oven—with the lid on—inside the oven to heat up. This hot vessel will create steam during baking, which is key to a crackly crust.
Step 7: Shape the Dough
Once your dough has doubled, gently punch it down to release excess air. Shape it into a round ball and place it seam side down on a sheet of baking paper. This shaping step prepares your loaf for that classic artisan look.
Step 8: Prepare for Baking
Carefully lift your dough with the baking paper and place it into the preheated Dutch oven. Put the lid on to trap steam, setting the stage for perfectly risen and crusty bread.
Step 9: Bake Covered
Bake the dough covered for 25 minutes. This insulation keeps steam around the bread, helping it rise fully and develop that signature crust with a slightly glossy finish.
Step 10: Bake Uncovered
Remove the lid from the Dutch oven and bake for another 10 to 15 minutes. This final phase browns the crust beautifully, giving it an irresistible golden color and satisfying crunch.
Step 11: Cool & Serve
Allow the bread to cool completely on a wire rack before slicing. Patience here is rewarded with slices that hold together perfectly and reveal a tender crumb bursting with fresh-baked aroma.
How to Serve Dutch Oven Bread Recipe

Garnishes
A sprinkle of flaky sea salt or a light brush of melted butter right after baking can elevate your Dutch Oven Bread Recipe to sheer deliciousness. Fresh herbs like rosemary or thyme can be sprinkled on top before baking for extra aroma and flavor.
Side Dishes
This bread pairs beautifully with hearty soups, roasted vegetables, or a flavorful cheese board. Its rustic texture makes it ideal for dipping into olive oil and balsamic vinegar or spreading with homemade jams and creamy butters.
Creative Ways to Present
For gatherings, slice the bread and arrange it in a basket lined with a cozy linen napkin. Try hollowing out the center to serve warm dips or garlic butter for a stunning centerpiece. Toasted slices topped with smashed avocado or a drizzle of honey create delightful snacks that impress.
Make Ahead and Storage
Storing Leftovers
Keep any leftover Dutch Oven Bread Recipe wrapped loosely in a clean kitchen towel or bread bag at room temperature for up to two days. This method keeps the crust from becoming too soft while preserving the crumb’s moistness.
Freezing
Wrap the cooled bread tightly in plastic wrap and then foil before freezing. This way, your Dutch Oven Bread Recipe stays fresh for up to three months. Thaw at room temperature when ready to enjoy.
Reheating
To revive the bread’s crustiness, pop slices or the whole loaf into a preheated oven at 180ºC (350ºF) for about 10 minutes. This will refresh the aroma and texture just like freshly baked.
FAQs
Can I use all-purpose flour instead of bread flour?
While all-purpose flour can work in a pinch, using strong bread flour is best for this Dutch Oven Bread Recipe because it provides more gluten, resulting in better structure and chewiness in your loaf.
Do I need a cast iron Dutch oven specifically?
A cast iron Dutch oven is preferred because it holds and distributes heat evenly, creating steam that gives the bread its perfect crust. However, any heavy oven-safe pot with a tight-fitting lid can do the job well.
Can I add seeds or herbs to the dough?
Absolutely! Mixing in seeds like sunflower, sesame, or herbs such as chopped rosemary adds tasty twists. Just fold them into the dough during kneading for even flavor throughout.
Why is my bread dense after baking?
Dense bread usually signals under-kneading, insufficient rising time, or inactive yeast. Make sure you knead until smooth and elastic and allow the dough enough time to double in bulk before baking.
How important is the resting time after baking?
Cooling the bread completely allows moisture inside the loaf to redistribute, ensuring slices don’t become gummy and that the crumb sets perfectly. Patience here rewards you with better texture and flavor.
Final Thoughts
There’s nothing quite like the joy of pulling a warm, golden loaf from your Dutch oven, knowing you created it from scratch with simple ingredients and love. This Dutch Oven Bread Recipe is a wonderful way to build baking confidence and treat yourself to wholesome, crusty bread perfect for any occasion. Give it a try—you’ll delight in every bite and the cozy ritual it brings to your kitchen!
Print
Dutch Oven Bread Recipe
- Total Time: 2 hours 55 minutes
- Yield: 1 loaf 1x
- Diet: Vegetarian
Description
This classic Dutch Oven Bread recipe produces a crusty, artisan-style loaf with a soft, airy interior. Made with simple ingredients and baked inside a preheated Dutch oven, the bread develops a perfect golden crust and delightful texture. Ideal for beginners and bread enthusiasts alike, this method leverages the Dutch oven’s heat retention to mimic professional baking conditions at home.
Ingredients
Dry Ingredients
- 500 g strong bread flour
- 1½ teaspoons salt
- 1 teaspoon active dried yeast
Wet Ingredients
- 350 ml warm water
- 1 tablespoon honey
Instructions
- Combine Dry Ingredients: In a large bowl, whisk together the strong bread flour, salt, and active dried yeast until evenly mixed.
- Prepare Wet Ingredients: In a measuring jug, dissolve the honey in the warm water, ensuring the mixture is well combined.
- Mix Dough: Create a well in the center of the dry ingredients and pour in the water and honey mixture. Stir together using a wooden spoon or your hands until a shaggy dough forms.
- Knead the Dough: Transfer the dough to a floured surface and knead it for 10 minutes until it becomes smooth and elastic, developing the gluten necessary for a good rise.
- First Rise: Place the kneaded dough in a clean, greased bowl, cover it with a damp cloth, and allow it to rise in a warm spot for 1 hour or until doubled in size.
- Preheat Oven & Dutch Oven: Preheat your oven to 200ºC (400ºF). Place an empty cast iron Dutch oven with its lid inside the oven to heat up for optimal baking conditions.
- Shape the Dough: After the dough has risen, punch it down gently to release gases, then shape it into a round ball. Place it seam side down on a piece of baking paper.
- Prepare for Baking: Carefully lift the dough using the baking paper and transfer it into the preheated Dutch oven. Cover the Dutch oven with its lid to trap steam during baking.
- Bake Covered: Bake the bread covered for 25 minutes to develop steam, which helps create a crusty exterior and moist crumb.
- Bake Uncovered: Remove the lid from the Dutch oven and continue baking for an additional 10-15 minutes until the crust is a rich golden brown.
- Cool & Serve: Remove the bread from the Dutch oven and let it cool on a wire rack before slicing to finish the cooking process and set the crumb structure.
Notes
- Using warm water is crucial for activating the yeast effectively without killing it.
- The Dutch oven should be thoroughly preheated to ensure proper steam buildup.
- This bread is best eaten within a day or two but can be stored in an airtight container for up to 3 days.
- Allowing the bread to cool completely before slicing will prevent it from becoming gummy.
- To make the crust even crunchier, you can bake the bread uncovered for a few extra minutes, watching carefully to avoid burning.
- Prep Time: 20 minutes
- Cook Time: 40 minutes
- Category: Bread
- Method: Baking
- Cuisine: European


